
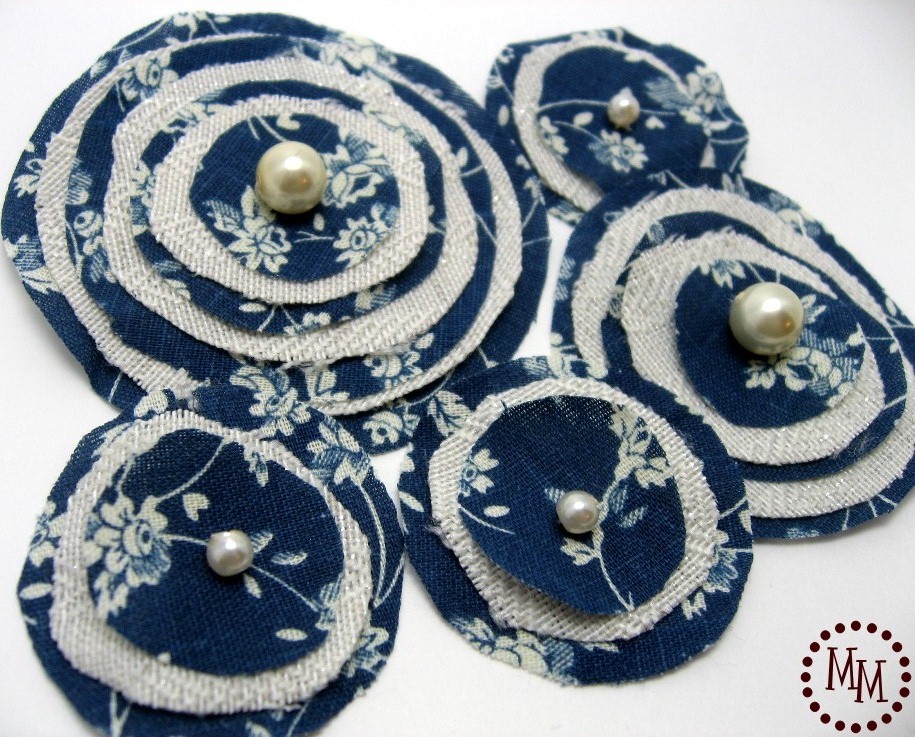
More and more of us are opening Etsy stores, and one of the biggest keys to selling on Etsy (or any other online store) is taking good pictures of our products. One of the best ways to take a great photo to highlight our items is to use a light box. You can find them around, but you can also make one for less than $5!
I’m going to give you a step-by-step tutorial on how to make a small light box, but you can apply this tutorial to any size box you choose.
Items needed:
cardboard box
lightweight white material
white poster-size cardstock
stapler
adhesive

1. Get a box! Just about any sturdy cardboard box will do. Not expecting any packages any time soon? Any gorcery store would be happy to give you one of theirs.
I went for a relatively square box, but a rectangular box will do, too.

2. Cut off the flaps on the lid of your box.
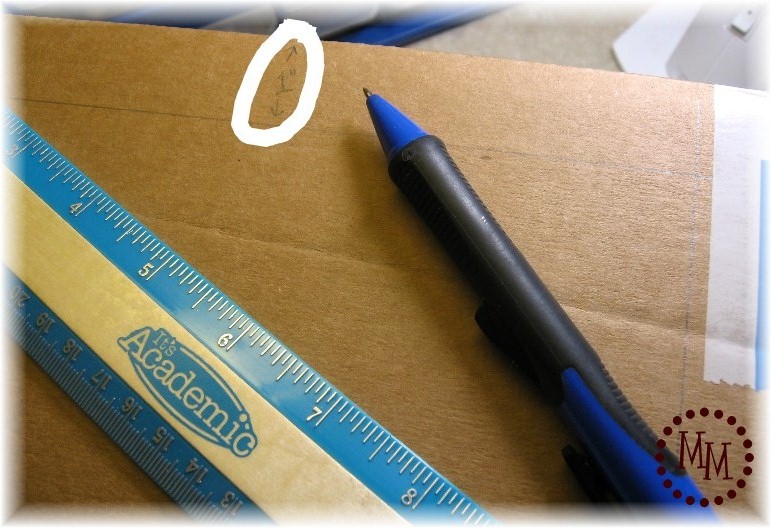
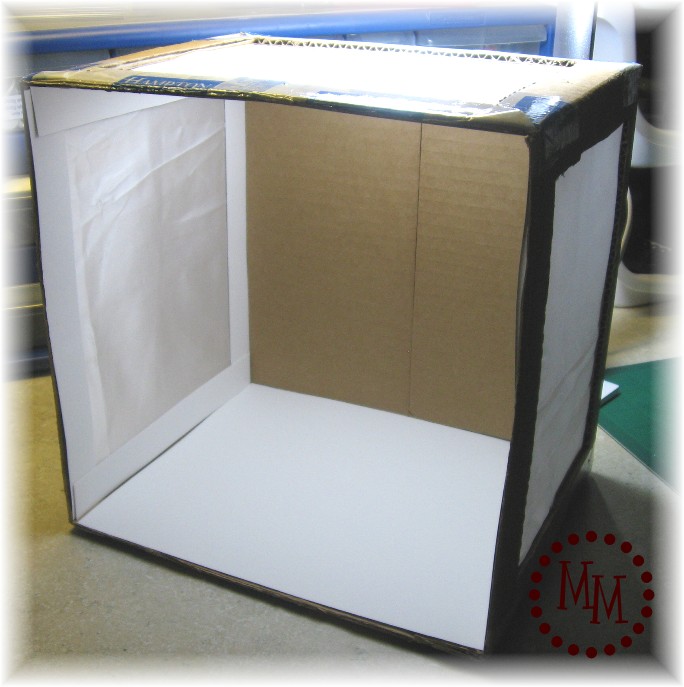
3. Draw a smaller square (or rectangle if your box is rectangular) around the inside of one side of the box approximately 1 inch from the edges. Do this on 3 sides of the box.

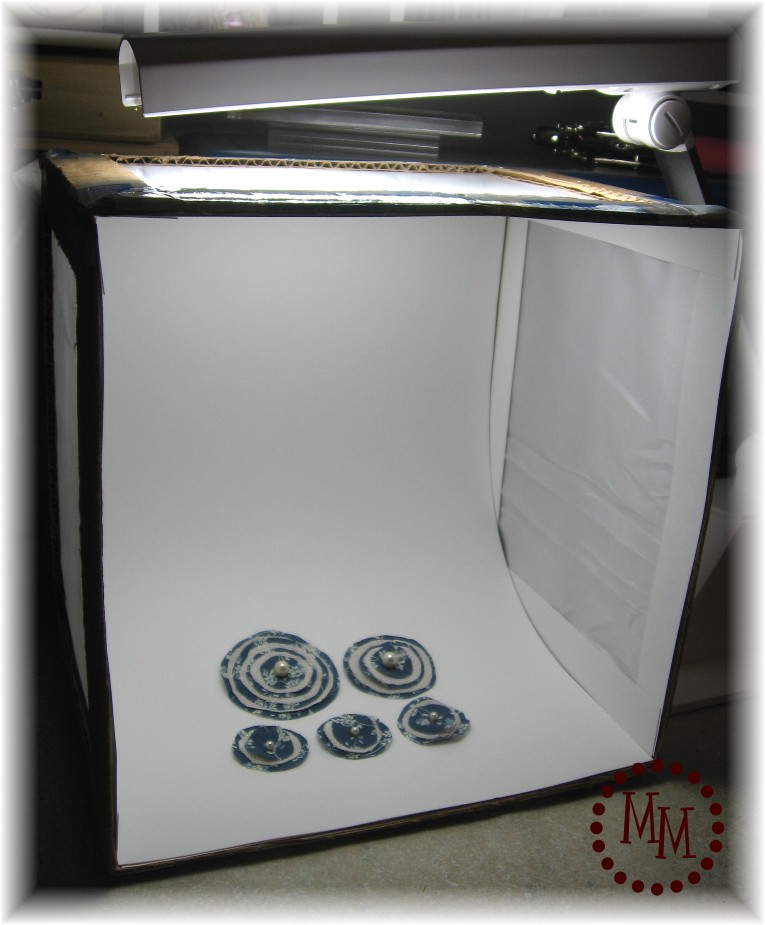
4. Using a box cutter, cut out the squares you just drew on the 3 sides of the box. It should now look like the box above.
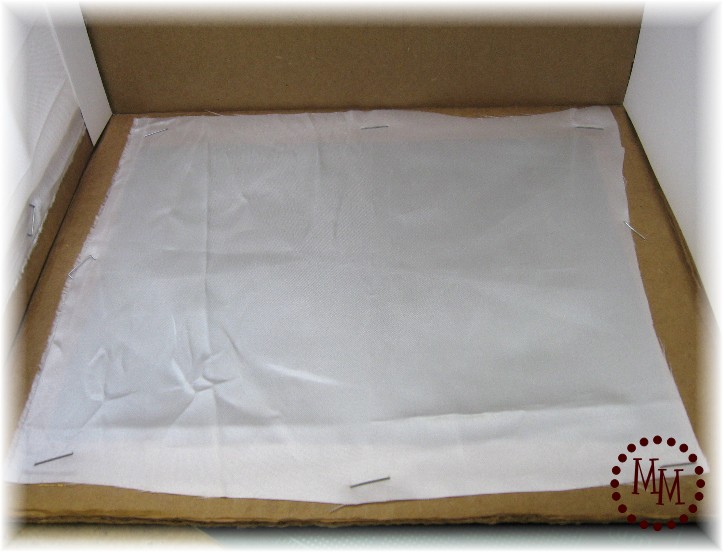
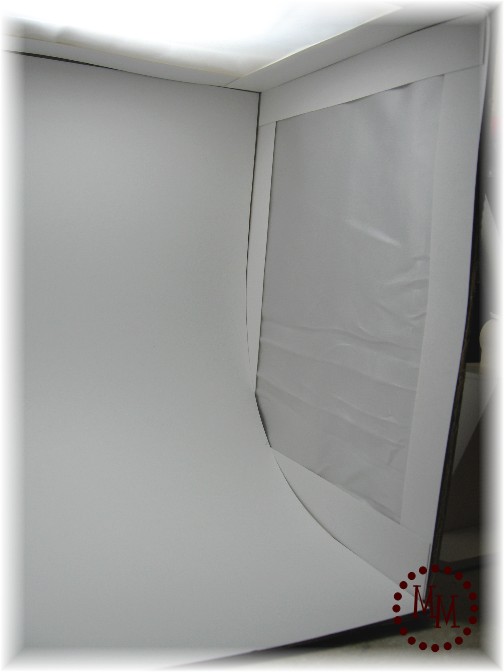
5. Cut your white material (as you can tell, I didn’t even bother to iron mine!) so that it slightly larger than the squares you cut out of your box. Staple the material to the box. Alternatively you can use a hot glue gun to attach the material to the box.
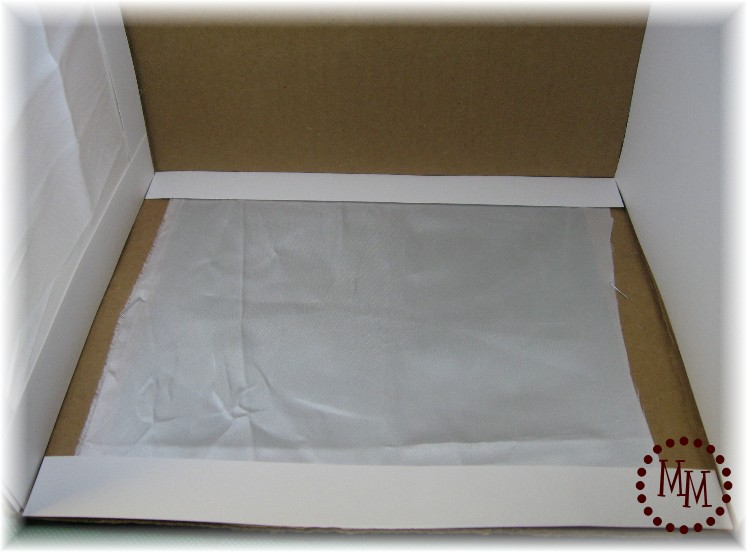
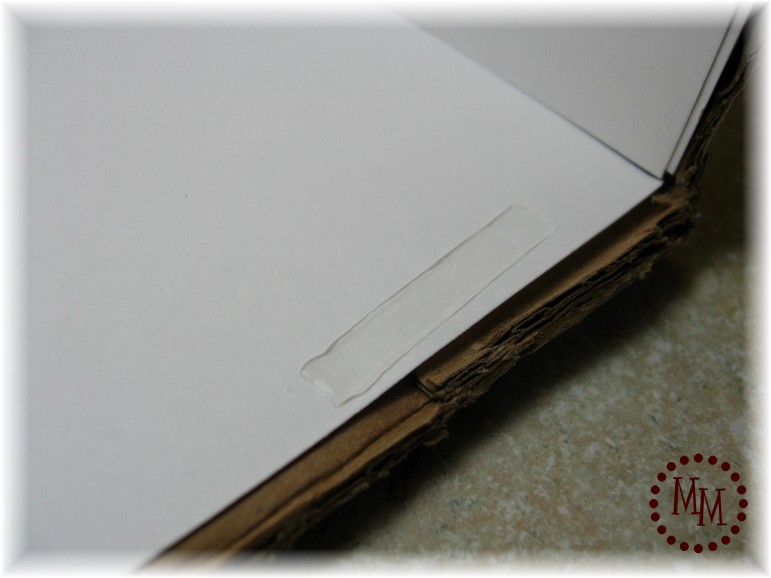
6. Cut one inch strips of the cardstock and glue it to the insides of the box to cover the exposed cardboard and edges of fabric.
7. Continue to cover all of the edges of the exposed cardboard with the white cardstock.
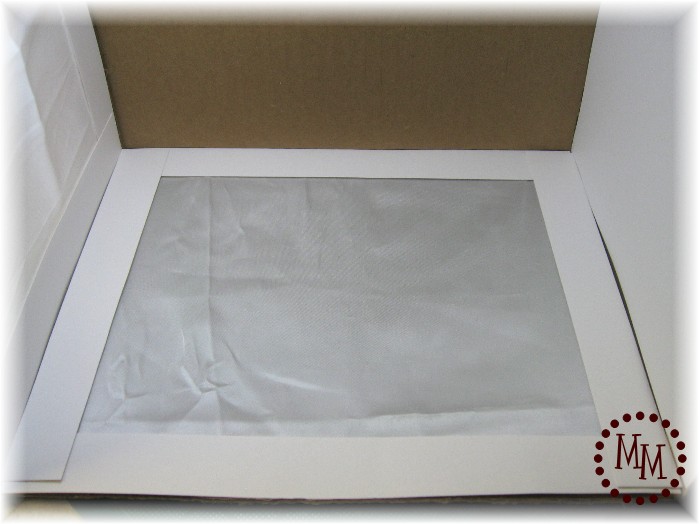
8. The top of your box is now the front of your box. Cover the new “bottom” of your box (the 4th side that you did not cut a square out of) with a piece of the white cardstock.
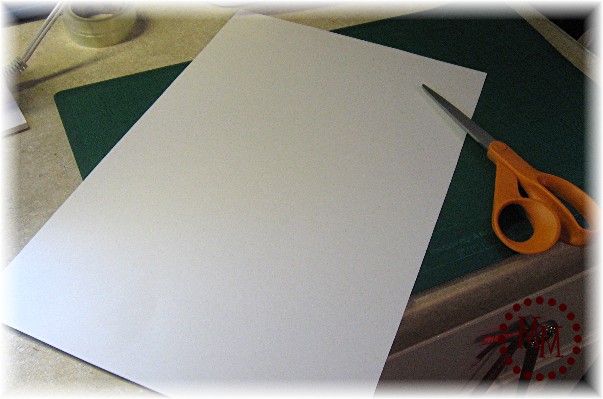
9. To get the look of the background going on to infinity you need a long rectangular piece of white cardstock. Cut it the width of your box and twice as long.
10. Put some adhesive (I used Glue Lines) along the front edge of the bottom of your box. Attach one end of the rectangular piece of cardstock to the adhesive.
11. Without creasing the cardstock, push the top of it into the top back side of the box. You want the cardstock to be curved. This helps give the illusion that the background goes on forever.

12. Shine a lamp through the top, the sides, or all three positions and you’re ready to start snapping pictures of your products! I prefer to use an Ott Light for my photo taking. It provides a more natural light.

Now you can take photos of your products any time of day or night. 😉
———————————-
Linking this up to


Krochet4kids
Friday 27th of June 2014
thank you for the tutorial, I need big for 18" doll clothes so will try poster board!
Lilla
Thursday 3rd of October 2013
Amazing!!! It's a great idea! Thanks for this!
emilysnan
Thursday 9th of February 2012
what a great tutorial love it . came here via a girl and her craf box and so glad i did x will be making this real soon x tfs your new follower xmaggiex
Canela Castela
Friday 6th of January 2012
Wow! Dear, It´s a great idea! Thanks for this!I´ll follow you.Kisses....
Trina Rae
Tuesday 30th of August 2011
I just wanted to thank you for this genius tutorial! I made my own light box and it works wonderfully. I've posted it on my blog (at the link below) and mentioned your tutorial. Thanks again!
http://craftanyway.blogspot.com/2011/08/make-your-own-light-box.html