

Mother’s Day gifts this year seemed like a cinch with the recent arrival of our new son.
What grandmother wouldn’t want photos of the family with the new addition?
So I went in search of some cute frames and decided to spice them up even more in my own little way.
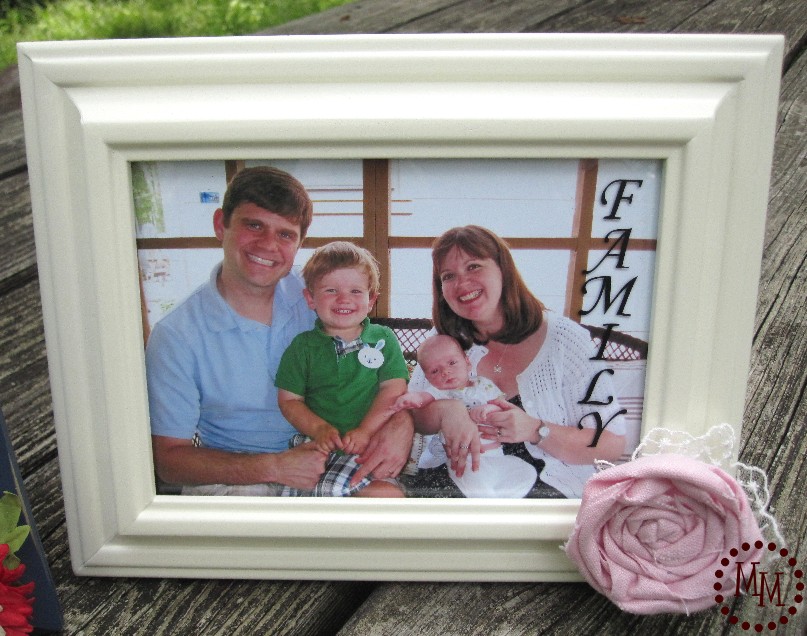
We took a family photo at Easter, and it ended up being slightly off center.
So I decided to make it look like it was on purpose with a little vinyl added to the frame.

1. Supplies: “FAMILY” vinyl (cut with my Silhouette), fabric rosette, lace material.
2. Add vinyl to the frame. Keep it high on the frame rather than centered to save room for the rosette to be added.
3. Pinch the lace material in your fingers to make a fan shape. Glue it to the back of the rosette.
4. When you turn the rosette back over the lace material should be peeking out the side. Glue it to the corner of your frame.
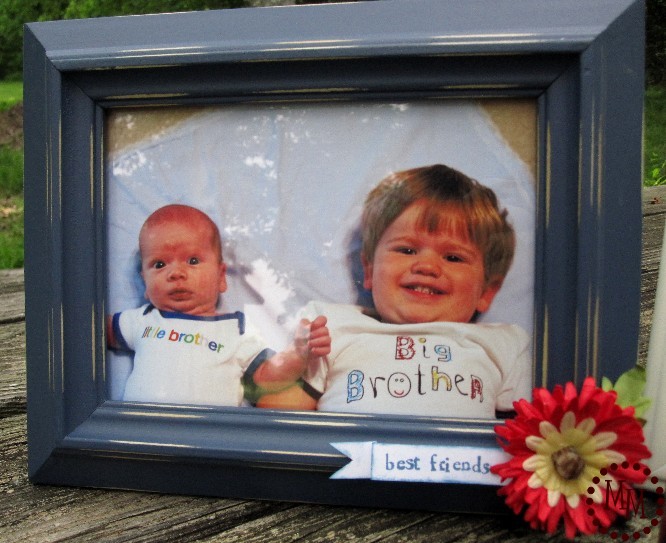
Of course I had to include a big brother, little brother photo!
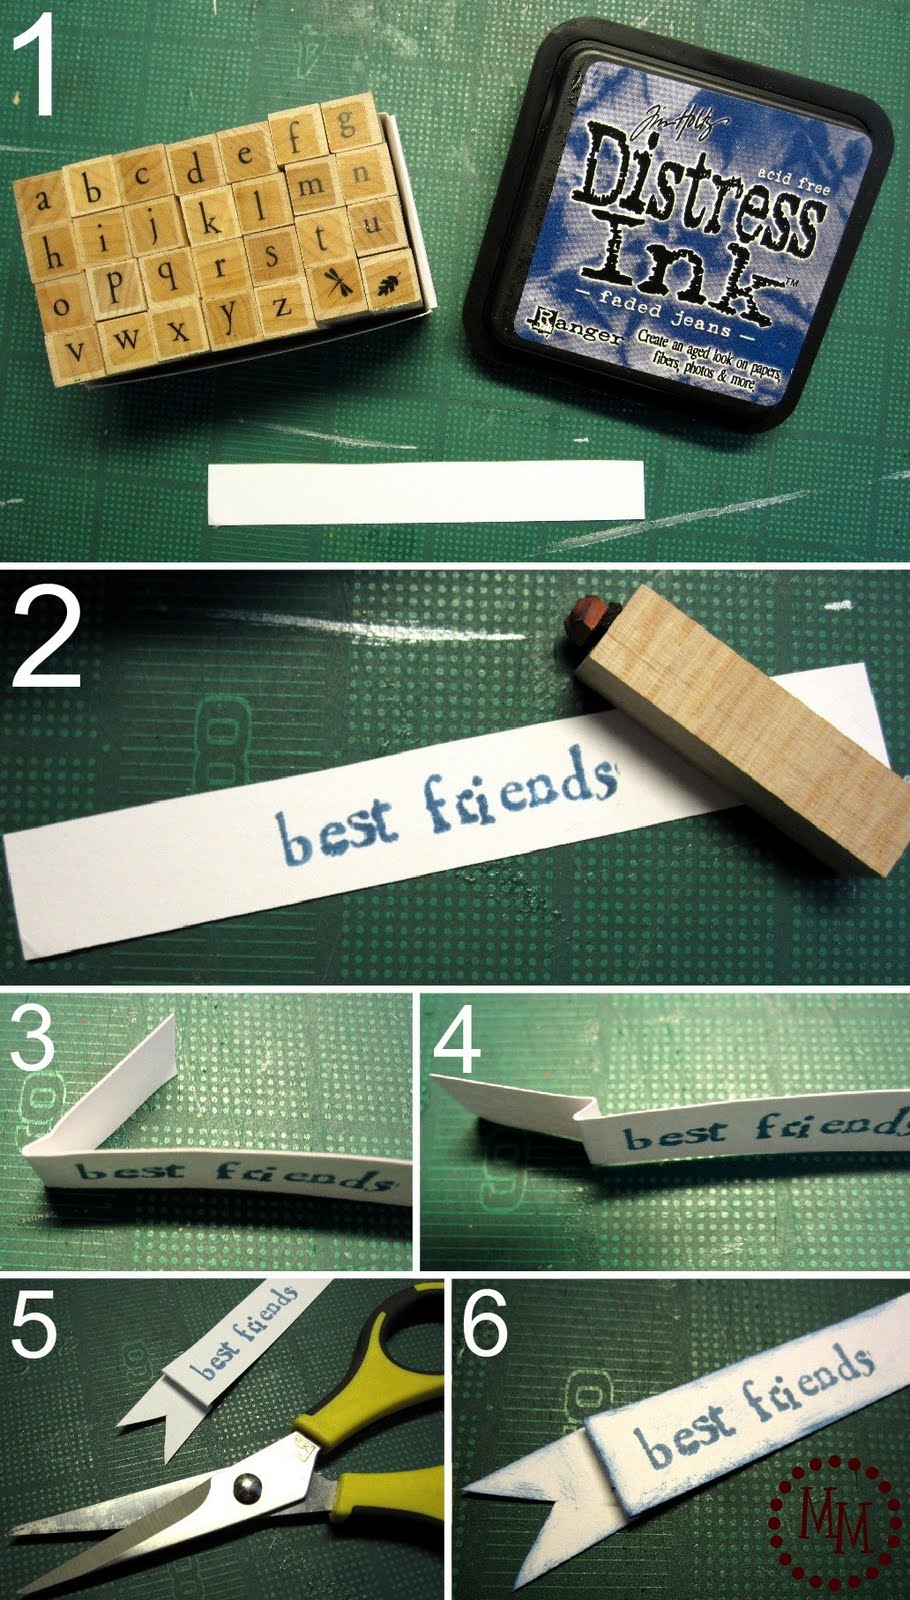
To make the banner:
1. Supplies: Scrap white cardstock cut into a rectangle, small alphabet stamp set, ink.
2. Using your ink and stamps, stamp out “best friends.” Be sure you leave plenty of room to the left to make the flag of your banner.
3. About 1/2″ from the left of your words, fold the cardstock back.
4. About 1/4″ from your first fold, fold the paper back towards the front.
5. Use a pair of sharp pointed scissors to cut the flag on the end of the banner.
6. Ink the edges of the banner.

To make the flower:
1. Supplies: 4 identical paper flowers, 2 silk flowers of different sizes, silk leaf, wood disk (left over from my wood statement necklace), scrap cardstock, small circle punch, and adhesive.
2. Punch a circle out of your cardstock. Take one of the paper flowers, add some glue to the center, and fold it in half.
3. Add another dot of glue to the center of the flower and fold it in half again.
4. Glue the folded flower to one quadrant of the circle of cardstock.
5. Repeat the flower folding process with the other 3 paper flower and glue them to the remaining 3 quadrants of the cardstock circle.
6. Layer the 2 silk flowers on top of the paper flowers and glue them down.
7. Glue on the wood disk.
8. Turn the flower over to the back and glue on the leaf.
9. Turn the flower back to the front and fluff the paper flowers.
10. Admire all of the dimension your flower has! 🙂
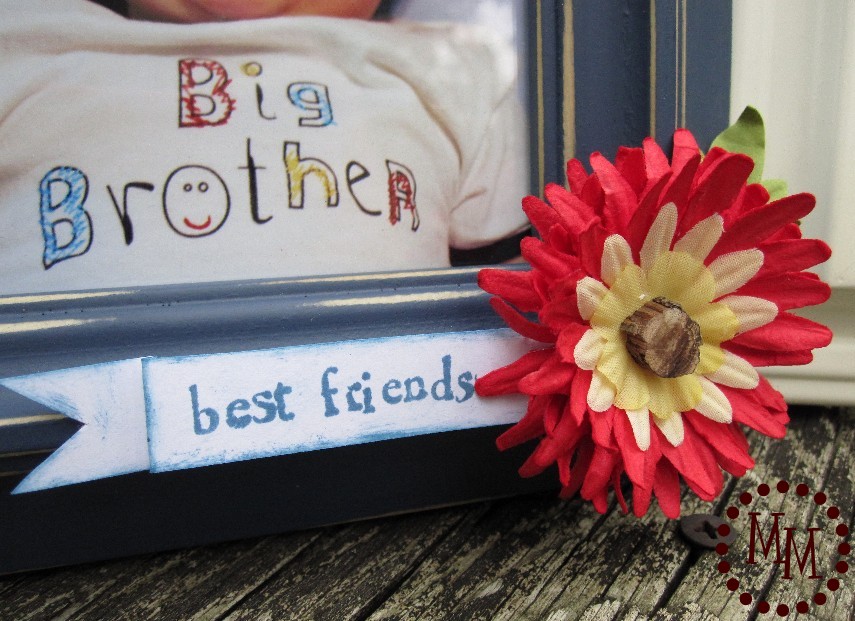
Glue the banner and the flower to your frame.
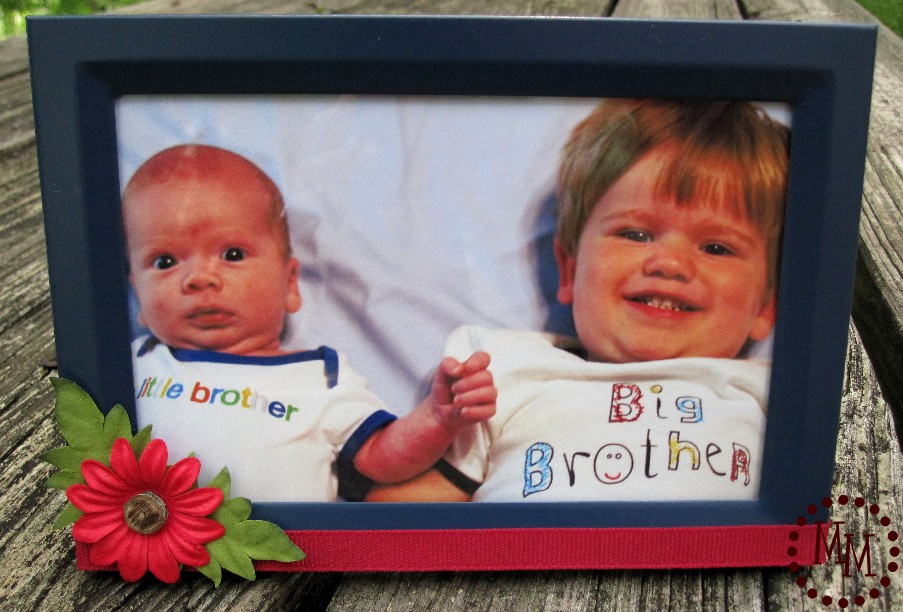
I knew my sister-in-law would want a photo of her nephews, too. And since this was her first Mother’s Day, I decided to give a her a frame also.
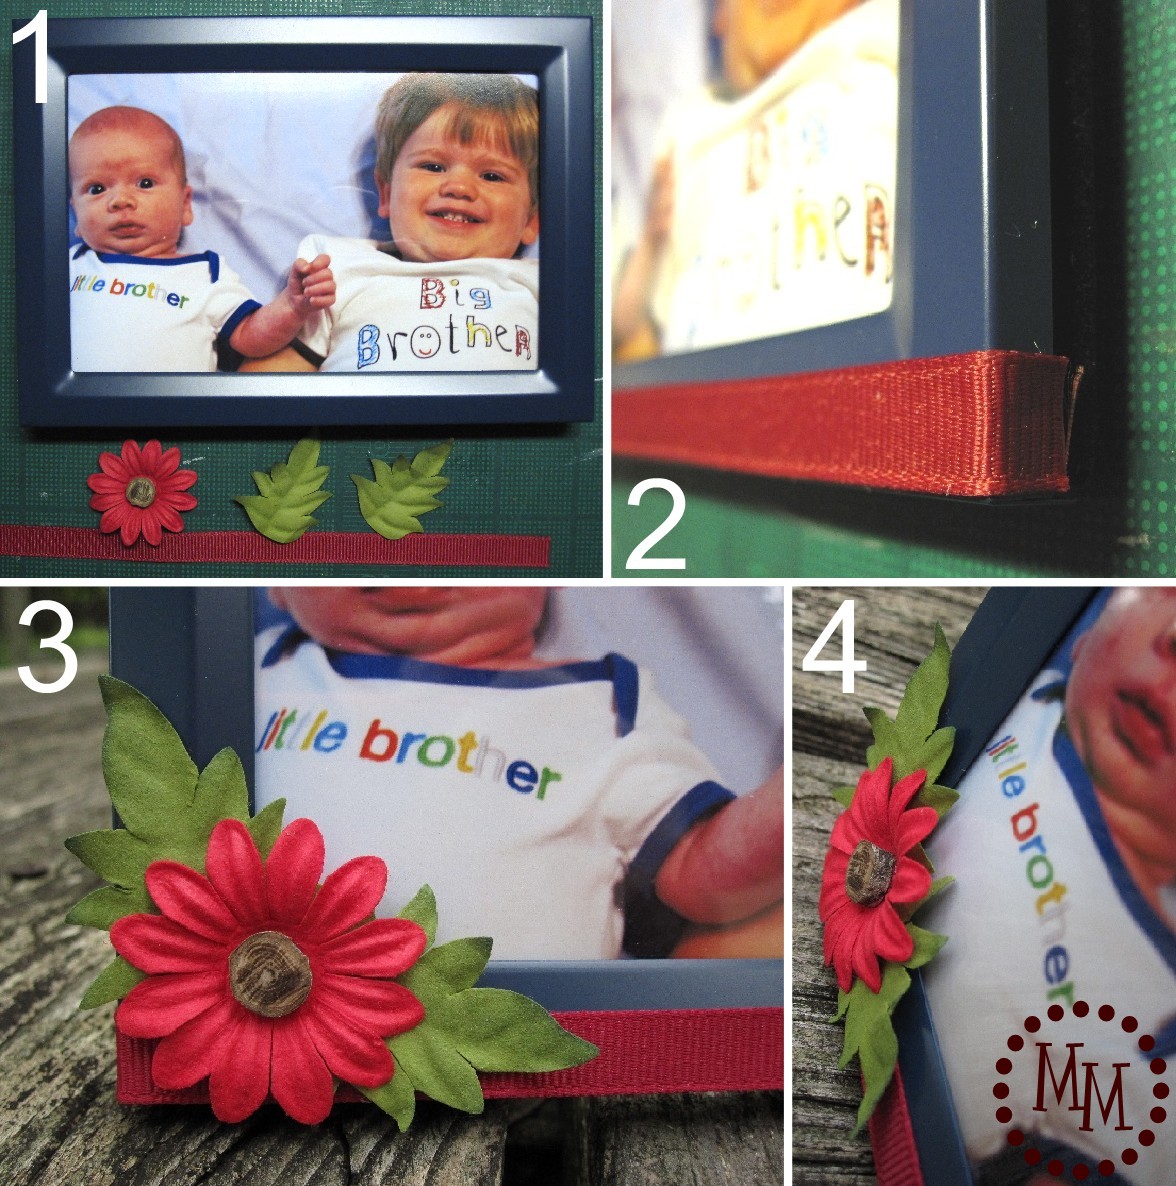
1. Supplies: ribbon, silk or paper flower, 2 silk leaves, wood disk.
2. Glue the ribbon to the bottom of the frame, wrapping it around the sides.
3. Glue the leaves to the back of the flower. Top with the wood disk. Glue it to the corner of the frame on top of the ribbon.
4. All this texture gives great dimension to your frame!
These were a hit with the moms!

Kim-madeinaday
Friday 10th of May 2019
Very cute! Thank you for sharing on Merry Monday! We hope you will join us again next week! Kim
Olga
Saturday 21st of May 2011
The frames looks really cute! thanks for the flower tutorial. visiting from Serenity Now
Michelle Paige
Friday 20th of May 2011
Really cute frames. I especially love the ribbon and the flower. Congrats on your new little one.
The Answer Is Chocolate
Friday 20th of May 2011
What great transformations and I love the "Best Friends" pic/frame! Your little guys look so happy together. Thanks for linking up!
Kimberlee, The Spunky Diva
Wednesday 18th of May 2011
Love how that adds so much to the frames! Visiting from Sugar Bee's Take a Look Tuesday.~Kimberlee {Accuquilt Giveaway}