

Today I’m going to show you how to make a succulent holder out of something you might not expect!
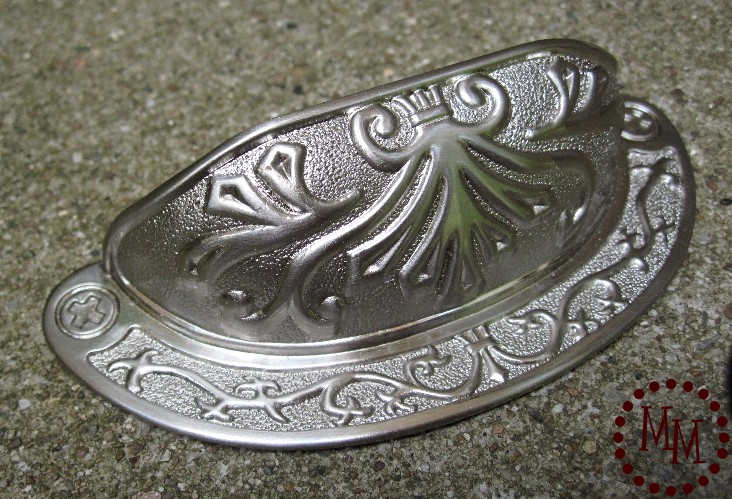
The Succulent Holder came to be when I found this absolutely lovely drawer pull at my local Habitat for Humanity Restore. This little pull was the only one of its kind, and I just knew I could find something to do with it! So it came right home with me.
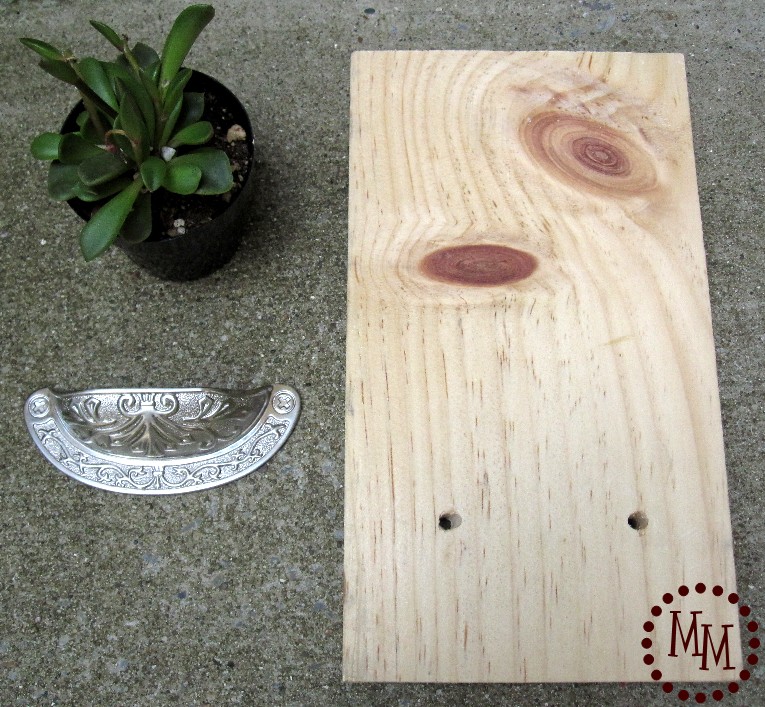
The main items you will need for this project are a drawer pull, a piece of plywood cut to the size of your choice (my holes to attach the drawer pull are also already drilled into the wood), and a small succulent plant.
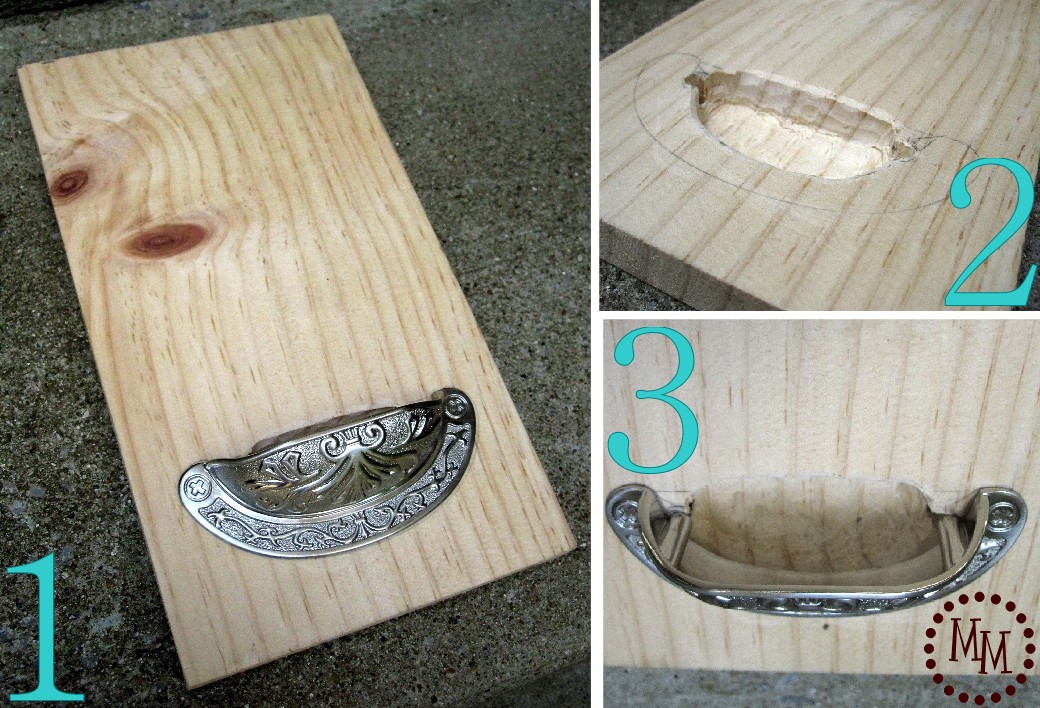
1. Place the drawer pull on the wood and use a pencil to trace around the edges.
2. Use a Dremel tool to carve out an indention directly behind where the pull will go. Be sure you don’t cut too deep into the wood! You do not want to expose the other side.
3. If you lay the drawer pull back on the wood you will notice you now have a larger space to place your succulent later.

Though I primed my wood in thoughts of painting it, I ultimately decided to add fabric to it instead.
If you choose to paint your wood you need only read steps 17-21 and 24-30.
I found some beautiful brown shimmery fabric in my stash that really showed off the silver scrollwork on the drawer pull. I cut my fabric ~2 inches larger than the size of my wood.
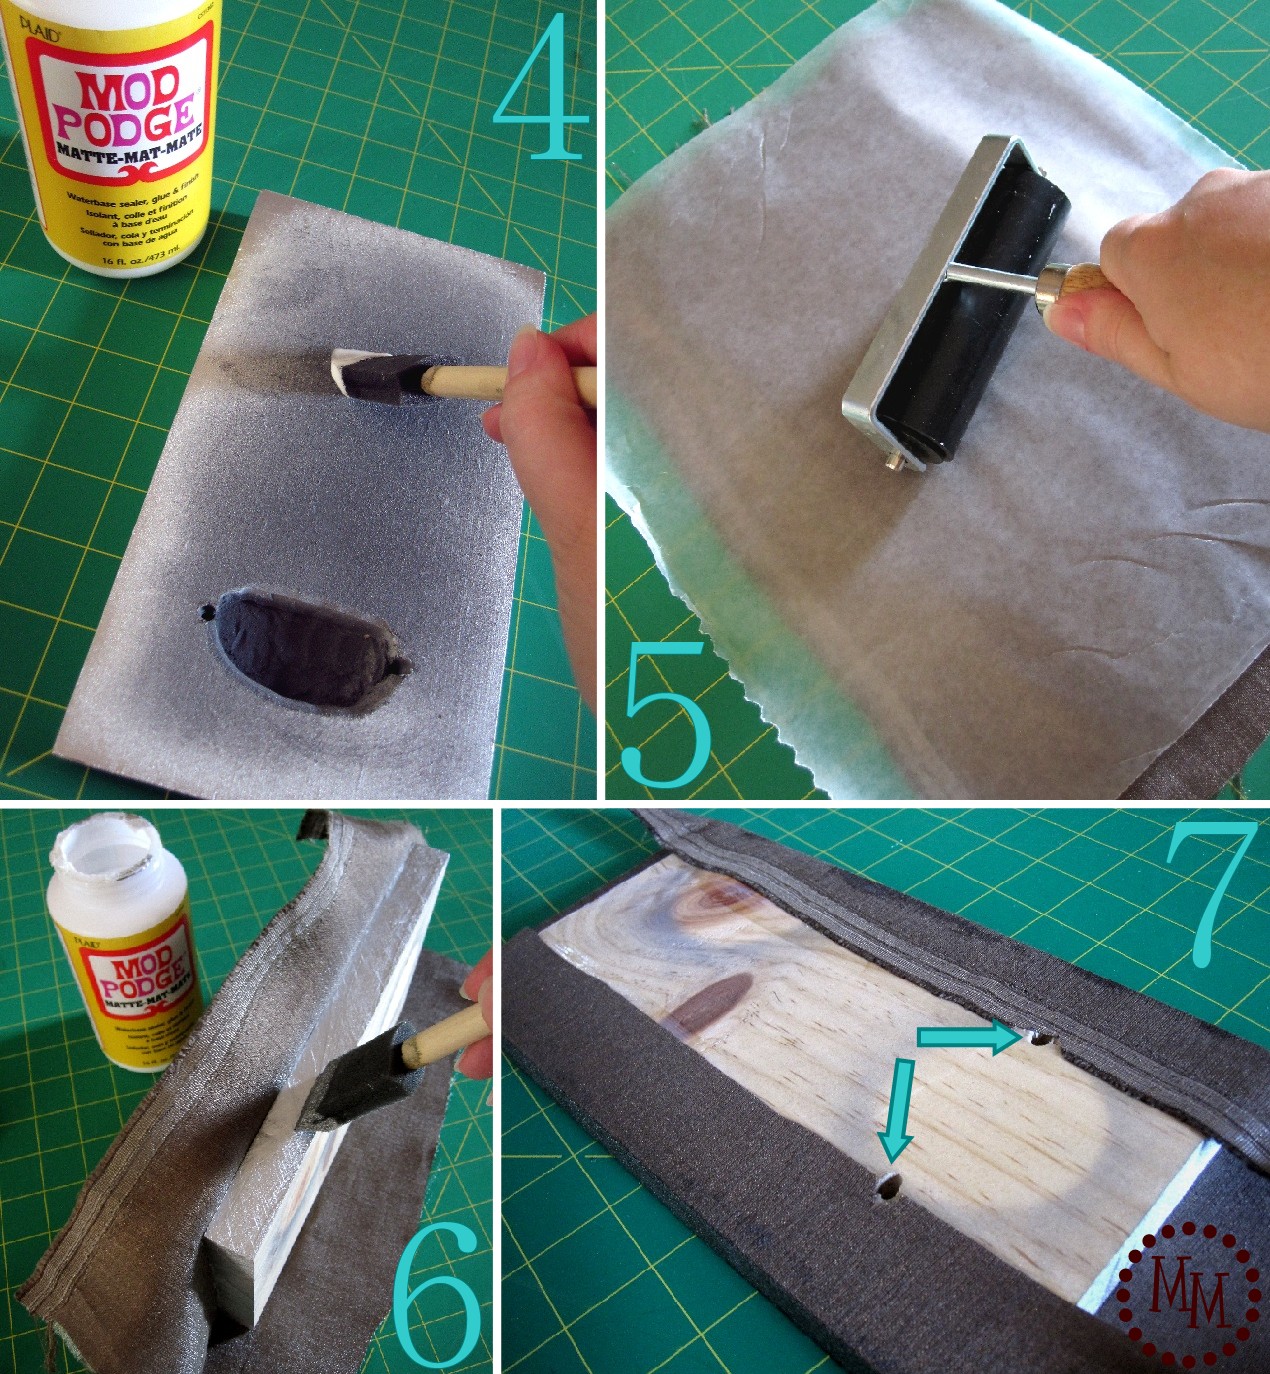
4. To attach the fabric to the wood, apply a light layer of Mod Podge to the top of the wood.
If you apply the Mod Podge too thick it will bleed through the fabric and potentially discolor your material.
5. Drape your material on the piece of wood trying not to pull the edges so the material does not look stretched. Lay a piece of wax paper on the material and smooth the material with a roller, scraping tool, or your hands to make sure the material is smooth and flat.
6. Apply another light layer of Mod Podge on the long sides of the wood, pull the fabric over it, and lay the wax paper on top to smooth it down.
7. Add more Mod Podge to the back to glue down the rest of the material. Be sure you don’t cover up your screw holes (see the arrows).
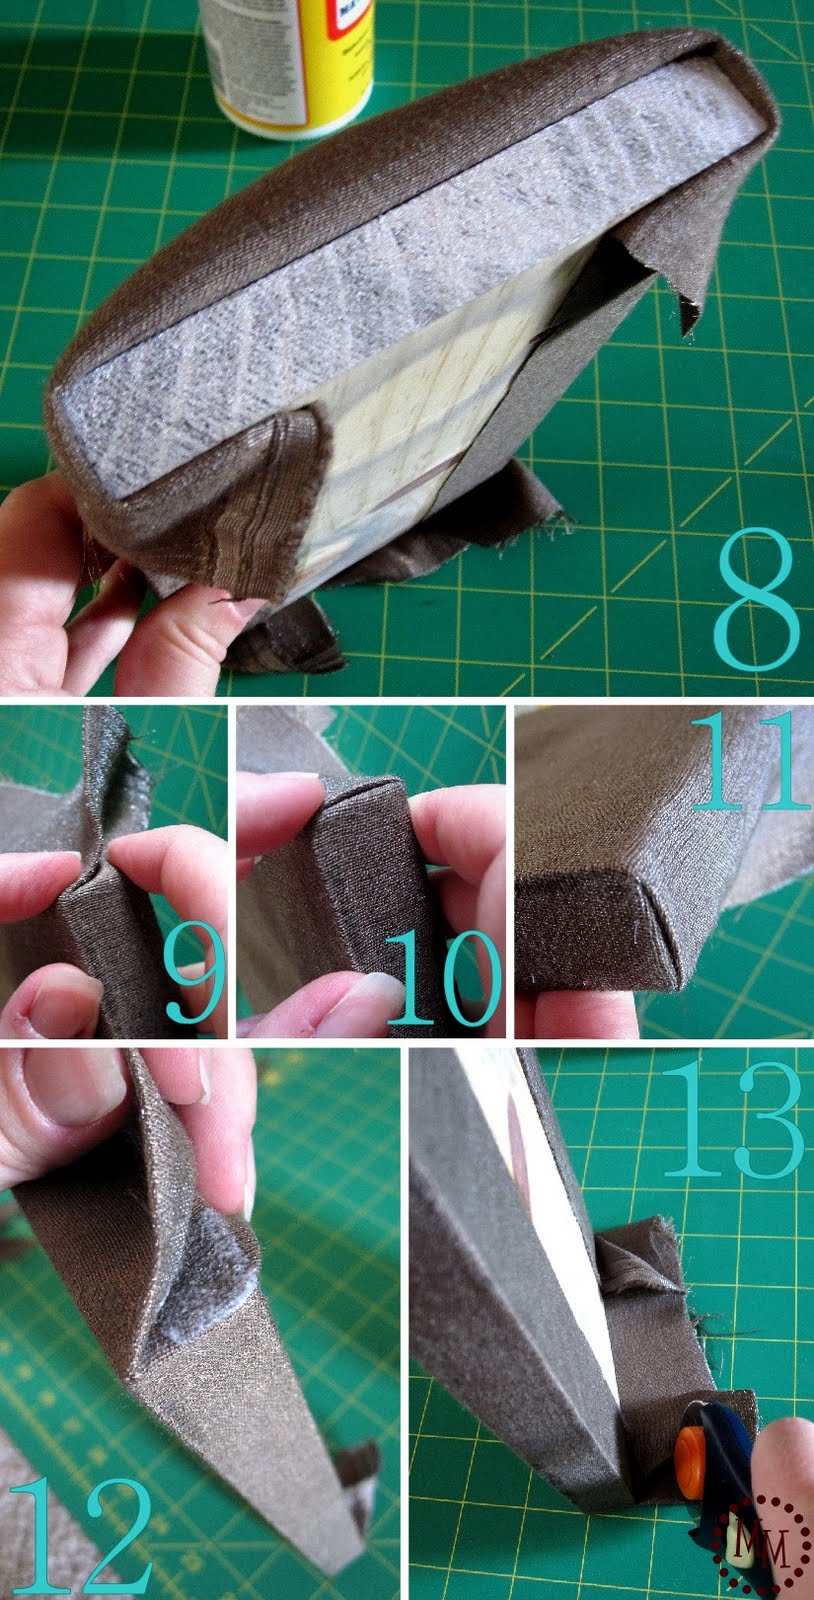
8. For the short sides of the wood, fold the fabric back out of the way and apply a light layer of Mod Podge.
9. To make a clean folded corner, pull the material from the side over the top of the side of wood. Hold it down with your right index finger. Fold the material from the front of the wood so that there is a straight edge parallel to the edge of the wood.
10. Hold the folded material with your right index finger and pull the fabric to the back of the wood.
11. Now you have a nice clean fold and flat surface!
12. Unfold the material (there should be a nice crease so you can easily fold it back down again) and apply a small amount of Mod Podge to keep the fold down.
13. Trim off some of the excess fabric and glue it to the back of the wood with more Mod Podge.

14. The hole in the front of the wood was covered with the fabric, but can easily be located by the puckering of the fabric.
15. Using a rotary cutter or knife, slice into the fabric to expose the hole.
16. Trim around the edge of the hole with a pair of scissors leaving a quarter of an inch of material that you can glue down.
17. Its time to attached the drawer pull! You will need two long screws and two washers.
18. First, put your washer over the hole then screw the screw through the hole and into the drawer pull on the other side.
19. Turning the wood back to the front, you can see we now have a nice little place for our succulent plant to go!
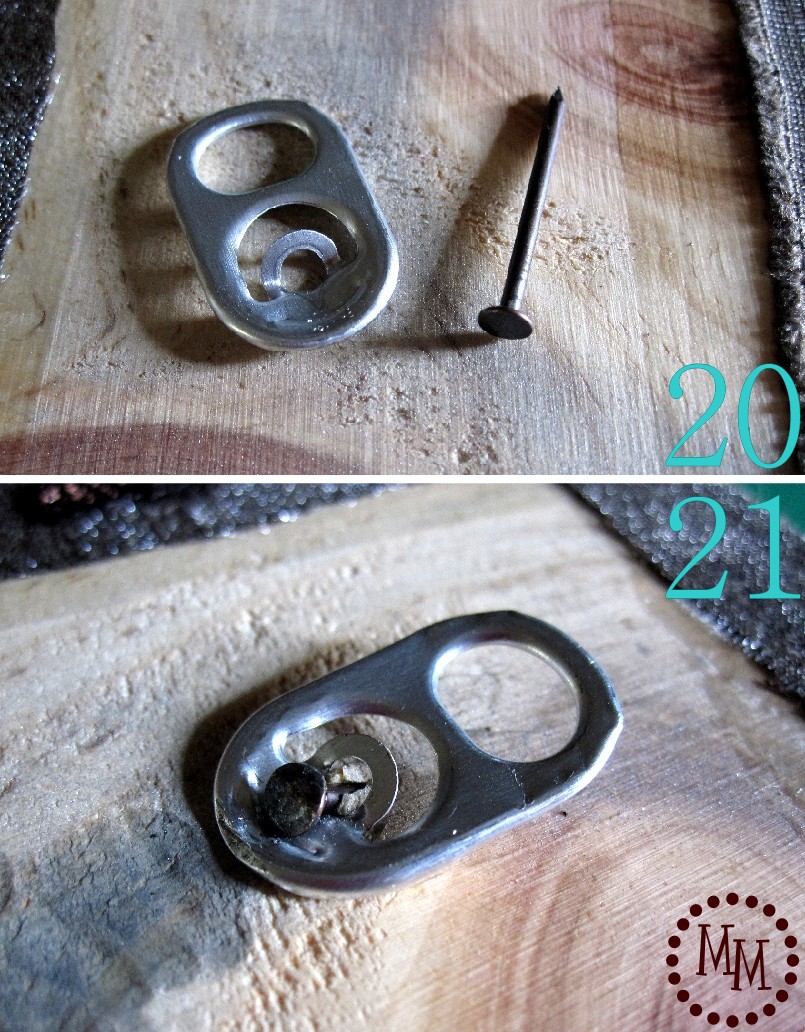
20. I decided to try a new tutorial I saw from Make Projects via Tip Junkie for using a pop tab as a hanger. All you need is the pop tab and a nail.
21. I hammered my nail in at an angle since it was actually longer than my wood was deep. Still worked like a charm!!

Things are starting to look good! But I think its needs a little something else…
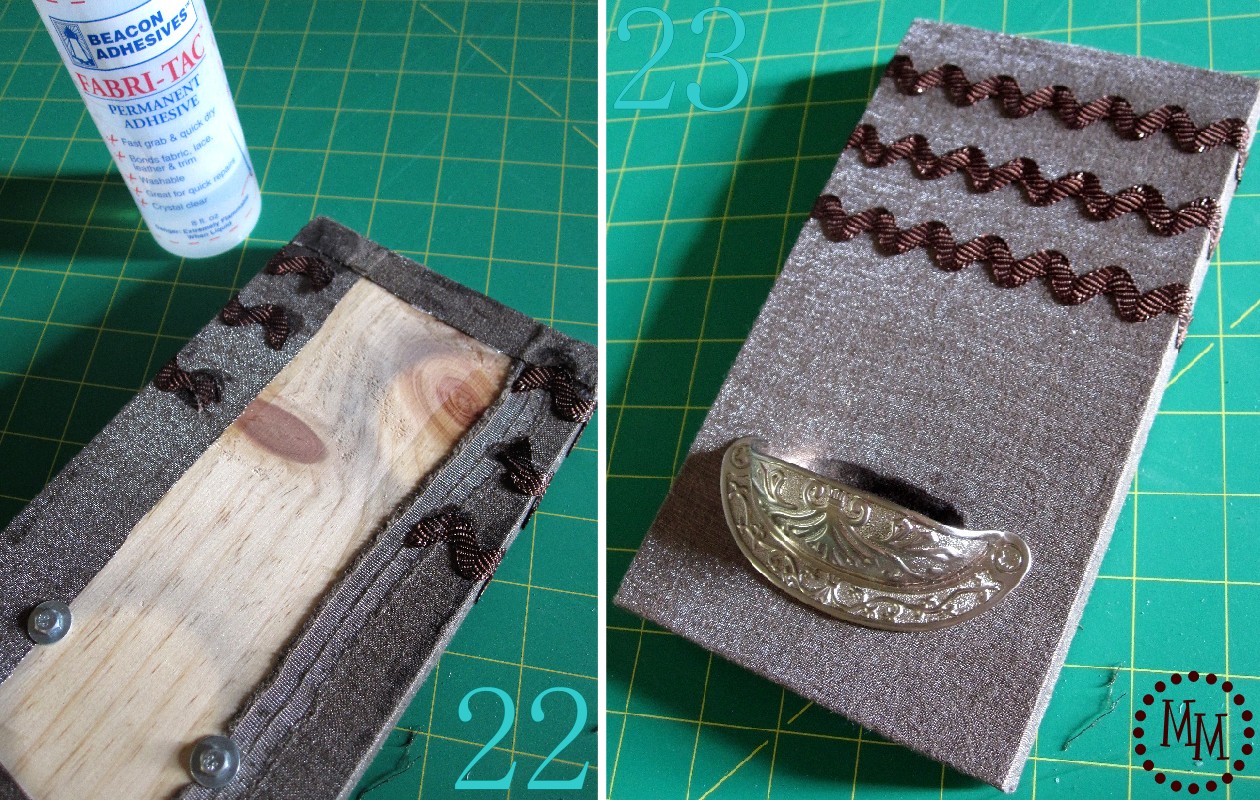
22. I took some large brown (shimmery!) ric rac and cut 3 pieces to go around the top of my piece of wood. I used Beacon’s Fabri-Tac to glue the ric rac to the back of the wood.
23. Much better! I love how this looks!

24. We want to be sure we our plant will be is going to be watertight. Take a plastic sandwich bag (I used a snack-size bag) and cut it in half along the seam and cut off the zipper part.
25. Put a small amount of adhesive inside the hole.
26. Insert the plastic you cut into the hole and allow the glue to dry.

27. Very carefully, take your succulent out of the pot and remove the excess dirt.
28. Place the succulent into the hole in the wood and add some of the dirt around the plant. Be sure to keep the dirt inside the plastic.
29. Trim off any excess exposed plastic.
30. Water your plant with an eye dropper. I used an old empty saline dropper that I had stashed away. If you use the saline dropper, you have more control of where the water goes in the drawer pull and are less likely of oversaturating the dirt and wetting the fabric (this would be a good excuse to paint the wood instead of using fabric if you don’t have a good way to water the succulent slowly!).
The great thing about succulents is they don’t like a lot of water so you won’t have to water them very often!
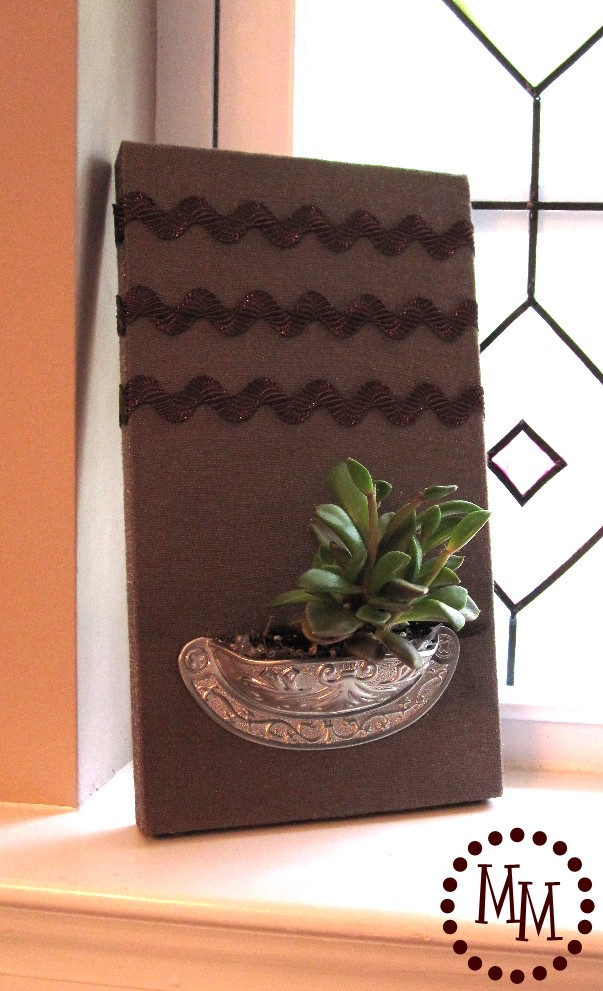
Place your succulent in a place where it will get plenty of light. You can stand it up and lean it against a wall or window…
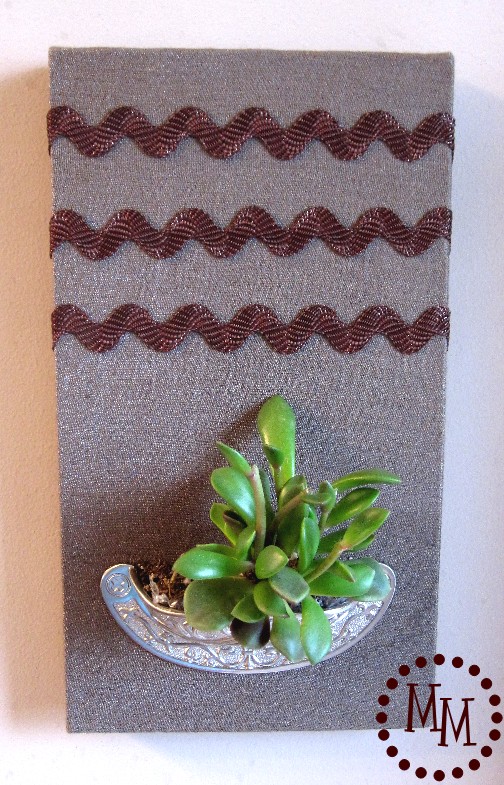
Or hang your new succulent holder on the wall using the fabulous pop tab!

Mindie Hilton
Friday 12th of August 2011
This is really pretty. I wish I had a green thumb.
I have a fun any linky goes party that I would love for you to join too! This week linkers could even win a pair of silver earrings just by linking. Hope you will come.
http://bacontimewiththehungryhypo.blogspot.com/2011/08/party-mindie-style-any-linky-goes-10.html
Tanya Anurag
Thursday 11th of August 2011
Thanks for linking. The party for this week - Tea Time Thursdays @ Kreative Korner - is on. Hope to see you there with latest posts.http://tanyaanurag.blogspot.com/2011/08/tea-time-thursdays-2-and-features.html
Johnnie
Thursday 11th of August 2011
This is so cool! Stopping by to invite you to link up to Thrifty Thursdays. Blessings!
Johnnie
Mimi
Wednesday 10th of August 2011
This is so fun and fresh! I love succulents and am always looking for new ideas! Thanks so much for sharing your wonderful post!
Karen @ Goodbyecityhellosuburb
Tuesday 9th of August 2011
I am following you on pinterest- hope I get around to copying this! I'd love it of you'd share this with WorkShop Wednesday. It woud make a great addition to the party!