
I swear this Craft Your Stash thing is really working for me.
I purchased no new supplies to makeover this corkboard,
and I had the board itself in my stash already!
And I absolutely love how it turned out!
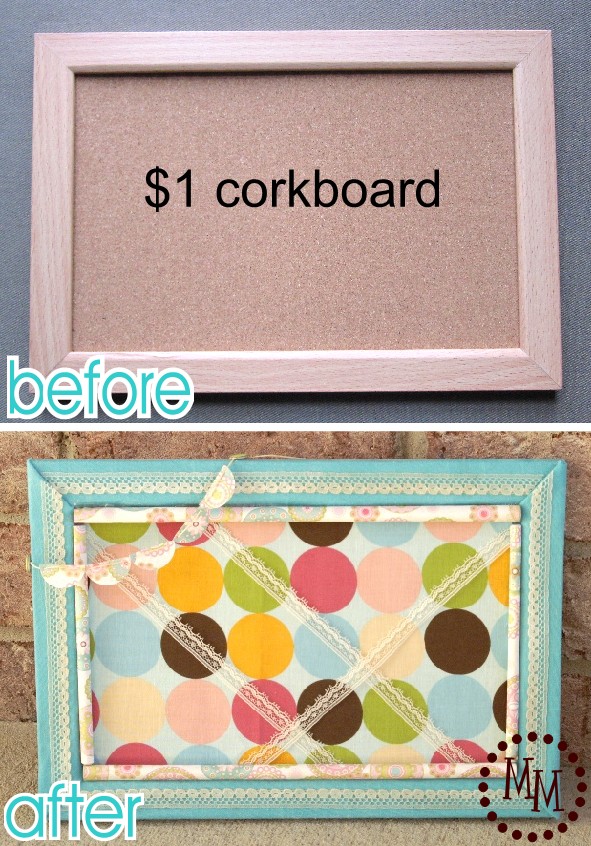
I’m pretty sure I grabbed this corkboard at The Dollar Tree, but its seriously been sitting forgotten in a cabinet for so long that I can’t remember for certain. Regardless, I know I didn’t originally pay more than a dollar or two for it.
Its not huge, about 12″x8.5″.
But what a clean slate to work with!!
The possibilities of what could be done with one of these is endless!
Here’s what I chose to do:
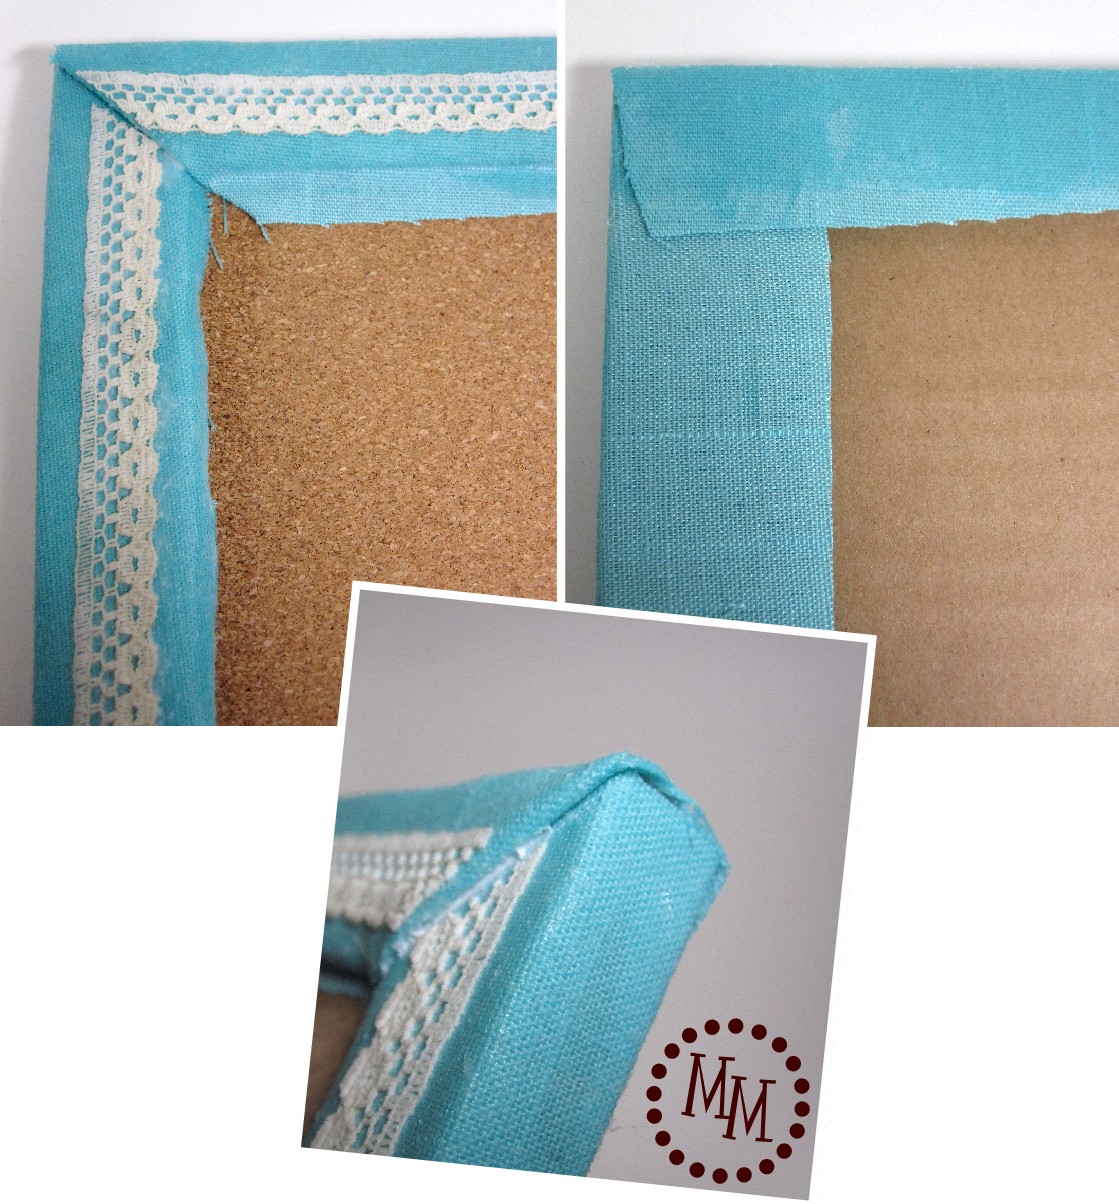
I knew I wanted to hang mine in my craft space so I grabbed some fabric from my stash that is similar in color to what I have going on in my area. I Mod Podged the fabric on to the frame one side at a time (so 4 strips of fabric total). For my short sides, I folded the fabric down into a pretty corner.
The first two photos above show the front and back of the corkboard.
The bottom photo gives you an idea of how I folded the fabric.
FYI: Using Mod Podge to adhere fabric to something can make it appear discolored.
I added more Mod Podge on top of the fabric to deal with the discoloration problem.
I also decided to add some lace to the frame. I Mod Podged that down, too.
I knew what fabric I wanted to use to cover the cork, but I needed something to cover the edges and create a border. I sifted through my ribbon stash repeatedly but could not find anything I liked. I debated buying something new at the store but was determined to make do with what I had on hand.
Then I remembered a fun technique that’s been popping up in the scrapbook community:
rolled paper!
If there is one thing I have a ton of it is scrapbook paper. 😉
I was immediately able to find something in my stash I could use.
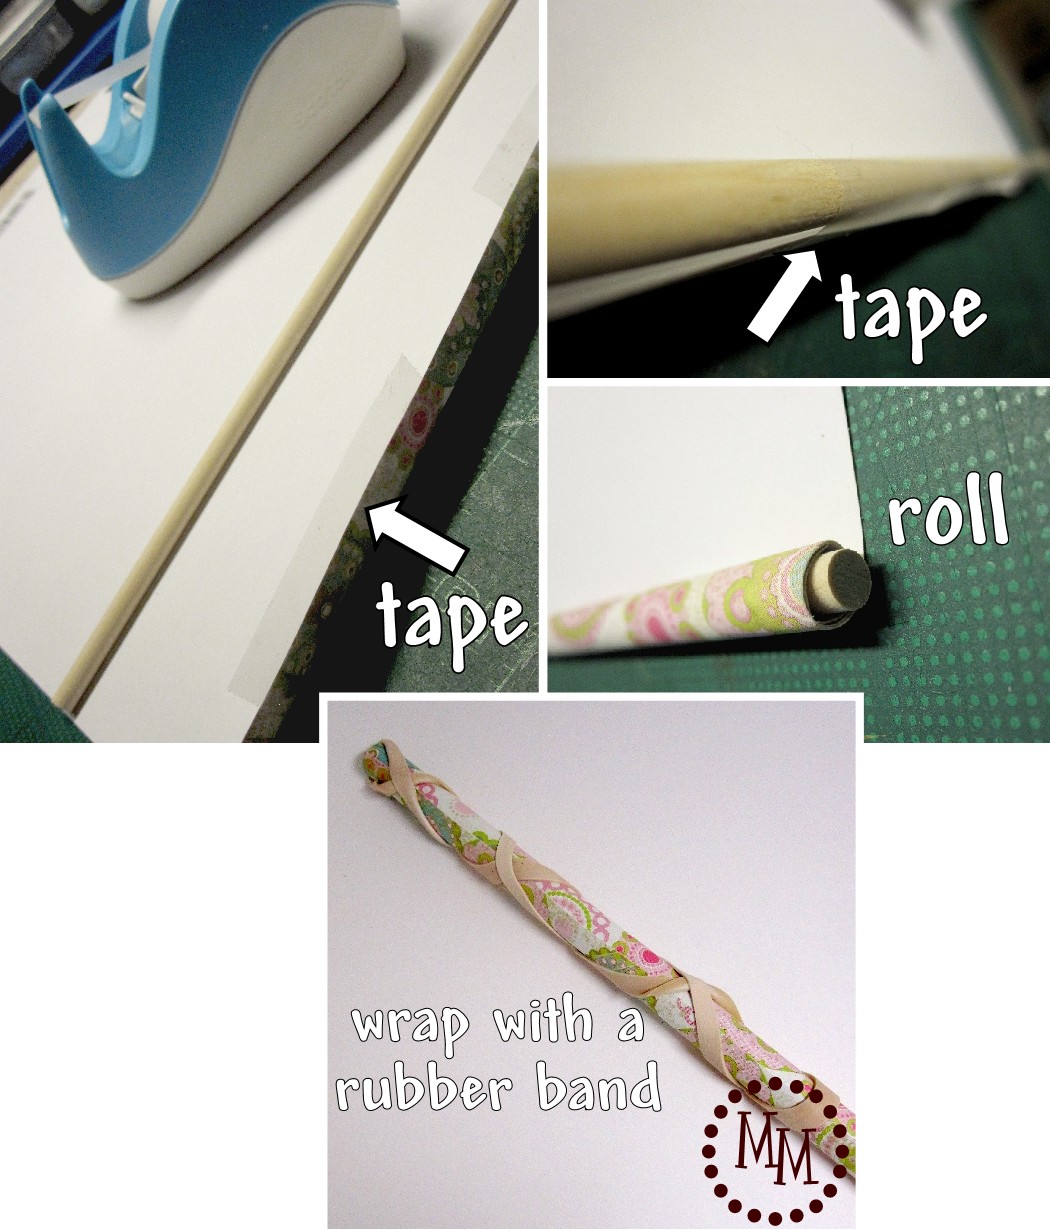
Rolling the paper was a new technique for me and this is how I did it:
I hung some Scotch tape along one end of a piece of 12×12″ scrapbook paper then attached a small dow rod (or you could use a bamboo skewer) to the tape and paper. I rolled the paper as tightly as I could around the dow rod then used a couple of rubber bands to hold it together.
I let it sit for 24 hours to help the paper keep its shape once the rubber bands were removed.
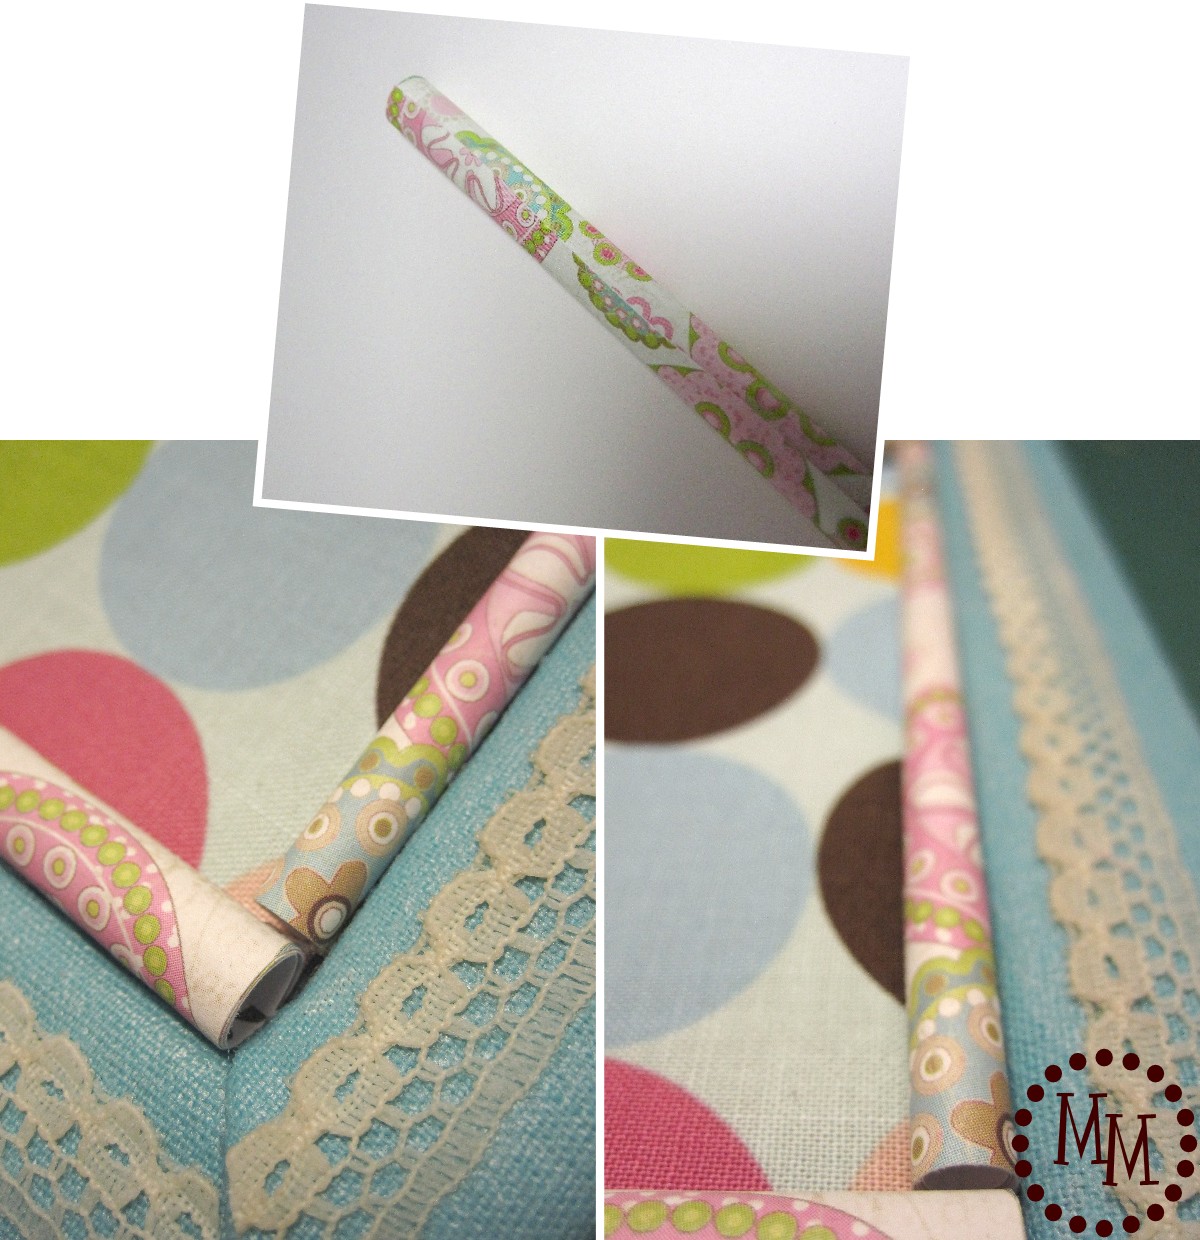
The next evening I removed the rubber bands and dow rod. The paper was keeping the rolled shape pretty well. I unrolled it to trim it down to the width I needed for the corkboard.
I made the long pieces first, trimming them down then cutting off 3″ long pieces (so my long pieces were 10″x3″). I rerolled these pieces on the dow rod (minus the tape) and used small amounts of Scotch tape to hold them together. I removed the rods after adding the tape.
I repeated the process with the short sides of the corkboard, laying the long pieces out where they would be attached to get an accurate measure of length.
After all of my pieces of rolled paper were made, I layed my fabric on the cork and put down a thin line of Beacon 3-in-1 along all of the sides. I pressed all of my rolled paper pieces into the sides. This made both my fabric and my paper adhere to the corkboard all in one step!
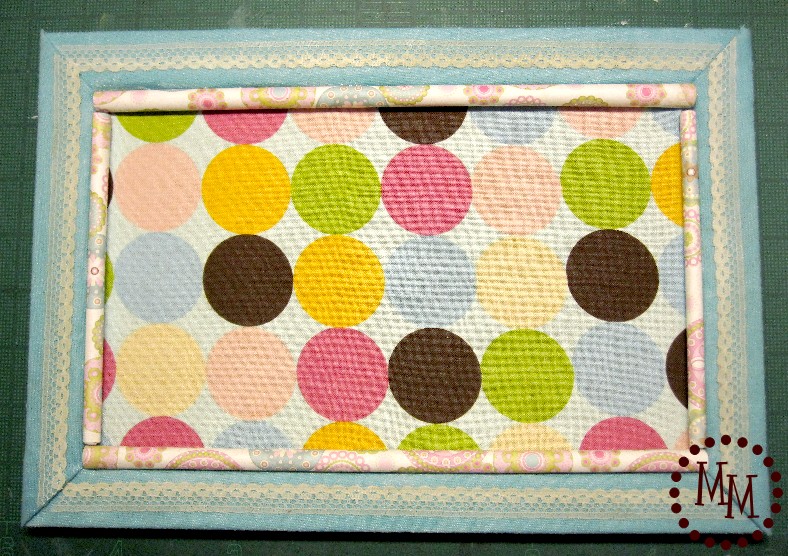
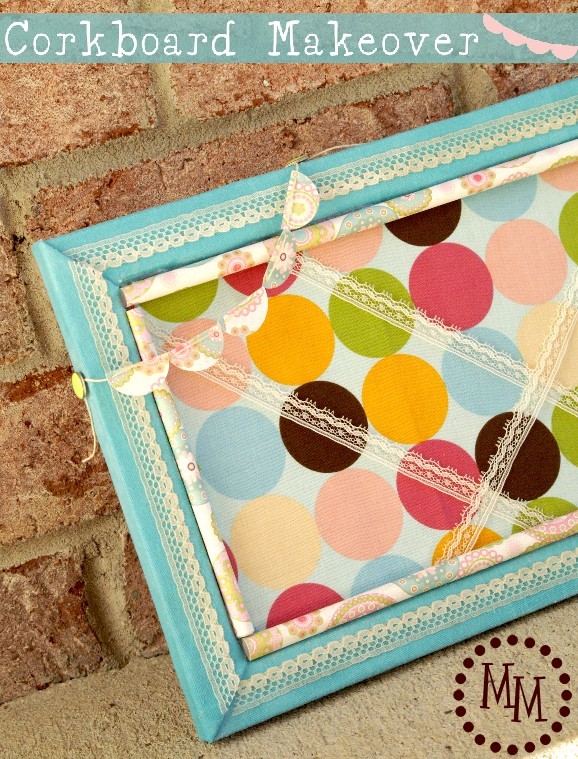
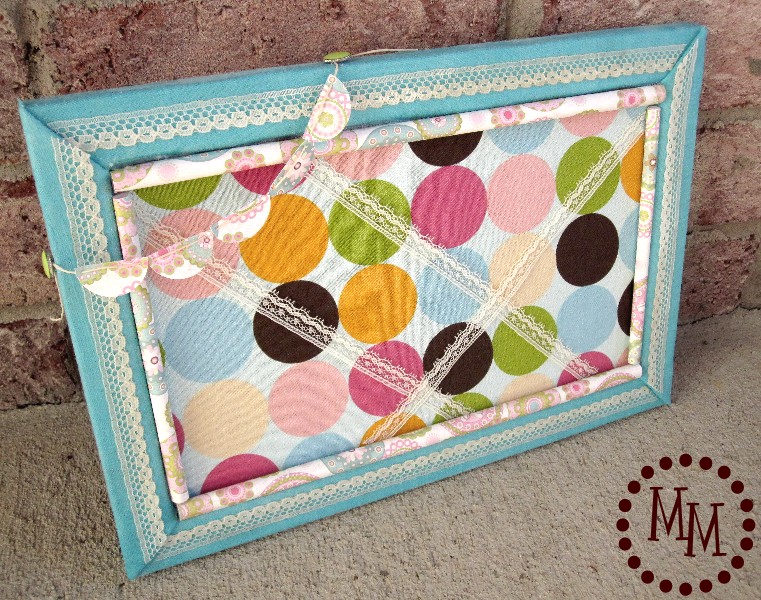
So now my corkboard looks like this.
While I’m loving the polka dot fabric on the cork, its coming across as a little loud.
I need to lighten it up!
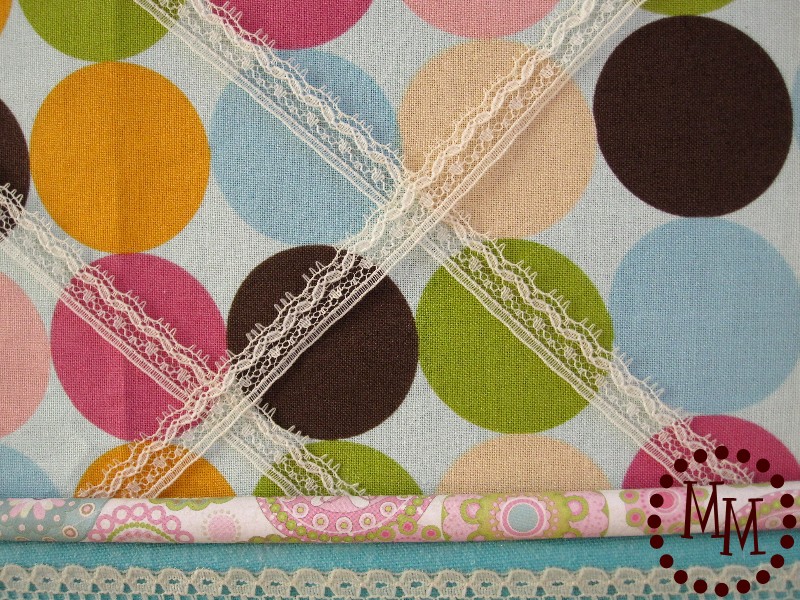
So I crisscross a few pieces of lace across it, adhering it to the fabric at just the ends.
I love how it looks now! Not too busy, and not over bright.
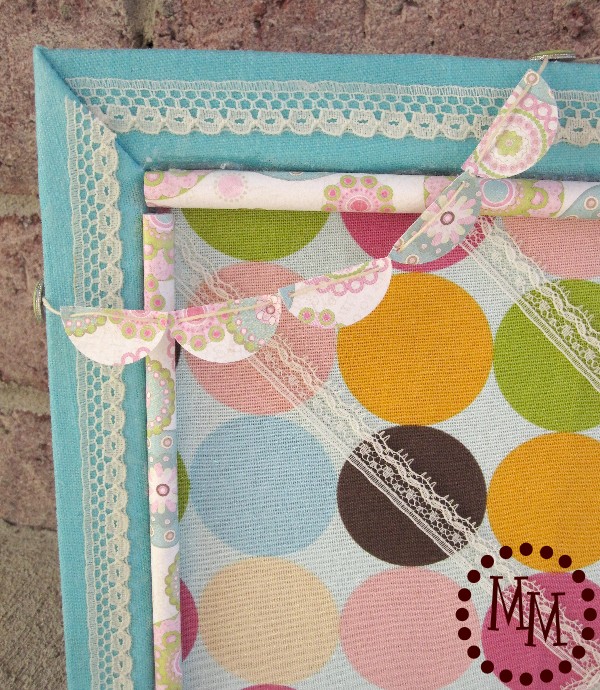
Once last touch because I can’t leave well enough alone…
Using the leftover scrapbook paper from my rolled border, I made 1-inch circles with a circle punch then cut them in half to make some fun bunting. Thread it with some string and attach it to the board with some thumbtacks… Instant pretty!
Isn’t she gorgeous!!
A little bit modern, a little bit vintage.
A lot of love!
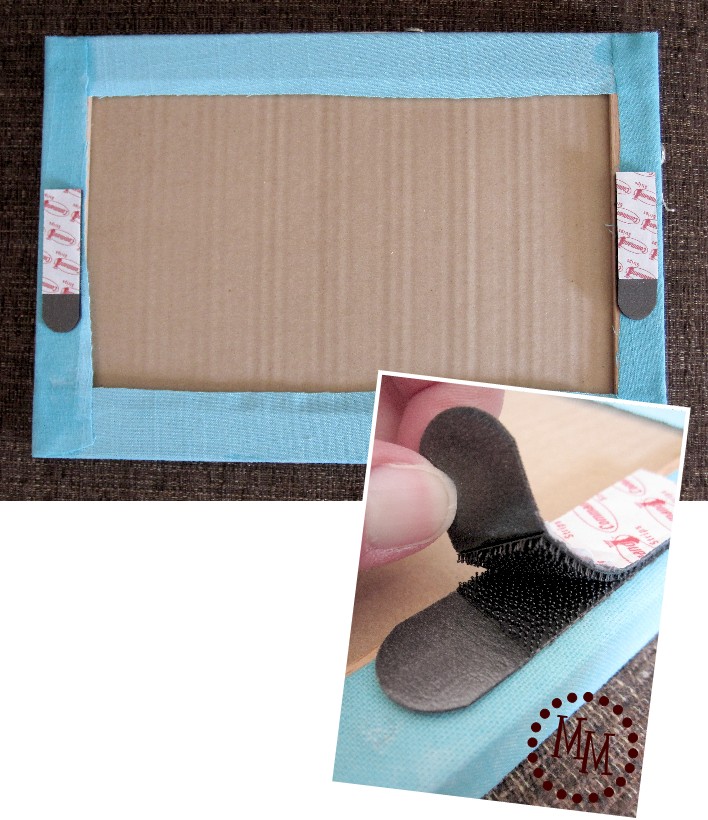
To hang this bad girl, I used some Command 3M picture hanging strips (the ones with gripper teeth).

I had just the empty spot on the wall over my craft desk to hang her!
Of course, hanging above my desk, the first thing I put on it was my brand new business cards designed by my gal Bev! Aren’t they too fun?? She’s awesome to work with!
I’m really going to love using this corkboard to hang little bits of inspiration.
Not to mention I just love looking at it!
What do you think you would do to one of these corkboards??
I link to these fun parties.
Mindy
Saturday 30th of January 2016
Hurrah! Finally I got a web site from where I be capable of in fact get helpful facts concerning my study and knowledge.
Candie@Craftbaby.com
Thursday 2nd of August 2012
What fun and bright polka dots! They light up the room, I'm sure! :) You should totally enter this project into Craftbaby's DIY a Corkboard Challenge! :) http://www.craftbaby.com/contests/20/diy-a-cork-board
xxCandie
Rachel Ward
Sunday 25th of March 2012
I would love to feature this on Reduce, Reuse, Upcycle. Feel free to stop by and grab a featured button. Thanks!
Amanda - Over The Moon Gifts
Monday 12th of March 2012
This is so cute! I found it over at Trendy Treehouse. I need to make one of these for my craft room.
www.cupcakesandcorndogs.com
Kate @ A Creative Cookie
Friday 9th of March 2012
Fabulous! I found this over at Naptime Crafters - I just had to check it out!