
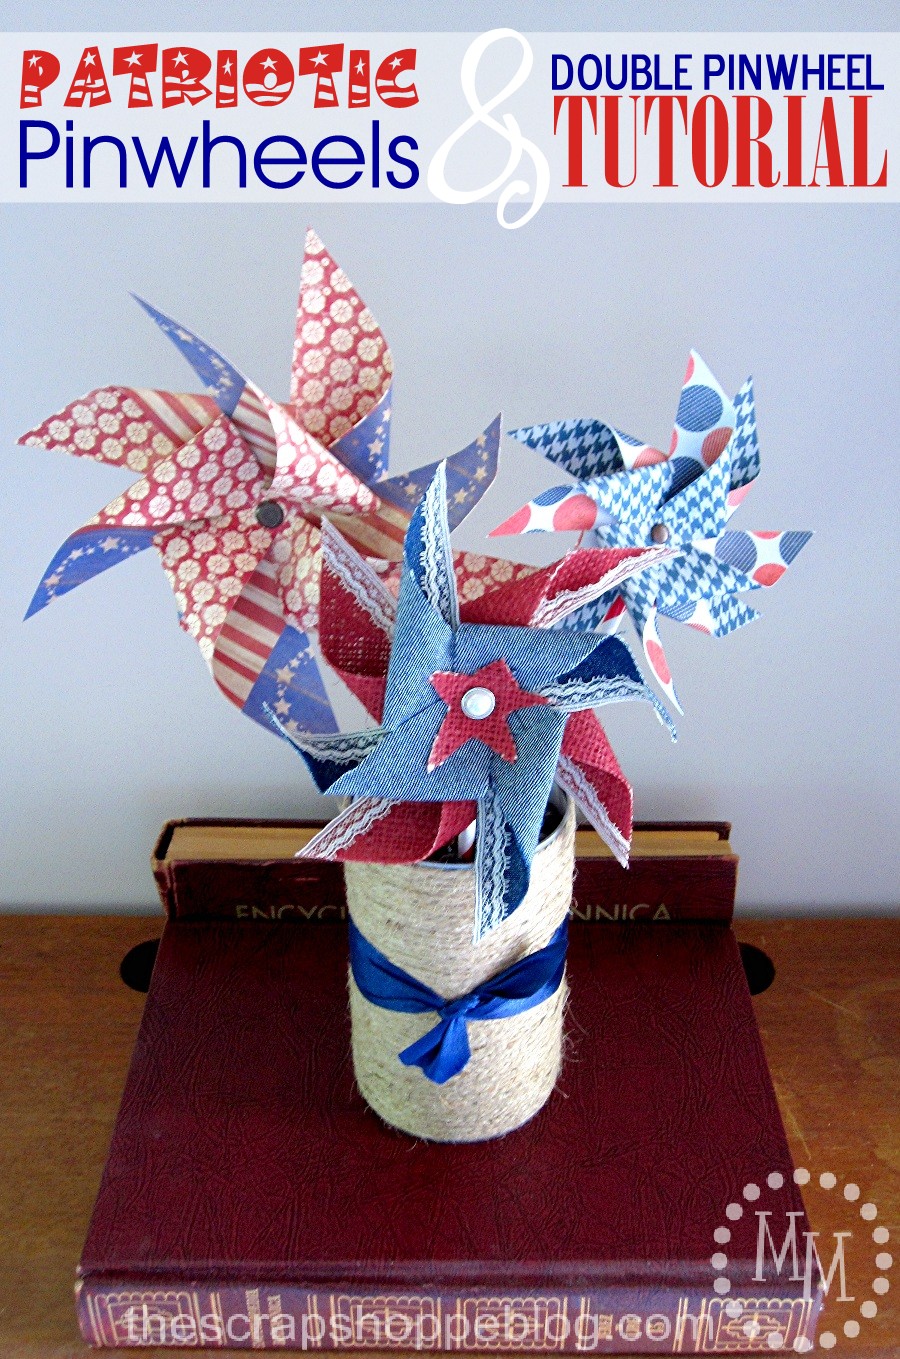
Pinwheels scream summertime fun and these patriotic pinwheels are perfect for all of the summer patriotic holidays.
I have an insanely fun and simple project to share with you today!
Can you believe I’ve never made a pinwheel before? Nope, never.
I thought it high time to remedy that, and just in time for some 4th of July decor!
So follow along with me as I show you how I made some
Patriotic Pinwheels and share a simple Double Pinwheel Tutorial!
I really wanted to make some pinwheels from fabric, but I thought I would practice with paper first.
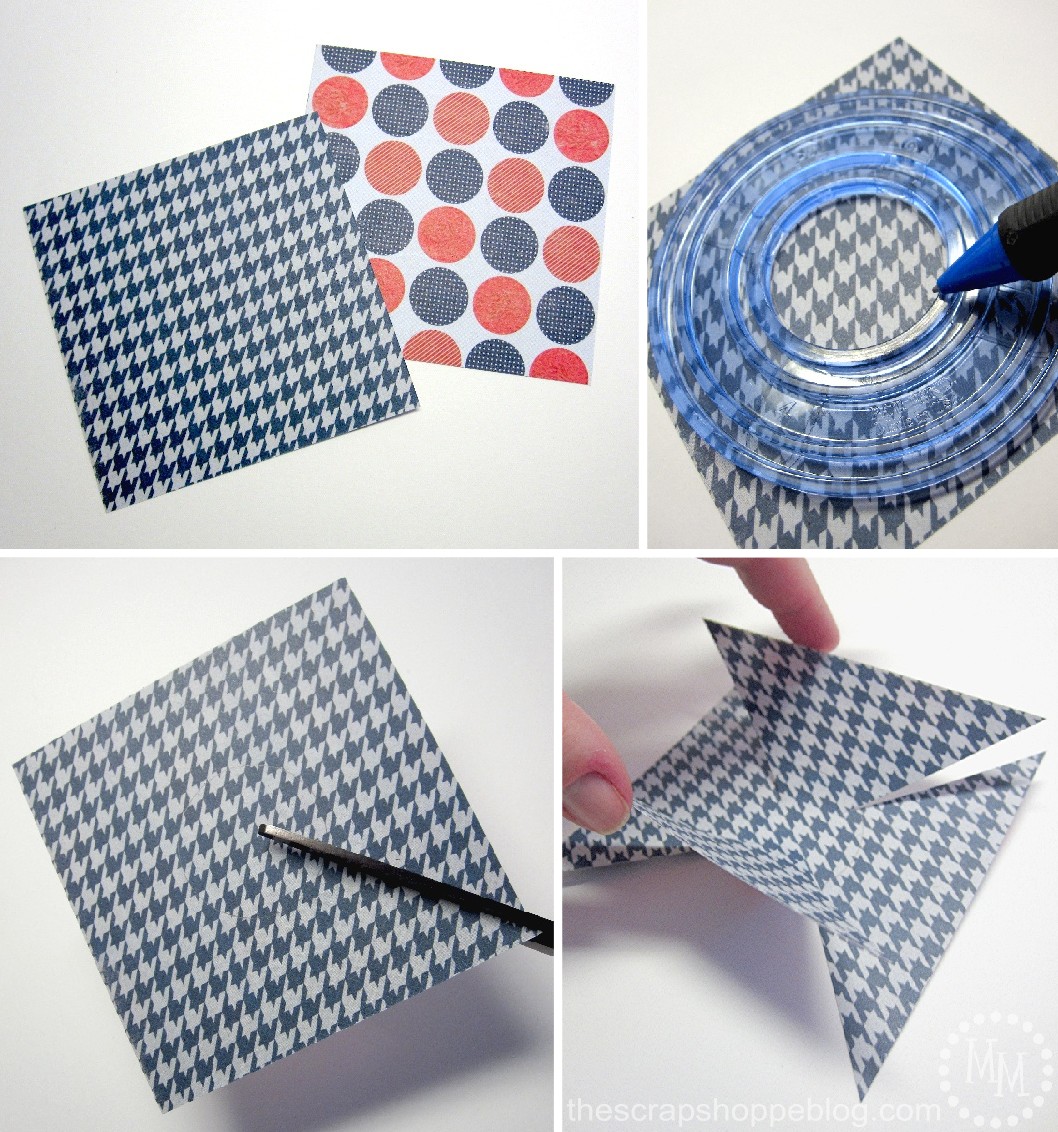
Grab some fun double-sided scrapbook paper and cut it down to squares.
I cut mine into 6 and 4 inch squares.
Draw a circle in the center of your square to help you find the center.
Cut from the corner towards the center, but stop at the edge of the circle you drew.
Do this with each of the 4 corners.
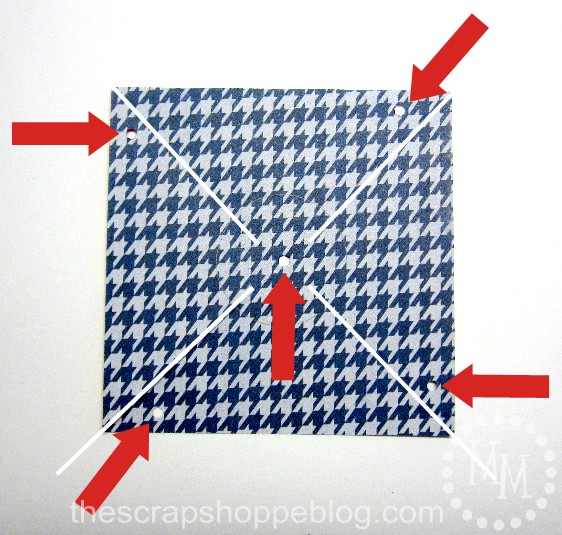
Punch a hole (red arrows) on one side of each section you just cut.
The white lines represent the lines you cut in the previous step.
Also punch a hole in the center of the square.
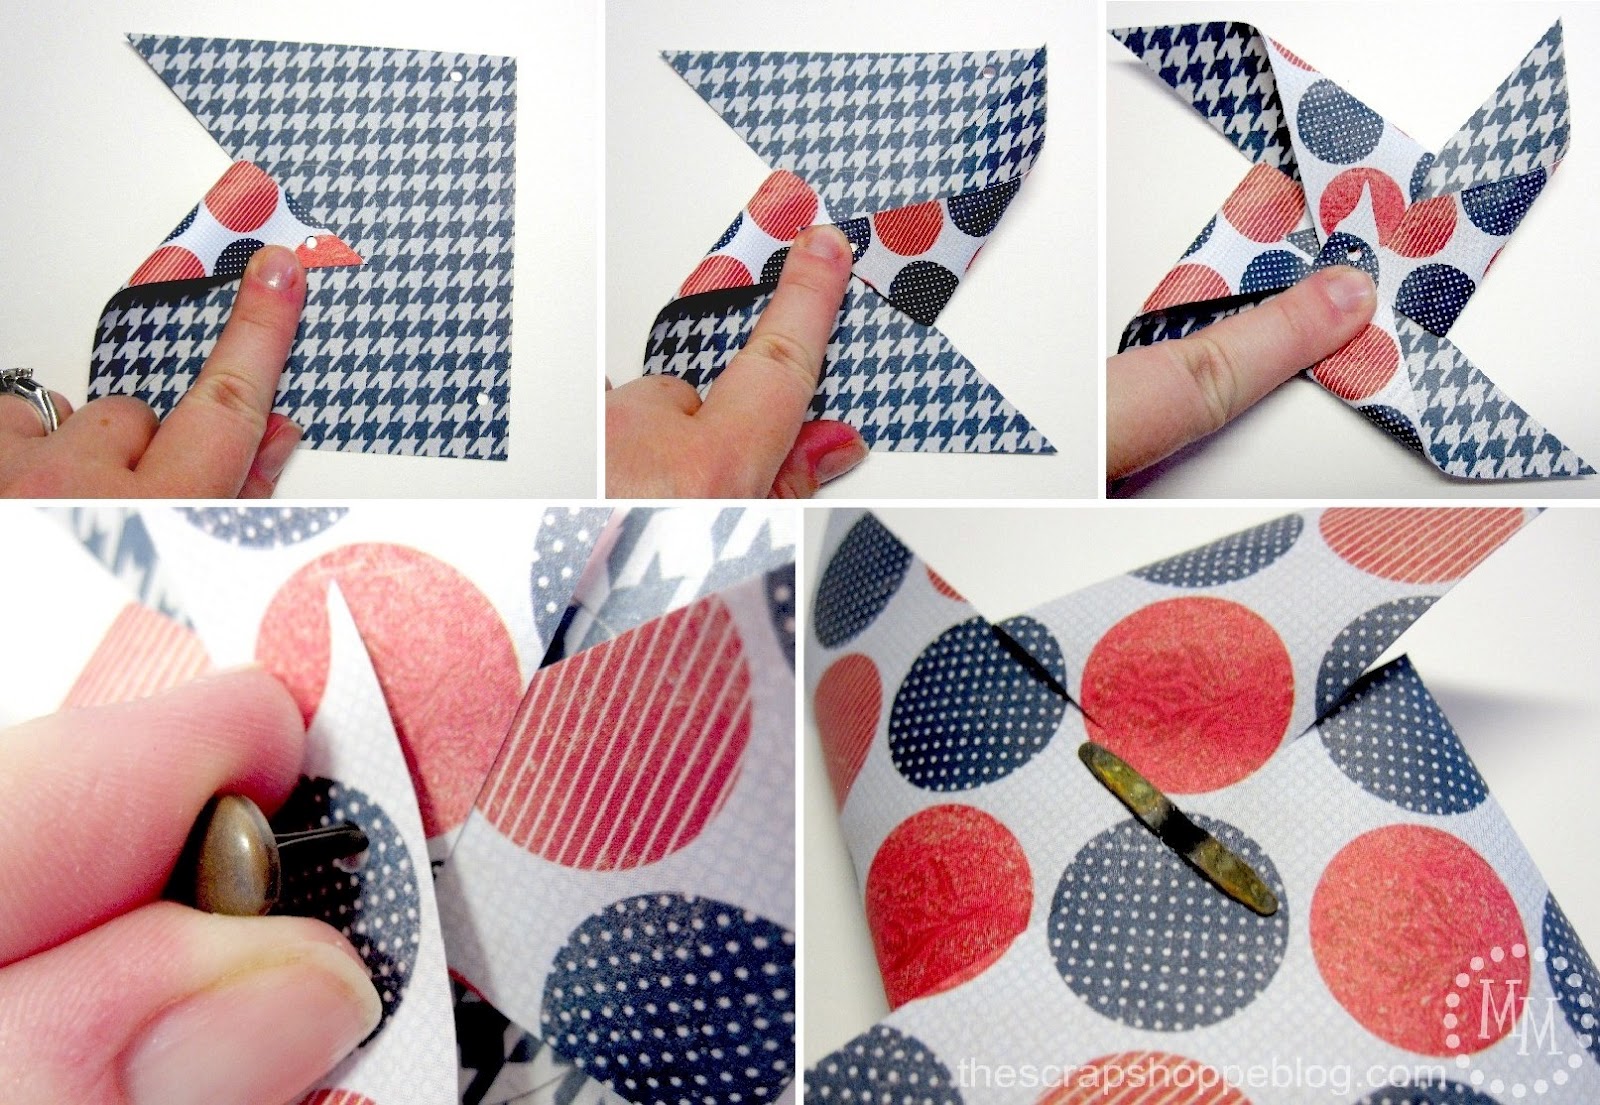
Begin folding the sections with the holes over the hole in the center of the paper.
>Hold the pinwheel together with a brad.
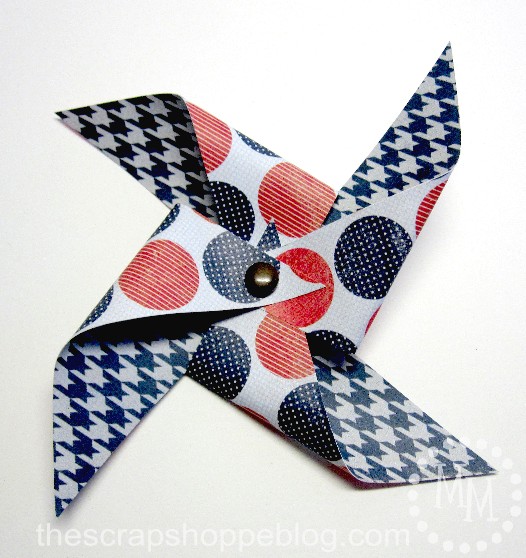
Cute, right? And so simple!
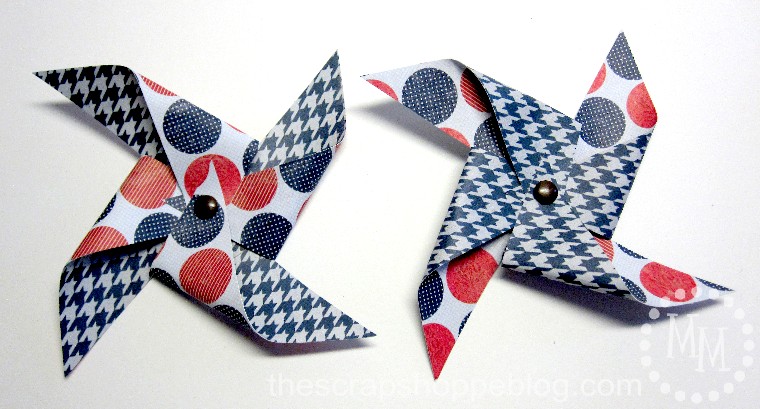
I made another pinwheel of the same size, but reversing the paper.
They are pretty adorable, BUT… could be a little more exciting.

But look what happens when you stack them on top of each other!!
I really love this!
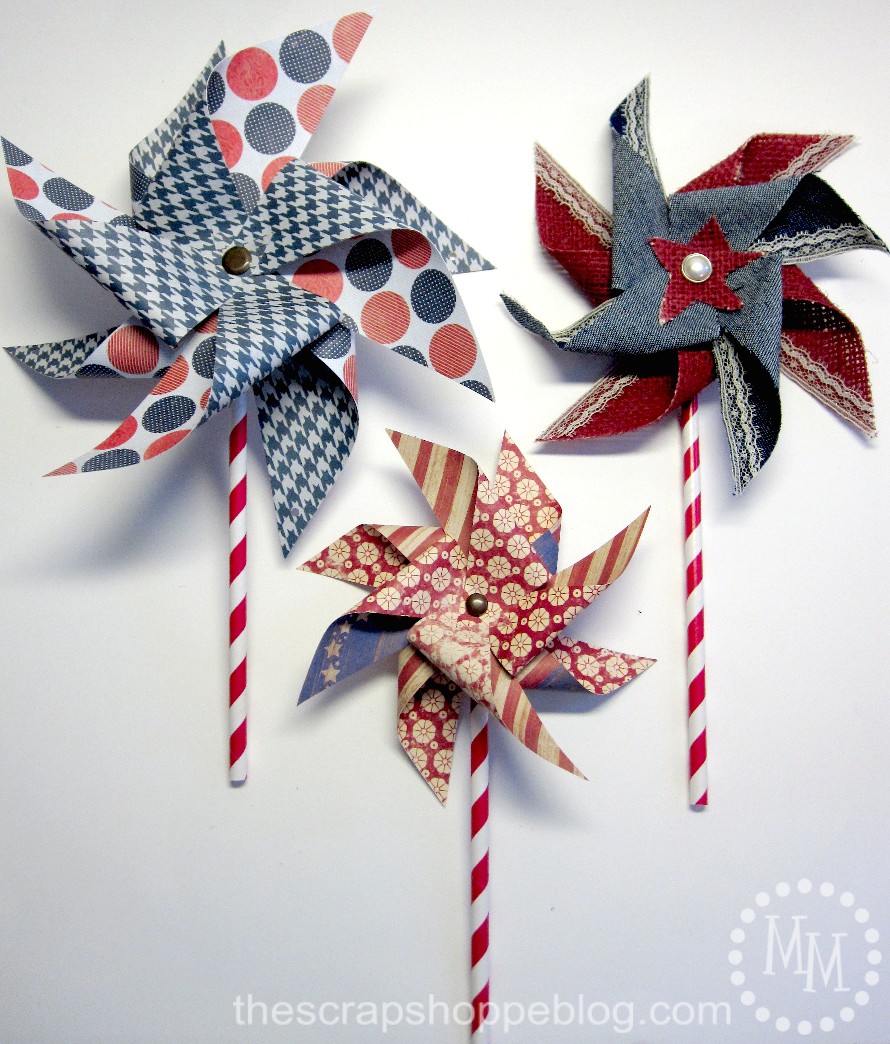
To make this double pinwheel, you simply stack both pinwheels on top of each other, thread the brad through them both, and twist them so the ends don’t overlap one another.

This is another double pinwheel I made out of some other patriotic paper.

For the back, I used a paper straw that I smooshed (technical, right?), and punched a whole through.
Then simply thread it through the brad in the back of the pinwheel.

So fun!
Now to try it on fabric…

I knew I wanted to use denim and burlap to make my fabric pinwheels.
My burlap is spray painted red and is pretty stiff so I would be able to easily manipulate it into shape and have it stay that way.
The denim is another story, so I attacked it with a coat of fabric stiffener.
Once the denim was ready, I cut both fabrics into squares, cut the corners, and punched the holes just as I did for the paper pinwheels.
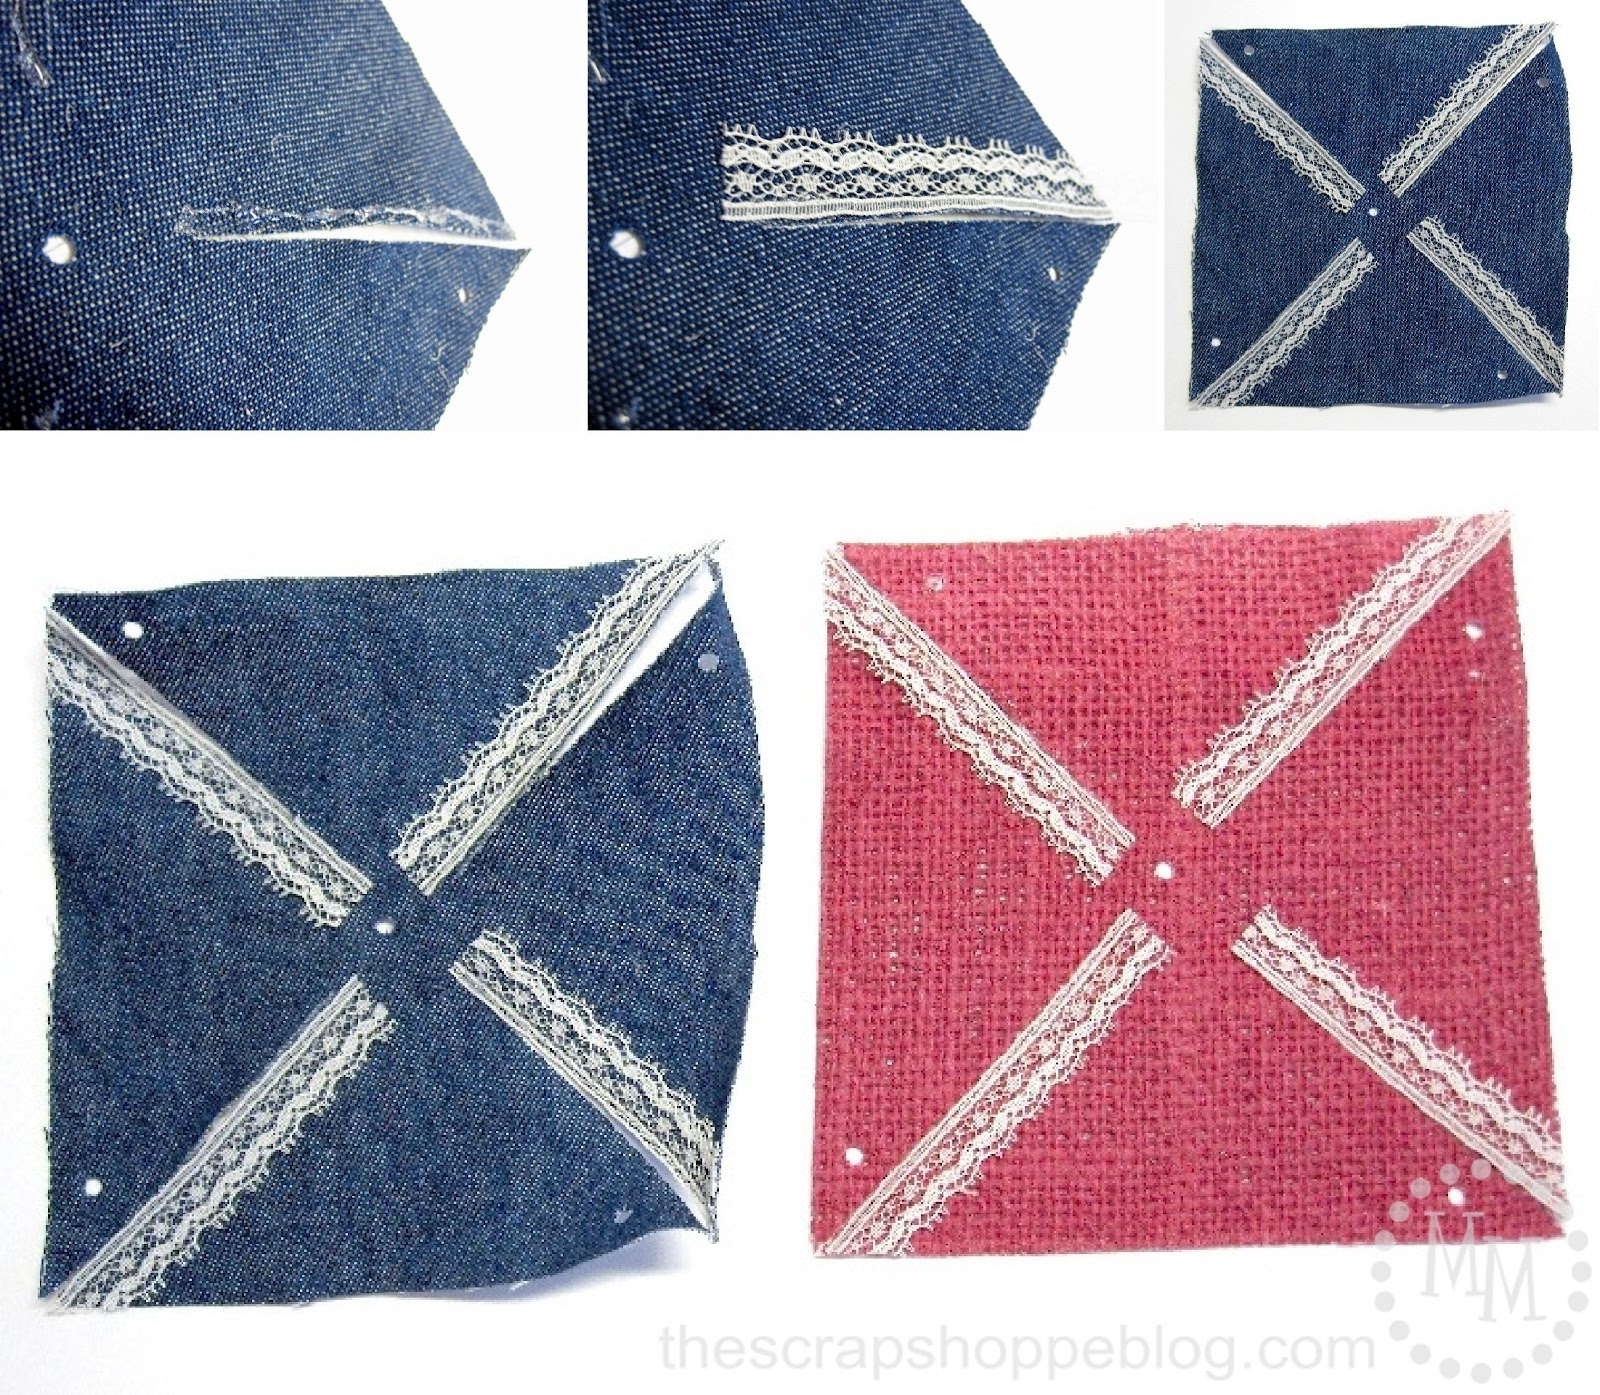
To get the “white” into my red, white, and blue fabric pinwheel I decided to add some lace to the fabrics.
Along the edges with no holes I laid down a strip of fabric glue (Beacon’s Fabric-Tac) then added the lace.
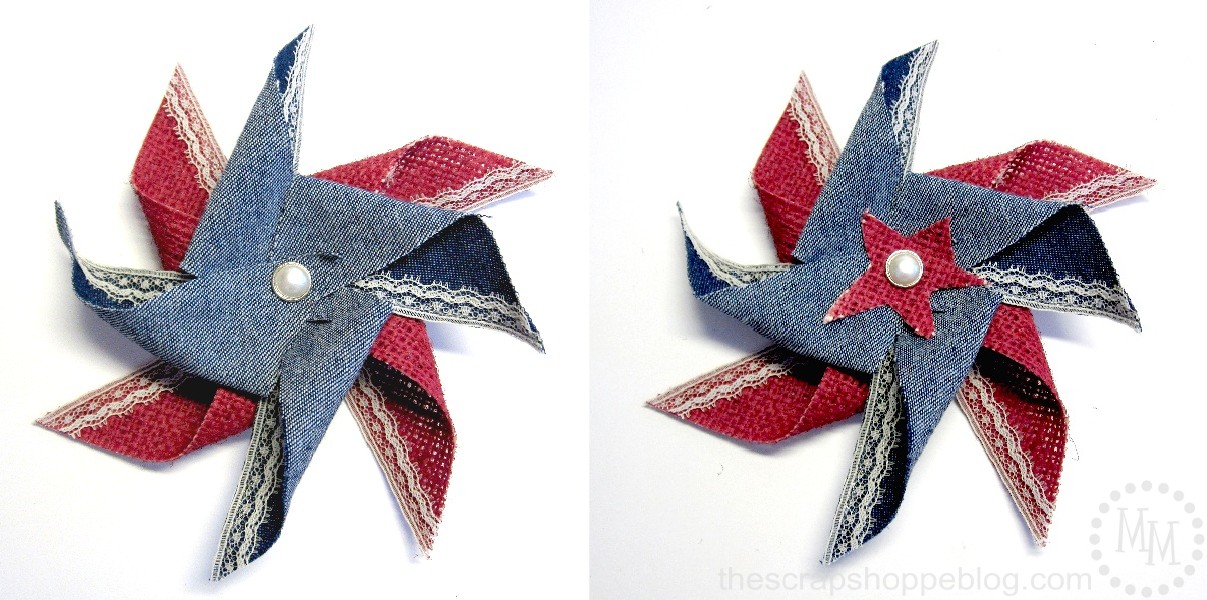
Follow the same procedure of folding the corners with the holes punched over the hole in the center of the square and insert your brad.
I decided all that inside out denim was kind of dull as the center of my pinwheel so I cut a star out of my red burlap, punched a hole in the center, and added it to the front of the pinwheel.
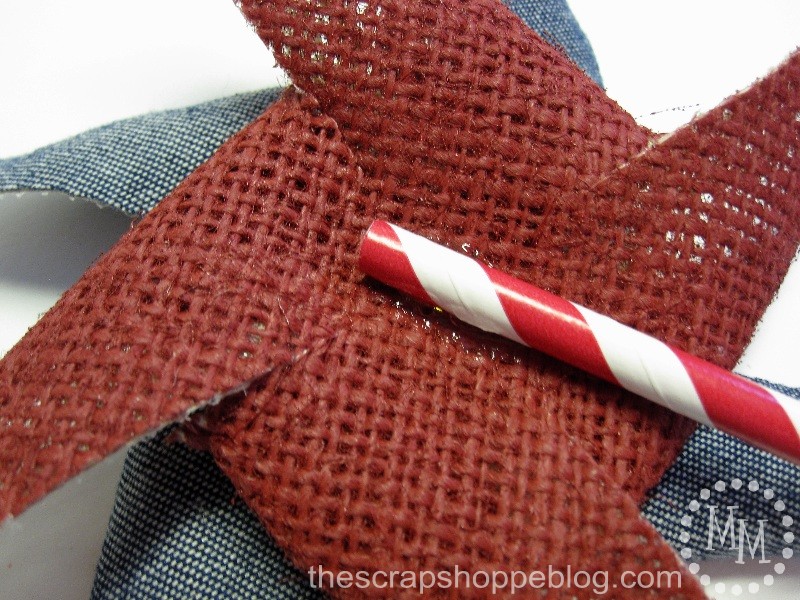
Unless you happen to have an extra long brad, you may not be able to thread it through the straw for the back because of the thickness of the fabric.
I opted to glue my straw to the burlap.
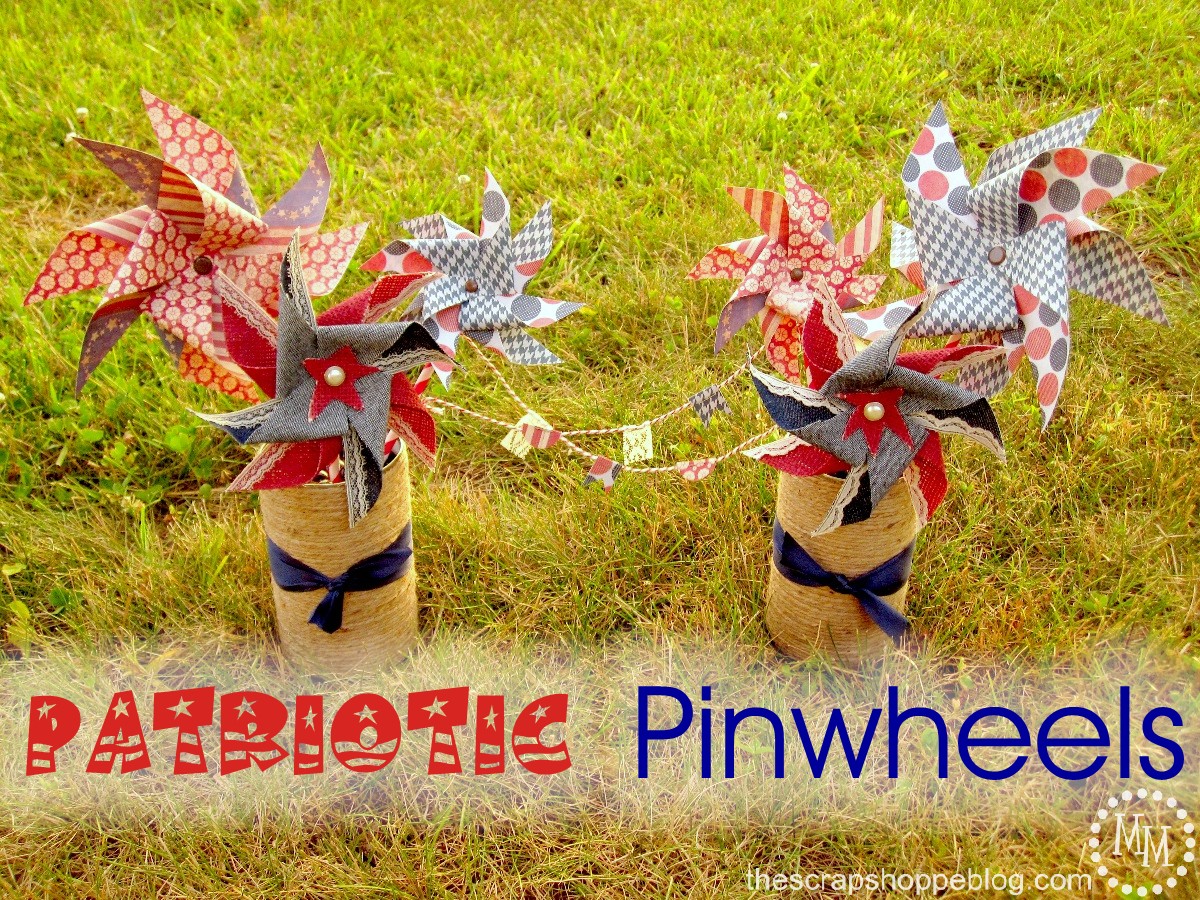
I ended up with 6 pinwheels total and set them up inside of twine-wrapped bean cans.
A little ribbon, a little bunting… and done!

I used some of my scrap paper to make the bunting as well as some scrap lace.
I’m loving how it turned out AND the fact I can leave it out until Labor Day!
I’m thinking a pinwheel garland may be in order now…

>> See where I party! <<
Doxie C
Monday 1st of July 2013
I discovered your blog today and must tell you that I have LOVED everything I read!! You are incredibly creative and talented!!!
Love your gorgeous pinwheels!!! I can't wait to try your tutorial.
~Donna
Rea'
Wednesday 4th of July 2012
LOVE,love,love the pin wheels...great tutorial! Oh if I only had those papers right now !!!
Angie
Wednesday 4th of July 2012
Gorgeous!
jaime ♥ raising up rubies
Sunday 10th of June 2012
super cuteness! love the lace, and those straws! ♥
Lolly Jane
Friday 8th of June 2012
Loooooove this Michele!!! Soooo cute- would love to make some mini ones :) Featuring ya this weekend!! xoxo