
Create a DIY container garden enclosure for a more aesthetic look for your yard.
This gives a pretty raised bed look and hides unsightly pots for your fruits and vegetable plants!

This year I’m trying my hand at container gardening!
The dirt in our above ground garden needs a break this summer, but I still want some veggies, so a container garden was my solution.
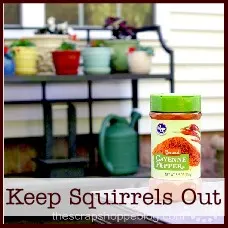
We also have serious “pest” problems in the form of squirrels and rabbits so having our garden just steps away from our back door seemed pretty ideal (our above ground garden is further away from the house).
But since we hang out and entertain on our patio during the summer, I want to hide the buckets we are growing our vegetables in.
And I think we came up with a great DIY container garden enclosure idea!
Also, don’t miss my DIY Enclosed Garden Greenhouse which keeps ALL the large garden pests at bay.

I used 5 gallon buckets (affiliate link) from home improvement stores to grow my plants in.
They are so inexpensive ($3 each), and I can easily drill small holes in the base for draining water.
The buckets are the perfect size for container gardening BUT aren’t so easy on the eyes.


DIY Container Gardener Enclosure Plans
My husband and I have an “if you can draw it, I’ll try to build it” relationship.
He’s good to me that way.
The buckets are each approximately 12 1/2″ in diameter and roughly 16″ tall.
I sketched up some plans for my new DIY container garden enclosure, planning to place the buckets in 4 x 2 rows.
I wanted it completely enclosed so you didn’t see any of the buckets through the enclosure so I planned to stack 1×4 planks directly on top of one another.

Total wood needed for DIY Container Garden Enclosure:
10 1×4’s (8 ft long)
2 2×4’s (8 ft long)
We purchased pre-treated wood.
Cut the 1×4’s so they are 62″ long.
This will be the long side of the enclosure.
The remaining 34″ piece will be used for the short side of the enclosure.
Apparently just because they’re called 1×4’s doesn’t mean they are actually 4″ tall. What???
Anyhoo, five 1×4’s stacked on top of one another should be roughly 18″ tall.
Cut the 2×4’s into eight 18″ long pieces. 2 of these will fit in the inside of each corner of the enclosure

Line up your planks for one side of the enclosure and tack them to one of the 2×4’s then go back and add screws for better stability.
Continue to work your way around the enclosure.
If you do not pre-treated wood, consider staining/painting/sealing the wood so it will last many seasons.
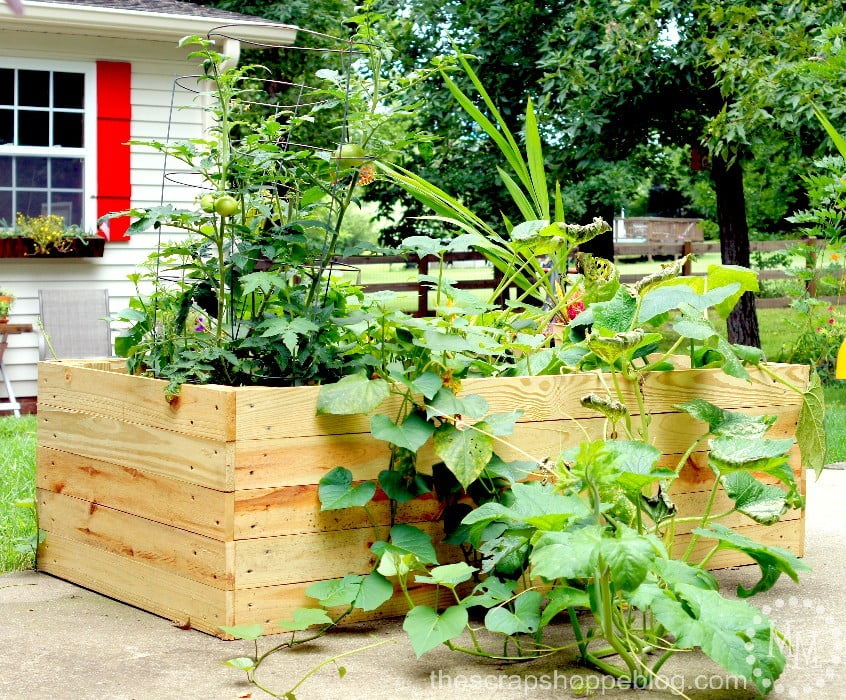
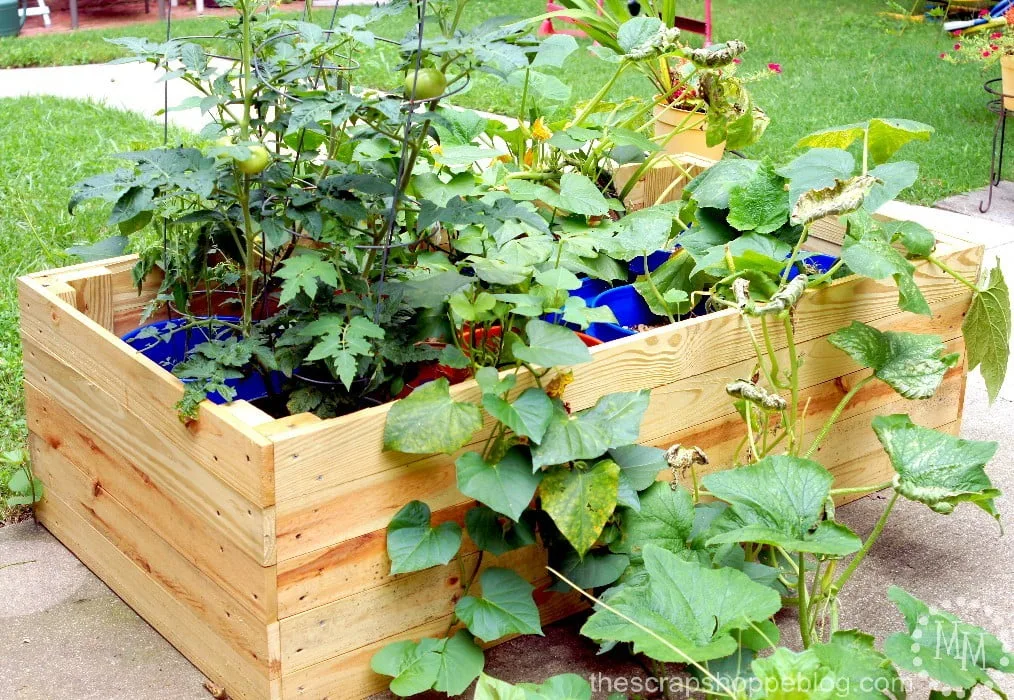
Place the DIY container garden enclosure in it’s new home in your yard or on your patio then add the containers for your garden.
I love that the buckets are no longer the first thing you see when you look at my little garden!
And the bigger my plants get the more foliage there is and the less you even notice the buckets.


You can see we’re already seeing some “fruits” of our labor!
Summer squash, tomatoes, cherry tomatoes, and later in the season we will have pumpkins and sweet potatoes.
I also love that I can remove the DIY container garden enclosure from the patio during the winter and move the container garden around if needed.
I’m not sure I’ll go back to the above ground garden after this!
(Just kidding! But this is a great alternative.)

>> See where I party! <<
This post was originally shared July, 2015.
Don’t miss these other helpful gardening articles.


Amber Ferguson
Thursday 25th of April 2019
I love this idea! I wanted to do a small raised bed I didn't want to load it full of soil. Using the buckets is the perfect solution. So happy to feature this great post at TFT this week. Thanks for sharing! https://followtheyellowbrickhome.com/spring-decor-diys-and-more-at-thursday-favorite-things/
Jean | Delightful Repast
Saturday 20th of April 2019
Michele, what a grand idea! Pinning to my Gardening board for future reference. Thanks for this! #PrettyPintastic
mireille
Friday 19th of April 2019
What a good idea! And once the season is over, you can put it all away and use it again next year! www.chezmireillefashiontravelmom.com
creativejewishmom/sara
Sunday 14th of April 2019
Brilliant way to disguise those buckets, love it! thanks for sharing on craft schooling sunday!
Theresa @DearCreatives
Friday 24th of July 2015
Love these. We need some new ones. Thanks for sharing at the party. Pinned & shared.