
Get the look of barnwood with foam!
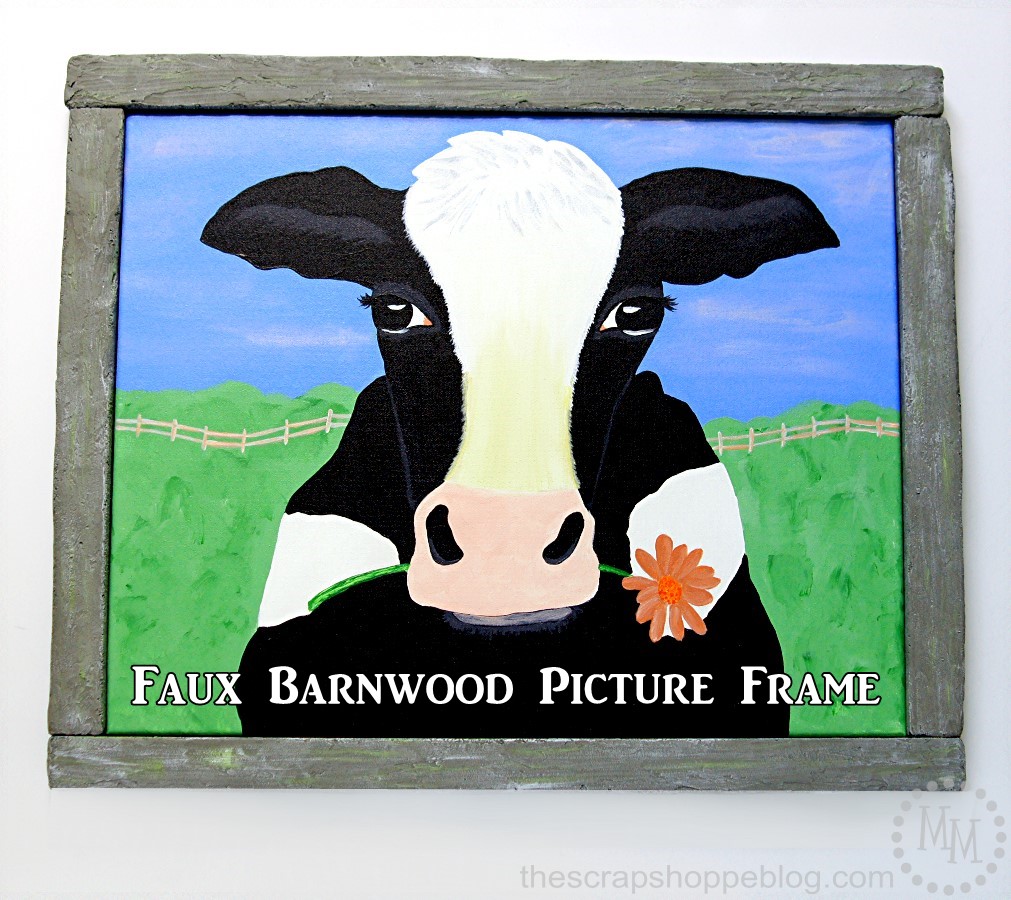 I want you guys to meet Bessie! She’s the sweet cow I painted at a Social Artworking party a while back. She’s on canvas and really needed a frame to look her best before she goes on the wall. She really needed a rustic barnwood frame, but where to find one in the right size or even find old barnwood to begin with?
This month’s FloraCraft® Make It: Fun challenge is a free for all. We can create anything we want! And since I want a barnwood frame… That is what I went about creating! I could not be more pleased with how it turned out either! I’ll definitely be doing this technique more often.
 Supplies:
FloraCraft® Make It: Fun® Foam Sheet (36x12x1)
FloraCraft® Make It: Fun® Foam Cutter
FloraCraft® Make It: Fun® Smooth Finish
FloraCraft® Make It: Fun® Serrated Blade
Paint
Toothpicks
Hot Glue Gun
Use the foam cutter to cut the foam sheet into long strips. Mine are ~1″ wide, but cut as wide as you need for your frame. Cut to size to fit around the frame, making the top and bottom pieces the length of the canvas + the width of two strips of the frame. If you need to use several pieces of foam rather than one longer strip, no worries, that can be done as you see here!
For any strips that aren’t to size, insert 2 toothpicks in the end, add hot glue to the foam, then insert into another end of a foam strip. Smooth Finish will remove any trace of a seam.
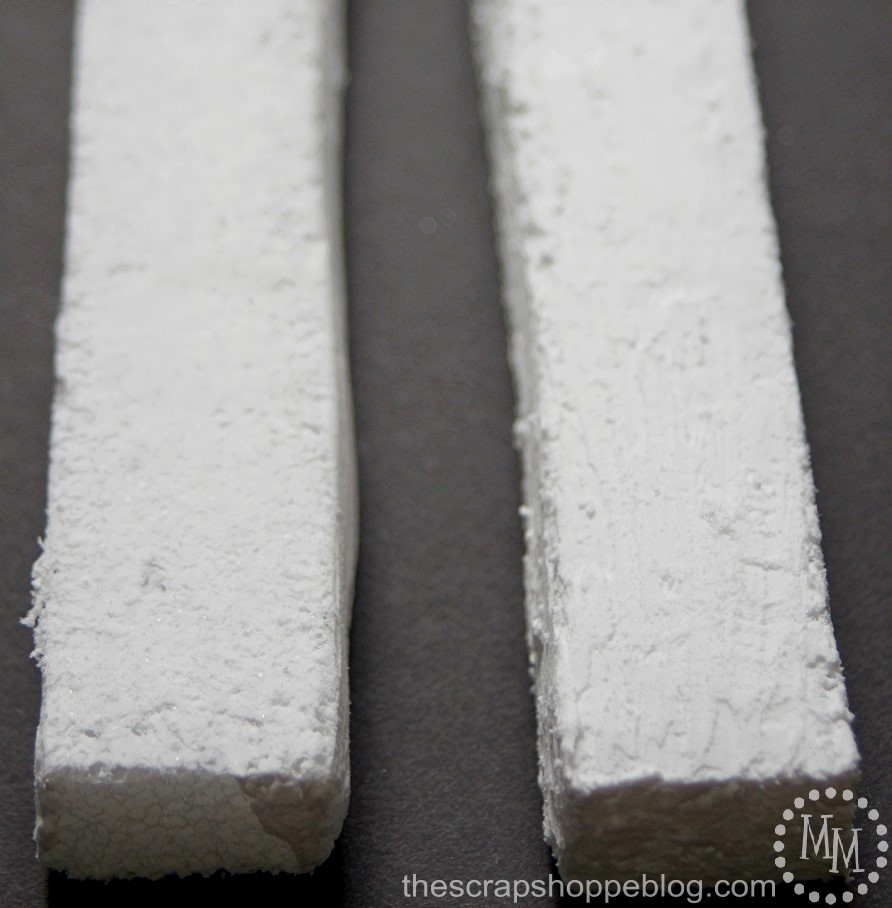 Cover all parts of the foam with a thin coat of the Smooth Finish. Once dry, go back and add a thicker coat of the Smooth Finish to what will be the front and exposed side of the frame, so two sides total to each strip.
 Use the serrated tool to make uneven grooves in the new coat Smooth Finish while it is still wet. Apply the knife lightly and not in all areas of the Smooth Finish. Once completely dry, sand down any rough spots but not so much that you remove the grooves in the Smooth Finish.
 Time to paint! We just finished installing a great gray weathered barnwood wall in our dining room. Since I plan to hang Bessie in there, I used the same paint color as the wall. I gave all of the strips of foam a good coat of the gray paint on all sides.
To get the weathered look you need to add more colors. Once the gray is 100% dry, use a wide, flat paintbrush to apply a very light coat of white over the gray. You want hardly any paint on the brush, and brush lightly, applying more pressure periodically.
Once the white paint is dry, go back with a smaller, flat paintbrush and apply streak of a mossy green paint sporadically around the strips, again, very lightly. Any good weathered wood is going to be a little mossy!
 The weathered barnwood slats we put on the wall came with their own paint code so you could get touch up paint. It is seriously the BEST barn wood gray! So here’s the code if you want to get some for any projects.
 To piece together the frame, insert 2 toothpicks into the ends of the shorter side of the frame. Add hot glue to the foam then insert it into place into the longer strip. Repeat on all sides.
 I am ready to create a fun collage! Bessie and her faux barnwood frame will look great paired with a few real pieces of barnwood.
Seriously, is there anything foam can’t do???
Linking up to Flamingo Toes, Today’s Creative Blog, Tidymom, My Repurposed Life,
Tatertots & Jello, and other great parties found on my party page.

angie
Thursday 4th of May 2017
I can see great use for this product