
This project post is a part of a paid marketing campaign with Snap. Although this post is sponsored the project idea and all opinions expressed are my own.
If you’ve been hanging around here for any length of time, I think I’ve made it pretty clear that paper is one of my favorite crafting medias. The things you can do with it are so versatile, not to mention that it comes in so many yummy colors and patterns.
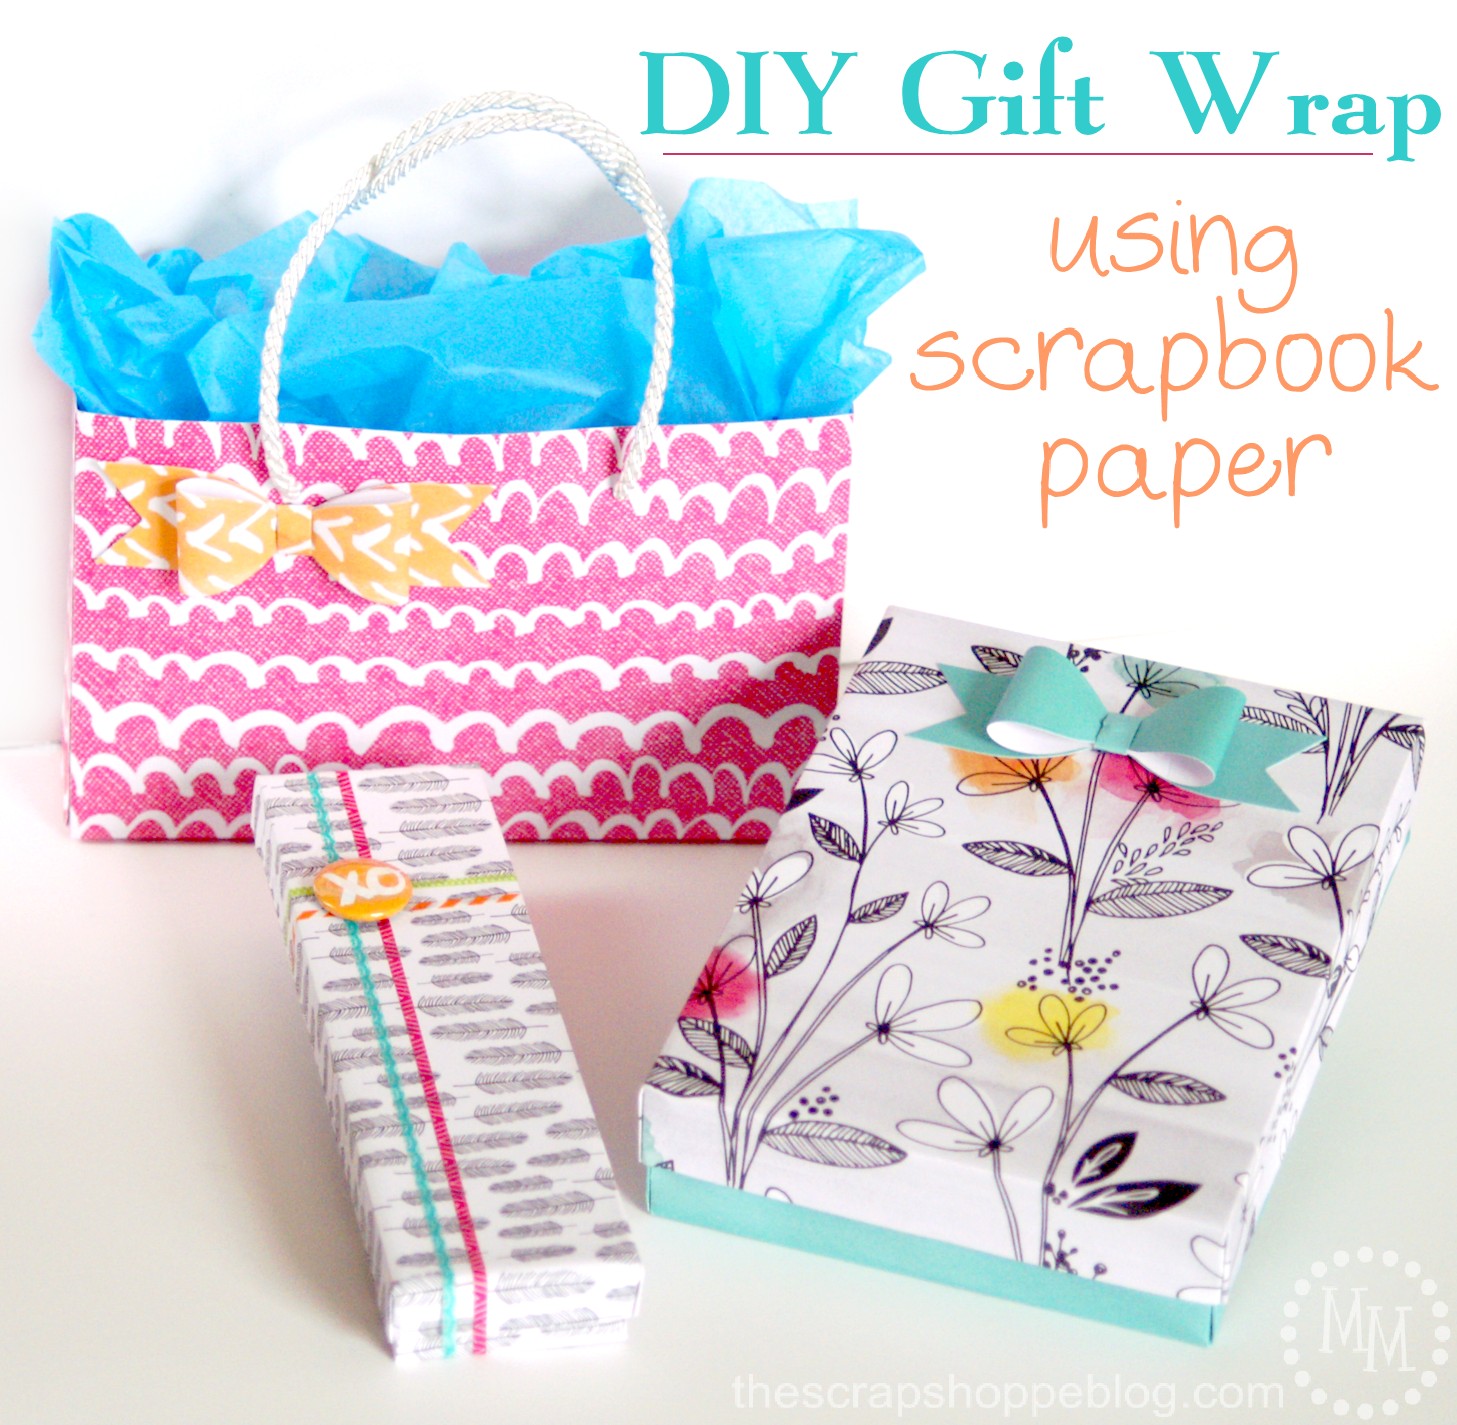
Today I’m excited to show you the Amy Tangerine Plus One scrapbook line. Not only does it contain some amazing scrapbook papers, but it also includes a ton of super cute embellishments. You can see from the photo above that I utilized the papers to make unique and trendy gift wrap. I’m going to show you how I did it, but first I want to introduce you to this new fun paper craft collection!

The Amy Tangerine Plus One collection will be available at HSN on March 24th. It was the top selling signature line released in winter 2014 and sold out in stores and online. The line will be available in 5 discounted bundles starting at just under $20.
The bundles (shown above) include: a basic kit, a stamping kit, an embellishment kit, and an embroidery kit.
The collection is a combination of fun bright colors in watercolor style and stark black & white. The two together are really fun and make the watercolors really pop!

And for all of you Project Lifers out there, good news! There is also a Plus One Project Life Mini Kit that will also be available March 24th on HSN at a discounted rate
Now that you know where to purchase the collection, let’s get back to what you can do with it.
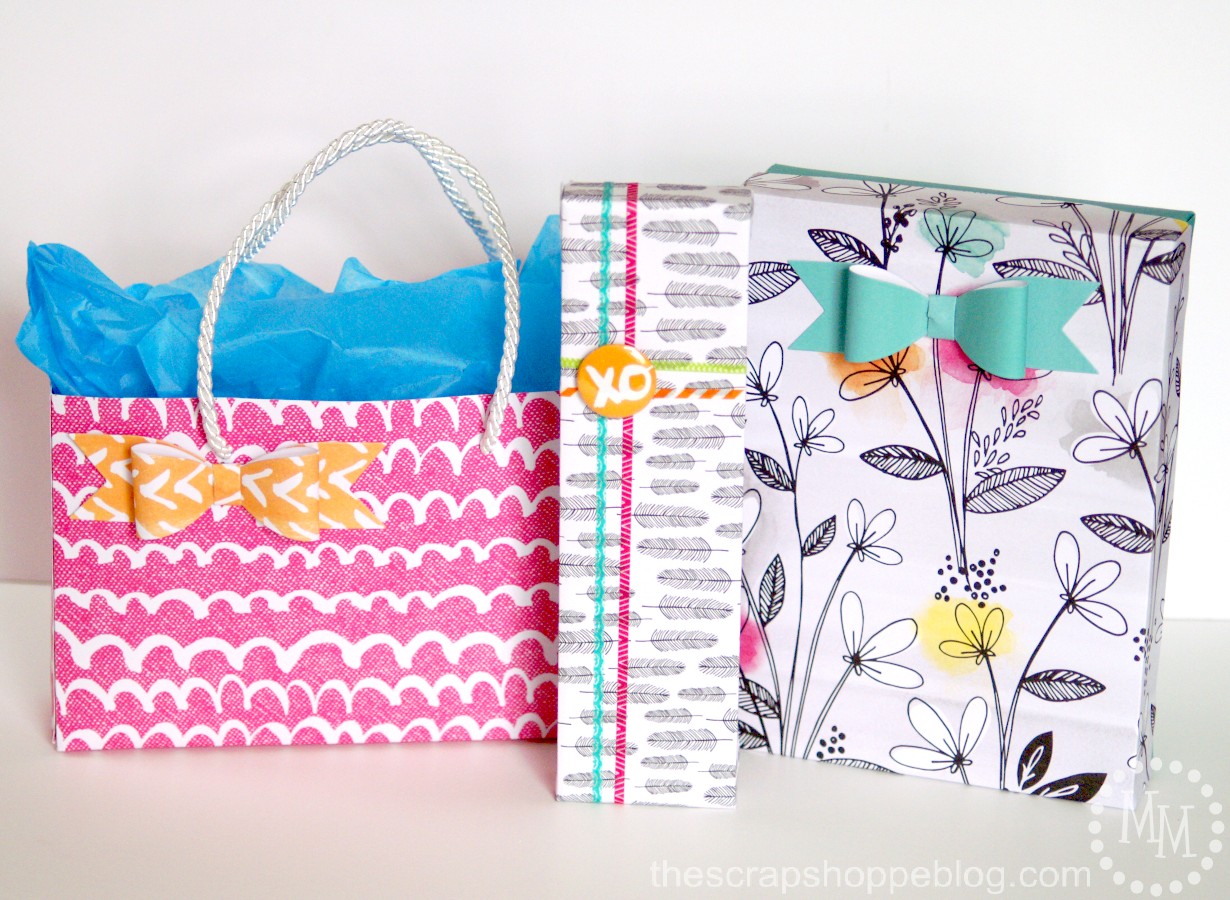
With the bold black & white patterns mixed with the bright watercolors, I immediately thought these paper were perfect for unique and trendy DIY gift wrap. I’m going to show you how to easily create these gift boxes and gift bag all using scrapbook paper from the Plus One collection.
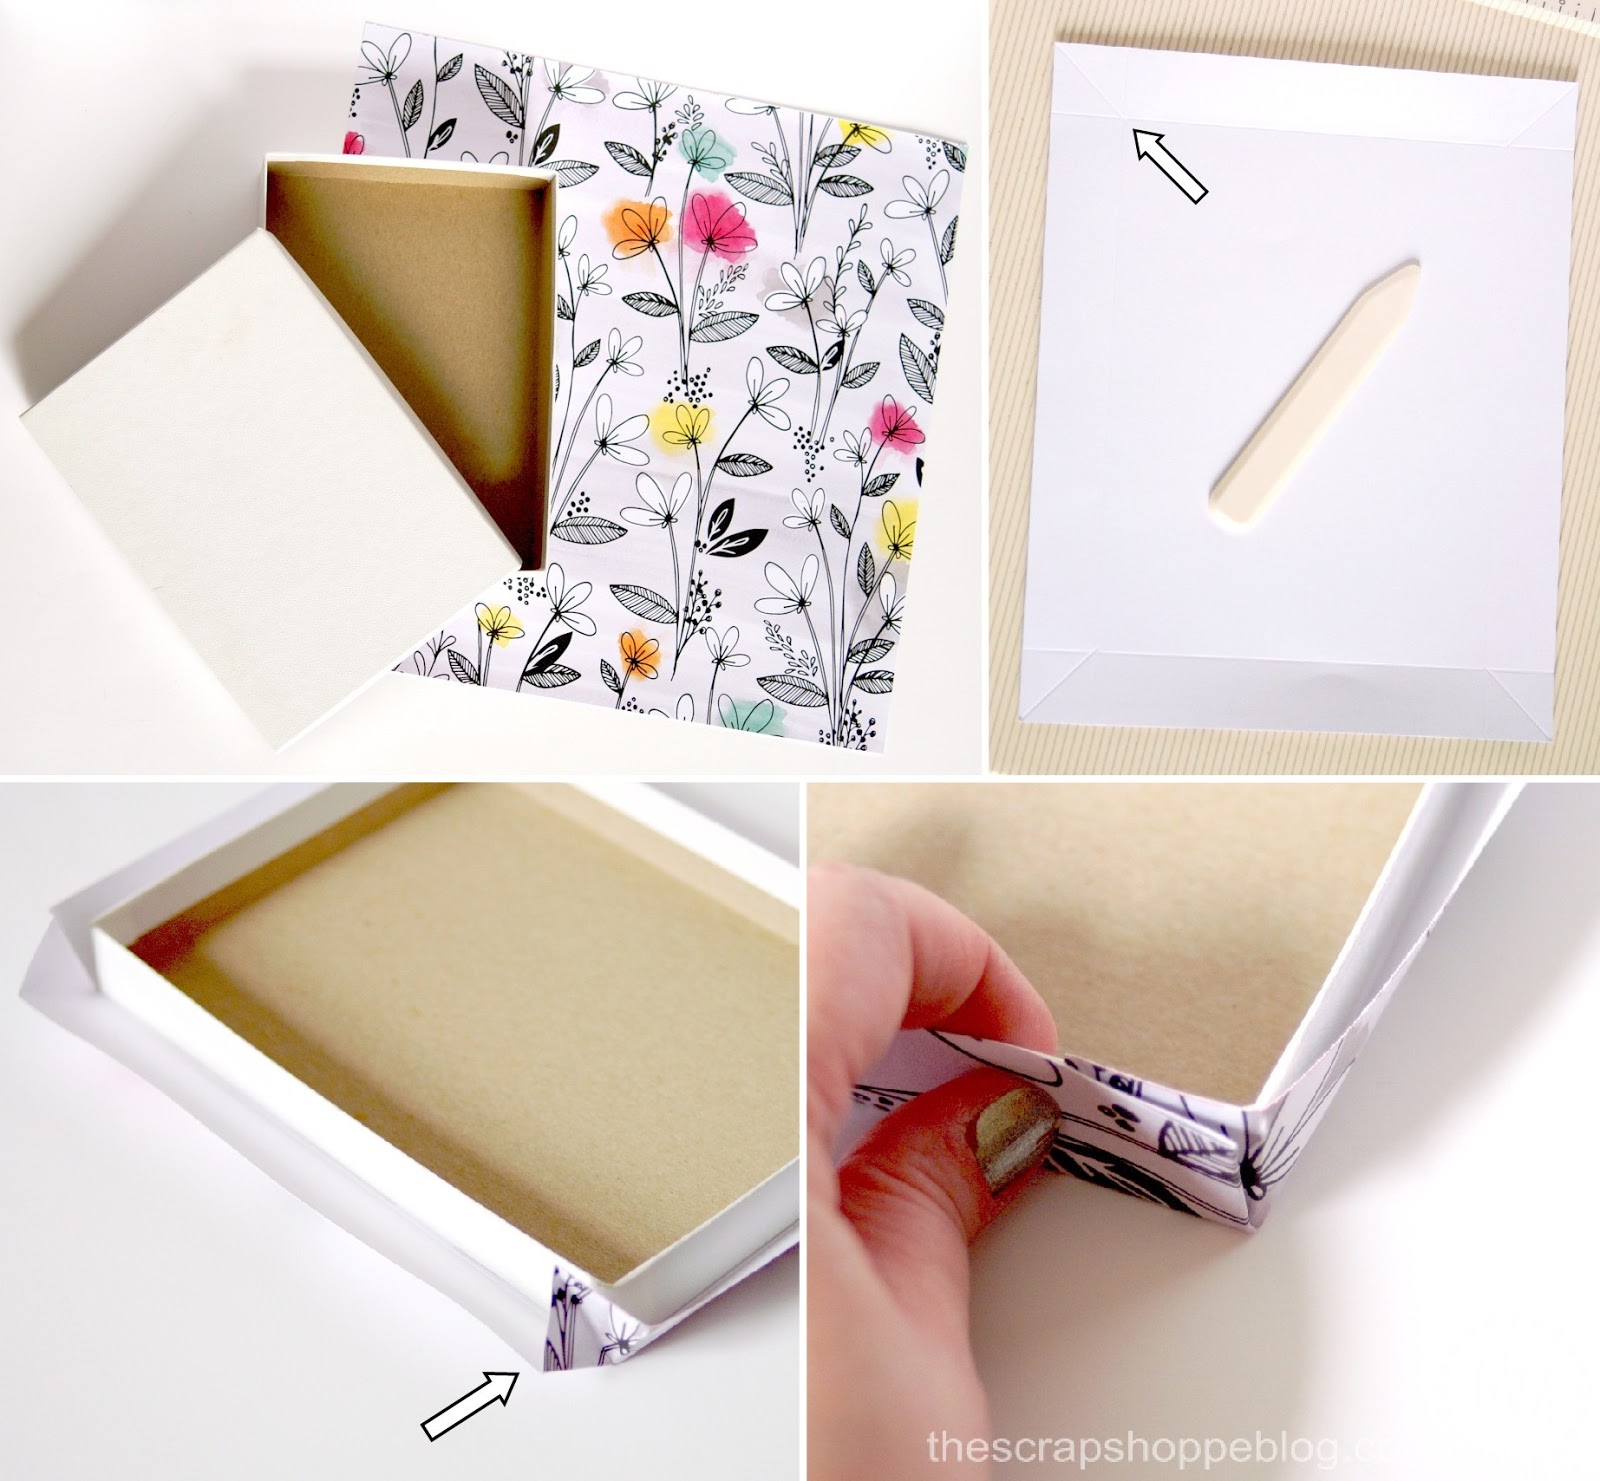
Let’s begin with the flat box. You will need a plain, empty gift box (these are super cheap to find in stores). Make sure you select a box small enough to cover with 12×12″ paper.
Trim the scrapbook paper down so that it will cover the lid of the box, including all of the sides. If you have a score pad it will come in super handy right now. If not, then good old fashioned hand folding will work perfectly fine, too. Score the paper so that the sides will fold down over the lid. Also score the corners as shown in the top right photo above (see arrow).
Place the paper face down on your work surface. Place adhesive on the top of the lid (I use this one) then center the lid on the paper. Fold the corners of the paper in as shown in the bottom left photo above. This is why we scored the corners of the paper, so they will easily fold in. Adhere the paper to the sides of the lid.
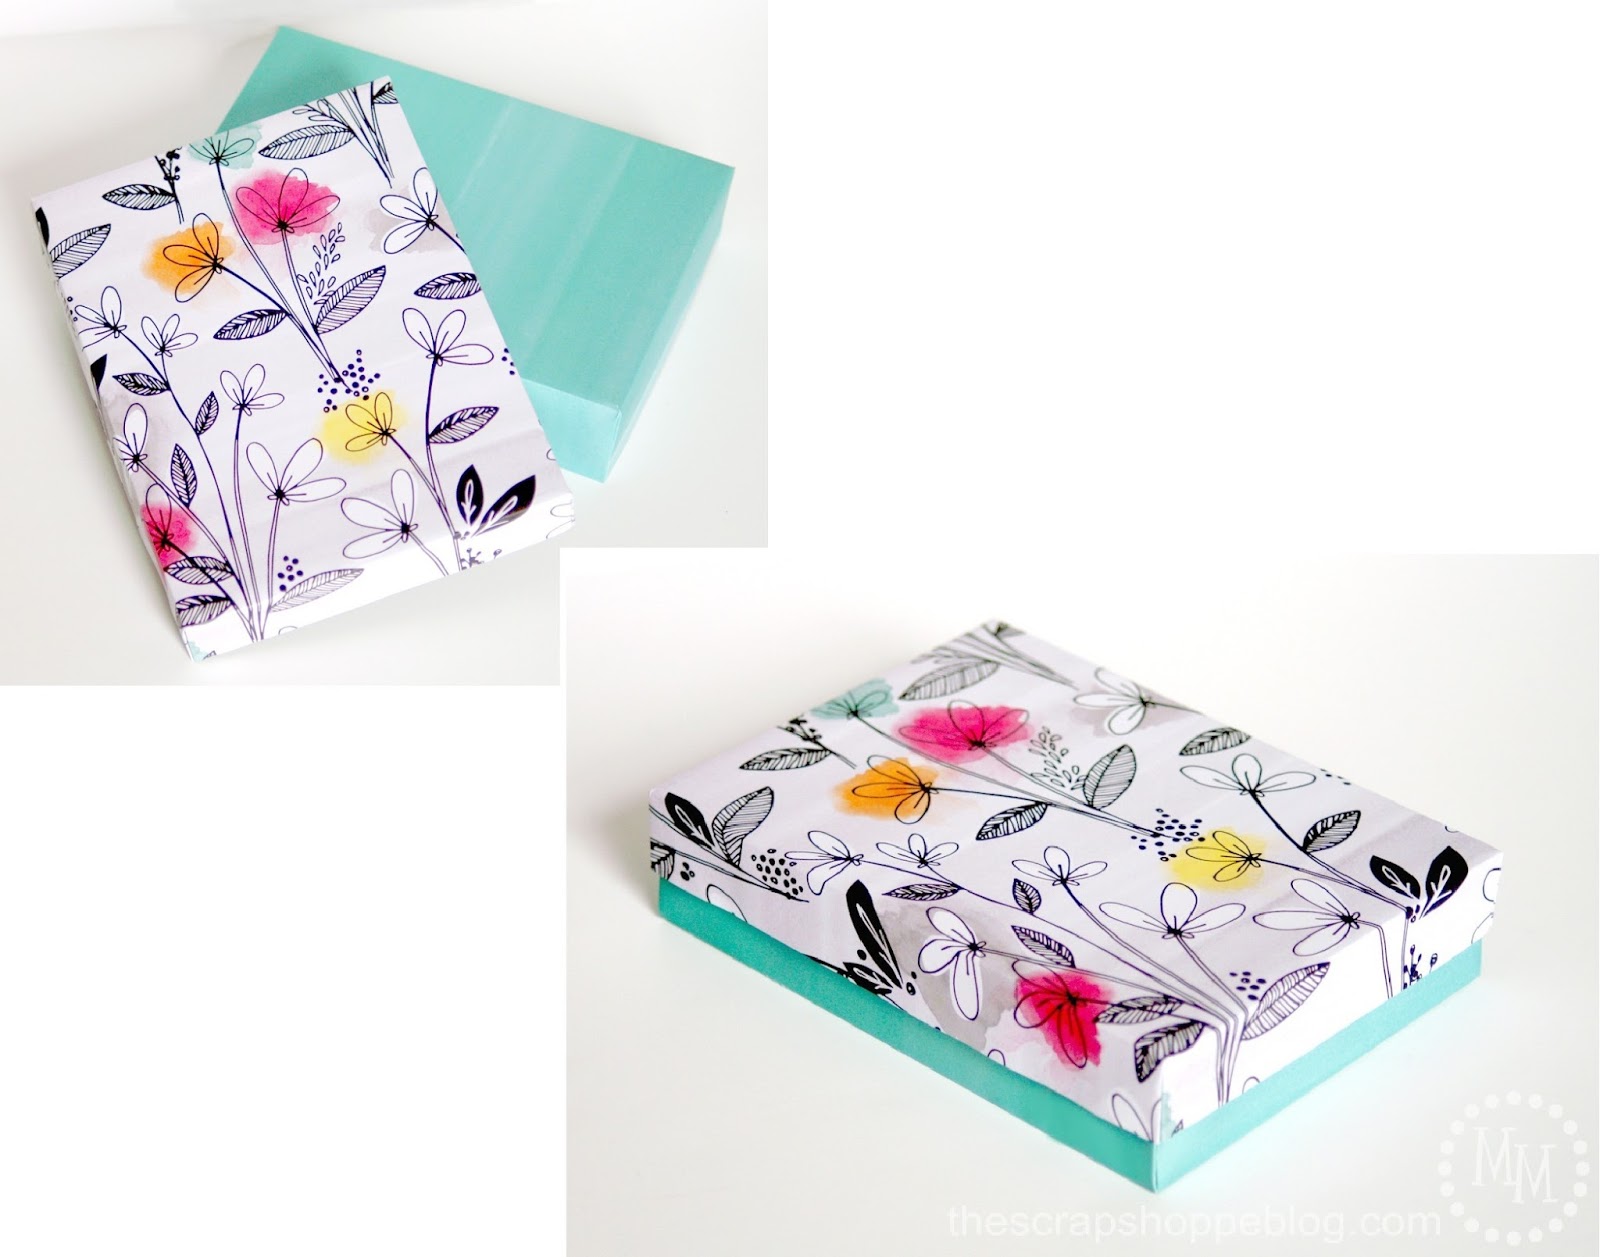
Repeat the process with the bottom of the box. I used a contrasting sheet of paper to make the top really pop.
Now we have an awesome box to put a gift in!
I also think it looks perfect to store stationary or some other office supply in and keep on your desk.
Just add a little label to it. So bright and festive!
Note: if the box fits together snugly prior to adding the paper to it, you may want to snip off the corners rather than folding them in when working with the bottom of the box.

I also covered a plain necklace box with the stark feather paper. Since the box is so small, you can cover both the top and bottom with 1 sheet of scrapbook paper. To brighten the box up, I simply added strips of the Plus One skinny washi tape to look like ribbon. I topped it off with a Plus One badge.
Making your own gift bags can be super economical and great if you need one fast and don’t have any on hand. The Plus One paper is perfect for this project also because it is thicker than your everyday scrapbook paper.
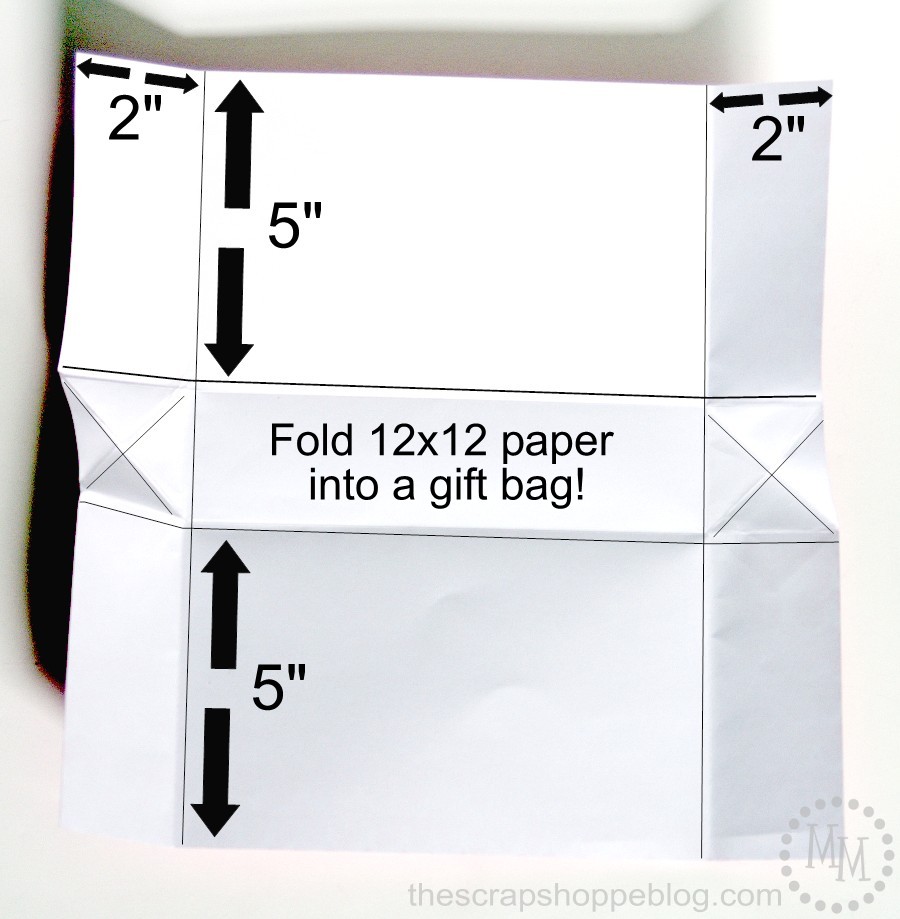
Take 12×12″ scrapbook paper and score two lines, 2″ in on each side of the paper. Rotate the paper 90 degrees and score two more lines, 5″ in on each side of the paper. Using your origami skills, fold the paper to create an X on each end of the center of the paper as shown above.
This will give a final bag dimension of 5x8x2″.
Of course, you can play around and fold in different ways to get different bag dimensions.

To fold the bag together, pull up the back side to create the side flap and fold down one side of the X. Fold up the front side of the bag. Bring the side flap from the front of the bag around so it covers the side flap from the back of the bag. Adhere the two side pieces together.
Repeat with the other side of the bag.

Add handles with ribbon, twine, or, in this case, roped ribbon. To reinforce the handles so they do not rip through the bag you can add extra squares of scrapbook paper to the inside of the bag.
I made the bow with a die cut machine and attached it with adhesive.
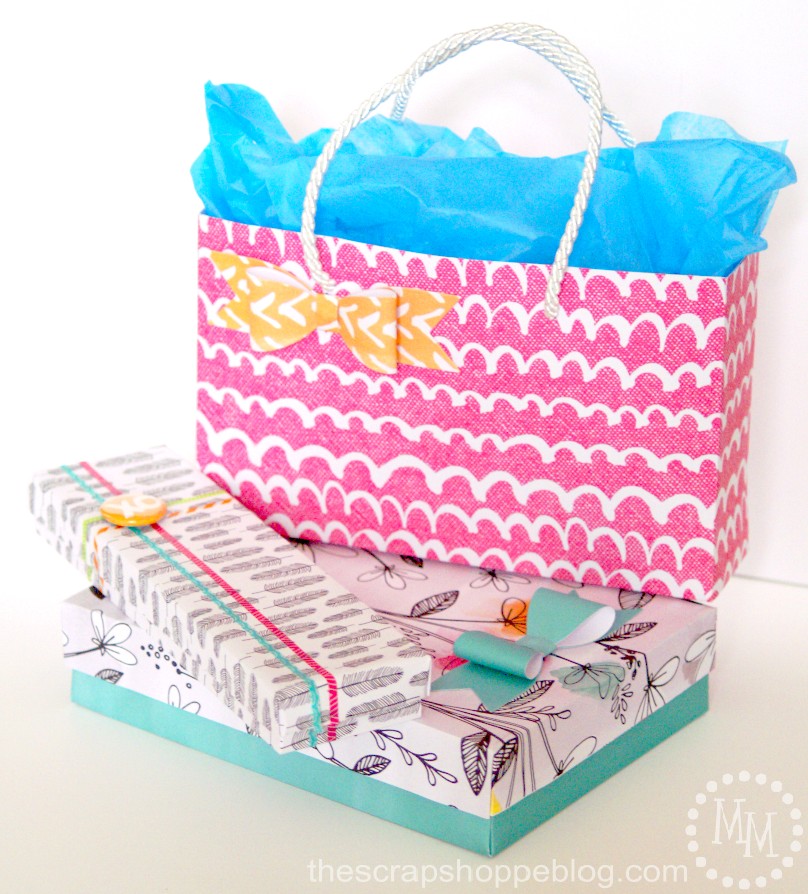
Isn’t the gift wrap fun and festive? I am guaranteed that no one else will show up at a party with the same design!
Don’t forget to mark your calendars for Monday, March 24th so you can get this Amy Tangerine Plus one paper craft collection at HSN. I have a feeling it will go fast!
Linking up to Flamingo Toes, Today’s Creative Blog, The Shabby Creek Cottage, Tidymom, Whipperberry,
My Repurposed Life, 30 Days, Tatertots & Jello, Serenity Now, and other great parties found on my party page.

I have started truncating my posts to avoid having my content stolen. I hope you’ll click over to finish reading the post. Thank you for understanding!
malia
Sunday 23rd of March 2014
What a great idea Michele. This new Amy Tangerine line is amazing and I love your wrapping idea!!!
Heather SettingforFour
Sunday 23rd of March 2014
I love these ideas! Gorgeous colors and patterns!
Cathy McInnes
Sunday 23rd of March 2014
I absolutely love this idea! I sometimes run out of wrapping paper/gift bags but I always have scrapbook paper! This is fun and creative! Checking this out from think pink Sunday! :-) Pinned! Cathywww.threekidsandafish.com
Jamie
Sunday 23rd of March 2014
I love the fun look this adds to your gifts!!
Mariah
Saturday 22nd of March 2014
Oh my heck this is amazing! I would love to get a little gift wrapped up in one of these pretty packages.