
Decorative Citronella Candles

When Amy at Positively Splendid gave a tutorial to make citronella candles a couple of weeks ago, I knew I wanted to do this project! I don't know about you, but I have a hard time finding candles that match my outdoor decor and aren't really expensive. Top that with the newfound knowledge from Amy (that I secretly suspected) that the citronella candles you buy in the store are not all they are cracked up to be and don't effectively keep the mosquitos at bay, I was completely sold on this project.
My mom was coming down for the weekend, so I gathered all of my supplies for some old fashioned candle making for a nice little project for us to do together.
But we hit a couple of snags along the way...
Probelm #1: I didn't buy near enough wax. Amy used soy wax, which really makes a better candle than paraffin, so that is what I purchased also. But 1 16-oz bag wasn't going to go very far, and I had 12 jars to fill. To go ahead and get our feet wet on the project we decided to go ahead and make a couple of candles from what we had.
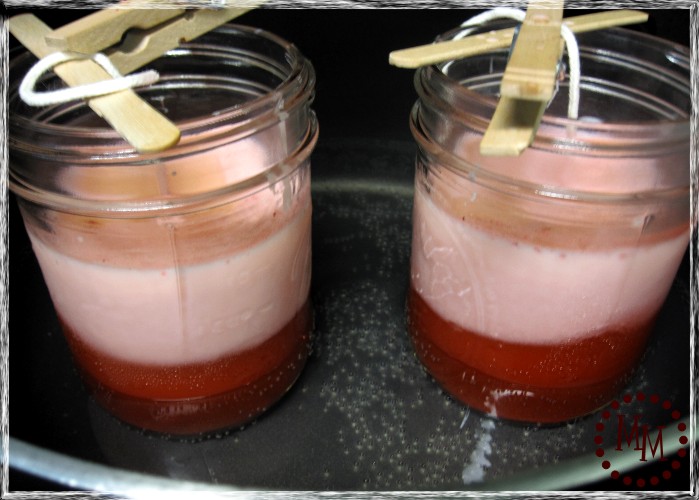
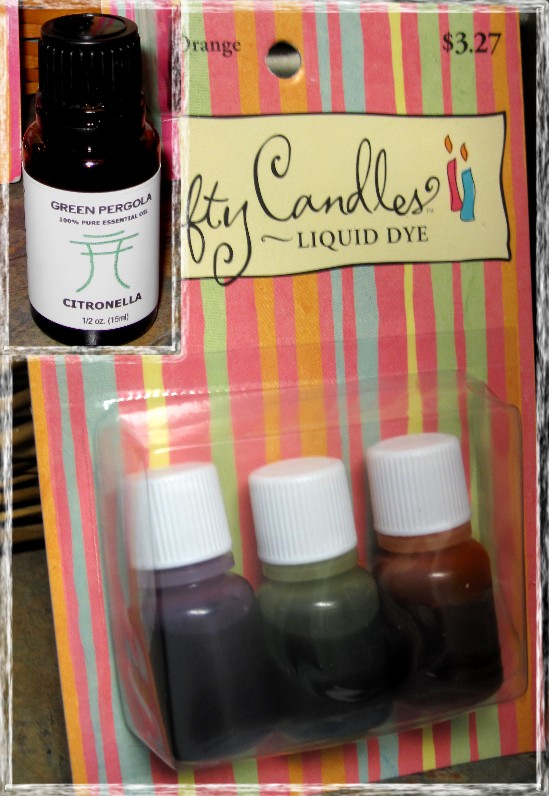
And just so we could show those PINK candles who is the boss, we got some candle dye, too.
Problem #4: The candle dye didn't do squat for our PINK candles. The paperwork on the dye cautioned to use sparingly. Whatever. The soy just overpowered the color.
The good news? When the candles are lit the wax burns a lovely shade of red. 🙂
Problem #5: The last of the soy we didn't use in the PINK candles we used to make a lovely golden colored candle. Oh wait, nope. The soy overtook that one, too, and just looks like we didn't add any coloring to it at all. Ha!
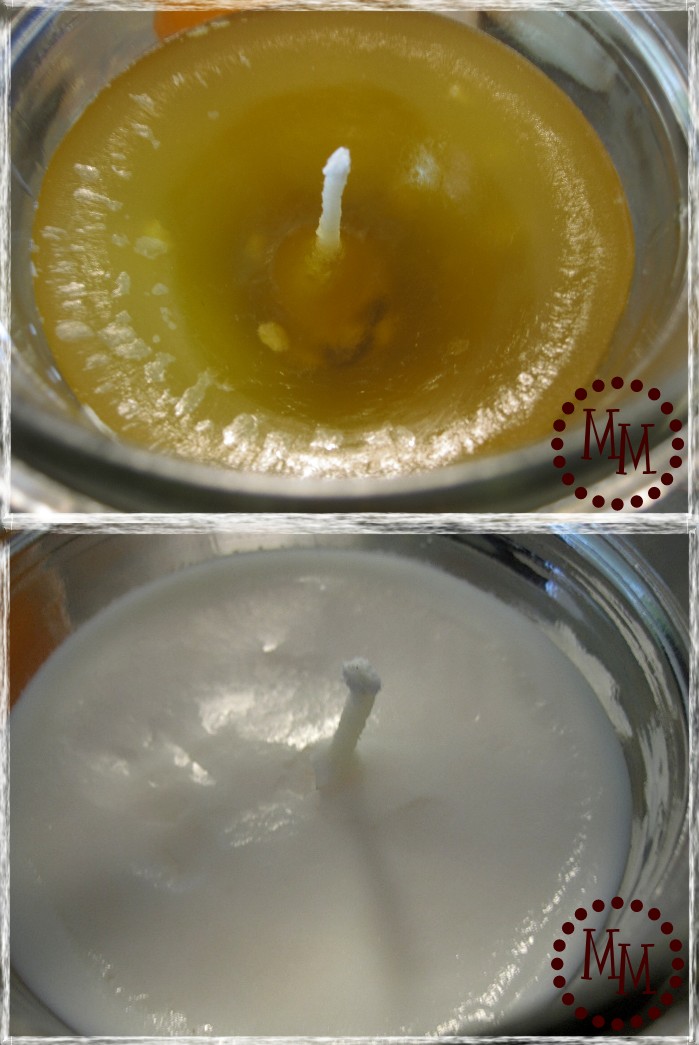
Problem #6: While the paraffin candles took to the dye beautifully, the centers of the candles collapsed when they dried. No biggie, but not as pretty as the soy. In the above picture, the top candle is the paraffin and the bottom candle is the soy.
-----------------------------------------------------------------
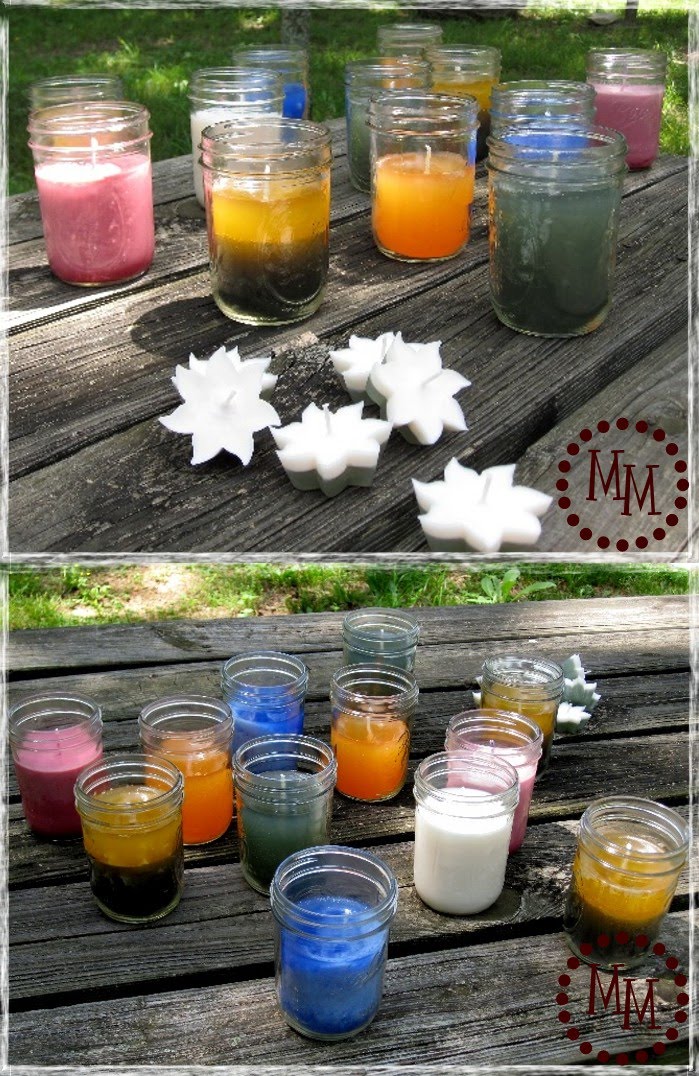
At the end of the process, we had 12 jars of candles and 6 floating candles.
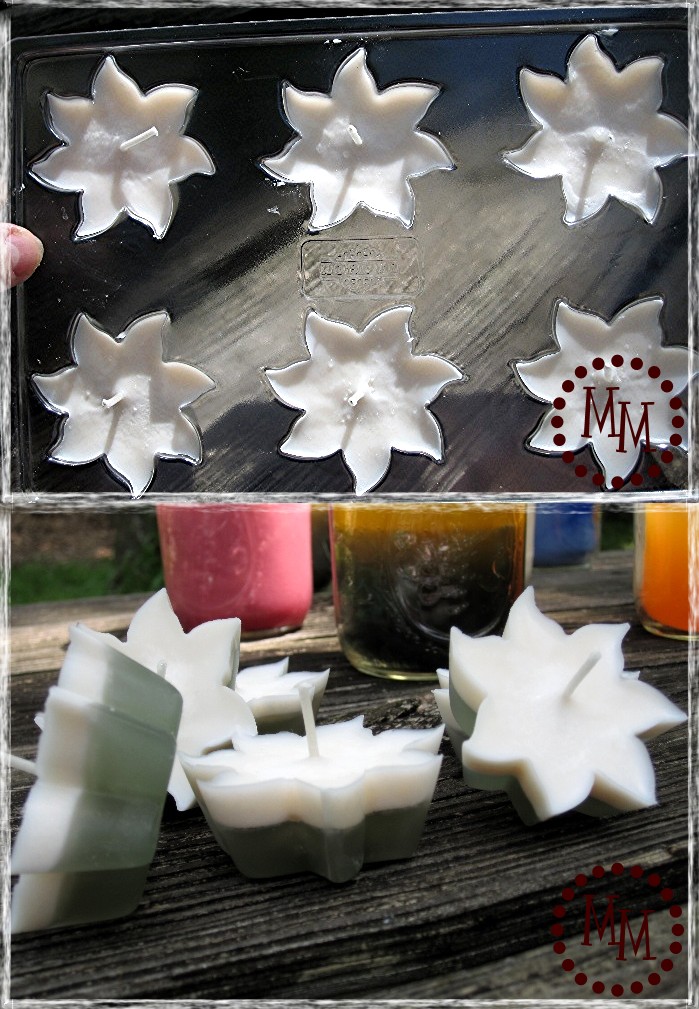
We decided to have some fun with a couple of the jars and the floating candles and made them two-toned. I love how they turned out!
Also, the above picture is the only one with my mom in it. Can you spot her? Yeah, that's her thumb holding up the mold in the top photo. She hates having her picture taken, but I told her she was going to be on the blog. Hi, mom! 🙂
Okay, so let's recap. The process of making the candles themselves was actually very simple, and we followed all of Amy's instructions. It was getting the exact colors we wanted that caused the problem. Which, if you remember, is part of the reason I wanted to make my own!
So.....
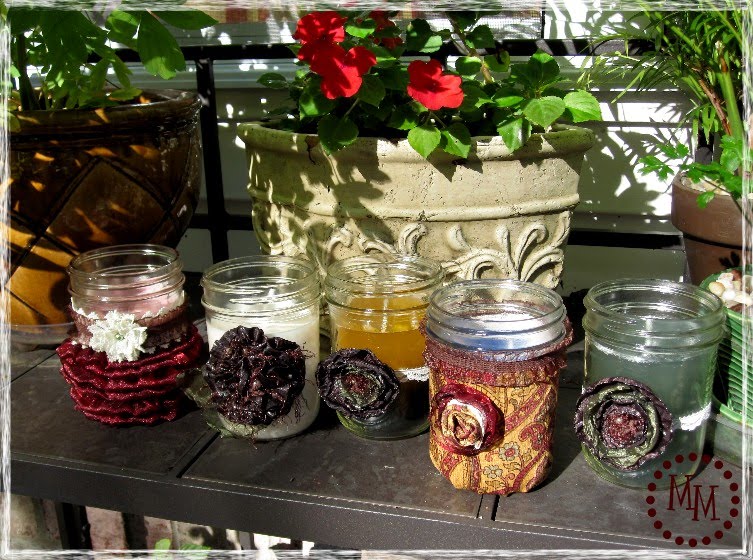
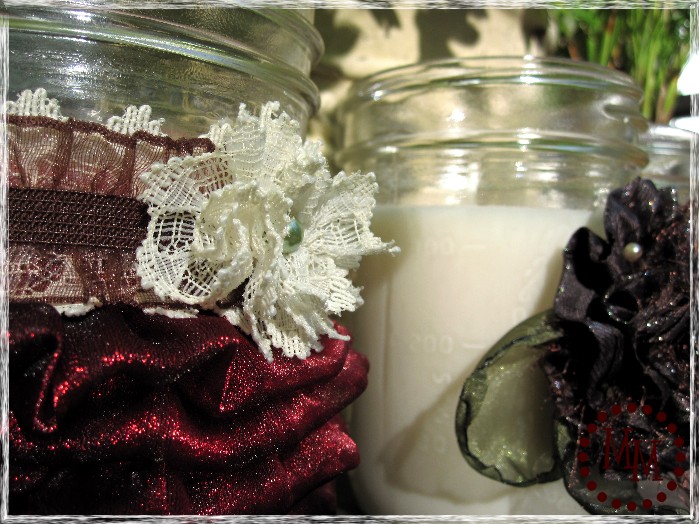

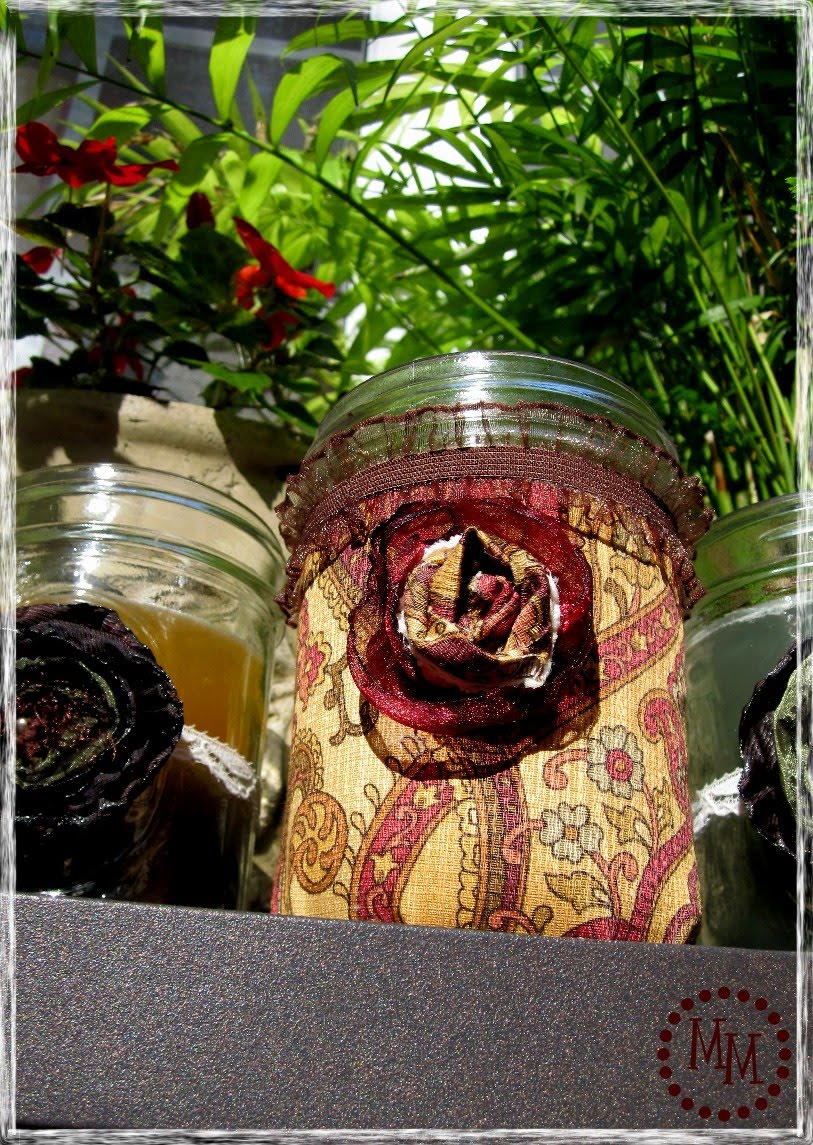

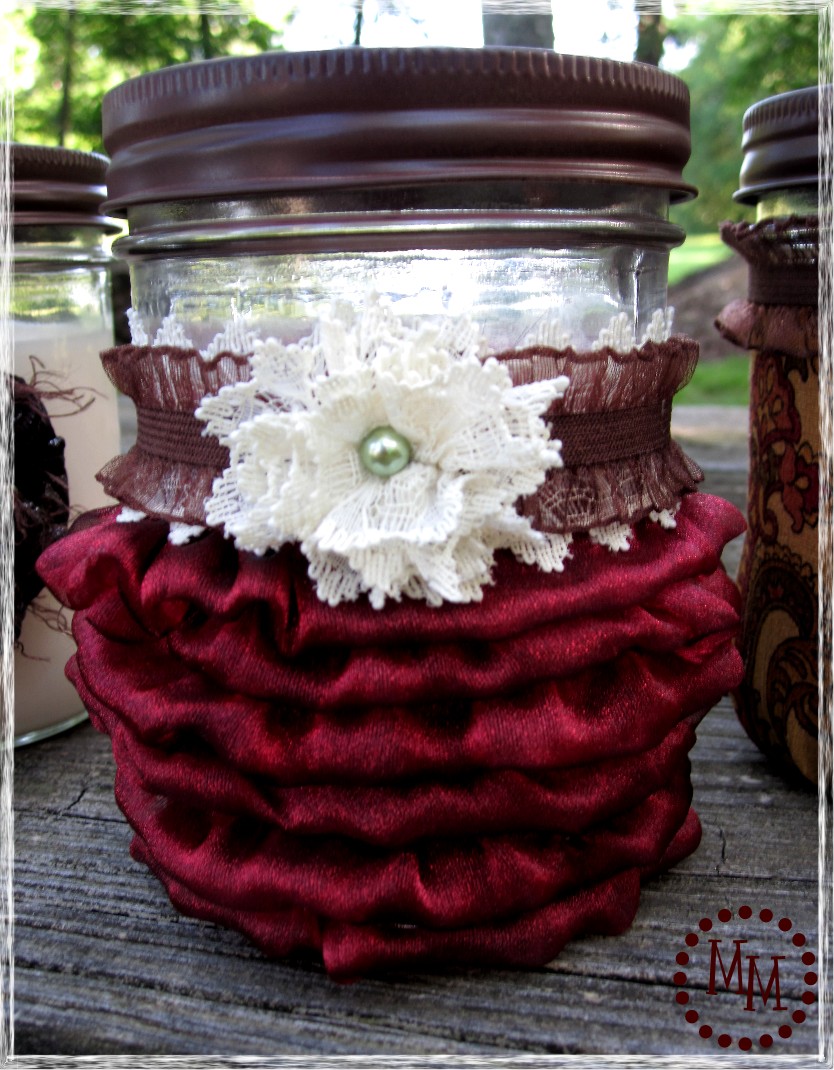
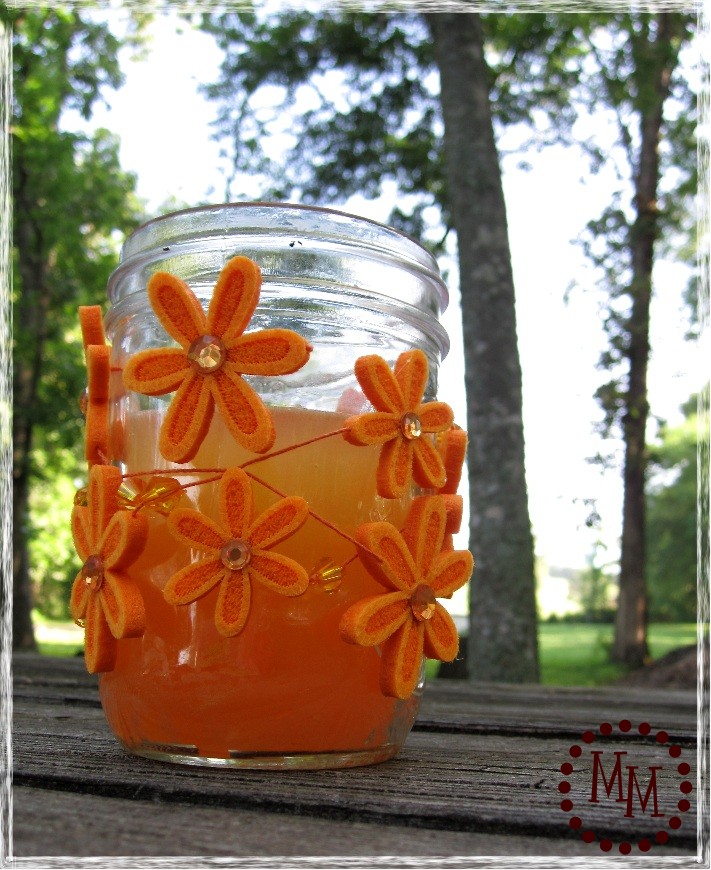


I think decorating the candle jars was the way to go. It looks so much classier.
I've noticed the store bought citronella doesn't work that well! Thanks for the hint, and for sharing your experience.
Kathy
I saw Amy's post on those candle and loved them. We have made candles i jars before and that wax does not go far at all. Thanks for sharing all of your tribulations...makes me feel better that i am not the only one! Your candles are FABULOUS! I love how you decorated the jars....just beautiful. Thanks for linking up!
How stinking cute are these? I love the way you decorated them all, and they are so unique. You could sell these at a craft fair or something....I know I would buy one or two:)
sounds like fun and alot of work! but they came out beautiful!
These turned out adorable! I love all of the embellishments!
These are AWESOME I want to make some too...I found you at Remodelaholic. I stopped by to invite you to my Garden party @KeenInspirations next Wednesday thru Friday. These would be a great addition to the garden/outdoor/summer theme! Please bring it and link up! Great giveaways too!
Sharon@Keeninspirations
Sounds like most of my projects! Lots of obstacles along the way, but when you are finished it was way worth it! They turned out beautiful! Thanks for linking to Hoo's got talent!
Oh My! Too cute to use!!! Great job!
This project made me heart go pitter pat. Well done.
What a great idea!
Parrafin will sink around the wick when its dries. Next time (if you use parrafin) when the wax starts to dry and you get the hard top on the wax poke holes around the wick to release the air in the wax. Then after the candle dries do a second pour. Fill the wax to the same level as the first pour and when its dries it will be even. No more sinking candles! Just thought I'd add my 2cents. Marcie
Hi Michelle- I'll be featuring your candles tomorrow! Stop by and grab a featured button if you like. Thanks again for joining The Sunday Showcase! ~ Stephanie Lynn
Goodness - I love the embelishments! Simply adorable! You would never know what the candles actully look like because the outsides are fabulous!! Thanks so much for joining the Sunday Showcase Party! I greatly appreciate it. Hope you are having a wonderful week! ~ Stephanie Lynn
These are great and you got to spend some fun time with your Mom! Thanks for sharing your day with her on Modern Craftswoman Monday! Rory
Ok, so I love, love, LOVE the floating candles, Michele! I must make some. And your decorated jars are absolutely lovely! I am so sorry about the snags. Isn't it funny how some projects seem to be plagued with them? Thanks so much for sharing your trial and error with us so we can all learn vicariously. 🙂
Amy
Love these, will use this idea for outside parties!!
Love the candles and thanks for using Beacon glues on the jar embellishments!
I think it's great that your tutorial showed the pitfalls and problems along the way. Crafted by human hands-not by machine. And each candle has its own unique character. BTW-I like pink lol!
-Karen from Beacon
Love this idea! I'm definitely going to be using this! Thanks so much for sharing!
Alright, these turned out seriously gorgeous! Love how you decorated them. Glad you shared your trial and error... so now when I make some, they'll be perfect, right?! 🙂 Have a great day!
Love how you decorated the jars and thanks for all of the "tips". 🙂