
Cabochon Chandelier Necklace
This project is part of a sponsored campaign with Plaid and The Blueprint Social. All opinions in this post are my own.
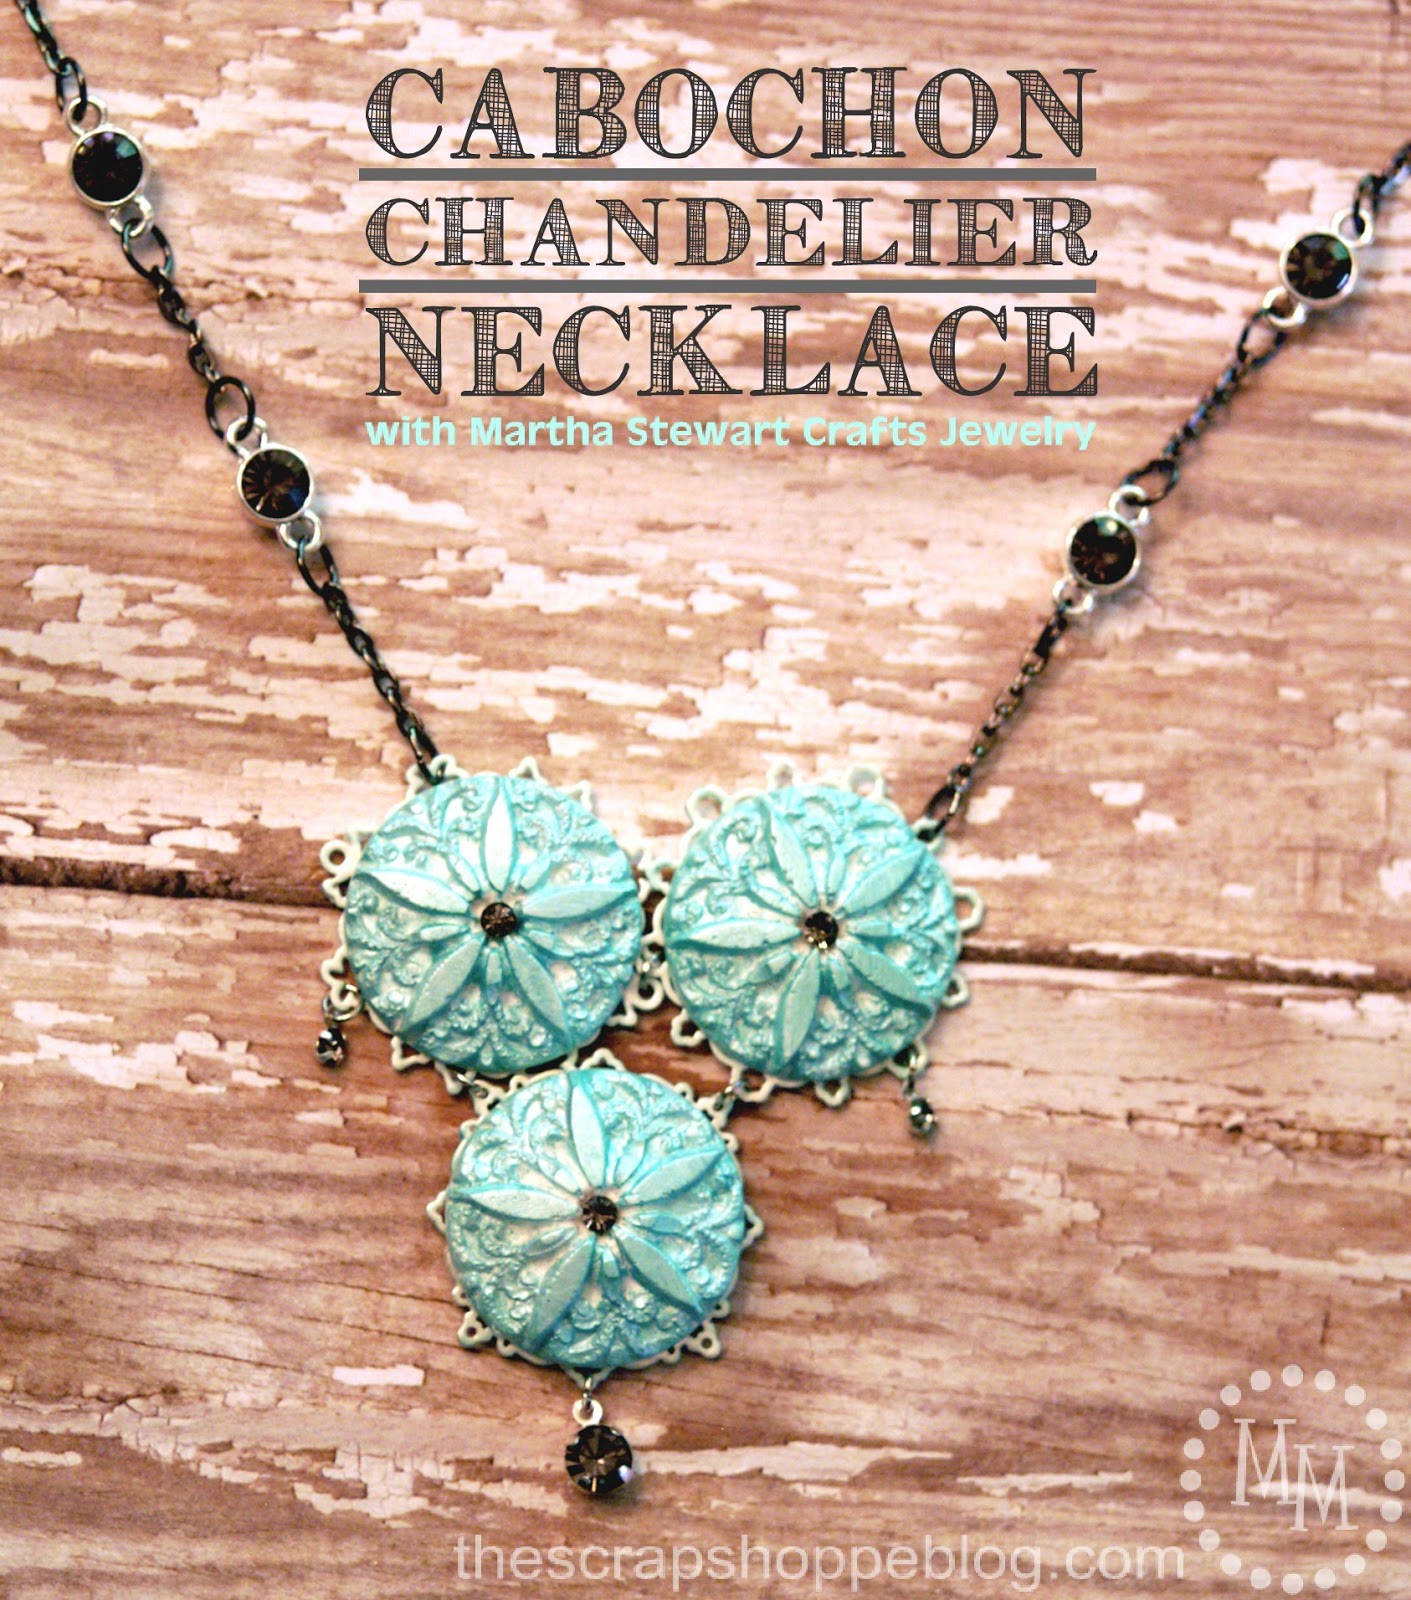
I am a big fan of making my own jewelry. There is something liberating about designing a unique piece that no one else owns. Not to mention the fact that you can make your jewelry match a particular outfit to a T.
Recently, a new product has come to market to make creating unique pieces of jewelry even simpler!
Martha Stewart Jewelry is a complete line of jewelry making supplies found exclusively at your local Michael's store.
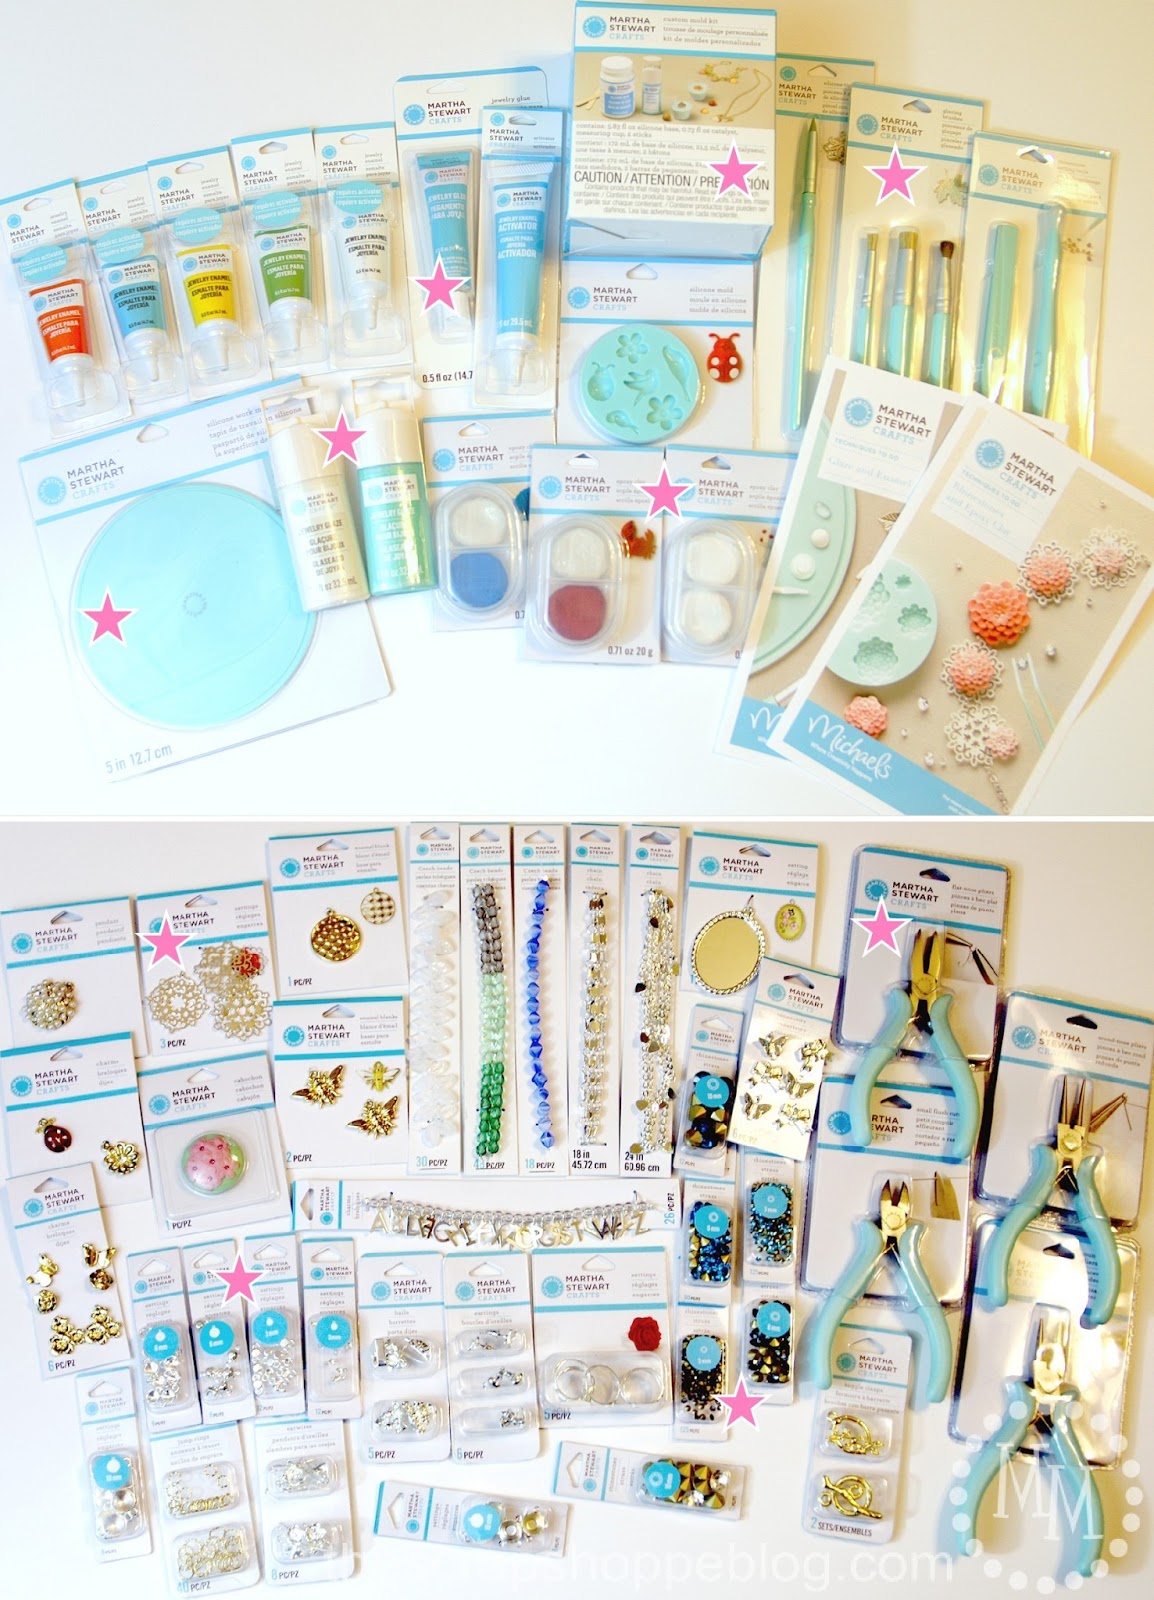
I recently received a box full of items from the new Martha Stewart Crafts Jewelry line.
There are so many pieces to work with! And some really unique items that you won't find anywhere else.
We're talking chain, beads, charms, findings, pliers, enamels, clays, rhinestones, cabochons, molds, glazes, brushes, and more!
I have starred the pieces I will be using to make my cabochon chandelier necklace including:
silicone work mat, jewelry glaze (in ivory and sea green), jewelry glue, custom mold kit, glazing brushes, epoxy clay, filigree settings, rhinestones, stone settings, and pliers.
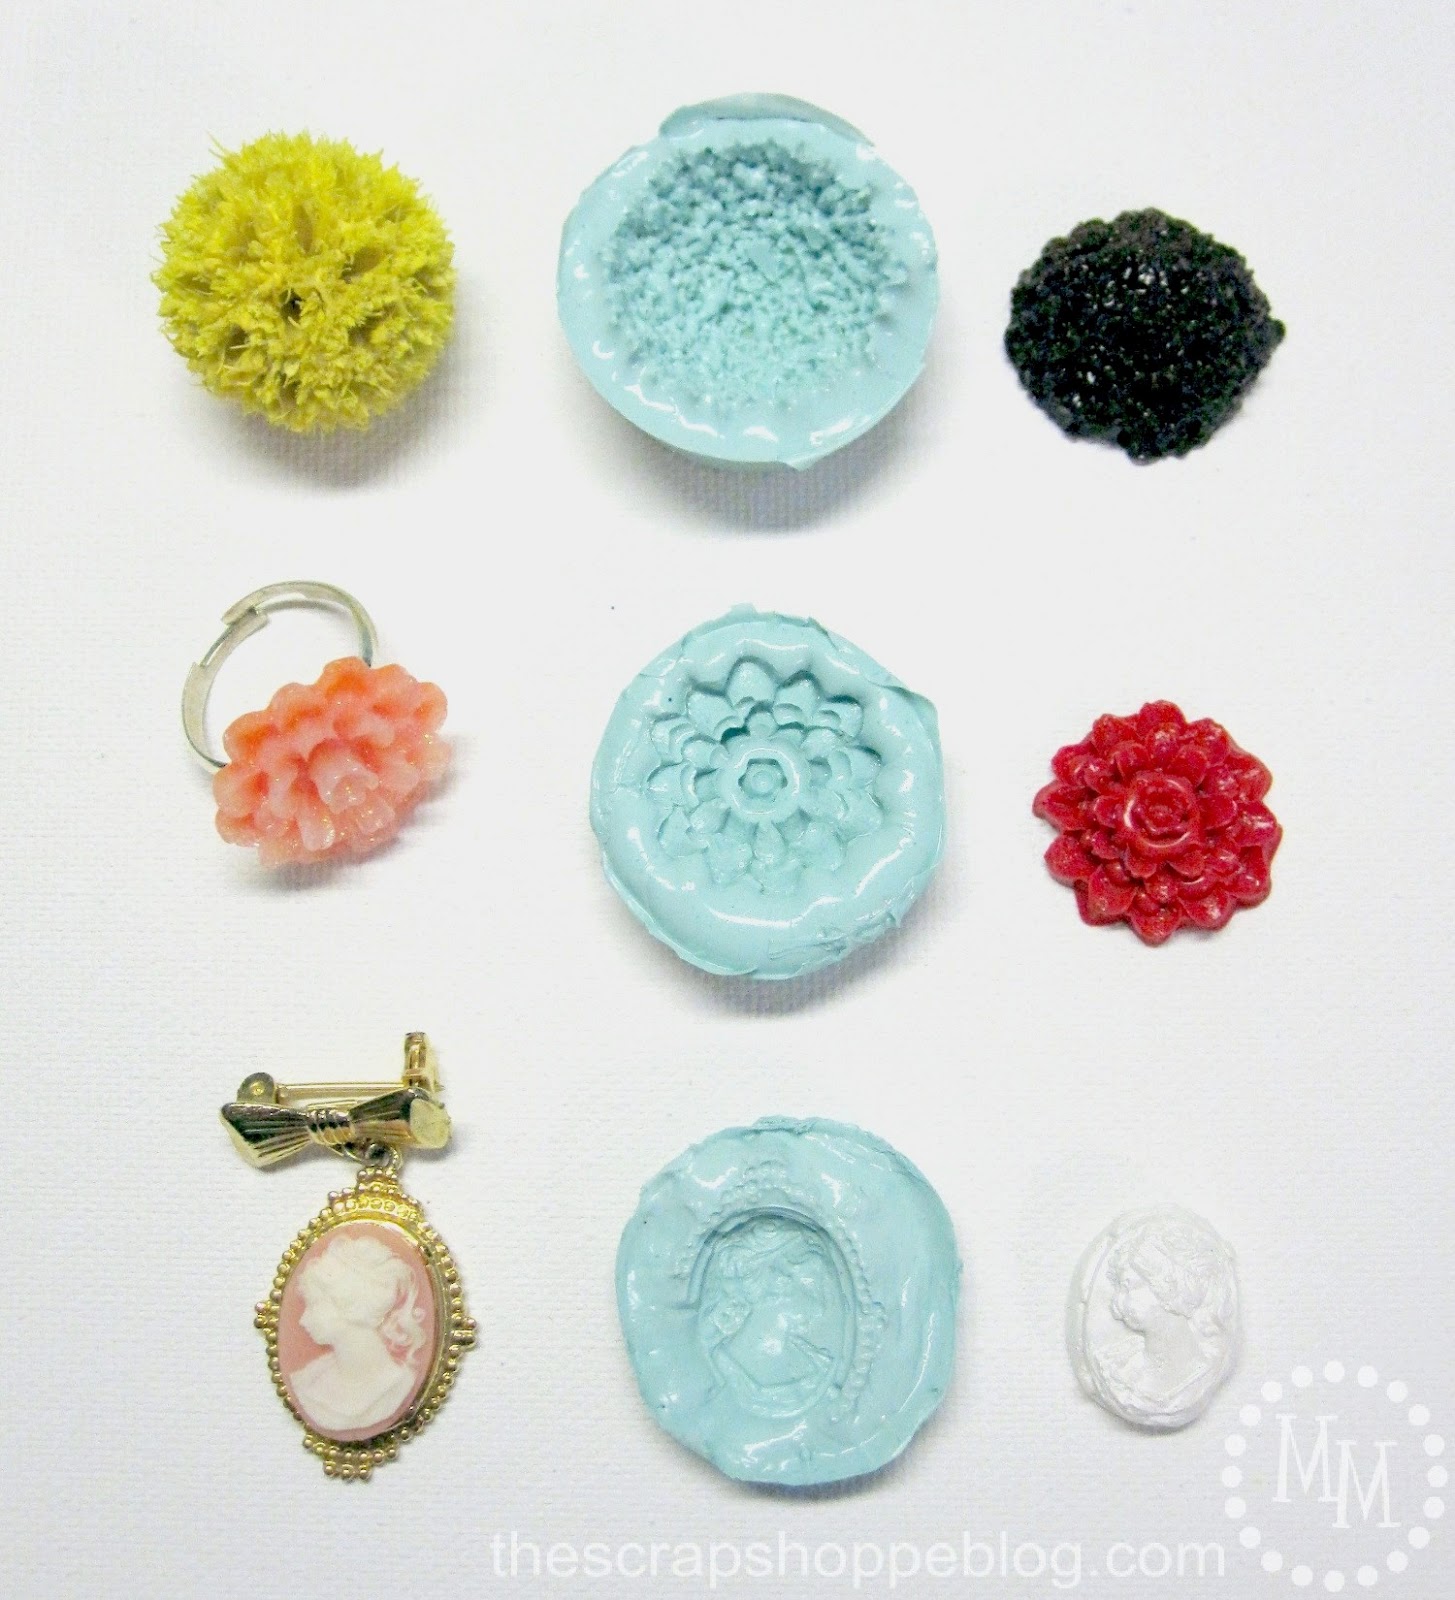
I was immediately drawn to the custom mold kit. Imagine making your own molds out of anything!!
As you can see, I got a little excited with it and made several molds to test it out.
There was a slight learning curve, but by my 3rd attempt I had things down pat.
The custom mold kit comes with a silicone base and a catalyst that you mix together according to the directions. You can measure and mix them directly in the measuring cup that comes with the kit. Mix the two together thoroughly with one of the wooden sticks that comes in the kit.
You have to allow the mold to solidify very slightly before you add your item to be molded!
Otherwise your template item will sink to the bottom. The trick I discovered to know when to add your item to the mold is this:
The silicone and catalyst will bubble slightly once you are done mixing. Once the bubbles stop popping on the surface of the mold you can safely add your item to the mold and it will not sink.
Allow your item to sit in the mold for at least 24 hours before removing it. Then you are ready to add clay to the mold and start creating your own cabochons!
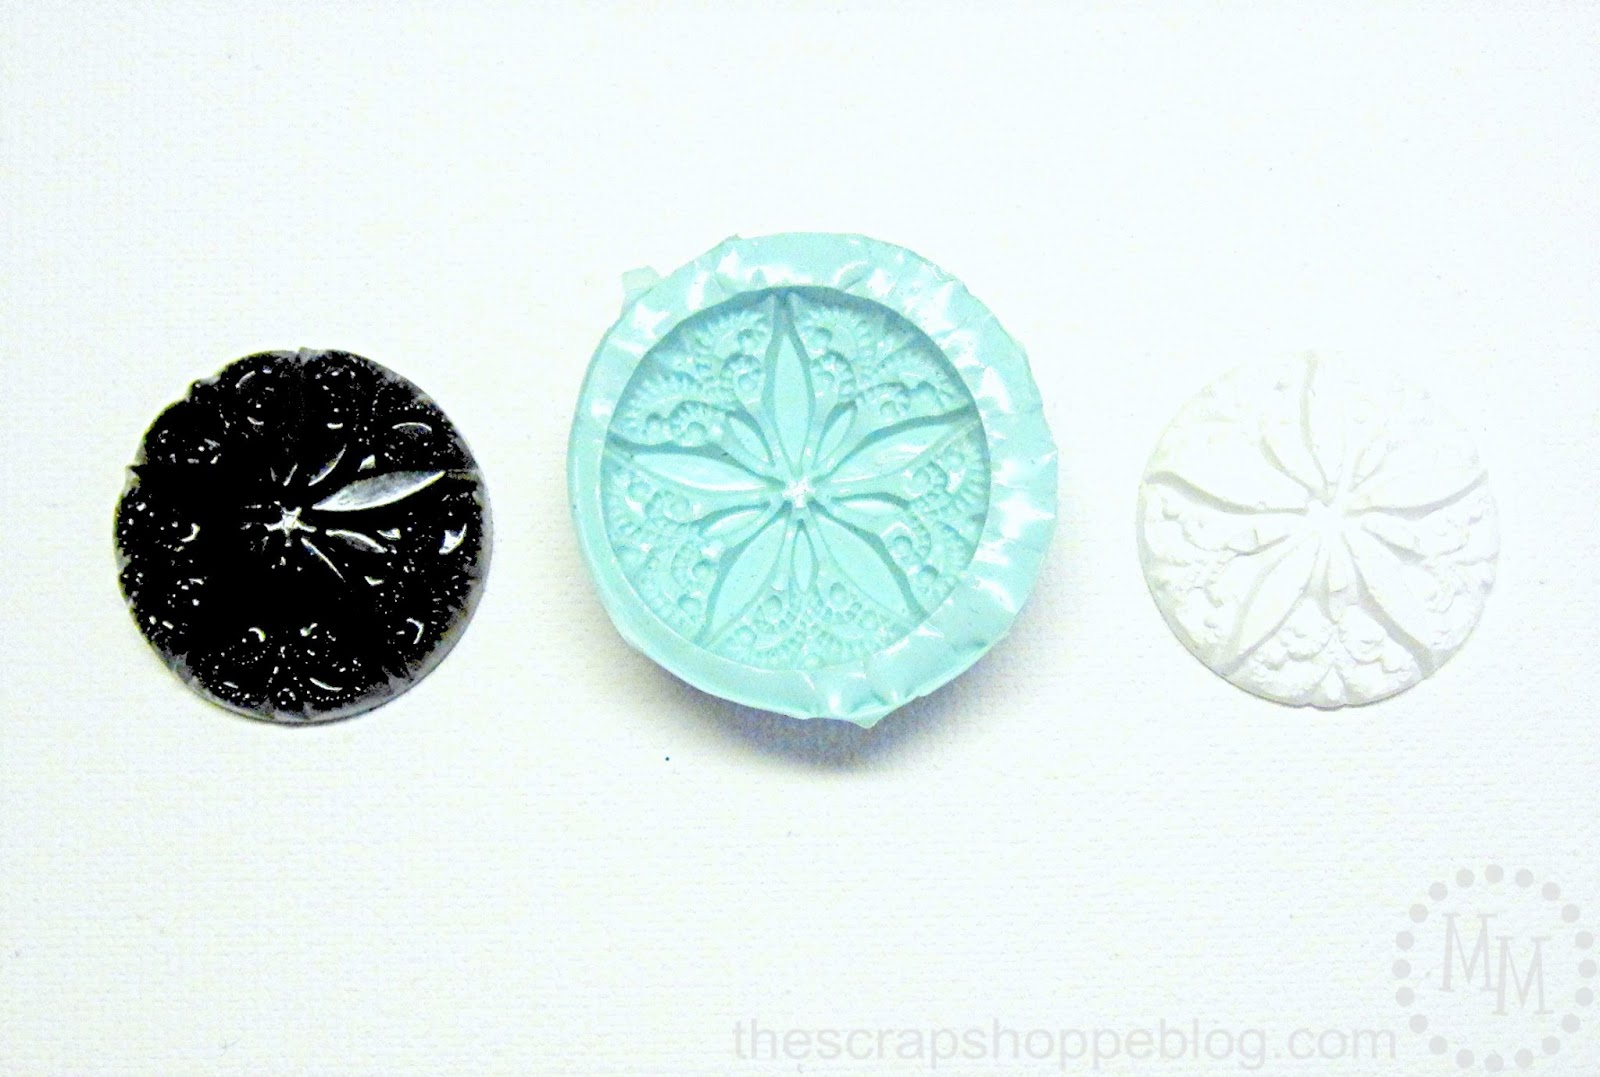
My favorite mold was of this vintage-style button. The mold picked up every little detail in the button!
The black button to the left is the original. The white piece to the right is my new clay cabochon.
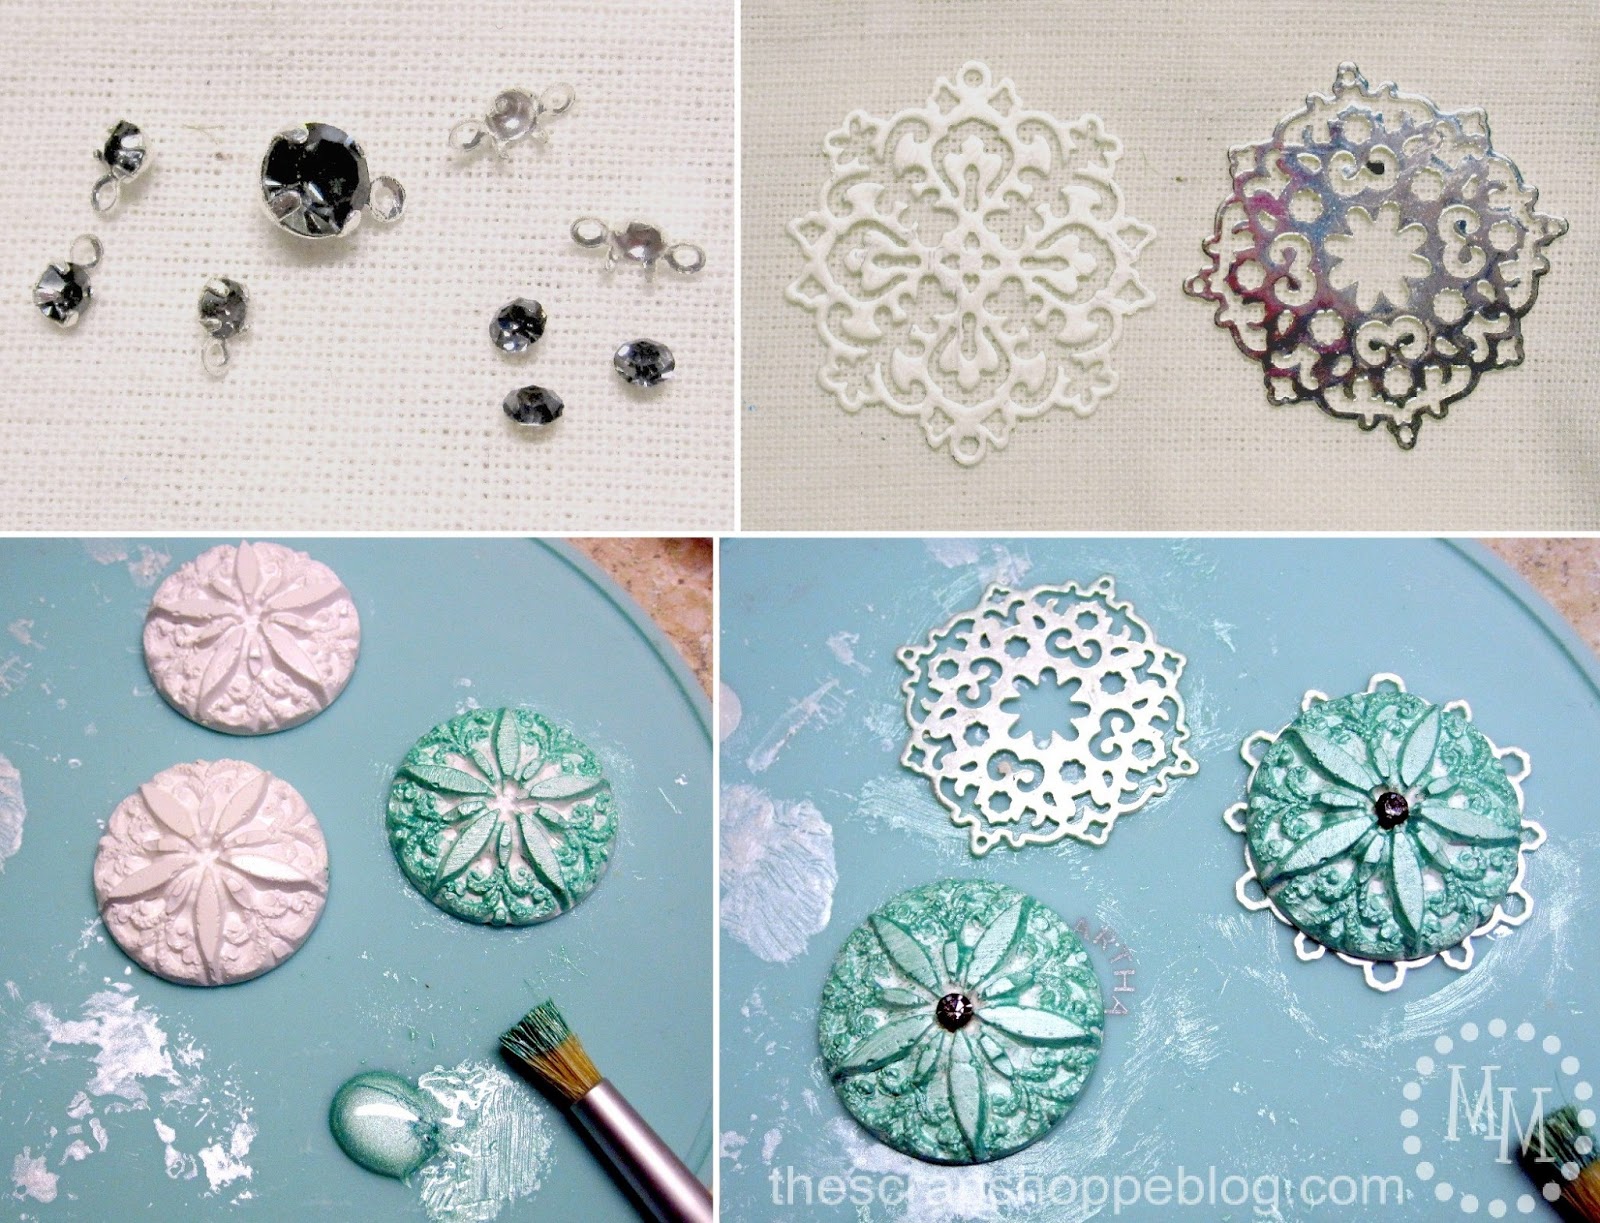
To create the necklace, I put some of the rhinestones into the stone settings. I used both the pronged settings and the open settings. For the open setting you will need to use the jewelry glue to adhere the rhinestones to the settings.
To soften the filigree settings, I put 2 coats of ivory glaze on them using a glazing brush.
To my new cabochon buttons, I added 2 coats of sea green glaze followed by a single light coat of ivory glaze.
The center of the cabochon buttons was the perfect place to add a rhinestone so I glued those down with the jewelry glue then adhered the buttons to the filigree settings with the jewelry glue.
Allow all of this to dry overnight.
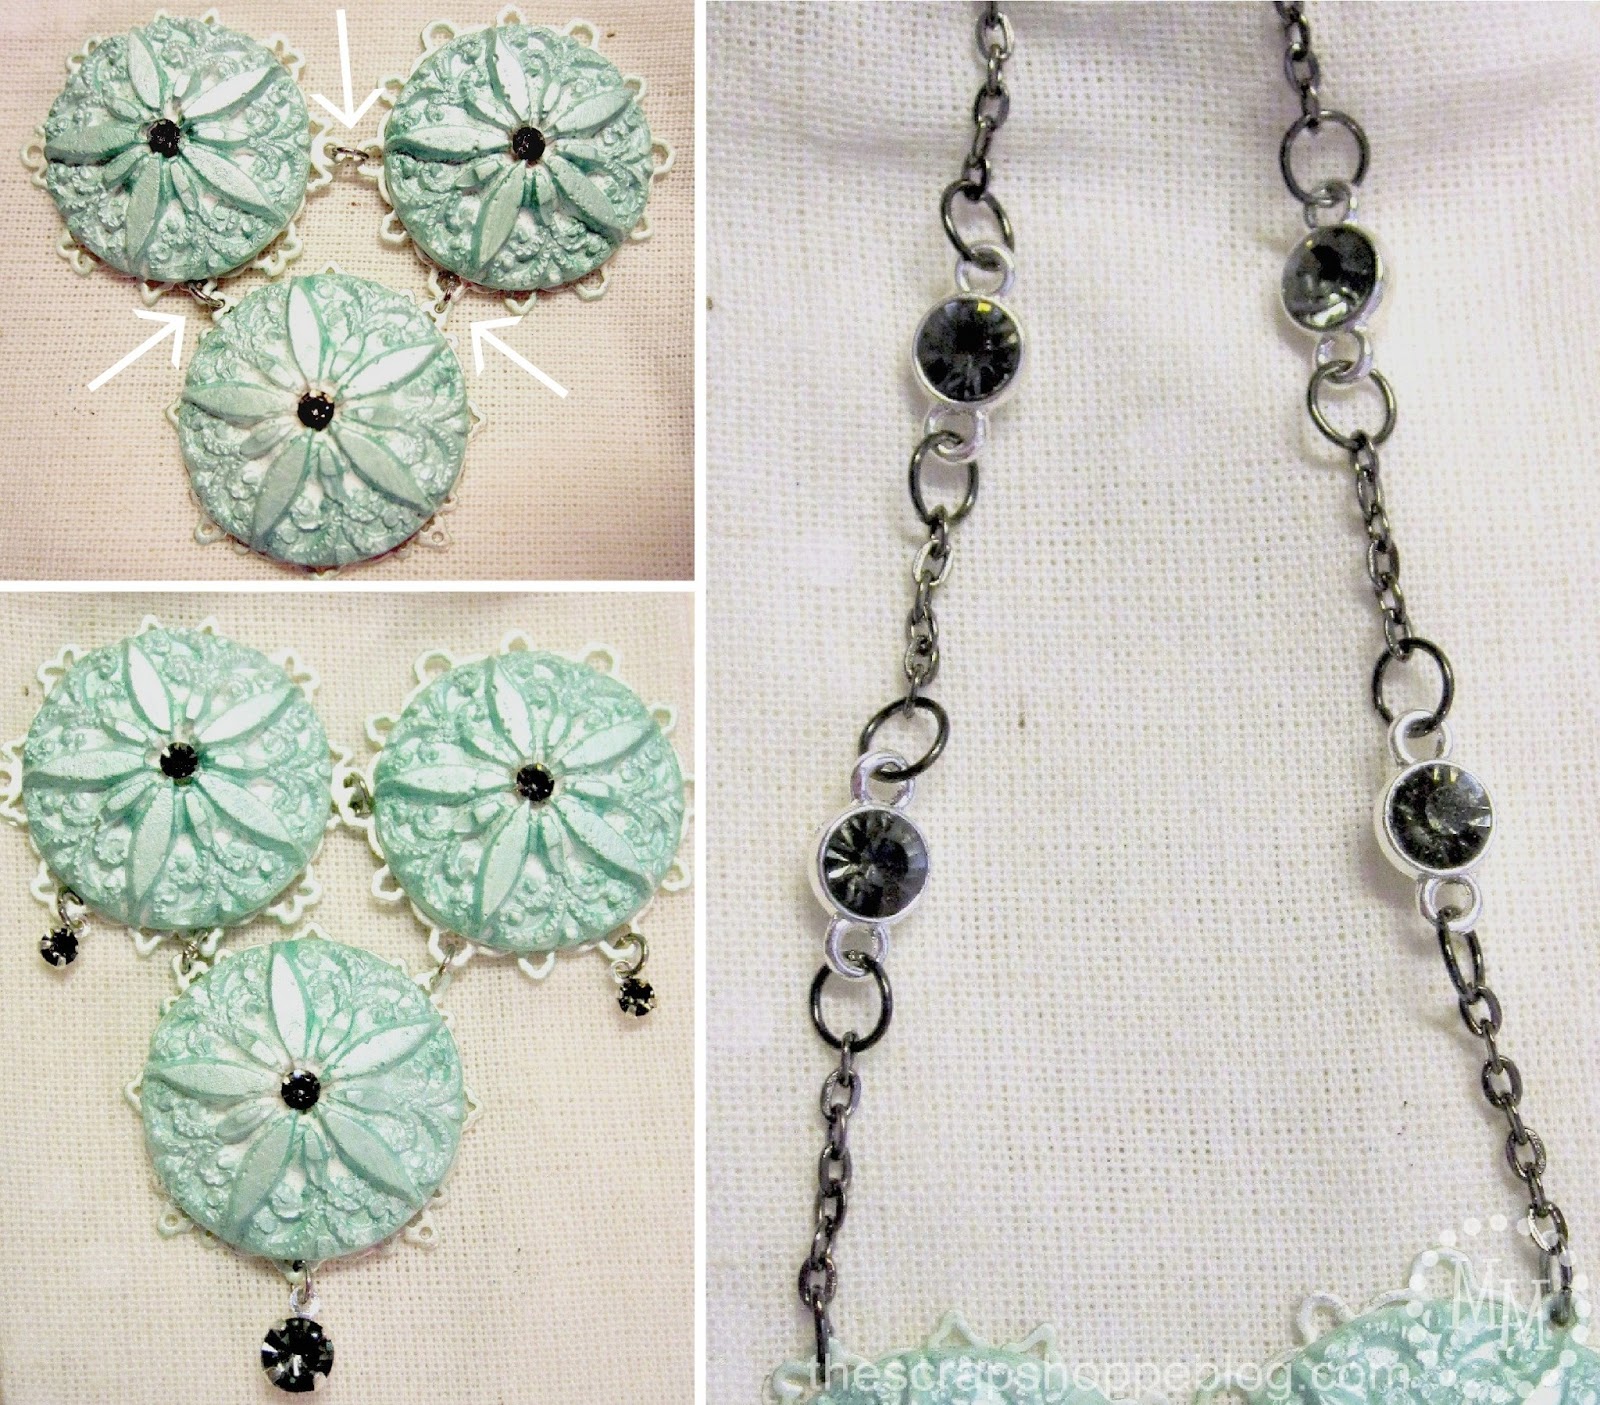
Now its time to put everything together!
Use jump rings to connect the 3 filigree settings together.
Use more jump rings to add the rhinestones to the filigree settings. This gives it the "chandelier" look.
If you desire to do so, add in a couple of rhinestones to the chain on the necklace.

Facebook | Twitter | Pinterest
Disclosure: I wrote this post as part of a sponsored campaign with Plaid and The Blueprint Social. All opinions in this post are my own.
Linking up to Flamingo Toes, Skip to My Lou, Today's Creative Blog, The Shabby Creek Cottage, Tidymom, 504 Main, Serenity Now, Whipperberry, My Repurposed Life, 30 Days, Tatertots & Jello, Positively Splendid, and other great parties found on my party page.


I've been wanting to make my own molds for ages! Thanks for the tute!
Wanted to let you know I'm featuring this when my link party goes up tonight!
So pretty! Those molds are really neat ... so many possibilities!
Gorgeous - I love the colors!! How cool to use molds!
Love that you showed how the molds work...I haven't tried mine yet! Your necklace came out so nicely!!
We were just talking about mold making at our art group meeting last night! Didn't know MS had a line out too!
OOOO I really want to try the custom mold set! Thanks for showing us how to use it!
Beautiful necklace!! Love the molds!! Can't wait to try this and make one on my own. Thanks for the great idea and tutorial!!
So detailed and feminine Michele great job!
So pretty--I love all the layers!
I am in love with this soooo much!! That mold from the vintage button is so fabulous!!! I really need to start playing with those molds. Thanks for the awesome tutorial and the tips!
Thanks for the tip on the molds. Hope to try it some day soon.
So awesome Michele. I cannot wait to play with the molding clay. Love love love your necklace!
I absolutely LOVE what you did with the molds! I need to find me some vintage buttons!
Love the molds. All those goodies can really inspire! Pretty necklace too!