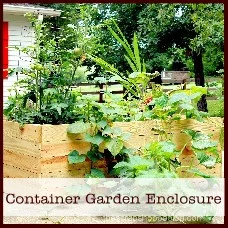
Don’t let critters in your garden get you down, build a DIY enclosed garden greenhouse to keep them out!
This post contains affiliate links.
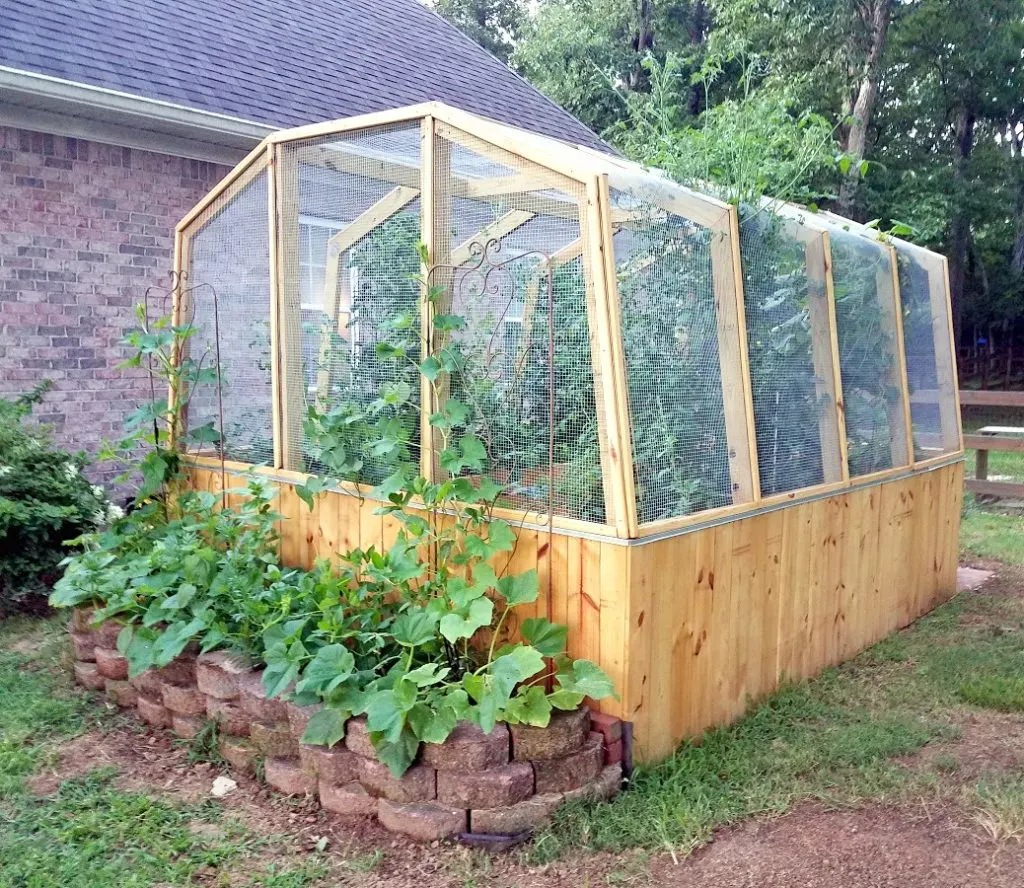
You guys, last year we did a thing. And I’m FINALLY sharing all of the details with you!
I love to garden. In fact, some of my gardening posts are way more popular than my craft posts!
Like this one to keep squirrels out of your plants.
But I love how rewarding gardening feels. All that hard work can lead to such yumminess!
I mean really, guys, nothing tastes better than a tomato fresh off of the vine.
Unfortunately it’d been a few years since I had the pleasure of having a fresh tomato from the vine.
Between the birds and the squirrels, we weren’t getting any of our crop unless I picked them green and let them ripen indoors.
And sometimes they would even steal the green ones before I could get to them!
I tried multiple tactics to keep them away, but nothing worked.
I even created a container garden to keep on our patio literally steps from the back door, and the squirrels STILL stole tomatoes!
I finally got fed up and told my husband I wasn’t growing anything anymore unless I knew my vegetables would be safe.
Which meant a completely enclosed garden.
I had found some fabulous plans for him to work from and finally talked him into building a DIY enclosed garden greenhouse for me!

DIY Enclosed Garden Greenhouse Ground Work
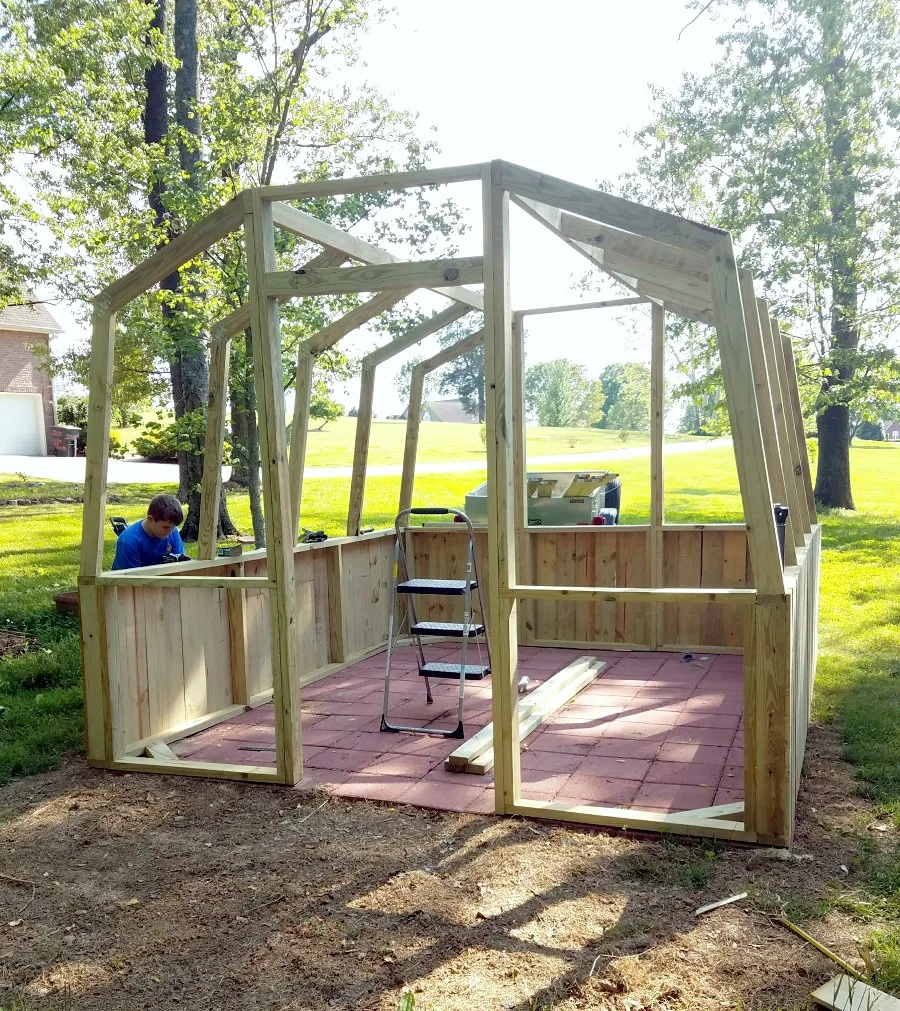
We started creating the DIY enclosed garden greenhouse by digging out and leveling the space, putting down sand, and topping it with 12×12 pavers.
The total size is 9’x12′.
I used to have a couple of above ground vegetable gardens here that were built when we first moved in ~15 years ago.
One was made of wood and had started to rot.
The other was small and made with stacking flower bed pavers so we set those aside to use later.
DIY Enclosed Garden Greenhouse Construction
We based the design on plans from Ana White’s DIY Greenhouse but altered the roof line (I love the barn look!) and some of the supplies since we wanted an open air “greenhouse.”
The design plans are stellar and include ALL the wood and tools you will need for the framework so we knew exactly what to get.
Hubby used fencing for the outside of the greenhouse and trimmed it as needed.
It was a lot cheaper than buying wood planks.
All 3 of my boys (hubby and two kids) worked on the greenhouse.
You can see my then 9 year old drilling screws in the photo above.
Once all of the construction was complete we sealed all of the wood to protect it from the elements.
Hubby also had added metal flashing to the raw ends of the wood to help with exposure.
DIY Enclosed Garden Greenhouse Garden Beds
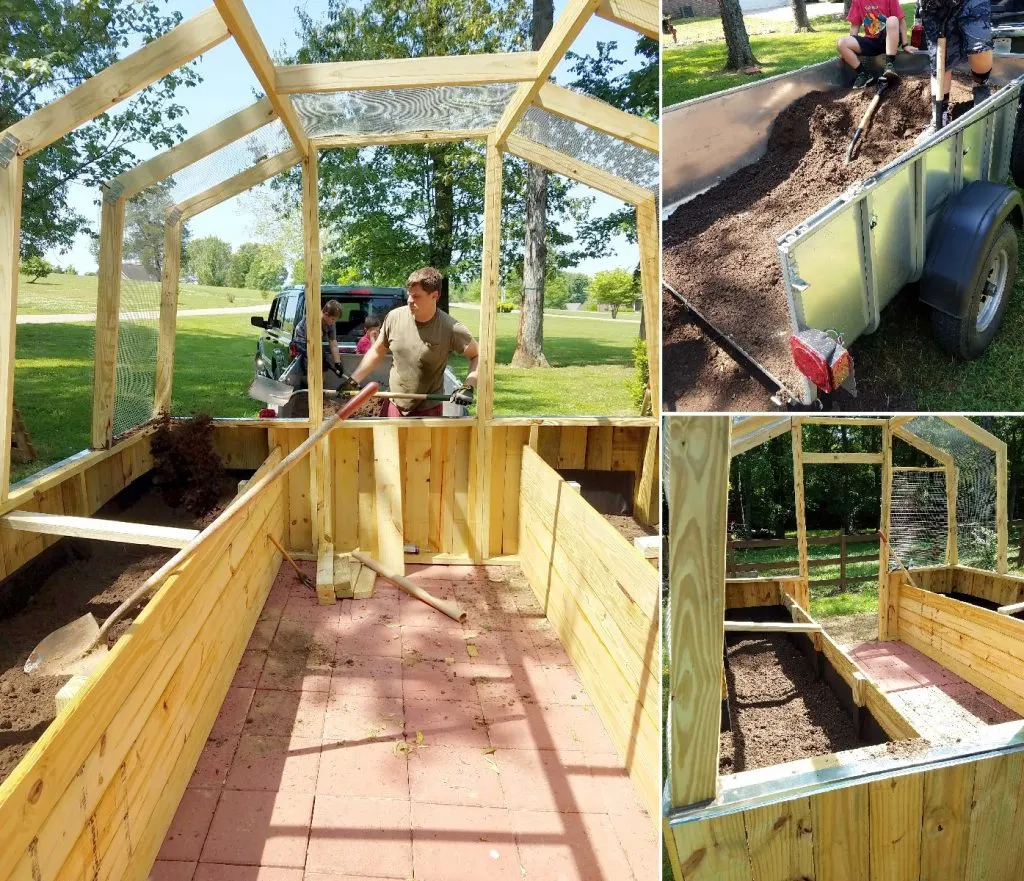
We built containers for above ground garden beds along the inside of the greenhouse.
Prior to adding dirt, we lined the inside of the beds with landscape fabric to keep wet dirt directly off of the wood.
The beds themselves are 2 1/2 feet high (the outside walls are 3 feet high). We added at least 2 feet of dirt.
I don’t remember how many trailers full of dirt we brought in but it was at least 3, maybe more.
We got the good stuff: a mixture of half good soil and half mushroom compost.
We ALL worked to get that dirt into the greenhouse.
It was quite the chore!
Hubby would shovel it in from the back of the trailer, little boys would shovel from the front of the trailer to the back where their dad was, and I spread all the dirt out as it was added to the beds.
DIY Enclosed Garden Greenhouse Wire Mesh
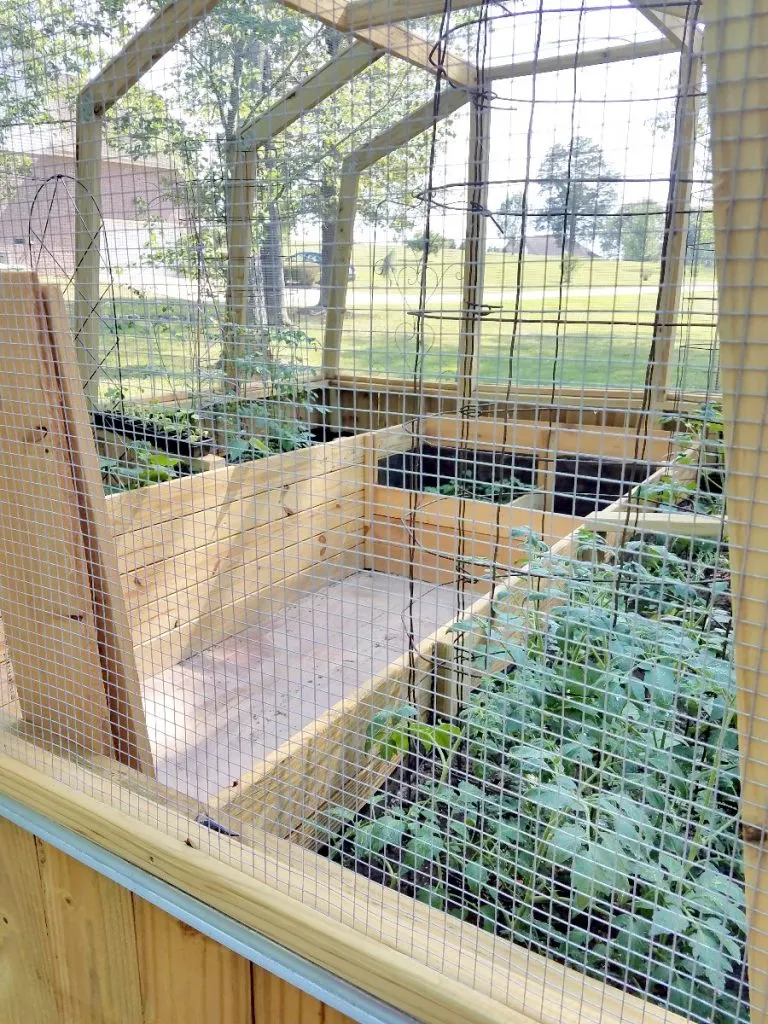
We used a 1/2″ wire mesh on all of the open areas. No way a squirrel or bird is squeezing in there!
Hubby put all of the edges of the mesh between two pieces of wood to be sure it was secure.
Some places, like the very top, where more than one sheet of the wire mesh was needed, we overlapped the sheets and used a piece of wire to thread them together so there would be no places squirrels might try to slip in.
Pollinators can still fit through the gaps in the mesh.

The very back of the greenhouse, between the long raised beds was reserved for potato bins.
They are split into two bins, and the front pieces are removable as are the center pieces that split the bins.
You can see along the left and right that hubby made notches for the planks to slip into to keep them in place.
With potatoes, you want to be able to plant them low then add dirt as the plant grows.
Then when it’s time to harvest, it’s easiest to get access directly to the dirt from the side rather than digging your way down.
So I can remove the front pieces, put down a tarp to collect the dirt, and harvest the potatoes.
We keep a metal bin outside the greenhouse for “spare” dirt which is just for adding and taking away from the potato bin.
We also grow sweet potatoes which are planted the opposite of russet potatoes.
You want a bin already full of dirt and the sweet potato will grow down.
So when we harvest the russets, we can also harvest the sweet in the neighboring bin.
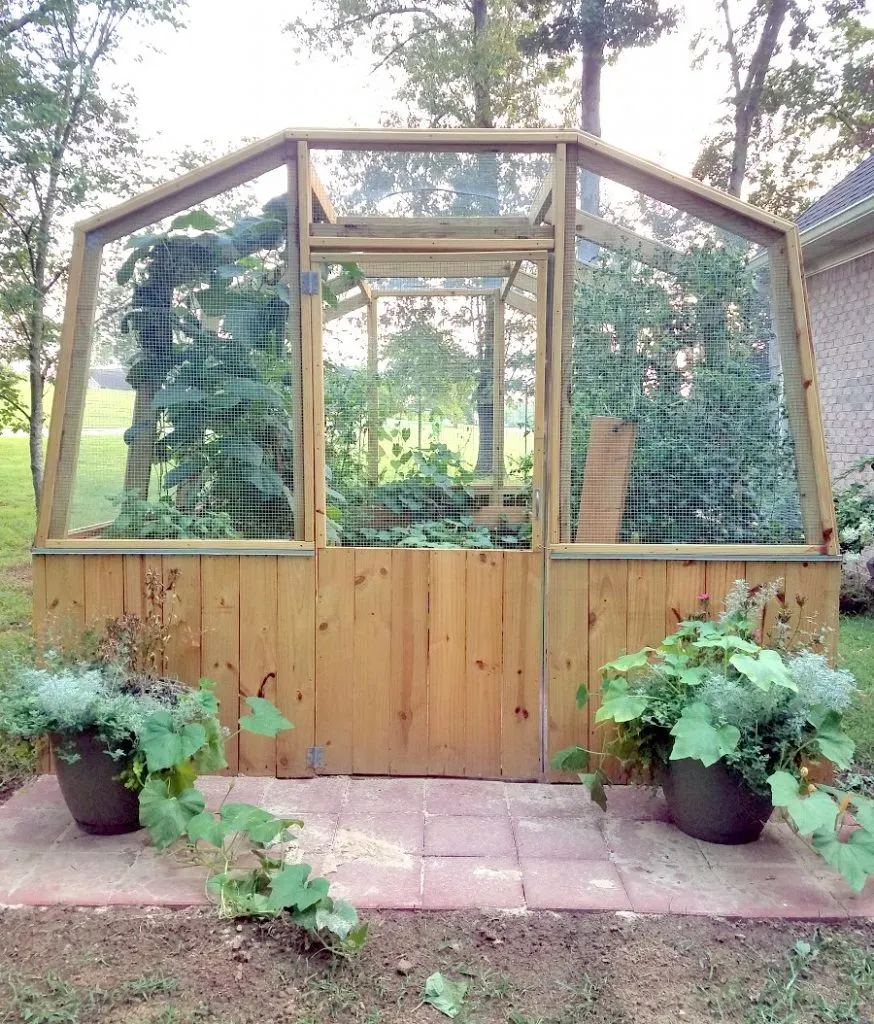
We had some leftover pavers (because we bought them in flats) so we added a front patio area to the greenhouse.
Once all of the pavers were in place we added sand to all that were left exposed inside the greenhouse and on the patio.
Hubby built a simple door to match the rest of the DIY enclosed garden greenhouse and it stays closed with a simple latch hook.
And because I want to attract pollinators, we got a couple of large, inexpensive plastic pots for the front patio.
They are filled halfway with recycled plastics then topped off with the “good” dirt.
The plastic helps keep them lightweight if I need to move them around and helps with drainage.
As you can see, I also stuck some pumpkin plants in them.
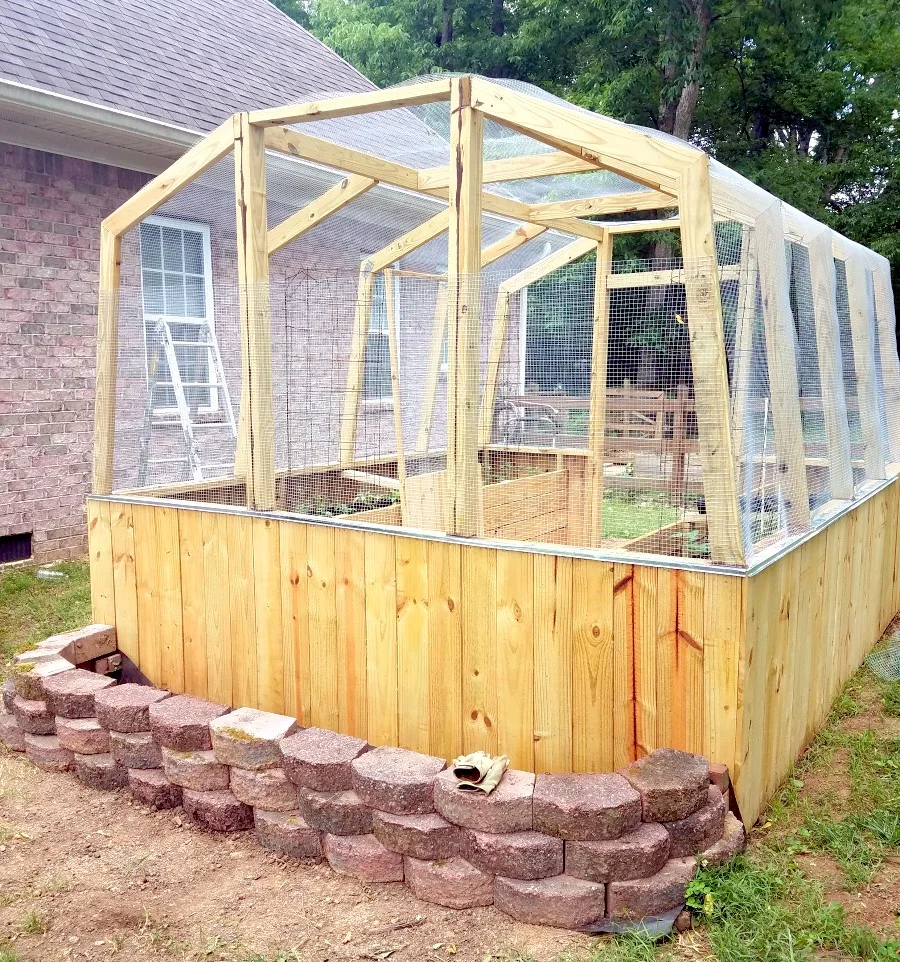
For the “back” side of the greenhouse, which is actually the side that faces the street, we used the flower bed pavers from the old above ground vegetable garden and created a new flower bed.
This was a great way to bring in more pollinators AND make the greenhouse have more curb appeal.
It was also filled with the “good” dirt.
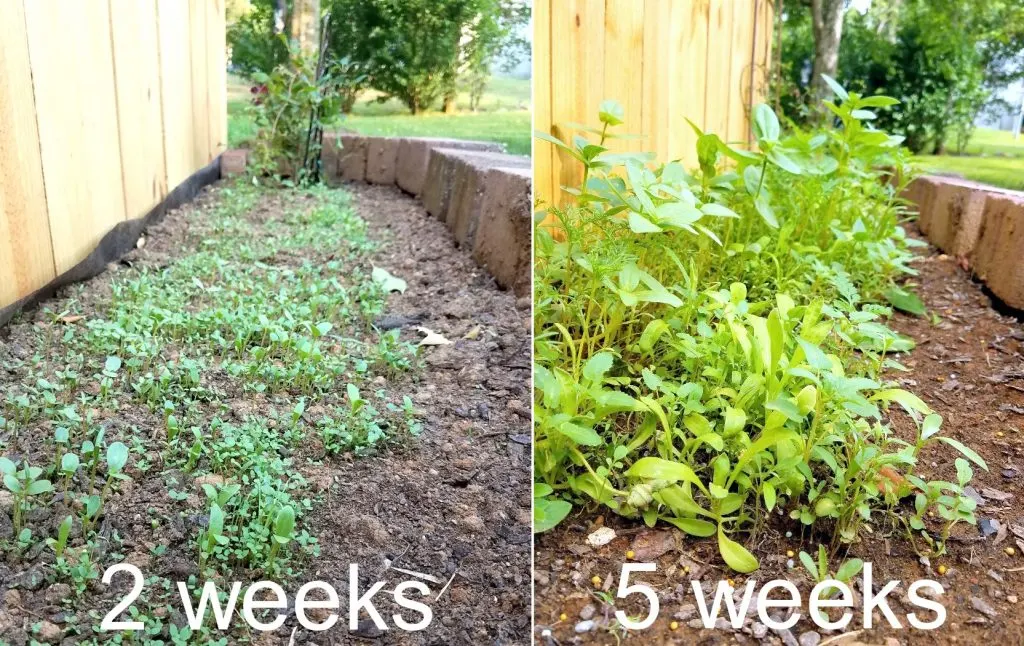
To save money on flowers we used seeds to start a wildflower garden.
It takes patience for them to grow, but was totally worth it.
We had SO many flowers!
Here you can see the difference between 2 weeks of sowing seeds versus 5 weeks.
After 5 weeks they really started to take off!

I also purchased a couple of small clematis vines for each end of the flower bed so we’d have pretty spring blooms the next year (and we did!).
The greenhouse was built over several weekends in May, so the actual gardening was started about a month later than you normally would start.
But you can see the difference just a month and a half made from early June to late July! WOW!
I also stuck a couple of pumpkin plants in this flower bed.

Here are just a few of our wildflowers in all their glory.
Have you ever seen a bee take a nap?
Now you have.
I caught this guy sleeping on the job one evening.
Poor thing must have been exhausted!

As you can see, my plants LOVED the “good” dirt.
That mushroom compost is great stuff!
It was almost too good, but I think I will save that information for another post.

I learned a few things about plant placement last year that I was able to do “better” this year.
My poor herbs were tucked into a corner and were quickly overshadowed by the climbing cucumber.
In 2018, the first year in the greenhouse, we planted:
Beefsteak tomatoes (several varieties)
Cherry tomatoes
Roma tomatoes
Sweet peppers
Banana peppers
Cucumbers
Squash
Baby pumpkins
Sweet Potatoes
Basil
Oregano
Rosemary
Lavender
We had at least 3 of each type of tomato plant.
And all of the above list was in the greenhouse beds except the baby pumpkins which were grown in the flower bed, pots, and the bucket in the center of the greenhouse.
We had a great crop, and I’m pleased to report we all ate a TON of tomatoes!

We had cucumbers for days. DAYS.
Luckily we all love them, and my kids would split one with their lunch every day.
I had the boys help me in the greenhouse whenever possible, watering, harvesting, caterpillar hunting, anything to get them in there and learn the value of growing your own food.
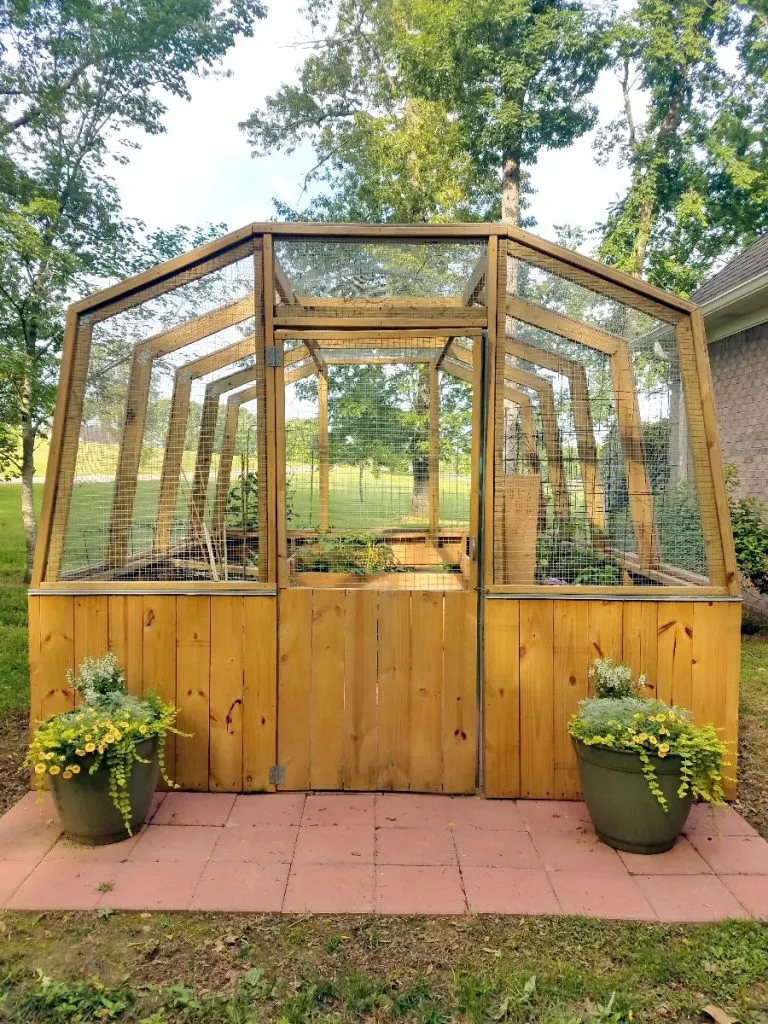
This last photo of the DIY enclosed garden greenhouse is from this year.
We pressure washed a few places on the greenhouse and need to reseal a couple of spots, but it was ready to go come late April when I was ready to start planting!
I planted the baby pumpkins way too early last year (they were ready in early September!) so I’m going to wait a few more weeks before starting them.
Then I’ll add them to these pots and the flower bed in the back.
In 2019 we are growing:
Beefsteak tomatoes (several varieties)
Cherry tomatoes (some reseeded from last year, some new)
Cucumbers (ALL reseeded from last year)
Sweet peppers
Bell peppers
Banana peppers
Eggplants
Russet potatoes
Sweet potatoes
Basil
Oregano
Rosemary
Baby pumpkins
This year I’m growing all of the tall plants on one side (tomatoes and cucumbers) and the shorter plants on the other (eggplant, peppers, and herbs).
So far everything is thriving!
If you have the space and the means to build a structure like this DIY enclosed garden greenhouse, and you have a critter problem, be they squirrels, bunnies, or deer, I HIGHLY suggest trying a garden like this!
These days my biggest nemeses are caterpillars which I can totally deal with.

>> See where I party! <<


Dina
Saturday 1st of January 2022
Love the looks of this!
So it appears the 1/2 inch hardwire allows bees to come in… that is what we are fighting in our high tunnel=pollinators
Michele McDonald
Monday 3rd of January 2022
Thank you, Dina! Yes, we are encouraging the bees as much as possible, but I am sure you can get a smaller wire if you would like to keep them out.
Laura
Tuesday 21st of September 2021
Do you happen to have the plans for this? My husband would like to build something like this for me but was hoping you had the plans.
Michele McDonald
Wednesday 22nd of September 2021
We used Ana White’s DIY Greenhouse plans and just altered them a bit to suit our needs. There is a link to those plans in the post under the 3rd photo.
Stacey
Monday 17th of August 2020
Just wondering how it holds up in the winter with the snow load?
Michele McDonald
Sunday 6th of September 2020
We are in TN so we do not get a whole lot of snow. But from what we have had the past couple of winters, it has held up just fine.
Dani M
Saturday 18th of July 2020
What an amazing greenhouse! I was looking online for ideas for my 84 year old mom who has been fighting with pests and bugs and of course it's hard for her to bend to maintain her garden that doesn't yield much for all her efforts in her Arkansas soil! I was wondering about how much something like this cost to build all in with soil and all? Plant's and seeds not included of course 😄. Just a round about $ amount to see if it is something my siblings and I could gift to our mom. I think it would be perfect for her so she could finally enjoy gardening again without the pesty fight. Thank you so much for sharing your great idea!
Michele McDonald
Sunday 6th of September 2020
Unfortunately I do not remember an exact dollar amount, but between the pavers, wood, metalwork, and dirt it wasn't cheap. We did use fence slats for the sides with the point cut off which did save a lot. But I can tell you that now, 3 summers later, it was COMPLETELY worth it to get our full bounty from the garden without sharing it with the local wildlife. Your mom will still have bug problems (our main issue is caterpillars), but just having a raised bed makes them easier to deal with. ♥
Dori
Wednesday 26th of June 2019
I really love your greenhouse idea.