
{No Sew!} Embellished Sun Hat
My friends, I'm finally going on vacation this year! We haven't been on a big trip since before my son was born in 2008. So I am READY!
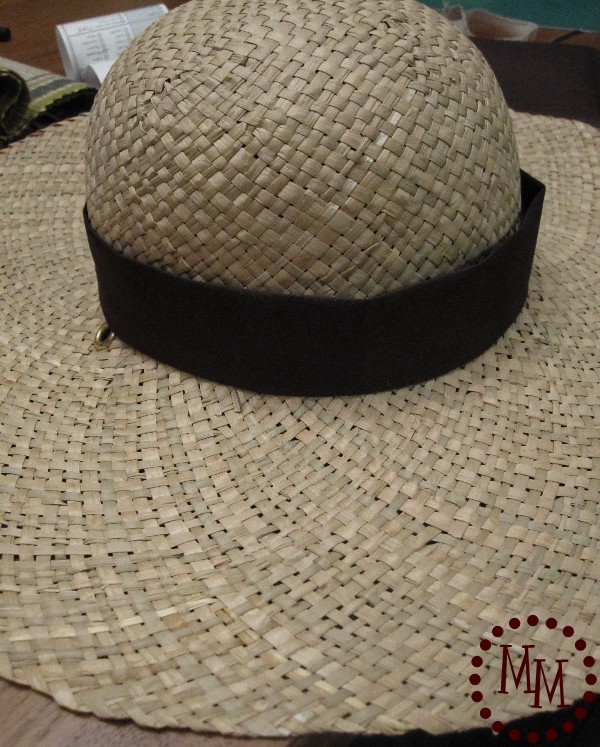
To gear up for some fun in the sun, I decided my sun hat needed a little dressing up.
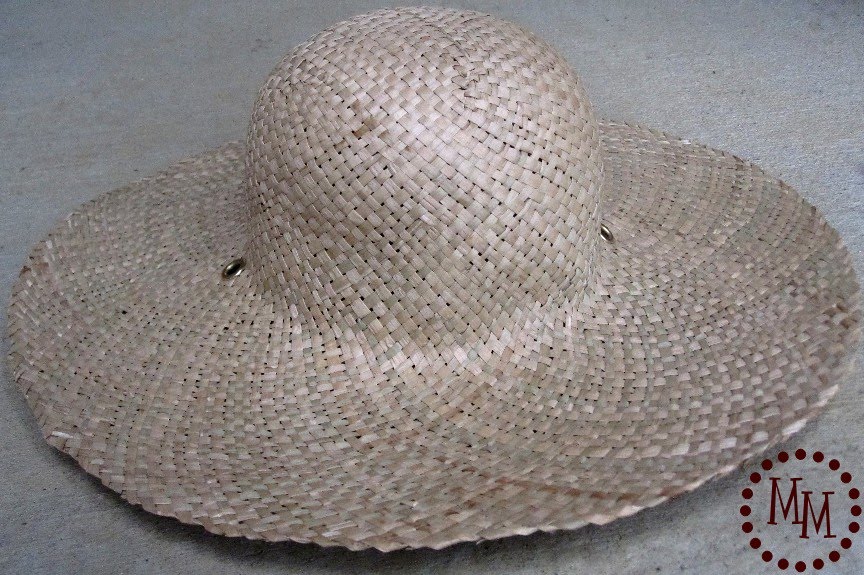
See what I mean? Kind of blah.
Plus, I typically have to tie a scarf or something around it so it will stay on my head.
So I gathered some supplies to get this project going...
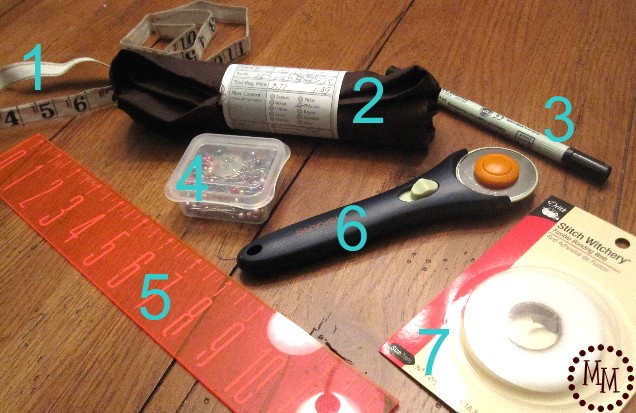
1. Measuring tape
2. Fabric
3. Marker
4. Pins
5. Ruler
6. Rotary blade
7. Stitch Witchery
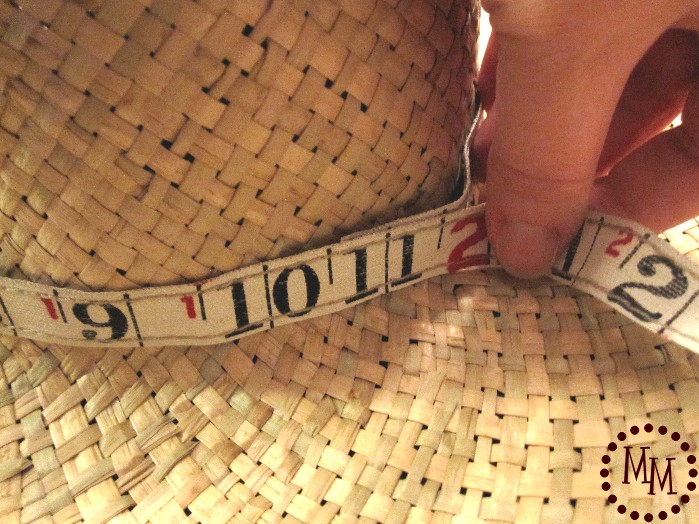
First things first, measure the circumference of the hat. I also measured the circumference of my head to be sure my embellishment I was going to add would be snug enough on me.
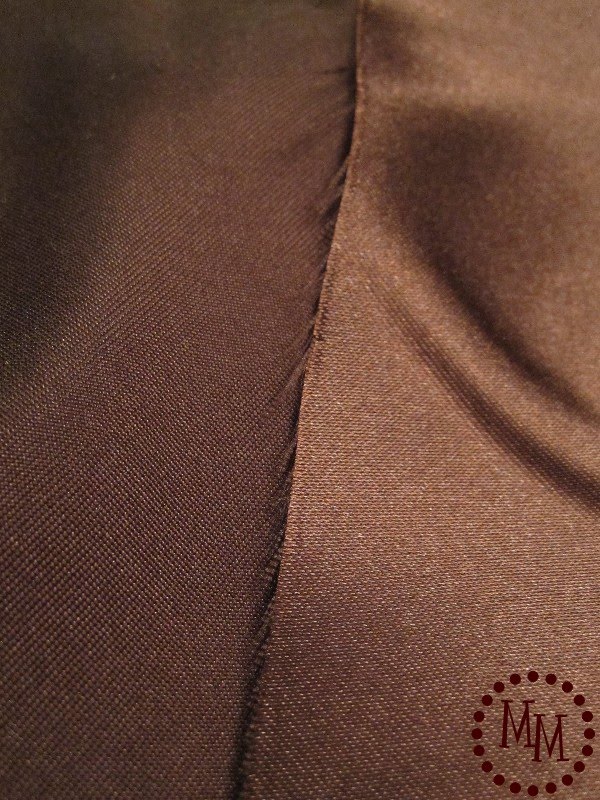
For my fabric I chose some brown satin. I actually like the back of the satin better (on the left in the above photo).
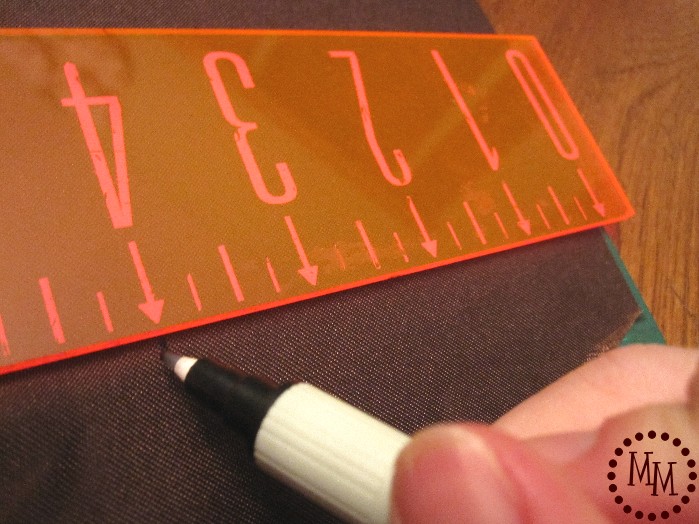
I started off measuring how wide my fabric would need to be. I want the final embellishment to be ~1.5 inches so I'm going to cut off about 4 inches so I have plenty to work with.
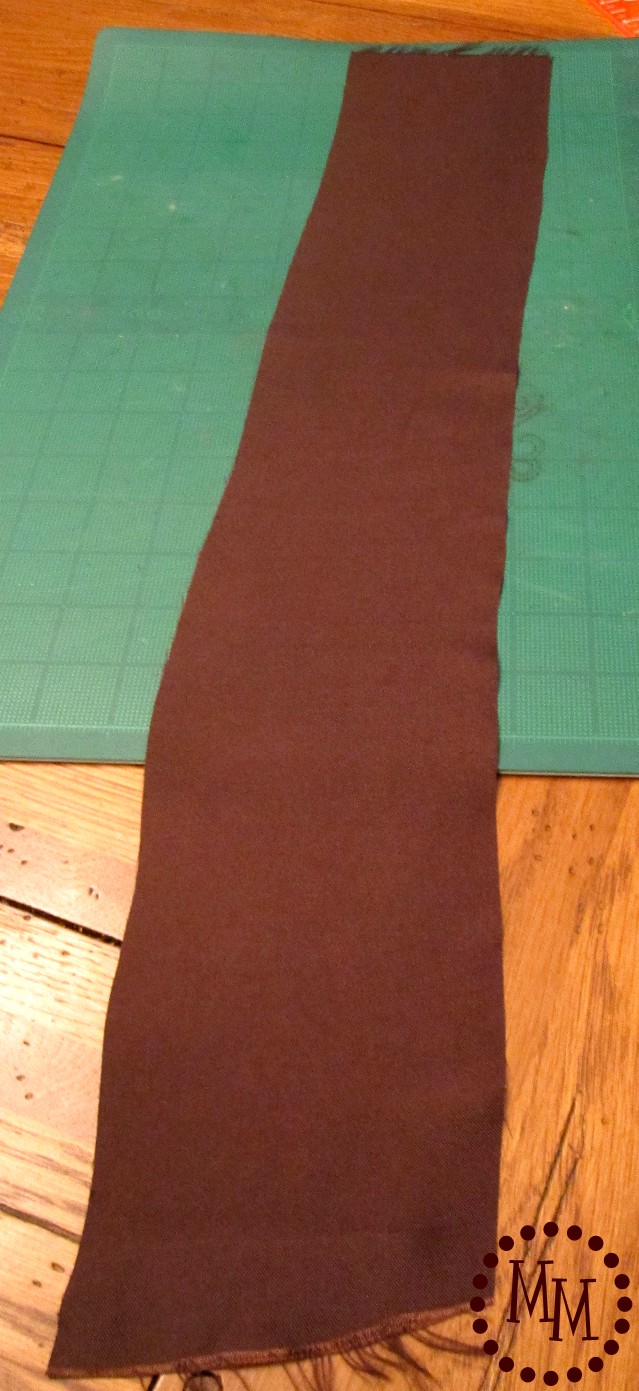
I used my rotary cutter to cut my length of fabric.
Can I just say that this is my first time using a rotary cutter and it was AWESOME, and I'm kicking myself for not using one a long time ago!
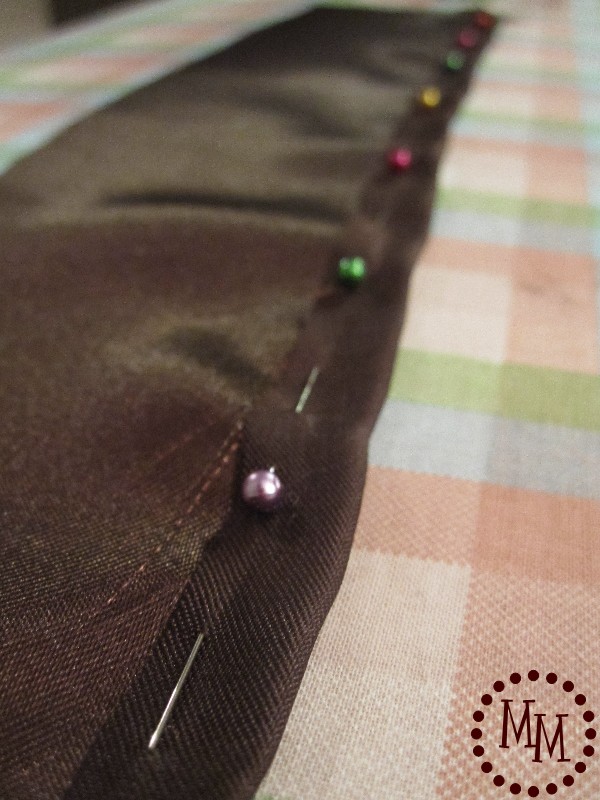
I pinned down my seam and ironed it really well.
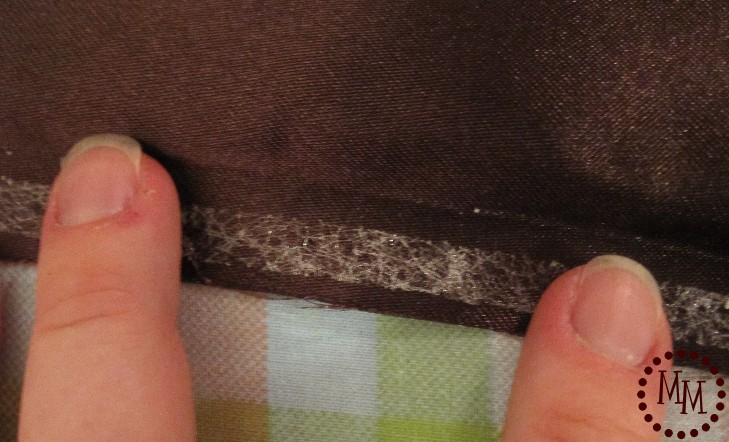
I took the pins out, reopened the ironed seam, and put down a strip of the Stitch Witchery and attached it using the directions on the back of the packaging
After it was all done, I had a nice closed seam with now sewing!
You know my no sewing for this project comes from the fact that I don't have nor know how to use a sewing maching... Yeah, I'm going to have to go down that path someday. 😉
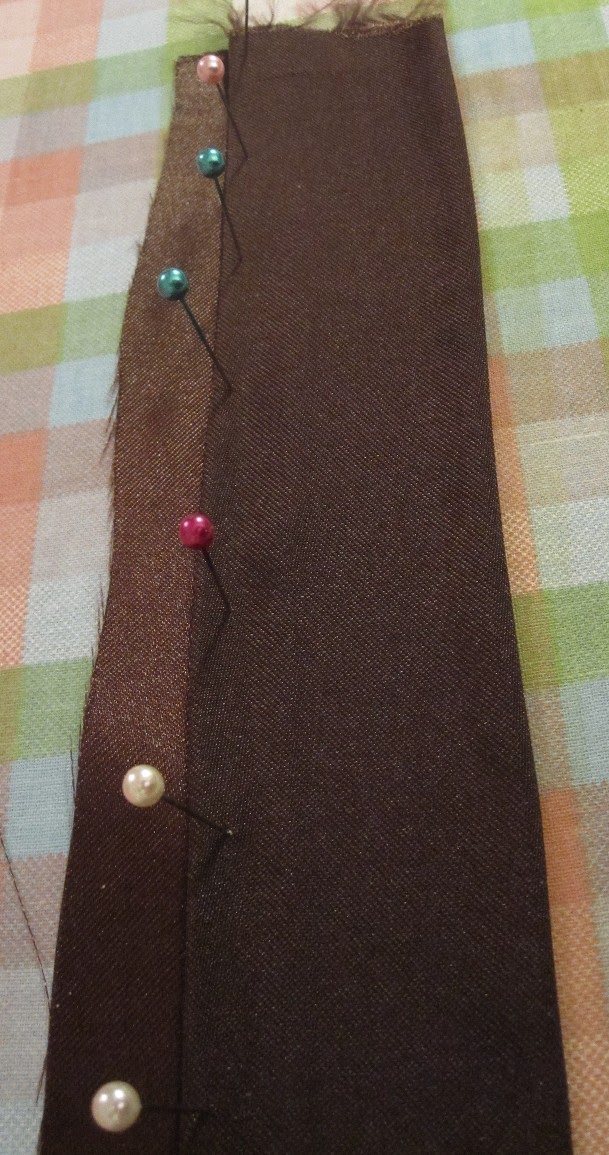
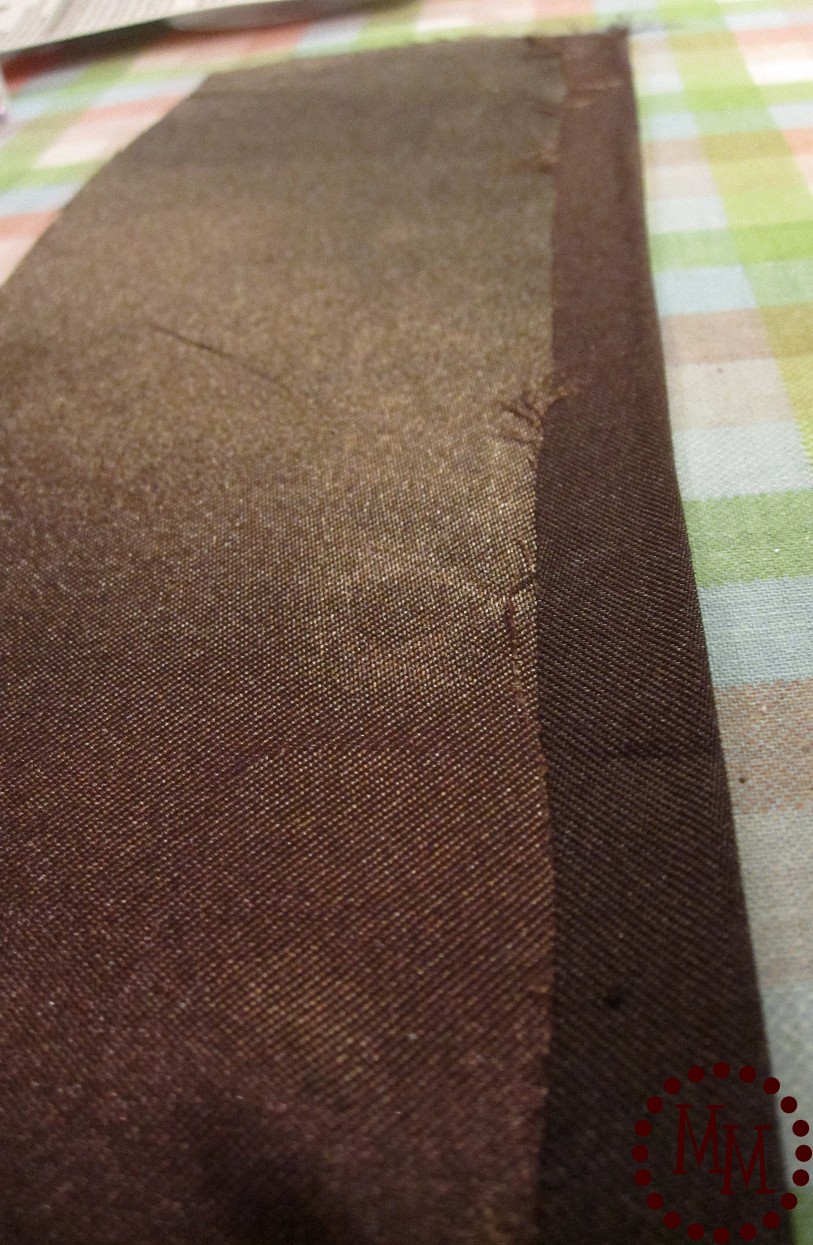
After Stitch Witching my seam, I folded the fabric over 1.5 inches, pinned it, and ironed.
Then, instead of folding up the other side, pinning, ironing, and Stitch Witching again, I took the easy way and just trimmed off that extra overhanging fabric with the rotary trimmer.
Maybe I was just excited to use the rotary trimmer again... 😉
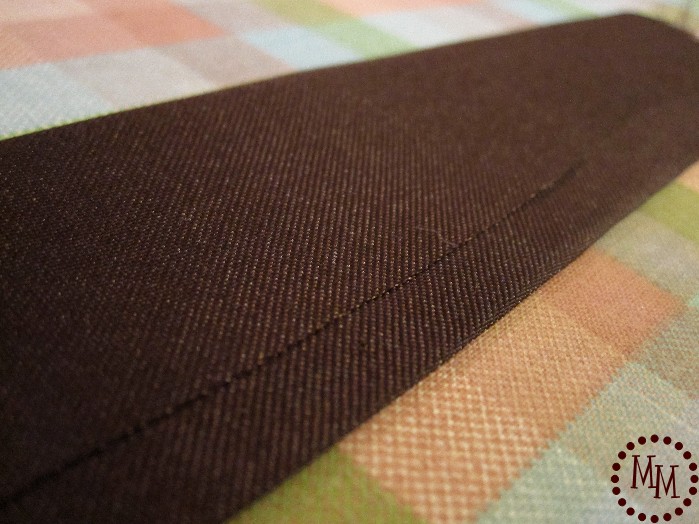
I added some more Stitch Witchery to adhere the folded over piece and make it stay.
A quick peek to see how the embellishment will look...
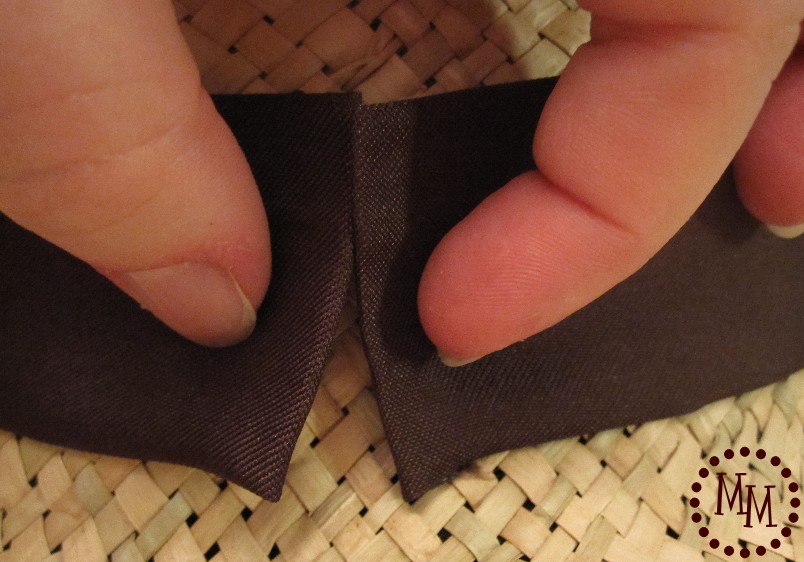
And then I noticed a problem. After all my trimming and hemming and whatnot, the ends would not meet. Boo!
I was going to attached them together with velcro so I could easily take it on and off the hat.
No worries though. I came up with an alternative solution!
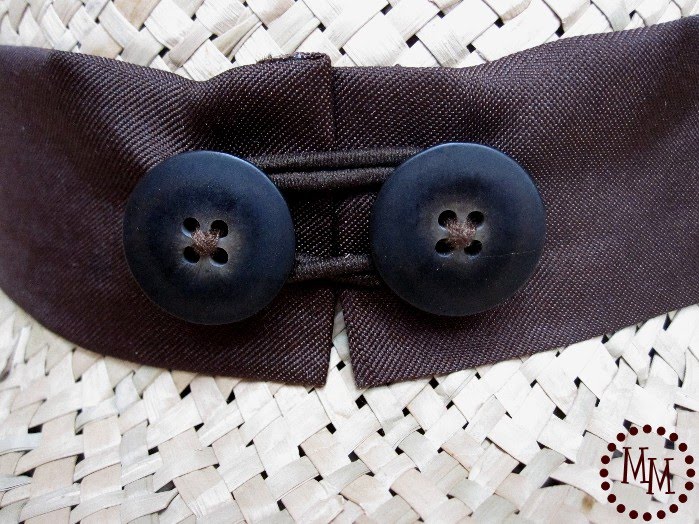
Meet two buttons and an elastic hair tie!
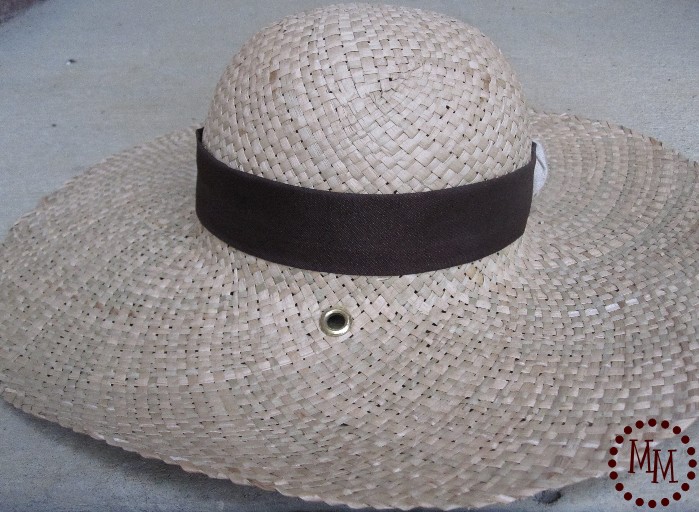
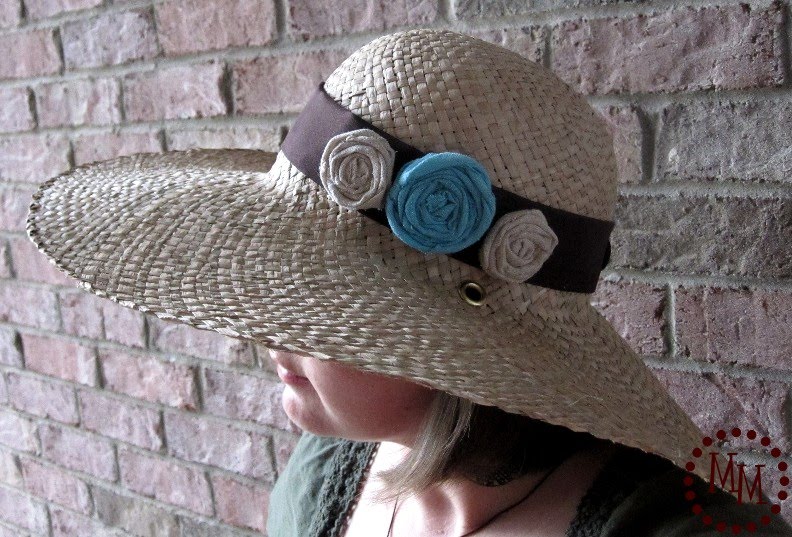
Now that embellishment looks nice and tight! I love it!
But it needs a little something extra...
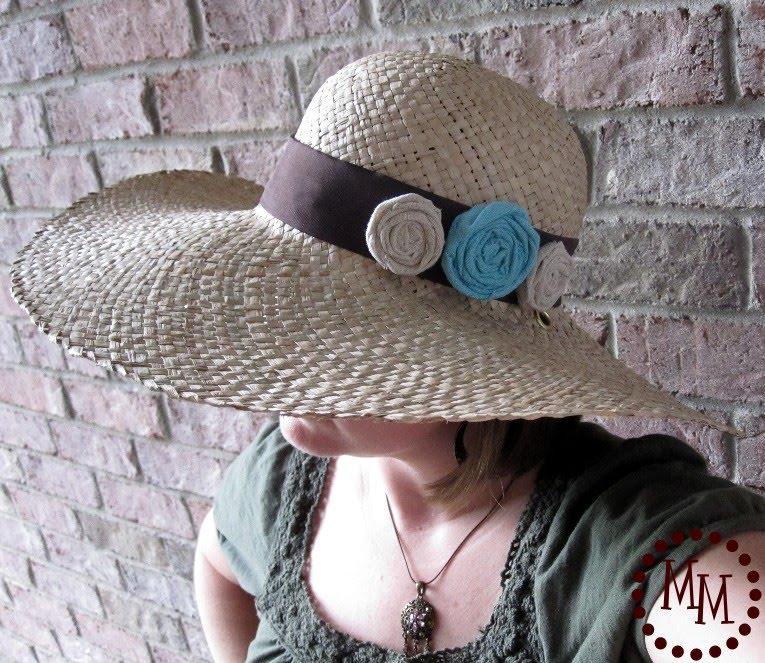
Some fabric roses, of course!
Now that is a finished project.
And I am ready for vacation!
~.~.~.~.~.~.~.~.~.~.~.~.~
I'm linking up to these great parties.


What a clever idea!! This hat is way cute with your rosettes on it!!
Thank you for linking up to my fashion party michele 🙂
Featured you today!! 🙂
http://www.thecountrychiccottage.net/2011/04/moms-heart-handmade-mothers-day-gift.html
brilliant...adorable...chic...sophisticated. It looks great. Have FUN on vacation.
Hi! I found your site off of Today’s Creative Blog! I love your craft! You are so talented! I just signed up to be your 418th follower! Woo hoo! I hope you stop by my new blog. I just started it 2 months ago and would love new friends! Please come see me at http://www.modernfamilymagazine.com
Great job! I love the flowers, have a great vacation!
Very cute! Especially the button detail! What a great fix for your "blah" hat!
Great looking hat, love what you've done to it! 😀
Have a nice vacation.
Eveshouse.blogspot.com
Love it - especiall the button-hair-tie part! Very cool.
I'm jealous, I want to go on vacation too! Your hat looks fantastic, thank you so much for sharing it with us at Anything Related!
{Rebekah}
p.s. Have a great trip!
That is so simple yet extremely effective!
Hey girl! Cute hat! love the flowers 🙂 thanks for leaving me a link of FB!
happy crafting!
Linda
Love the hat! Perfect for sitting by the pool. Ahhhhh. Don't forget to link up please.
Oooo, it's lovely. I want a sun hat!
Cutest SUN HAT ever! LOVE THE BROWN FABRIC WITH BUTTONS TO TAKE ON AND OFF... FAB. jen
great idea! I want one of these hats!! Too cute!! 🙂
...visiting from Sassy Sites! I am a follower! Come by my blog and say HI! 🙂
(you have a very Sassy Site!)
I love it! I looked long and hard for a cute beach hat. This would have saved me the trouble. 🙂 I would love it if you came by and linked it up to my Beach Week link party. Here's the link. http://www.barefeetonthedashboard.com/2010/08/welcome-to-beach-week-link-your-beachy.html
Your hat turned out adorable! I hope you have a wonderful time on you vacation!
Hi... I'm your newest follower.
Super cute hat!! Have a great time on vacay!!
Really cute! I love this! Have a wonderful vacation!
Sooo cute! You really, could do these and sell them.
~ The Speckled Dog
Absolutely adorable, Michele!
Love how you dolled up your hat!!
LOVE it! So simple and beautiful!
Very cute! Have lots & lots of fun!!
I love hats and roses, so this is my kind of project. And the buttons are darling. Sometimes are fixes make the finished product even better.
Janet
Very cute idea! I'm a new follower from Just Something I Whipped Up.
Charity
http://humboldtcherry.blogspot.com/
This is absolutely GORGEOUS!! Love those rolled flowers. You will be sunning in style! You totally deserve a nice va-cay. ENJOY!
Ok seriously super cute hat!!! I love it!
Those buttons and roses are just darling. You're going to be stylin in the sun!
Where are you going??
Um, genius! I love how you did the buttons, they actually add a lot to the embellishment and don't look like a mistake cover-up.
I'm with ya, I usually attempt to do things no sew or hand sew only...but I just broke down and bought a sewing machine. You should get one and we could fumble through this together!