
Entryway Artwork
In case you missed it, here is the guest post I did last month over at the fabulous
~.~.~.~.~.~.~.~.~.~.~.~.~.~.~.~.~.~.~.~.~.~.~.~.~.~.~.~.~
I want to share with you what is a slight
embarassment to me.
My entryway!
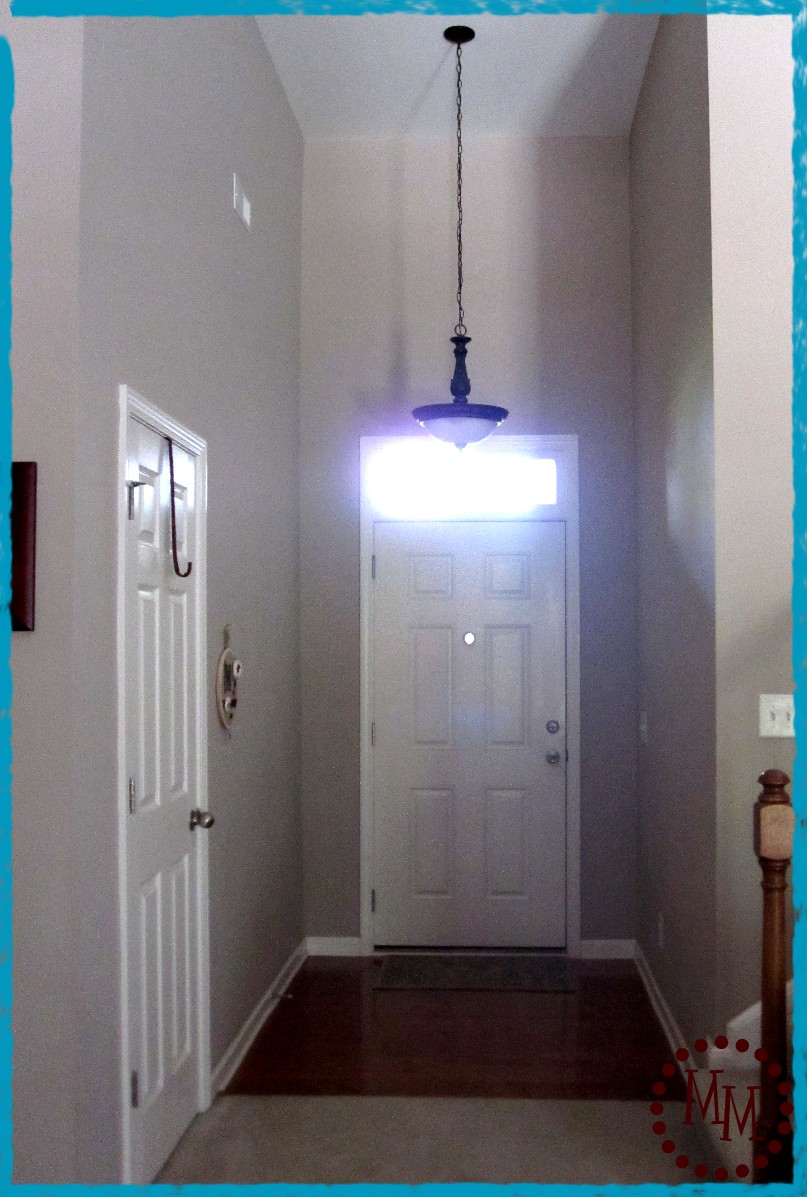
Ugh! Super boring, right? We've lived in our house for 6 years now and it still looks like this! I've been on the lookout for the *perfect* table for my entryway for ages, but in the meantime surely there is something I can do with this space!
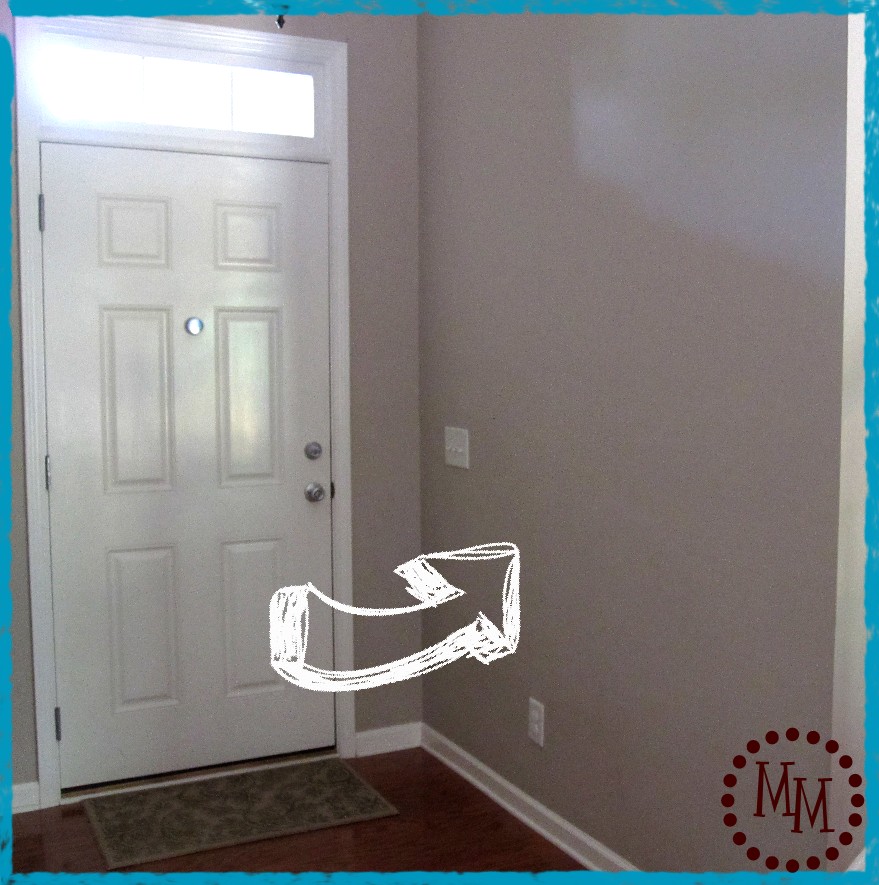
My focus today is the wall to the right. The first thing people see when they walk in my home.
My big plan is to make some ENTRYWAY ARTWORK!
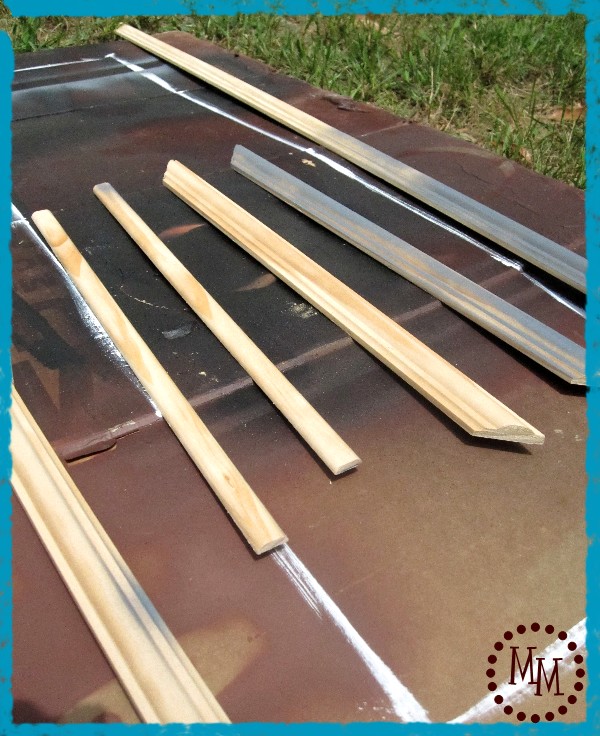
My artwork will need a frame, so I started with two 8' pieces of decorative wood trim, and one piece of 36" flat trim with rounded edges.
I had the hubs cut all of the trim down to size for me.

Then we cut each of the decorative trim pieces to a 45 degree angle.

Next up, prime and spray paint all of the trim. I used Rust-oleum Satin Espresso paint.
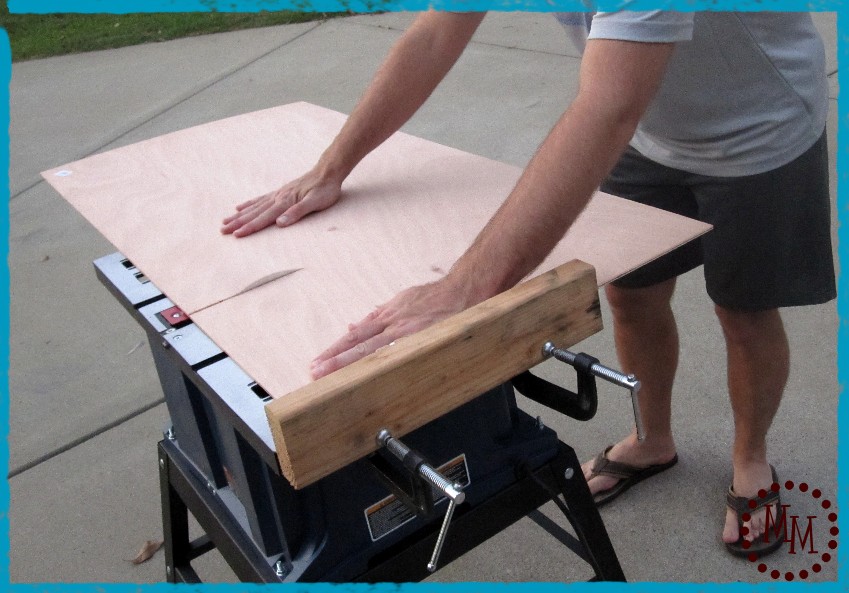
I had a 4' wide piece of plywood that was made from a combination of synthetic wood (on the interior) and the real wood (on the exterior). It only cost ~$5!
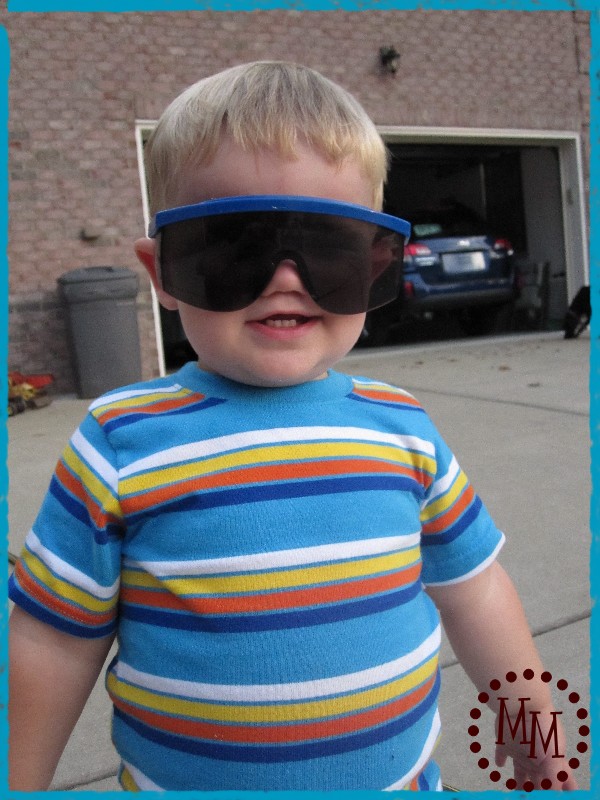
This little guy really wanted to help, but we had him stand around and look cute in an extra pair of safety glasses. 😉
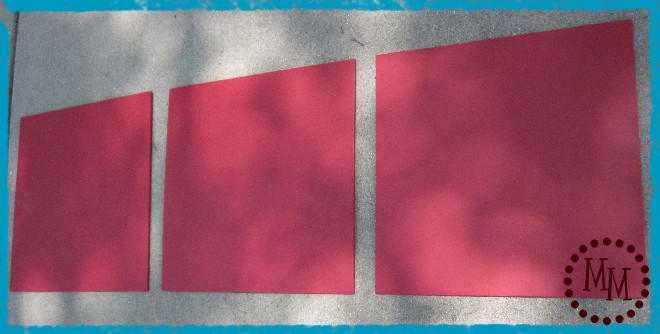
I had the hubs cut the plywood into three 13"x13" pieces which I primed and painted in Behr Awning Red.
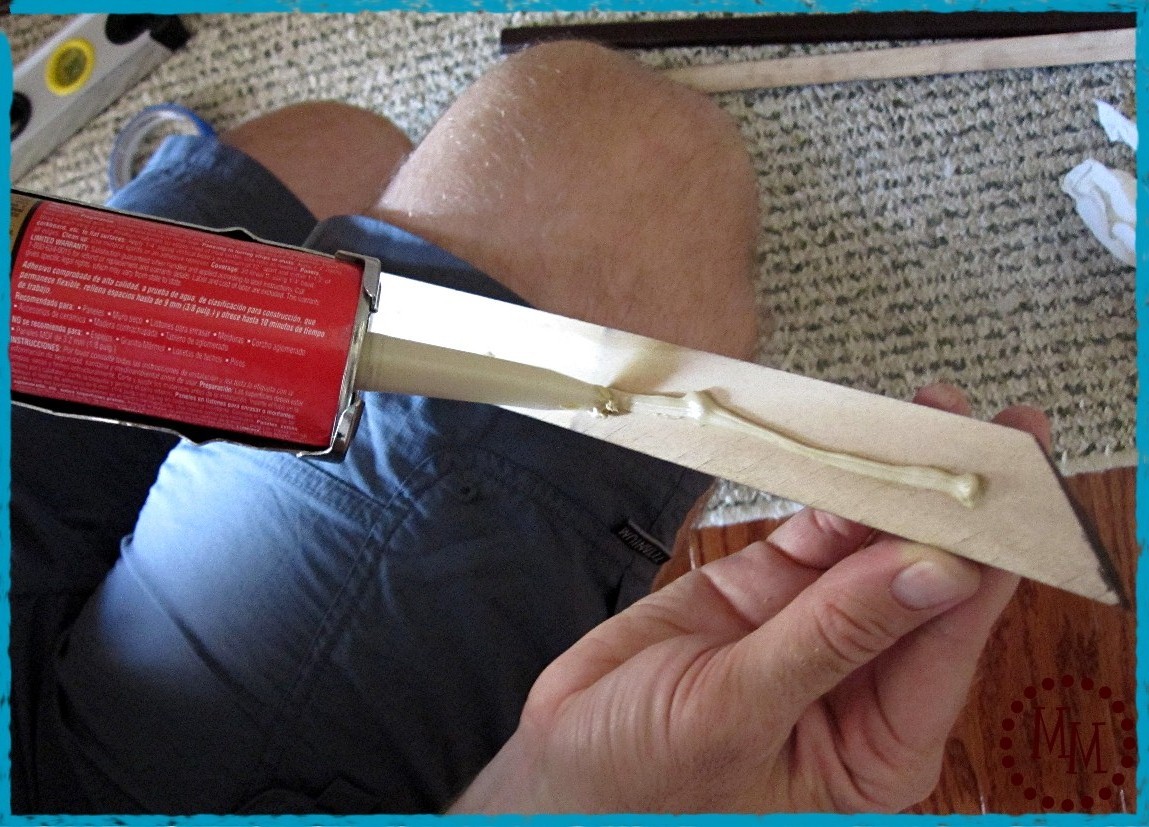
Time to get the trim up on the wall! We mounted it with liquid nails...
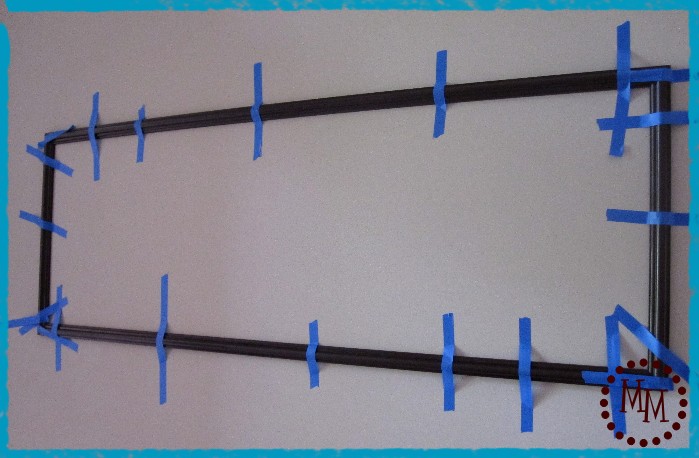
...And held it in place with painters tape. And you can bet your bottom dollar that frame is level!
I was fired once from a job around the house by the hubs because I wasn't keeping a project perfectly level... but I digress! Luckily I wasn't fired from this job!
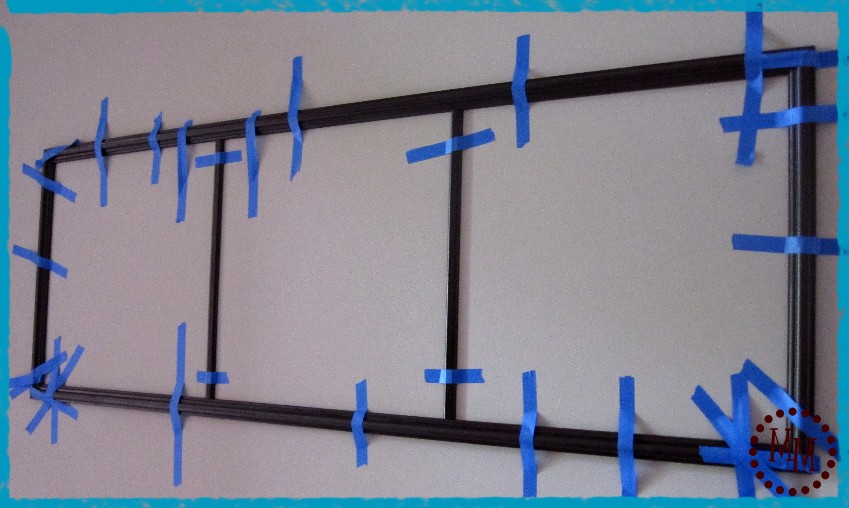
Remember those two pieces of flat trim? We put those inside the frame so that we had 3 nice squares.
Can you guess what's going in the those squares by now?
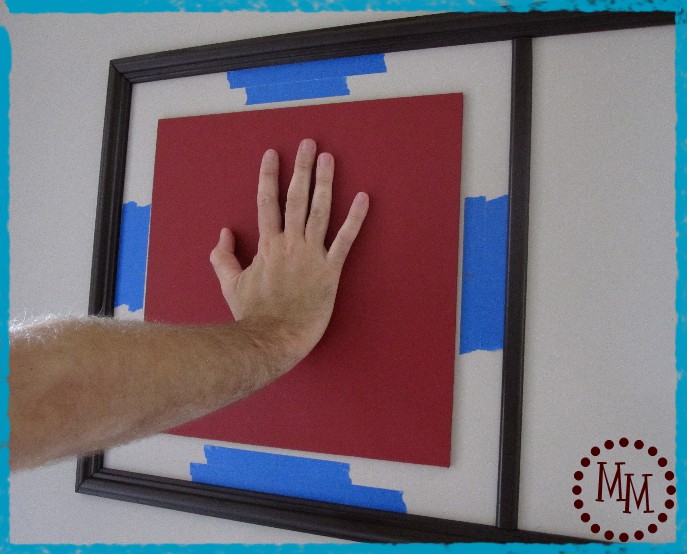
Yep! Those three red 13"x13" pieces.
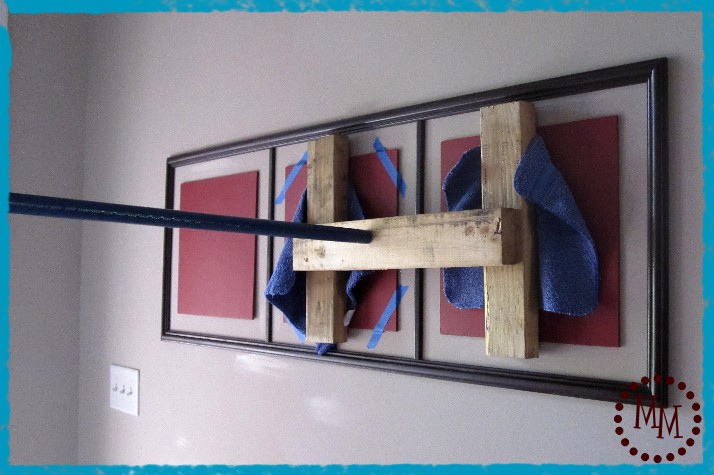
Apparently our boards were a teensy bit warped which wasn't really noticable until we mounted them on the wall. So instead of holding the boards indefinitely until the liquid nails dried, my ingenious husband said, "Hold these!" and ran off to the bathroom and snagged the shower curtain rod. Pretty smart!

After an hour or so we decided everything should be dry and removed the shower curtain rod.
And, ta-da!! Isn't it lovely? Okay, so its a little boring. Where's the "ART" part of this Entryway Artwork?
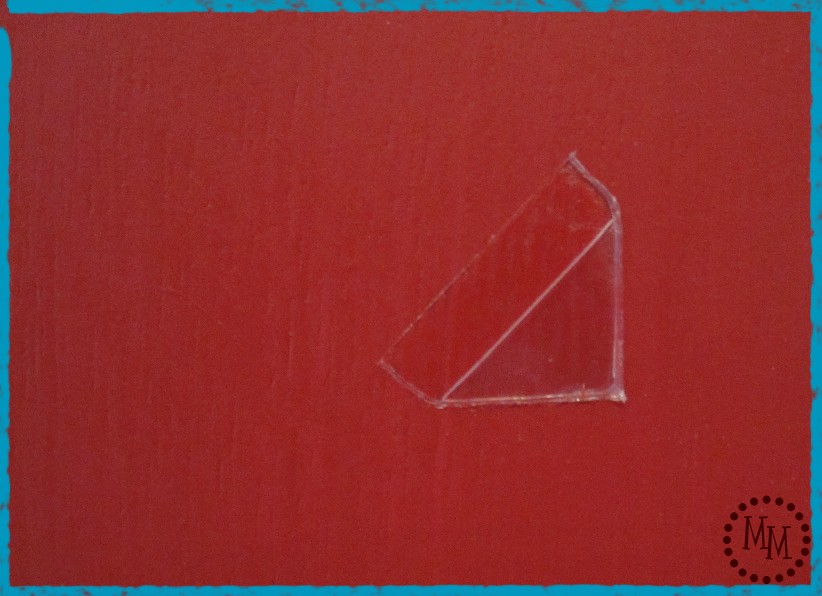
To add my "ART", I attached some clear photo corners to two of the red frames. They are adhesive-backed, but I thought I would need to add some more adhesive to be sure they would stay on. Not so!! They were plenty sticky all on their own.

So two of my frames ended up looking like this. They are hard to see, but there is a photo corner in each of the 4 corners.
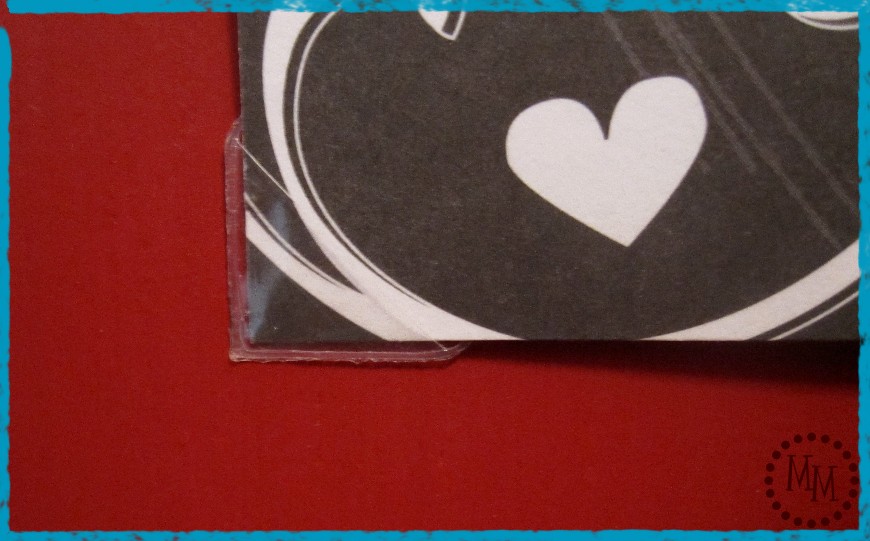
I was able to slip my "ART" into the the corners.
Any guesses what my art is?
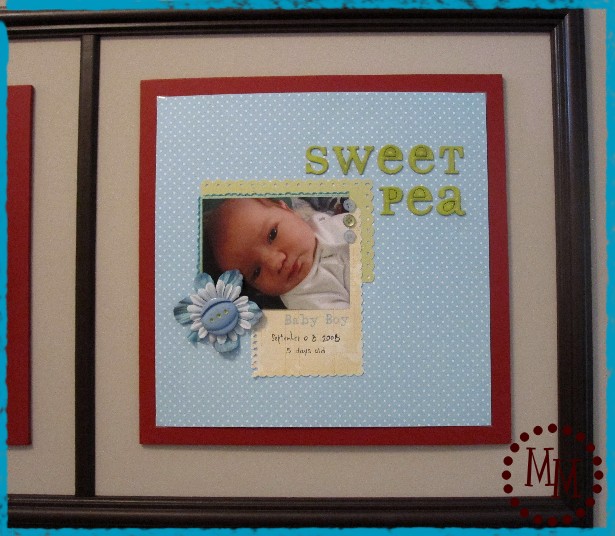
Its a 12"x12" scrapbook layout!
As a scrapbooker, I find that I want to display my pages instead of tucking them away into an album. Because really, who's going to go flipping through my albums except my other scrapbooking friends?

I placed my embroidery hoop monogram wall art in the center frame. Its starting to bother me now that I see in the photo that its not exactly centered at the top and bottom... that will soon be remedied!
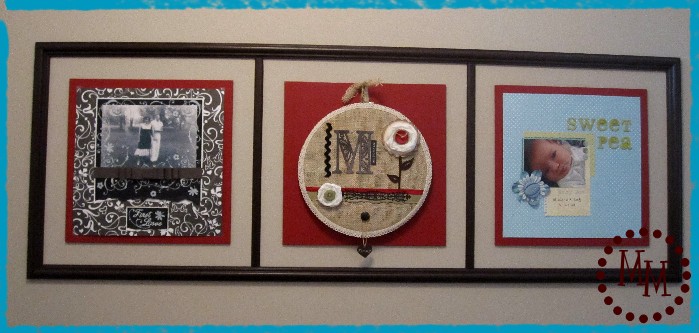
Here is the final project! And, I have to say, I'm loving it!
And the best part? I can interchange those scrapbook layouts. I can add my latest ones, change them up by season or holiday, or even change them up for whatever is going on at the house! We are celebrating my son's 2nd birthday in a couple of week's so you can bet there will be two layouts of him up for the birthday party!
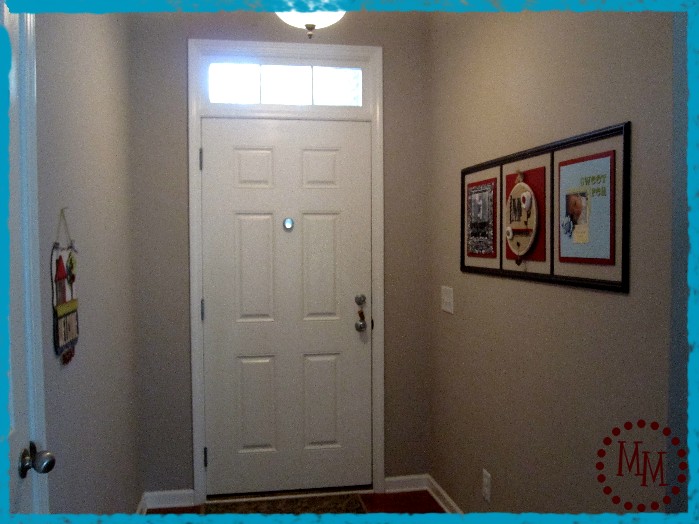
So here is my somewhat improved entryway. I love that my guests now have something to look at as they enter the house! Now I just need to find that perfect table for the other wall...
This project was super inexpensive. We had to purchase the wood trim, the plywood, the liquid nails and the paint. So about $30 or less total!
And, minus the cutting and painting which we did earlier, we had this project up on the wall by the end of naptime!
Linking up to
![]()

I have started truncating my posts to avoid having my content stolen. I hope you'll click over to finish reading the post. Thank you for understanding!


That is great wall filler! And so befitting you and your scrapbooky-ness! haha... That's totally a word! Awesome use of the shower rod! 😉
What a great project! Thanks for the tuto explaining how you did it!
I think I commented on this when you were on Tatertots and Jello! What a great project - love how you did it all yourself and everyone helped. Fun!
We are so glad you joined us for Anything Related! Come back tomorrow for another great party!
Visiting via Weekend Wrap Up, you all did a wonderful job on this. Very welcoming entryway.
How cute! Your son is adorable.
Also, I wanted to let you know about Atticmag's new linky party - Giveaway Friday! It's a convenient place for bloggers to link their giveaways each week. We've kicked it off with a fantastic giveaway of our own. Five lucky winners will win material to do a backsplash in their home. Hope to see you there!
Allison
Atticmag
Just fabulous and really sets off your entry. I am a scrapper too so it is nice too see them out and not in an album. Your post has been featured at Creative Link Up. http://creativelinkup.blogspot.com/2010/08/friday-favourites_27.html
This turned out so terrific, Michele! I just love it!
What a neat idea. I especially like the embroidery hoop monogram wall art. Very cool. It looks great.
I love it when people use their own artwork in their homes and in such a prominent place! I'd love for you to link this up to my weekend Art Therapy party.
I'm a new follower, too!
This is adorable. I love that it has the ability to be so versatile. What an amazing idea!
~Krista
@ whilehewasnapping.blogspot.com
Michlle its darling, and I love the center one best. How great to change it out too. Jenn
I love your new wall art, Michele! It turned out great! And I LOVE that you can change it -- just perfect!
Oh, very clever! Great idea! I love that it's all interchangeable!
Having a Target giveaway at my blog! Love it if you'd stop by! alittleknickknack.blogspot.com
cute idea! and the best part is that you can switch it out!!
I think that is darling. And it really is art. So cute! Could use that in any room too.
Brooke
Cute idea! Love how you can switch it out!
I absolutely LOVE this!!! Great job!!
love it Michele!!! and your very handsome little "helper" too.
What a great display idea!!!
Scrapbooking can be a lot of work & some of those pages/projects are just too cute to keep to yourself : )
I love how "usable" it is! Brilliant idea =)
Terrific idea! Well done.
Kathy
LOVE it...I wish I had a wall like that because I would make one for sure!!! super cute idea!
What a great idea!!!
simply genius!! it turned out beautiful!
I just love this project. But you know that. ;)It's such a great statement for your entry way!!
I'm trying to figure out a smaller version that I can hang on the wall rather than glue. We rent so I need something less permanent. haha.
WOW! What a great idea and what a fantastic outcome!
I love it! I like that you can take out and replace pictures! That is fabulous. And can I say that I am super jealous of your wood working tools!
looks very very VERY pretty dear!
LOVE IT
xoxo
bB