
Natural Wood Statement Necklace

In case you missed my guest post over at The CSI Project a couple of weeks ago during Accessories Week, here it is again!
We'll be making a Natural Wood Statement Necklace!

To make this necklace you will only need a handful of supplies:
Small branches of varying diameters
Dremel or some other tool to cut the wood
Backing for your necklace
Clear spray paint
Adhesive
Chain
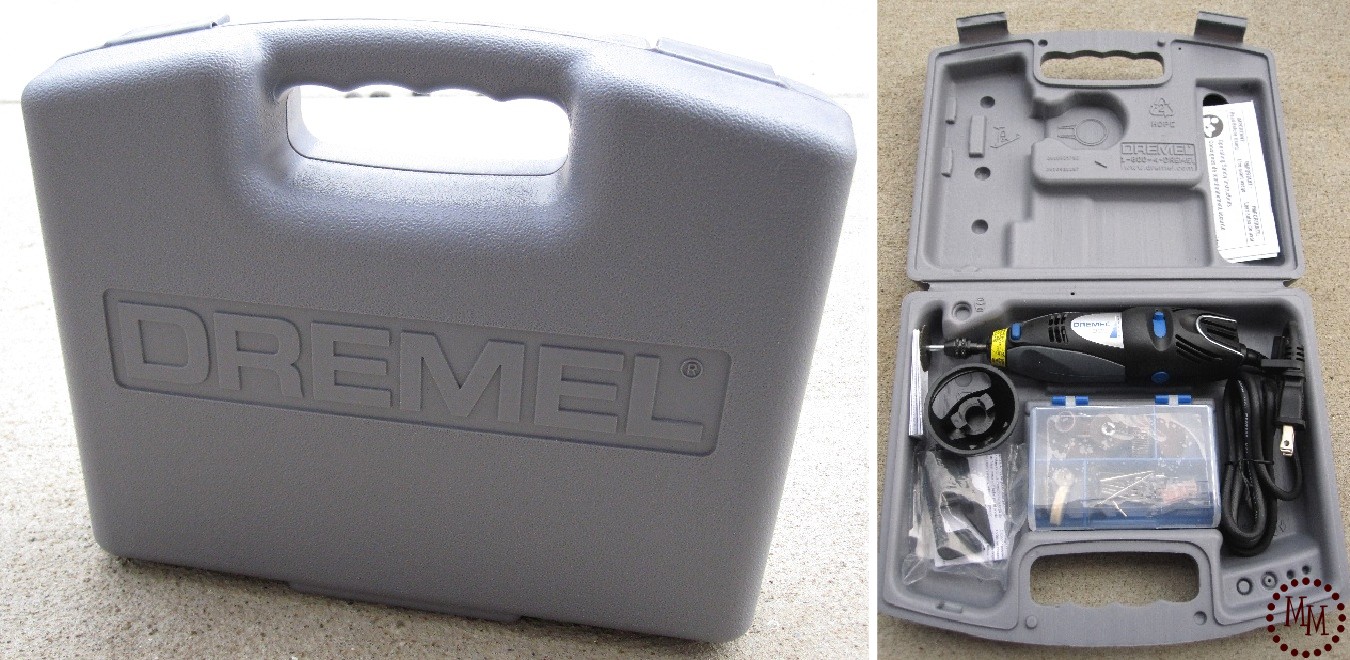
I received this bad boy for Christmas! I've been itching to use it. My first real power tool to be added to my craft supply. Too much fun!
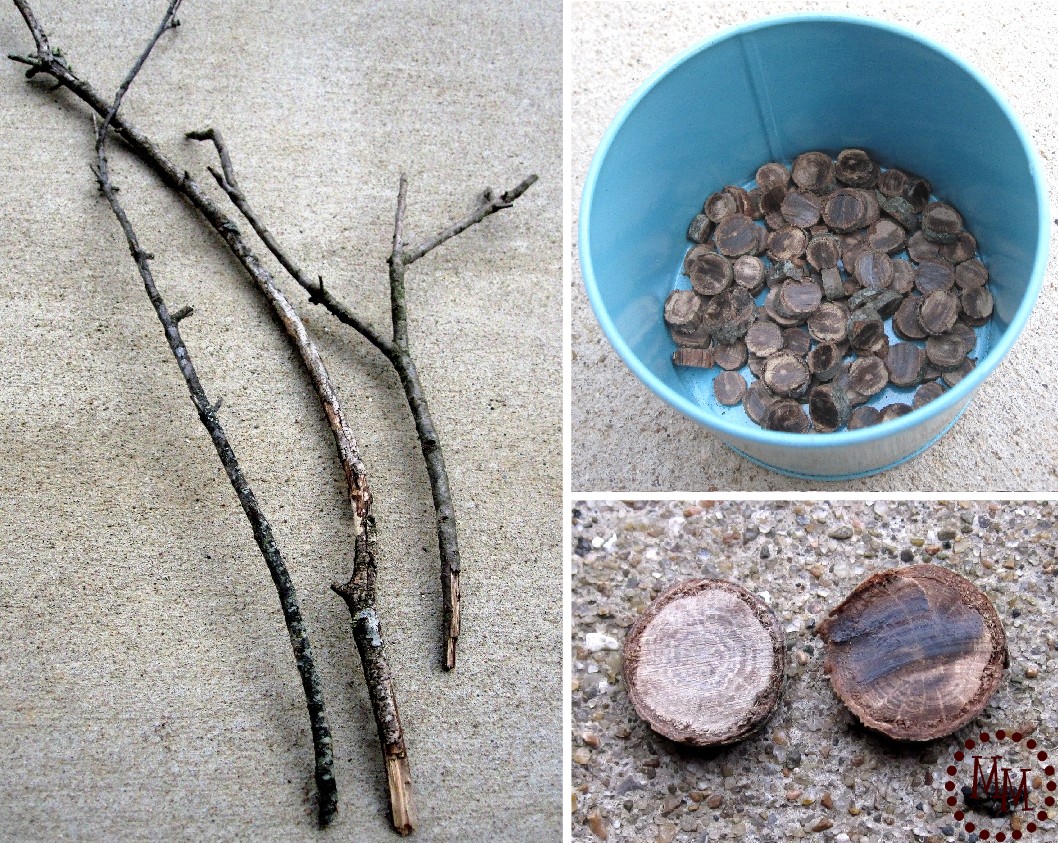
I started out by gathering a few different branches from around the yard. I wanted to be sure I chose ones that weren't exactly the same so I would have some contrast later when putting the necklace together. I put the branches in my potting shed a week before I planned to do the project so they would be nice and dry when I was ready for them.
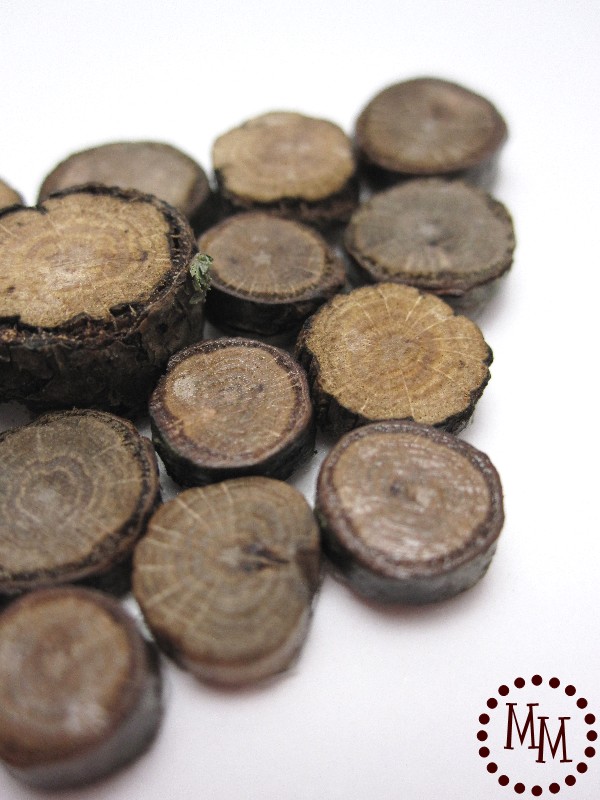
I used a cutting tool on my Dremel to cut the branches into disks of varying thickness.
Unfortunately I didn't have quite the right cutting attachment (it wasn't meant to cut wood) so it left all of my disks with burn marks. No worries! I had another attachment for the Dremel that sanded those burn marks right off.
You can see in the bottom right photo above the huge difference sanding the disks made!
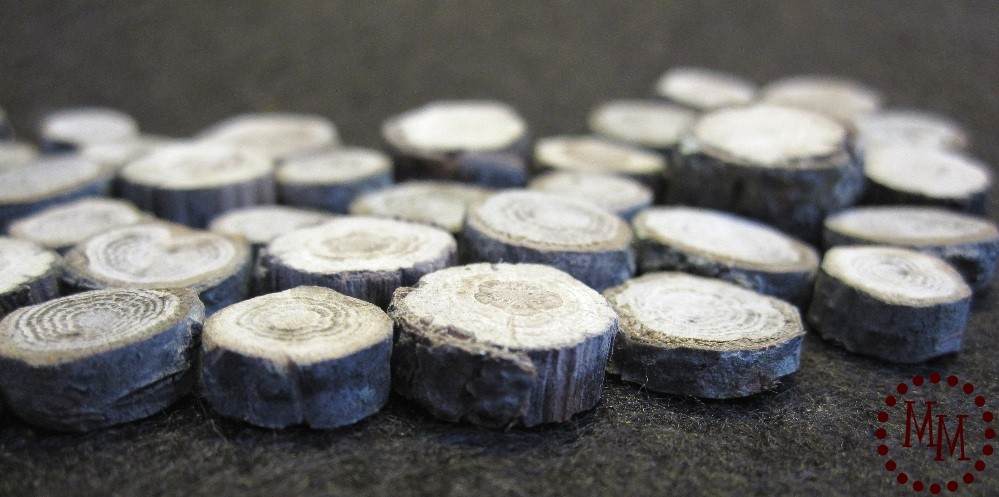
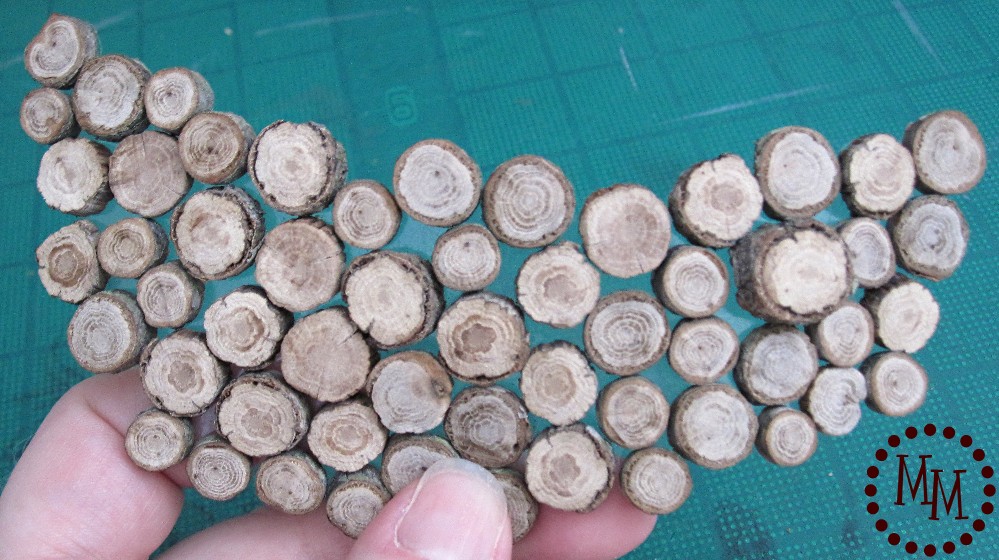
The varying heights of the disks give a great 3-dimensional effect when layed out!

You have options for the next step. Choose the type of media you want to use behind your necklace. I tried laying the wood disks out on a piece of brown felt and a piece of transparency. I preferred the look of the transparency and seeing the space between the disks. It keeps everything looking more natural!

For my transparency, I used a piece of adhesive-backed film that I found at Hobby Lobby (use a 40% off coupon!). I cut a piece of the transparency that would fit the layout I had designed for the necklace.
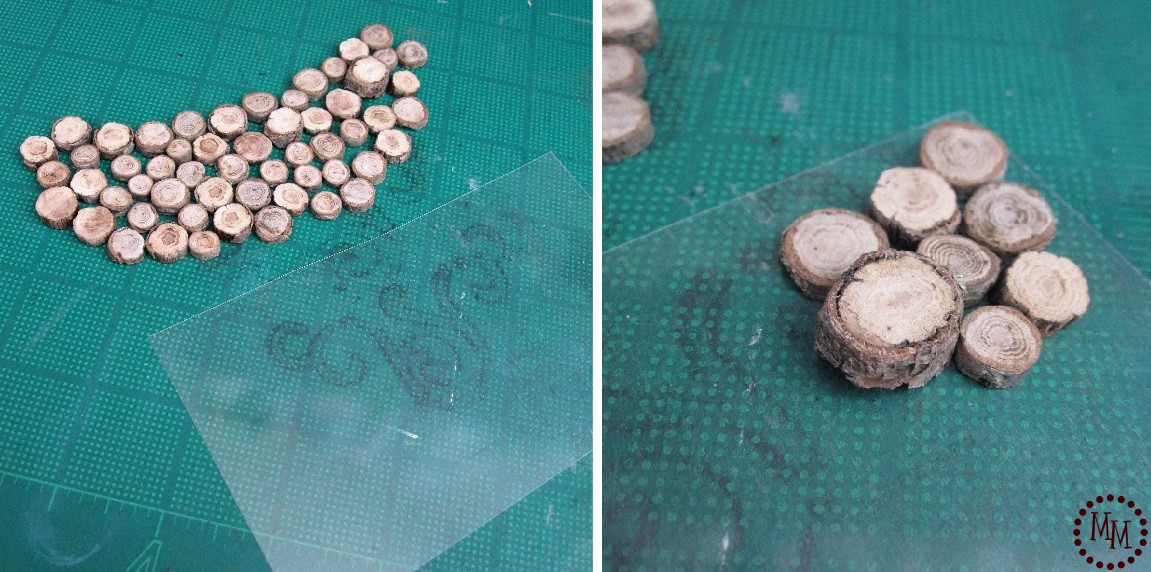
Peel off the white backing of the transparency exposing the adhesive and start laying out your disks in the pattern you want for your necklace.

Once all of your disks are on the transparency, trim the edges with a pair of scissors (above photo with arrow on the left). Go back and further trim the transparency with an X-acto knife (above photo with arrow on the right). You don't want to see any of the transparency peaking out around the edges of the outer disks.
You can now pick up the disks as one big piece thanks to the adhesive on the transparency sheet!
(Note: If you decide to go the route of using the felt backing, simply use some adhesive such as Beacon's 3-in-1 or a hot glue gun to attach the disks to the felt.)
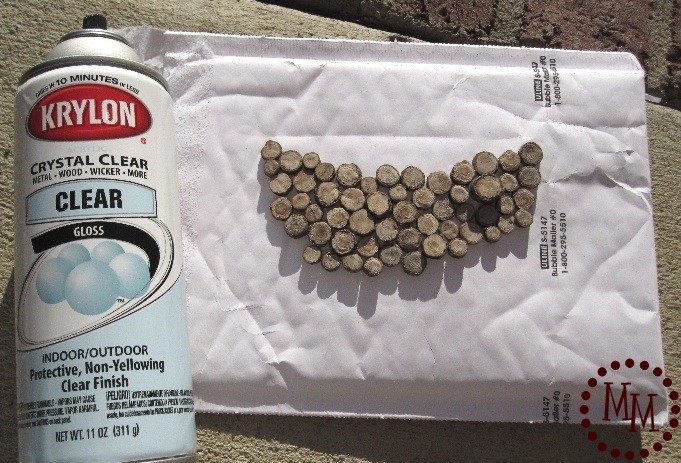
To prevent the wood disks from getting scratched or possibly falling apart in the future I gave them 3 good coats of Krylon Gloss clear spray paint.
The clear paint gives the wood just a bit of shine.
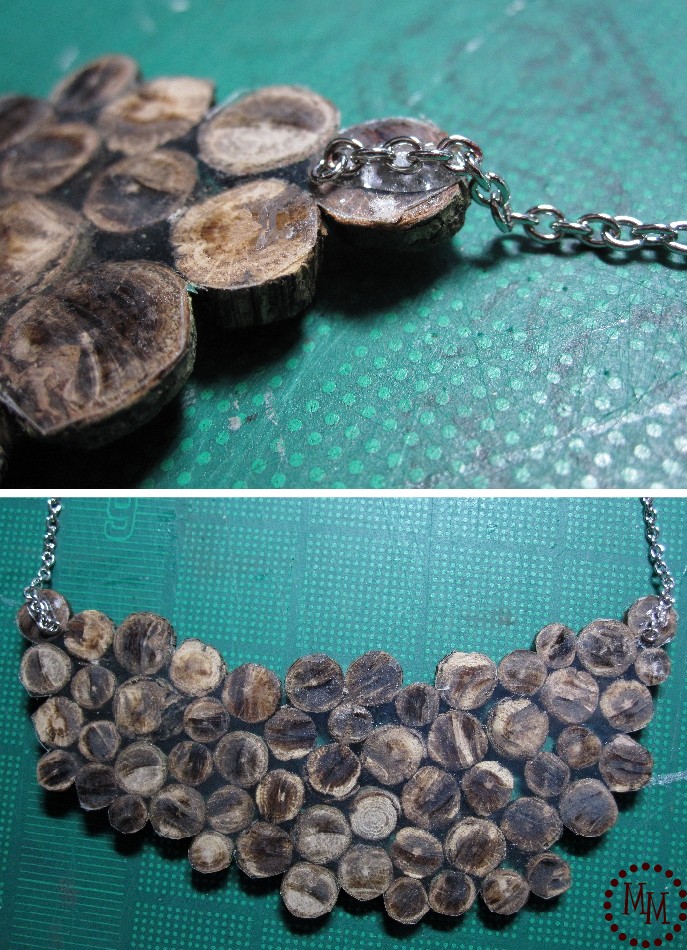
Add some adhesive (I used Beacon's 3-in-1) to each top corner wood disk to attach your chain.
Adjust your chain length to your styling, and add a necklace clasp as you would any other necklace.

I love the natural look of this necklace! And to think its upcycled from things around your yard you would normally just put into a brush pile makes it even better.

I have started truncating my posts to avoid having my content stolen. I hope you'll click over to finish reading the post. Thank you for understanding!


This is lovely; a nice take on the bib necklace style that is everywhere. Great job!
Michelle,
This is beyond creative and fabulous.
You are featured this week at http://passionatelyartistic.com
I am looking forward to seeing your projects every week.
Maggie
this is awesome! i love the natural look. I'd love for you to come link this at the project party here: http://www.bubblynaturecreations.com/2011/03/project-party-weekend-5-ways-to-re.html
have a great weekend!
Wow, what a neat piece!
Visiting from Serenity Now!
Love it! Thanks for sharing.
http://www.lollylinens.com
What a wonderful way to work with nature. Love it. Beautifully done.
Rose
http://www.FineCraftGuild.com
I've seen this project on several blogs and all I can say is Holy Freakin' Cow!! This is awesome! Thanks for the tutorial!
Wow, this is really cool! We'd love to have you submit this to the M&T Spotlight: http://www.makeandtakes.com/spotlight
Visiting from Serenity Now's link up!
This is awesome 🙂
That is seriously the coolest necklace ever! My husband would love for me to wear something like that...
Have a delightful day!
Jenn
{redberrybarn}
Fabulous! This is just as great as that button necklace that I LOVE! Thanks for linking up! 🙂
I missed it over at CSI. Glad you linked it up to Shabby Chic Cottage.
I love that it's so unique and unusual.
Yanet of 3 SKBs
wow, i popped over while bloghopping. this is fabulous! great idea, wonderful execution. thanks for sharing!
This is so neat! Thanks for a great tutorial! I would love for you to link up to my Ten Buck Tuesday link party!
Very very cool! I love that everyone can wear it, from bohomeian to uber trendy!
AMAZING! and extremely cool
malia
I love this. Very beautiful and natural.
megan
craftycpa.blogspot.com
Thanks for linking up! Hope to see you next week! Chris
Having seen this in person, I can vouch for the fact that it really is amazing!
That is awesome! I saw these pre-cut at the store the other day and thought, There has GOT to be a cheaper way to make these yourself... And here you go!
Love this idea!
I AM IN LOVE! I have been following you forever and your creativity.is inspiring and this necklace is a perfect example! Visiting from the Tip Junkie.
Visiting from Sugar Bee...very cool necklace idea! I love it! Quite original
this is brilliant! absolutely love it!
i think this is absolutely amazing! i've seen pieces like this on etsy, and i love that you did this yourself. i'll take one, too, lol!
Yea!!!! I have been dying for you to repost this!! 🙂 I wanted to feature it as a Crush of the Week but I wanted to wait until it was on your blog. 😉
I think this is so creative and unique!!!
This is just gorgeous Michelle! You are a super talent!
Michele,
This is very creative! Love the rustic look. Thanks for sharing (found you through Sunday Show Case)
Michelle
You have got to be the QUEEN of bib necklaces! I mean seriously--this is so incredibly unique and cool! Nice job, my friend!
This has GOT to be the COOLEST FREAKIN' thing I have EVER seen!!!!!!!!!!!!!!!!!!
I love it! Great way to use your resources! Thanks for sharing, visiting from I Heart Naptime.
Loved it on CSI and love it here! So unique! 🙂
Great necklace! I would love for you to link it up at my party @ http://usandthem1971.blogspot.com/2011/02/my-first-link-party.html . Thanks for sharing! Chris
great tutorial, handsome necklace and another reason to go buy a dremel tool!
Girl! That necklace is stinkin' awesome! And go Dremel. I carved pumpkins with mine this past Halloween.
I saw this on CSI, but I didn't realize that it was yours... LOVE it! Makes me want some of my own powertools :]