
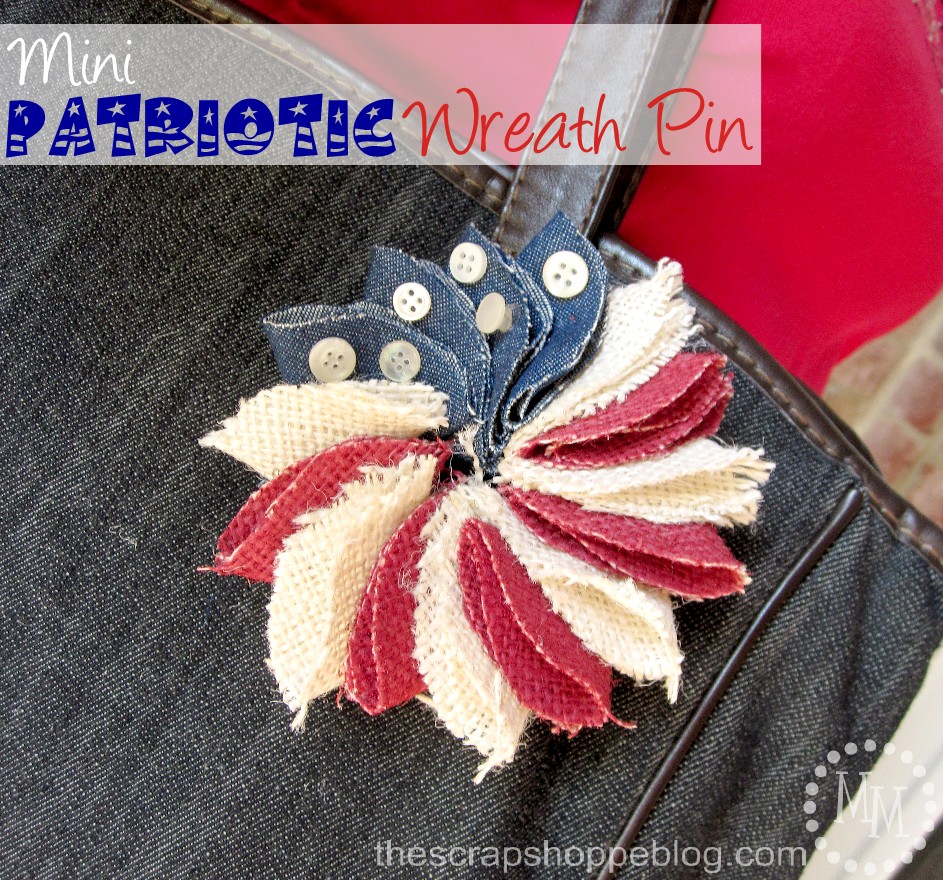
Mini Patriotic Wreath Pin
This mini patriotic wreath pin is a great accent for summertime holidays!
My crafts lately seem to revolve around red, white, & blue.
I love decorating my house for these patriotic holidays!
Especially since you can use them all summer long, from Memorial Day to Labor Day.
Today's project is my mini patriotic wreath pin which can be worn on your person or attached to a tote bag as a fun patriotic decoration.
It's also super easy to make, so you're going to love this tutorial!

You might think this project looks similar to my ruffled patriotic wreath for the front door, and you might be right.
I thought it would be fun to make something similar in a smaller version for me to carry around with me!

Supplies for Mini Patriotic Wreath Pin
I went with the same materials as my previous wreath:
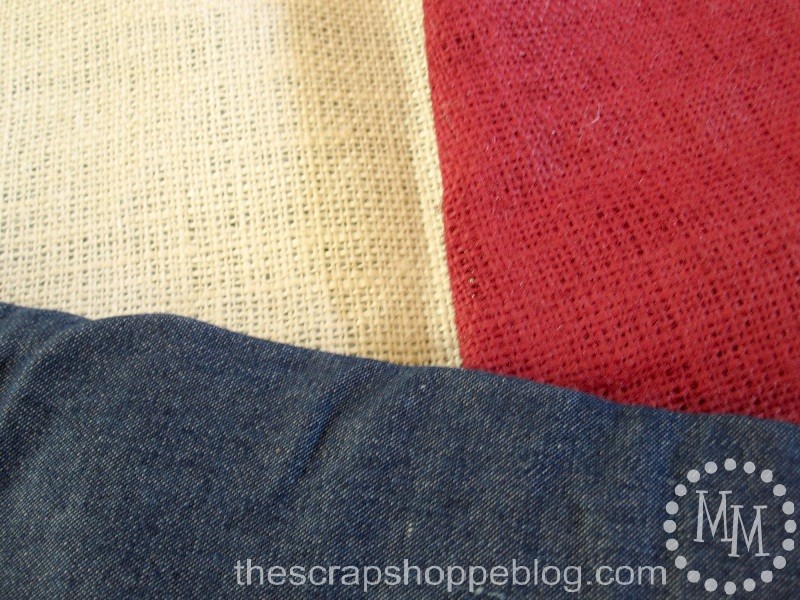
Cream burlap, red burlap, and denim.
Incidentally, did you know you can spray paint burlap??
I did not have any red burlap on hand so I did what any inventive crafter would do, and made my own!
I'm always looking for burlap in the fabric remnants at the craft store.
You never know when you might need it!
So I took some of the cream burlap and spray painted it red.
And it worked like a charm!
Because of the large weave in the burlap fibers, the fabric was still very pliable, even with a coat of spray paint.
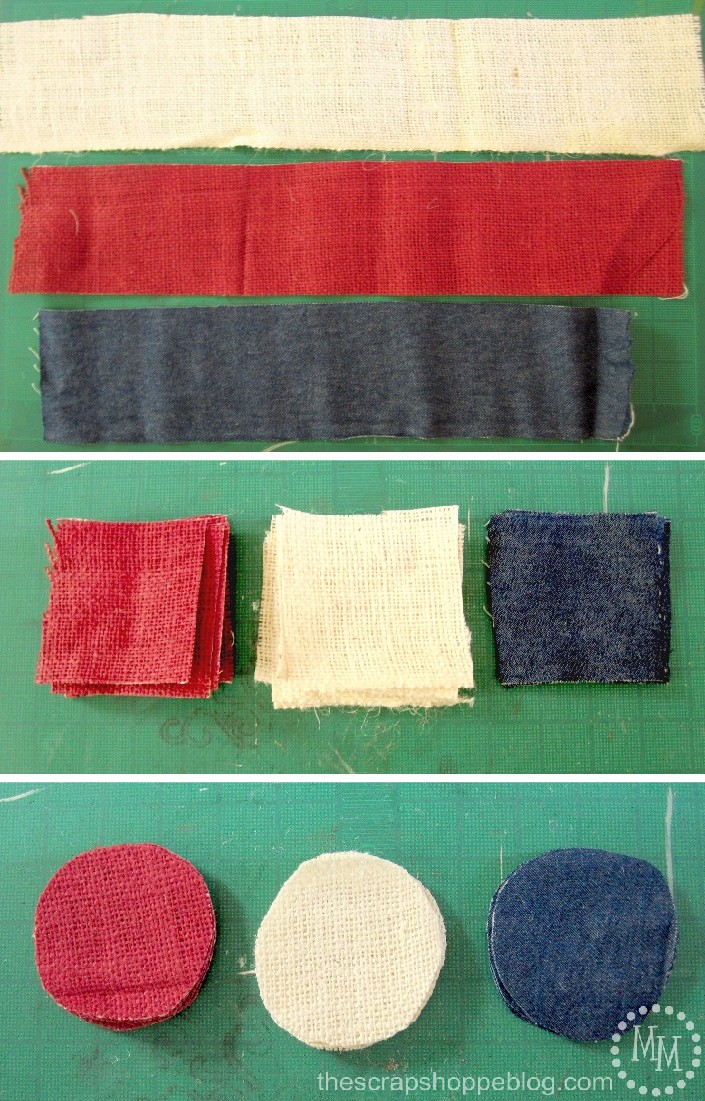
Cut 2.5" wide strips of the fabrics.
Then cut the strips into squares.
Cut each square into a circle approximately 2 inches in diameter.
You will need 6 cream, 5 red, and 4 blue circles.
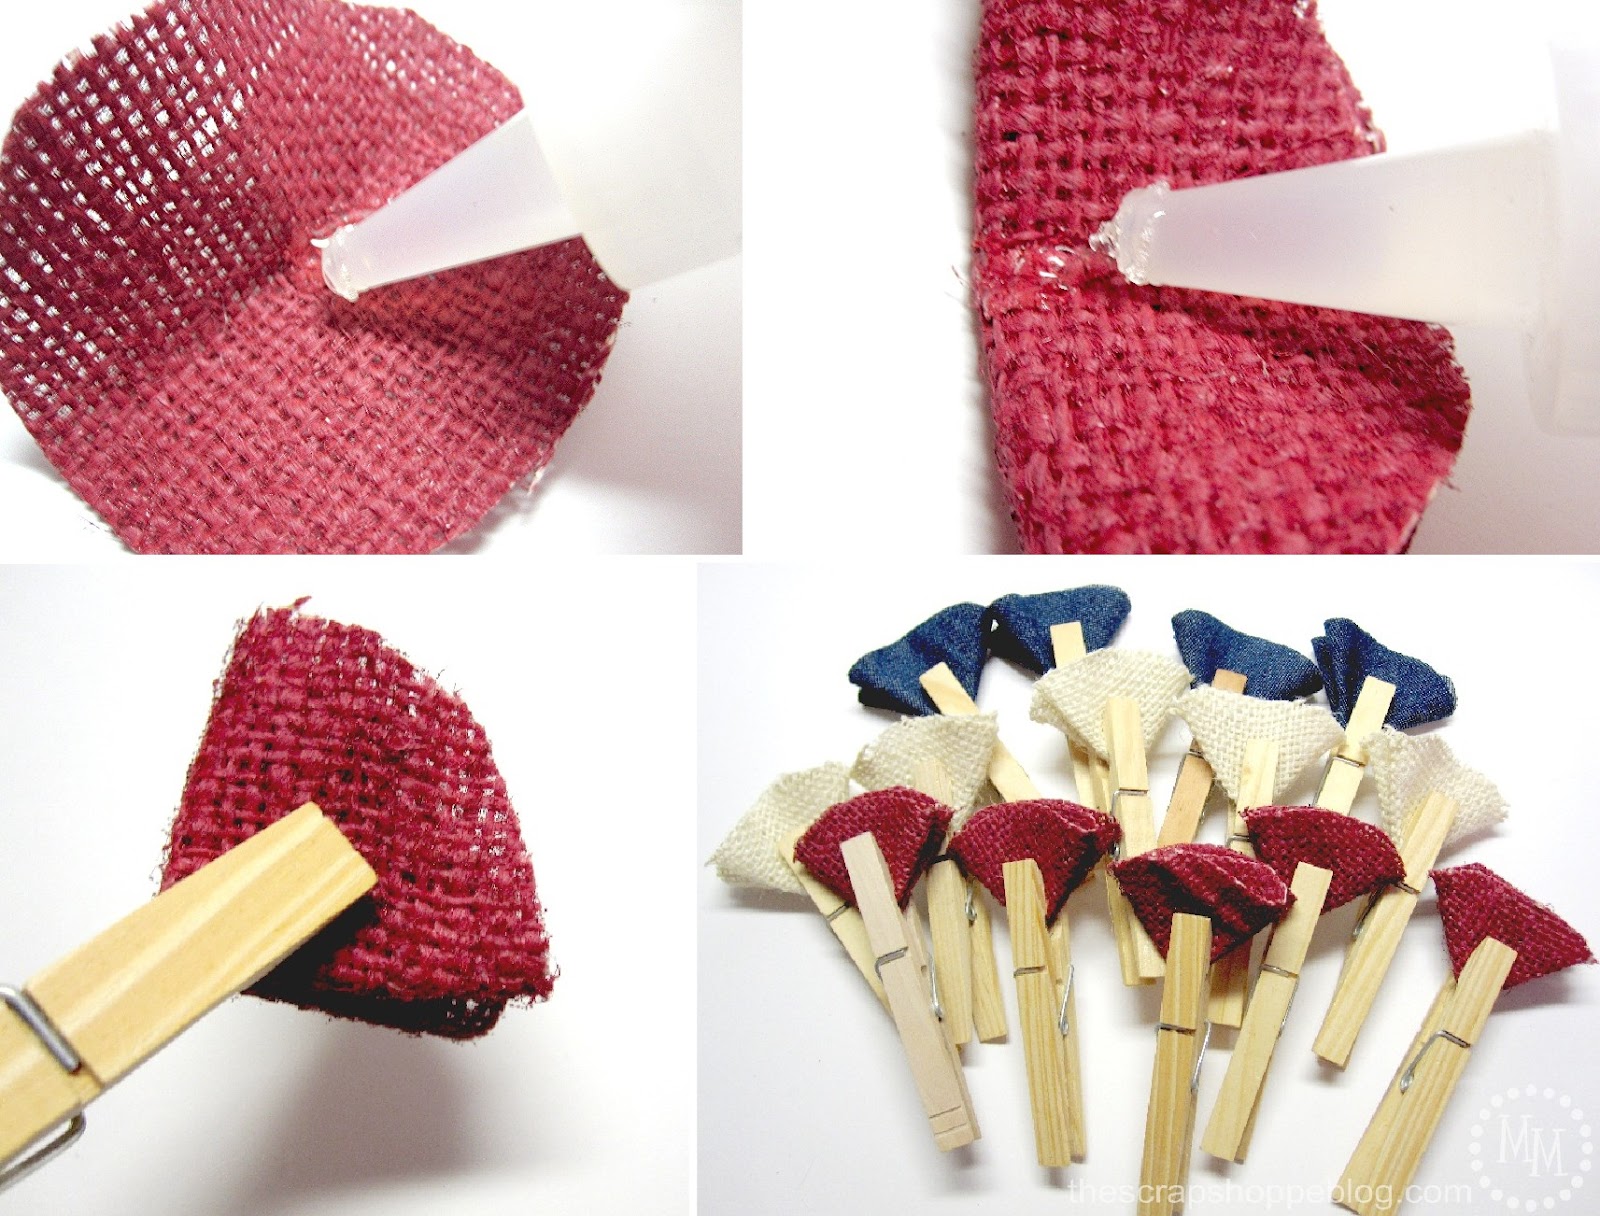
Place a drop of glue (I use Beacon's Fabri-Tac (affiliate link) which is perfect for working with fabrics) in the center of one of the circles of fabric.
Fold the circle in half then place another drop of glue on the center edge of the half circle.
Fold the fabric in half again and hold it closed with a clothespin until the glue has a chance to dry.
Repeat with all of the circles of fabric.
To be sure that the backing of the mini wreath holds up to the weight of the burlap it needs to be made of something a little more substantial than felt which I would normally use for a small pin.
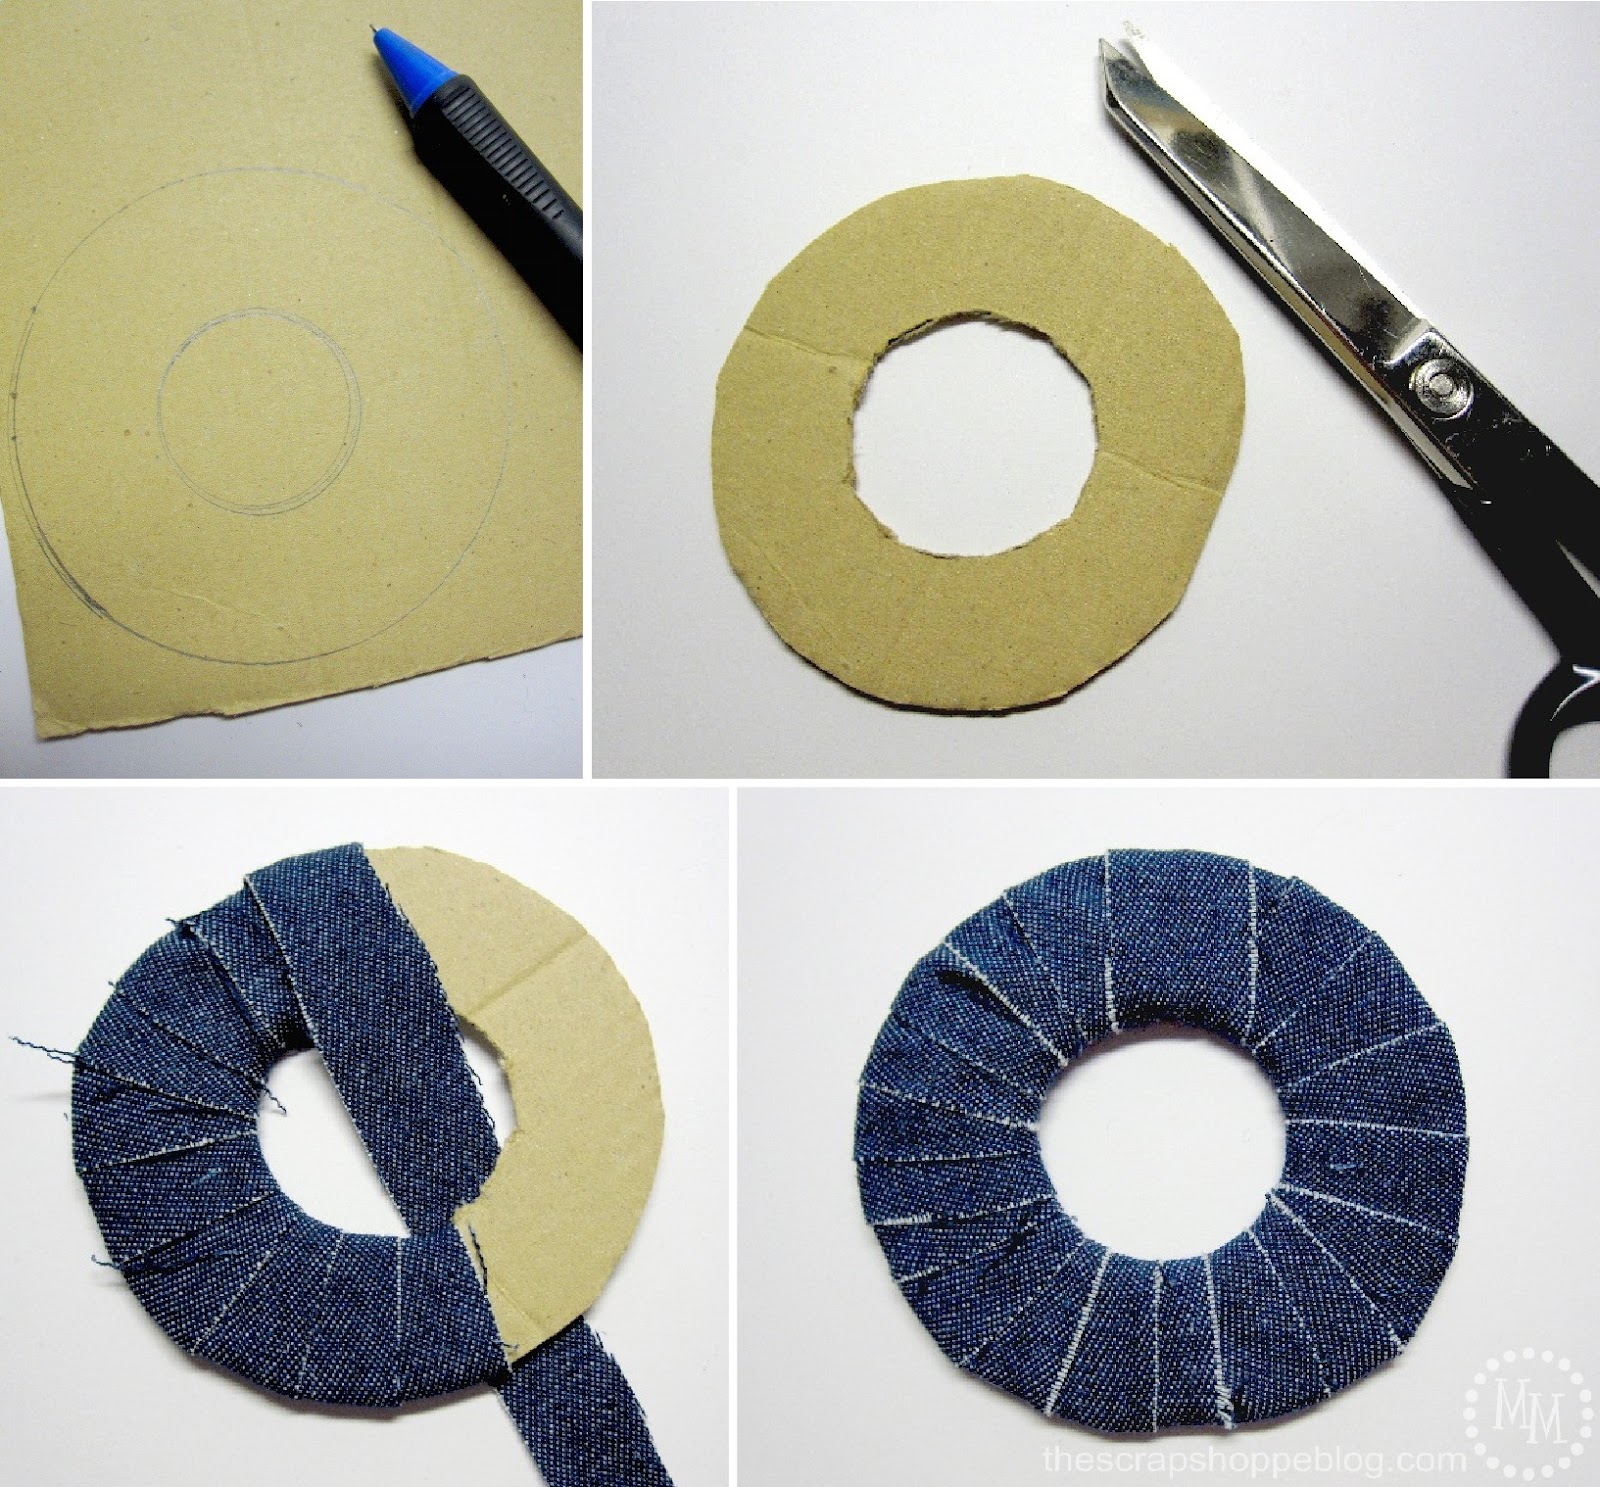
So I grabbed some scrap cardboard and traced out a large circle 3" in diameter and then a smaller circle inside the larger one 1.5" in diameter.
Cut out both circles.
To make it more aesthetically pleasing, I wrapped the cardboard with thin strips of the denim.
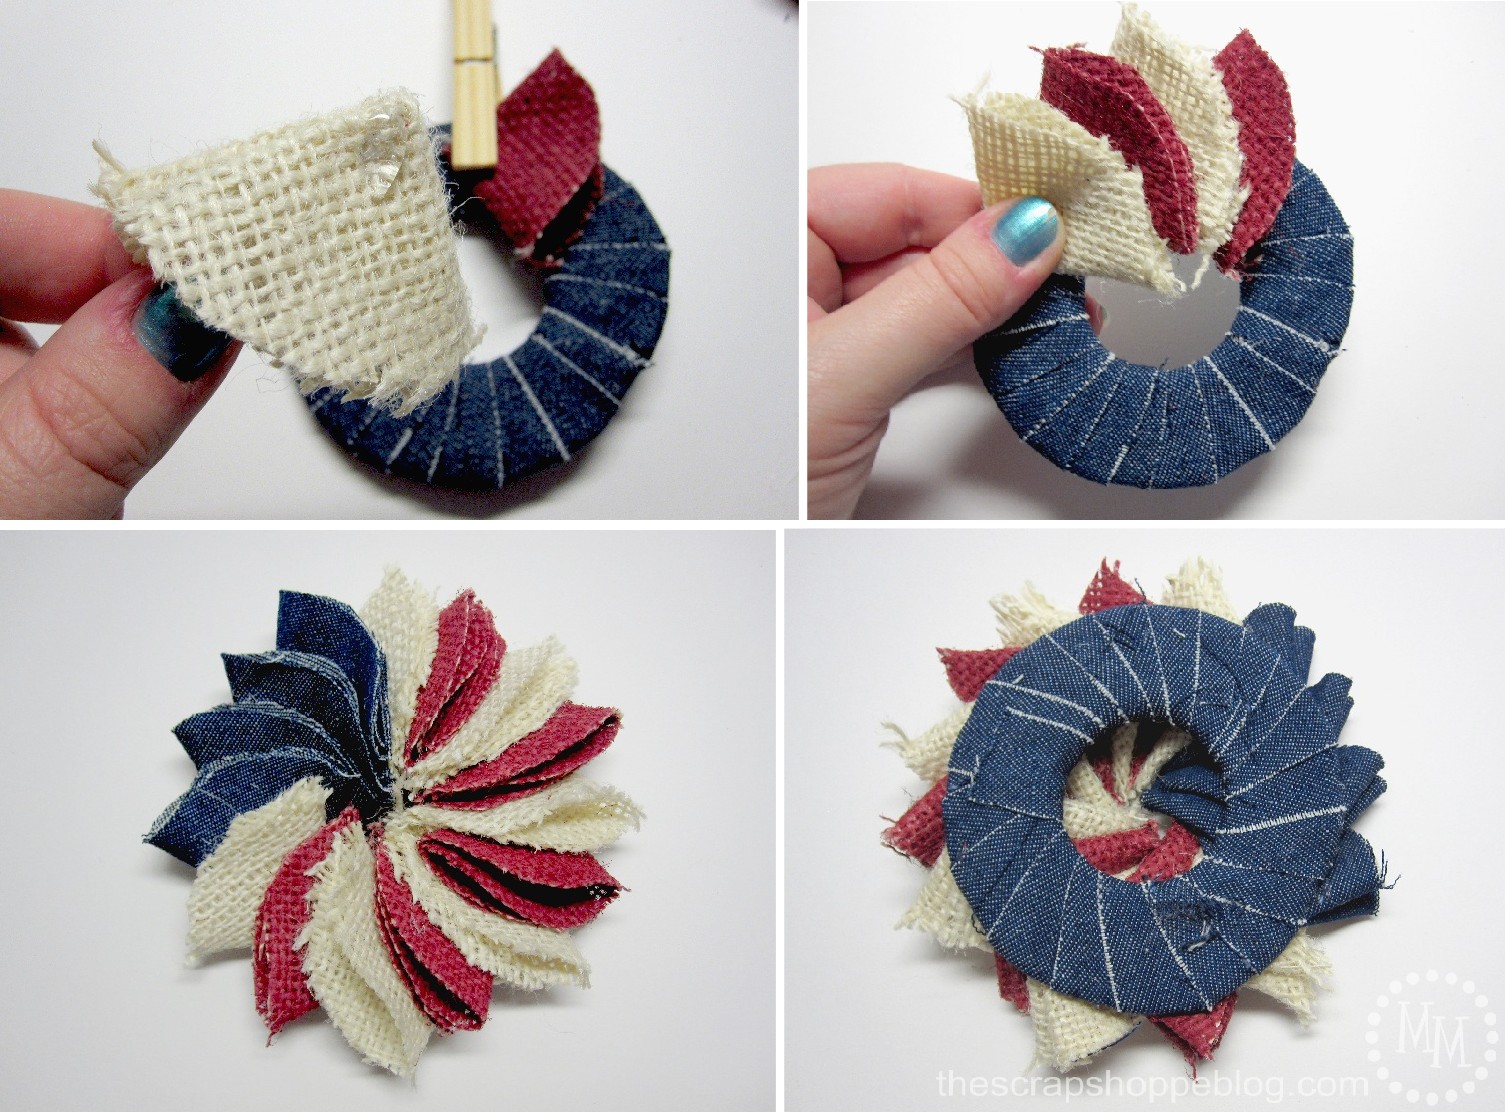
Remove the clothespins from the folded circles of fabric and start gluing them to the denim ring.
Start with the red and white pieces overlapping them slightly.
Add in the denim pieces and you should now have filled the entire space.
If you have any gaps just cut more circles of fabrics of the color that you need.

We're going for a flag look, and you can't have a U.S. flag without some "stars!"
I glued on a few small white buttons to the denim.
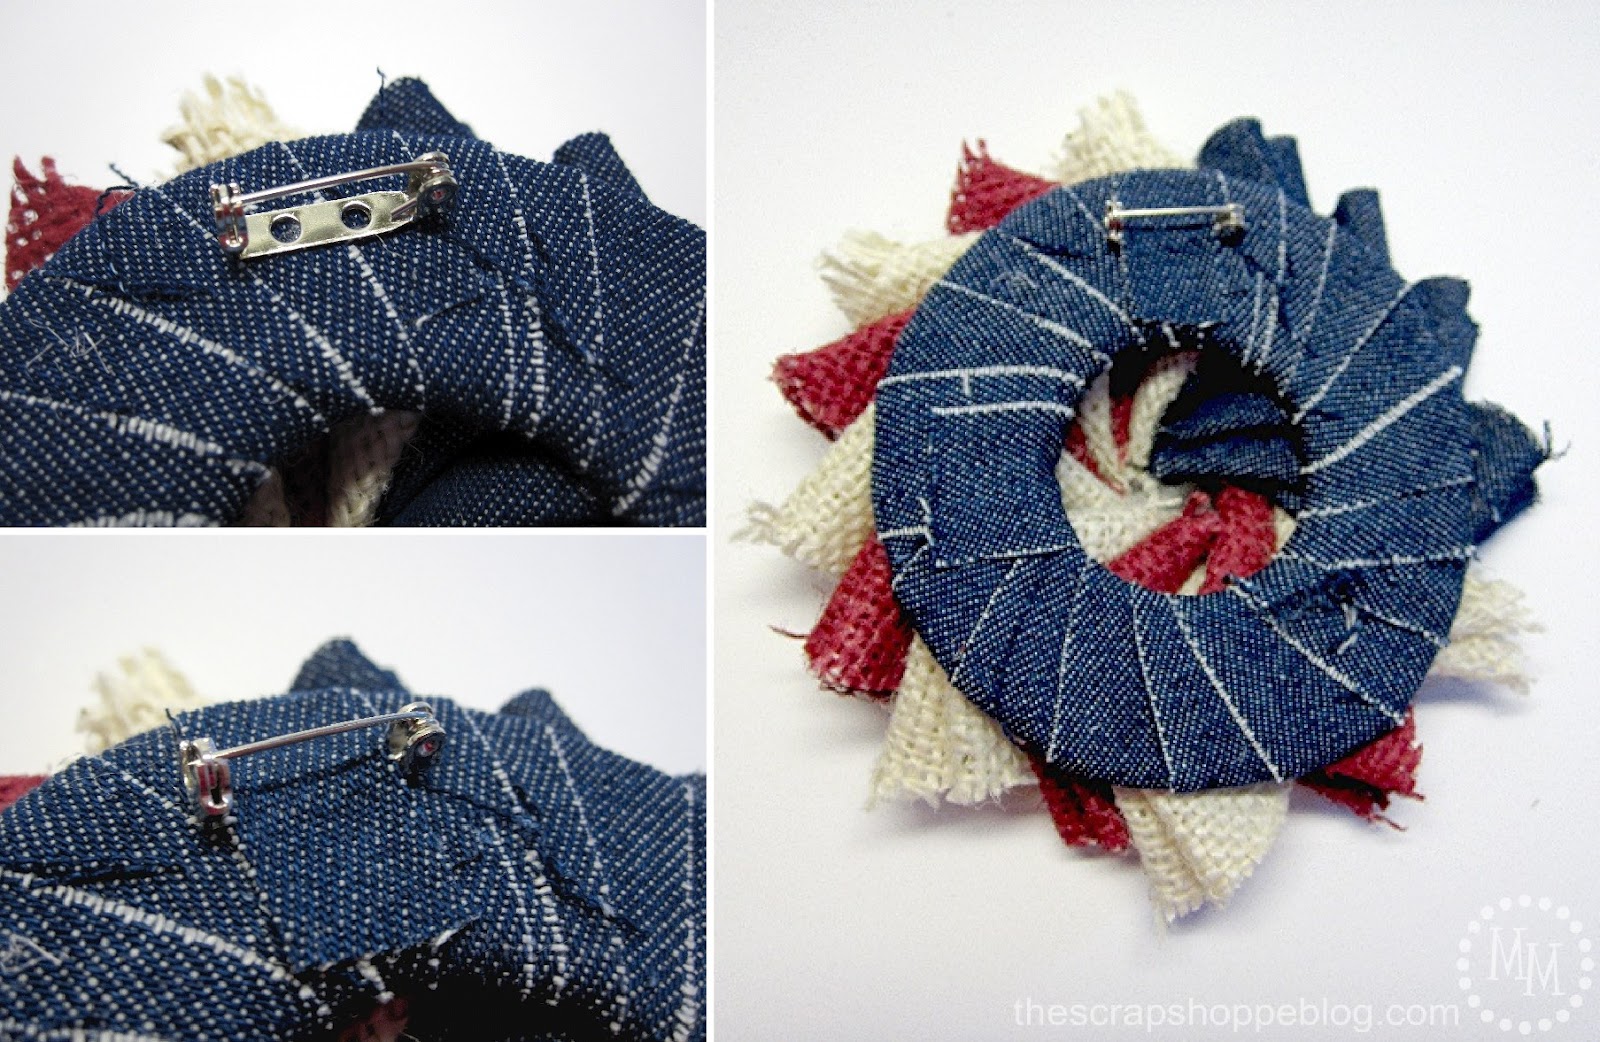
Glue a pin to the top center of the back of the wreath.
Cover the pin with a piece of scrap denim to help it blend in.
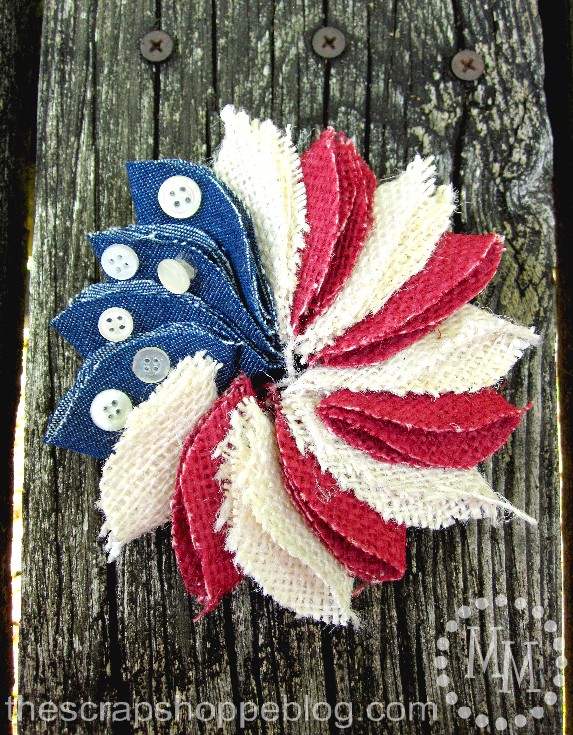
I think the mini patriotic wreath pin turned out super fun!
I love the mixture of the burlap with the denim.
It feels very rustic!
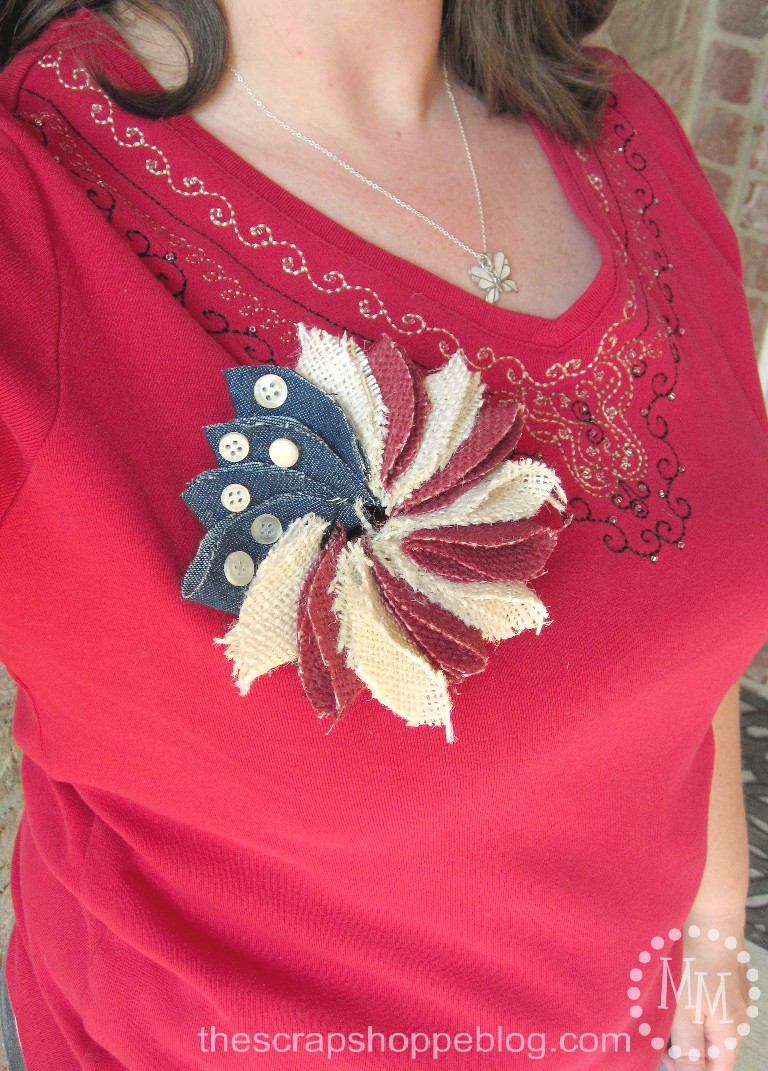
You could totally sport it as a brooch.
Or not...
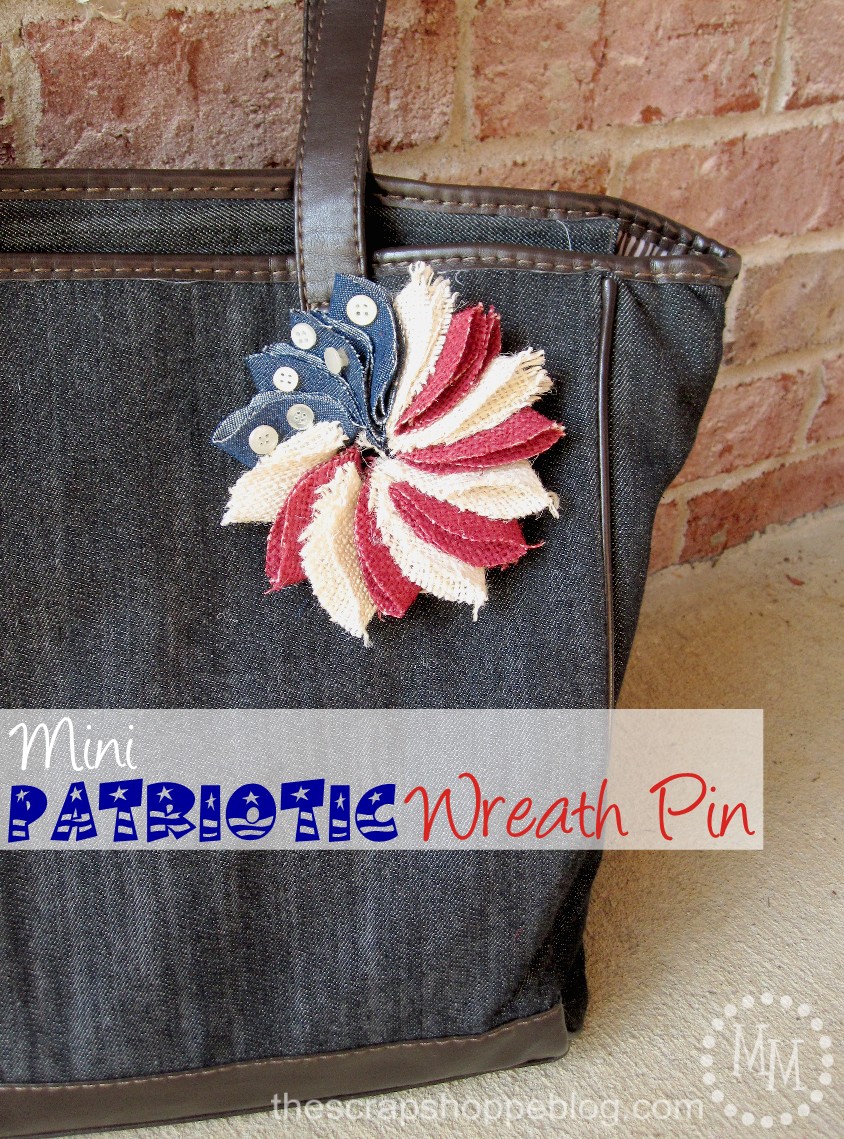
I think I'll keep on my denim tote I carry to work.
I love the extra festive look it gives my bag!
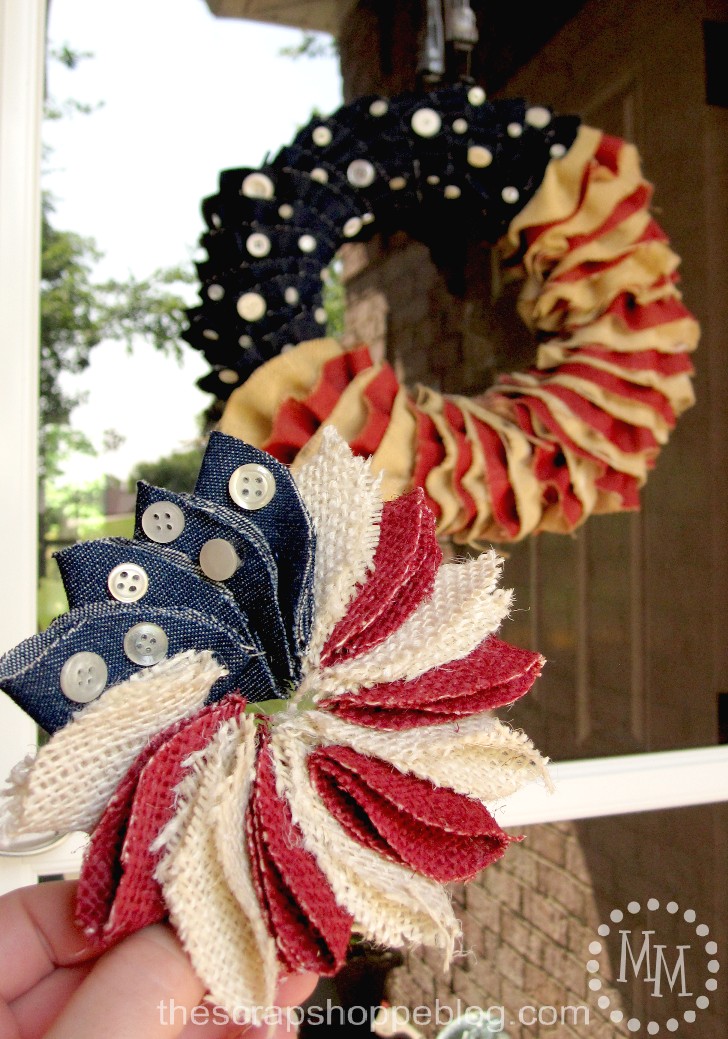
I think it makes for a decent mini version of my ruffled patriotic wreath!
What do you think?
Would you were this on your person or on your bag?

>> See where I party! <<
This post was originally shared June, 2012.


These are the cutest! What a fun craft idea! Using the clothes pins as clamps is such a great idea! I can't wait to make some of my own.
That's just adorable. What a great way to temporarily decorate a shirt, purse, scarf or anything for that matter. Love using scrap fabrics.
This is great! TFS!
I love the use of the rustic fabric and buttons for the stars. Thanks for sharing at What’d You Do This Weekend? Hope to see you again next week!
Wishes for tasty dishes,
Linda
Oh so cute! It is so unique. I wonder if it could be adapted to a regular size wreath.
🙂 gwingal