
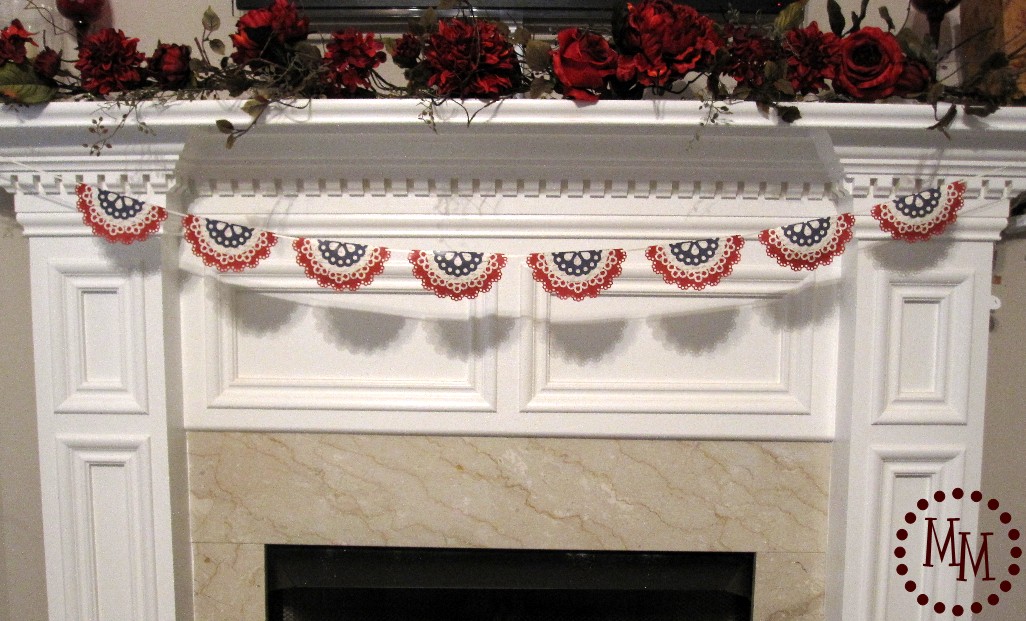
Patriotic Doily Banner

My mantle needed a little red, white, and blue love so I whipped up this super easy
Patriotic Doily Banner.
And by super easy, I am so not joking. I let my Silhouette do all of the work!

I downloaded 3 doily images from the Silhouette library and staggered the images so that the 3 could be stacked on top of one another. Then I cut the images in half. I could easily cut the doilies in half myself after the Sihouette cuts them out, but this just saves me that step.
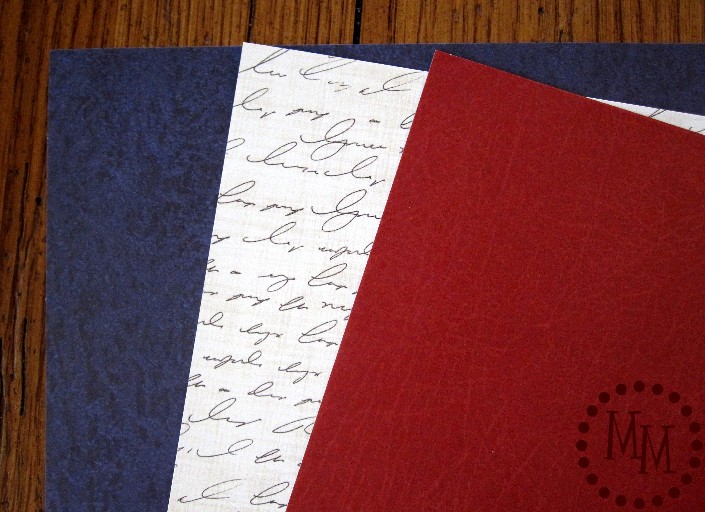
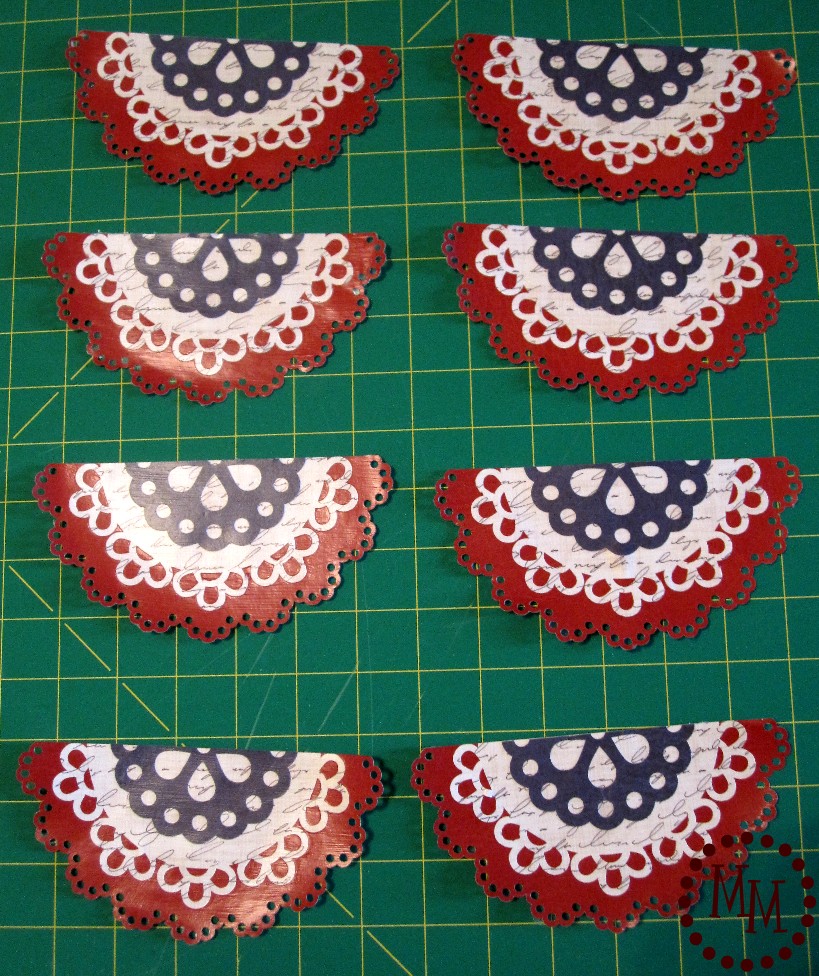
I cut each of the doilies out one at a time on red, white, and blue scrapbook paper.
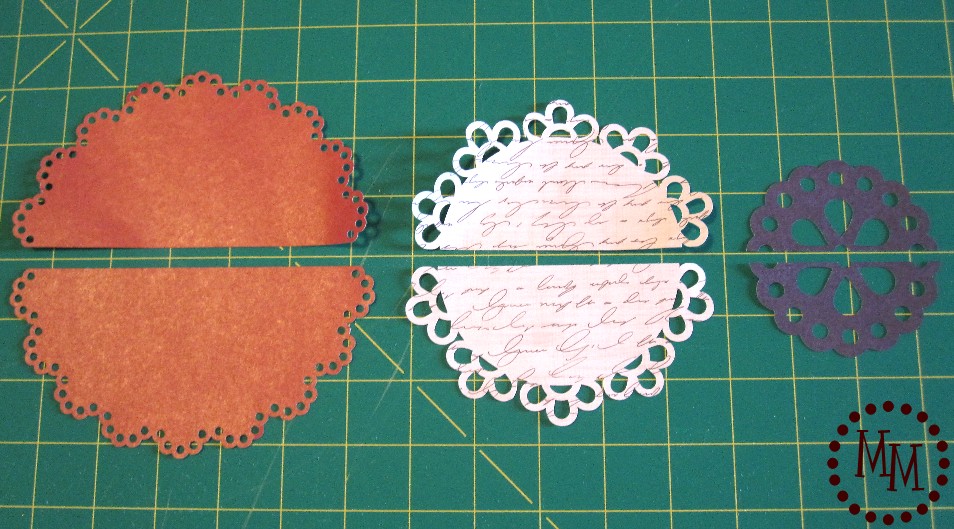
I made sure to choose doilies with solid centers for my two bottom layers.
Now to glue all of my layers together.
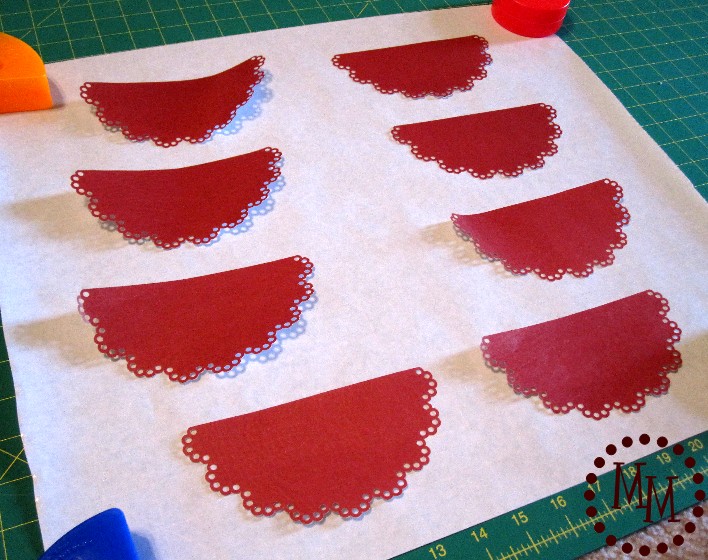
I spread out some freezer paper (shiney side up) and layed out my largest doilies.
(And, yes, I totally used some of my son's blocks as anchors around the corners of the freezer paper!)
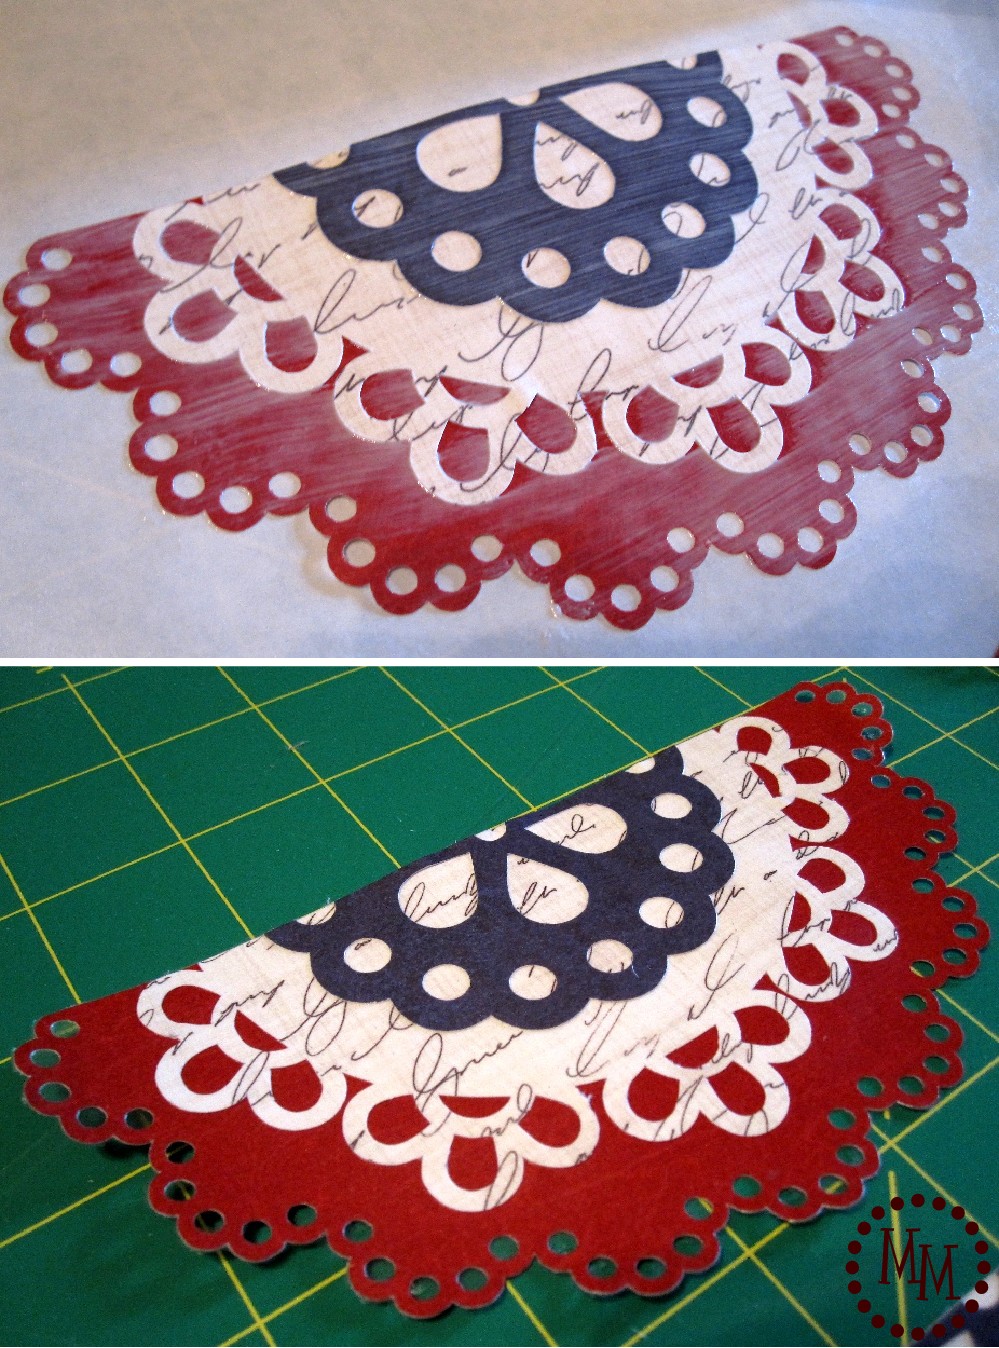
I used Mod Podge to glue the layers of doilies to one another.
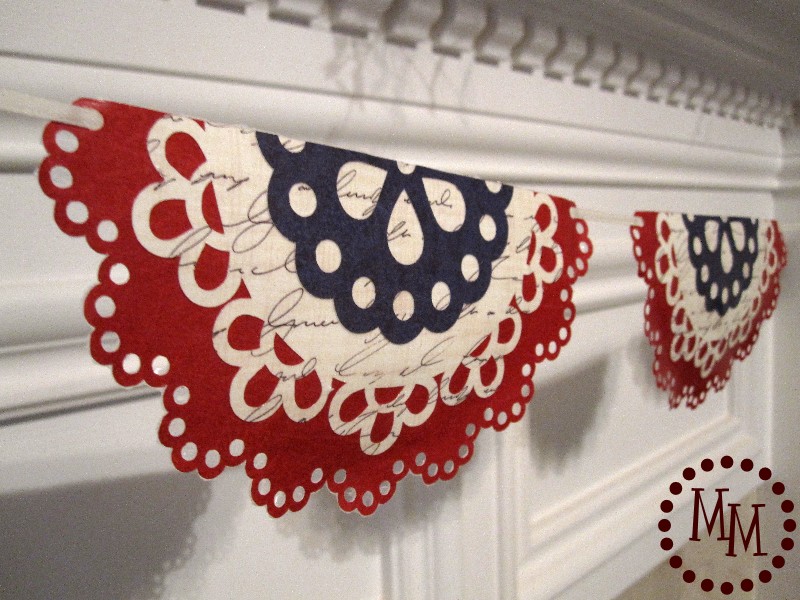
In that magical way that Mod Podge works, it dried perfectly clear as you can see above.
It also gave my thin scrapbook paper an extra thickness.
I repeated the process glueing with all 8 doily sets.
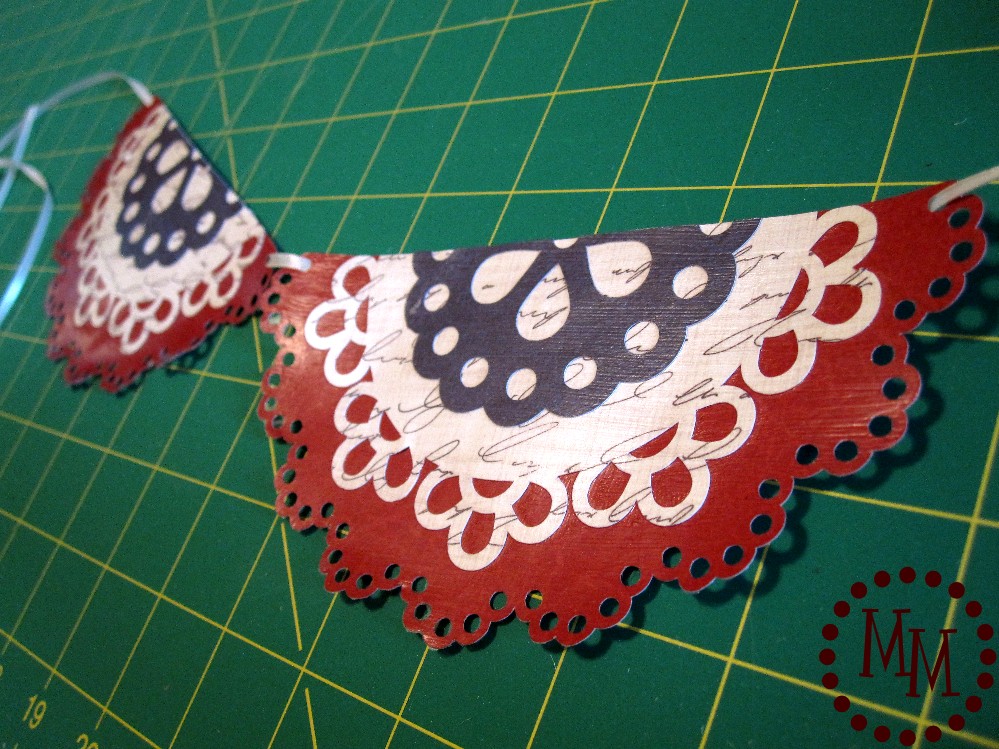
With my scrapbook paper reinforced with the layer of Mod Podge, I was able to thread some thin ribbon through the holes of the red doilies so I could string them all together.
Ahhh!
Just the coloring my mantle needed!
I'm thrilled with how they turned out!
I think I'll whip up a few more of these to string around in other places in the house.
🙂
Doily images from the Silhouette library:
Red - antique_doily_C00671_20509
White - antique_doily_C00669_20509
Blue - 3_set_doily_C00942_20509 (the largest of the 3)


Hi Michelle, Thanks again for the brilliant doily bunting photo, so perfect for us to share...and we just wanted to say...please, please think of us if you have a future project you'd like to share...we'd be delighted to feature you!
http://www.renocompare.com/about/submit-project
All the best and Happy 4th of July!
Jamie and the team
I love this and it can be made for any occasion! Glad to see you using your Silhouette too! 🙂
I LOVE your cute project!! When I saw the top picture, I really thought you had used fabric! I am going to make this...today! Thanks so much for giving us the image numbers. Off to the Silhouette store now.....
~Donna
I so love this and want to make it. I have a Silhouette but have absolutely no idea how to use it 🙁
This is such a cute project. I am crossing fingers for a silhouette 🙂
P.S. Since you use a Silhouette - could you recommend one for this beginner?
This project is just absolutely beautiful!! - love it to pieces!! I have GOT to get a Silhouette machine. If you make one for The Skinners - would you make me one too!!! I'd pay you too!!!
LOVE THIS!! Thanks so much 🙂
can you make me one? I want to buy it from you
Hmmm - so how did I miss this? Or maybe I just don't remember it? lol Either way, this is an adorable - and quick - idea!
I love this. New follower.
These are wonderful! Now I KNOW I need a Sihouette! 🙂
Would you sell this in a svg file?
Thanks Michele! I made them and love the way they turned out!
@ Chris - Done! I edited the post so the doily images are listed at the end of the tutorial. 🙂
Can you possibly tell us exactly which 3 doilies you used? I'm having trouble finding them in the Silhouette store.
Hi Michele - I just love how dainty these look! I'd really love to link to this adorable project from my site: http://www.AllFreeHolidayCrafts.com. We have a whole patriotic section that this would make a great addition to. Please let me know if linking to you is ok!
Thanks!
Rachel@AllFreeHolidayCrafts
Thank you so much for linking up to my Red, White and Blue Linky Party!
http://www.itsybitsypaperblog.com
LOVE this idea! Thank you for linking to Sew Woodsy last week! We hope you will join us again tomorrow!
Very cute. Thanks for the lesson too. I have to save this idea for next year.
Thanks for sharing such a fabulous tutorial. Perhaps I should dust off my Silhoutte. lol
Kindest regards,
Jennifer Ferrell
I love this. Makes me think I need a Silhouette.
Just wanted to let you know I featured this as part of my BFF Open House Wrap Up! Please feel free to snag a featured button from my sidebar if you like.
What a sweet banner! I love that you used doilies! It looks fabulous on your mantle.
Hugs,
Terri
How adorable! love the doilies, super fun project and gorgeous colors! you're so crafty and creative, Happy 4th of July!
I'm blog hopping from homemakeronadime, your newest follower 🙂
Susan at http://tea-diary.blogspot.com
How adorable! love the doilies, super fun project and gorgeous colors! you're so crafty and creative, Happy 4th of July!
I'm blog hopping from homemakeronadime, your newest follower 🙂
Susan at http://tea-diary.blogspot.com
I guess I need a silhouette. That is so cute and creative. Thanks for sharing
I highlighted this banner on my little blog at http://wadelmat.blogspot.com/
Thanks for sharing!
oh man what a great idea!! it looks fabulous!! happy 4th!
Hi Michele, I am Michele! 🙂
Love your banner, thank you for the tutorial! I am going to check out some more of your craftiness. Thanks for sharing! xoxo michele
Love your cute little banner! I featured you over at http://www.justpleasedaspunch.blogspot.com. Check it out if you have a chance!
Adorable! I'm having a Red, White and Blue Linky Party today and I'd love for you to come join in on the fun!
http://www.itsybitsypaperblog.com
They lOok fab across your fireplace. Happy 4th July.xxx
These are so beautiful. I featured them on my blog last night.
So cute!!
Thanks for linking up! I featured your post in my wrap up today http://tidymom.net/2011/im-lovin-it-wrap-up-4th-of-july-ideas/
Have a great holiday!
This is so pretty, I love the papers you used! I featured this on my Friday 5, thanks for sharing!
http://www.modernwivelyhood.blogspot.com
So beautiful! It looks so elegant and festive! Thanks for the inspiration!