
Washi Tape Zipper Pouch
Make a unique zipper pouch using your favorite washi tapes!

I don't do a lot of sewing, but one of my favorite things to make is zipper pouches. You just can't have enough of them, am I right? They are great for holding and storing all sorts of things. Like washi tape! I'm crazy for washi tape and have quite the collection. There are just so many pretty patterns and colors! So what happens when my love of zipper pouches meets my love of washi tape?? An amazing washi tape DIY zipper pouch!
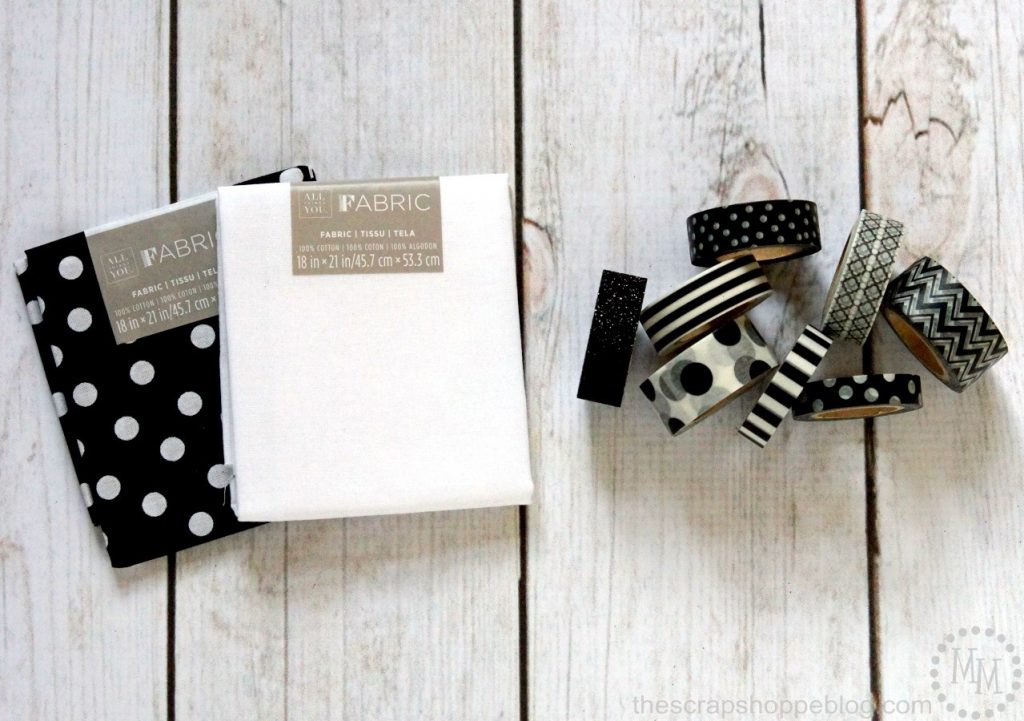
Supplies:
Assorted washi tape
Solid fat quarter
Patterned fat quarter
Clear packing tape
Scissors
9" zipper
sewing machine
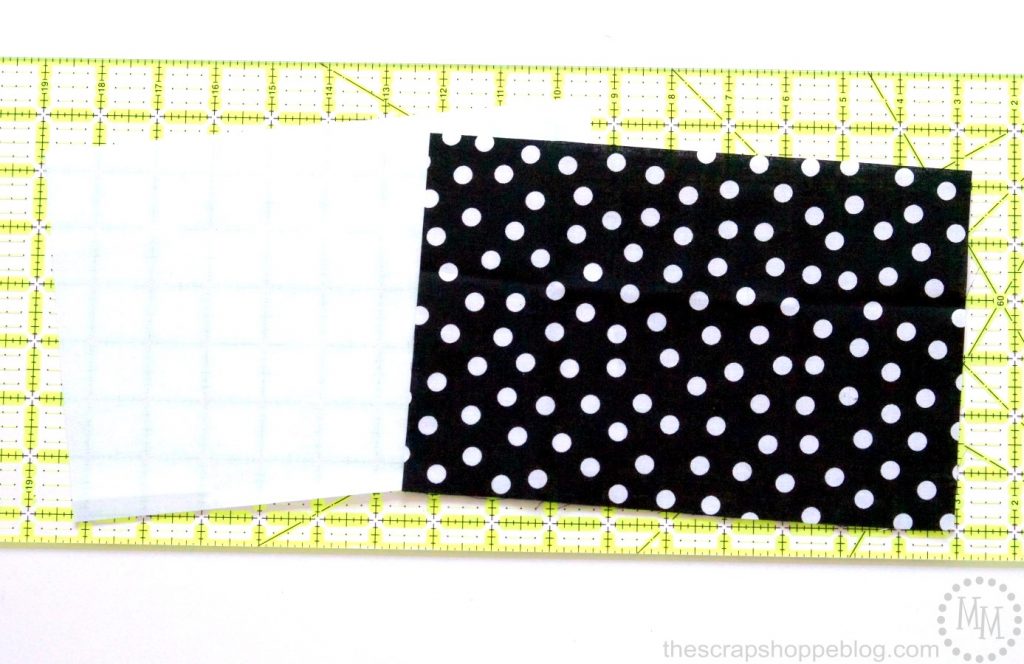
Determine what size you want to make your washi tape DIY zipper pouch. I am going to make mine 9″ x 6″ with ¼″ seams. So I cut the fabric into 9 ½″ x 6 ½″ rectangles to allow for the seam size all around the fabric. Cut 2 rectangles of the solid and 2 of the patterned. The solid will be used as the outer fabric for the zipper pouch and the patterned will be the inner lining.
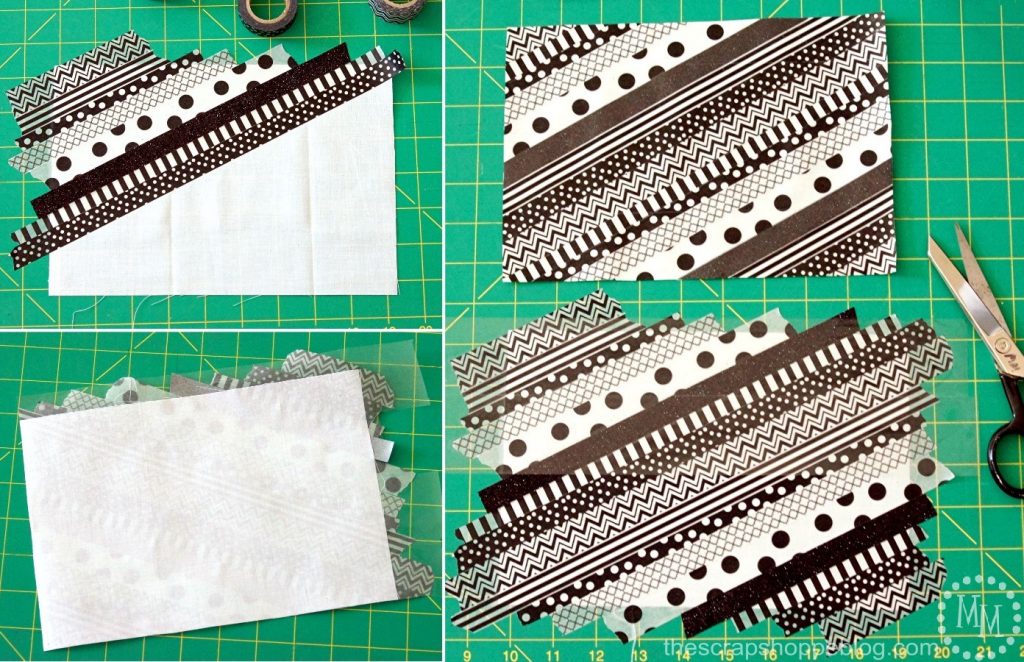
You can apply the washi tape to the white fabric in just about any pattern. I'm sticking with a simple diagonal and rotating through the 8 tapes in the washi tape collection I'm using. Simply apply the tape to the fabric, making sure it hangs over the edge of the fabric to cover it all.
Once the fabric is completely covered with the washi tape, top it with rows of the clear packing tape.
Flip the fabric over and trim off all excess tape with a pair of scissors.
Repeat with the second rectangle of white fabric.

The packing tape will protect the more fragile washi tape for long term use. It also gives the "fabric" a fun oilcloth feel!
Rub the packing tape smooth over the washi tape. To help keep it from coming up, stitch along edges of the seams of packing tape or do a zigzag stitch to cover the seams.

Now let's prep the zipper!
I always like to add a little extra fabric to the ends of my zippers, just in case. No exact measurements, just fold to hide the raw edges, iron the fabric, and stitch it to the ends of the zipper.
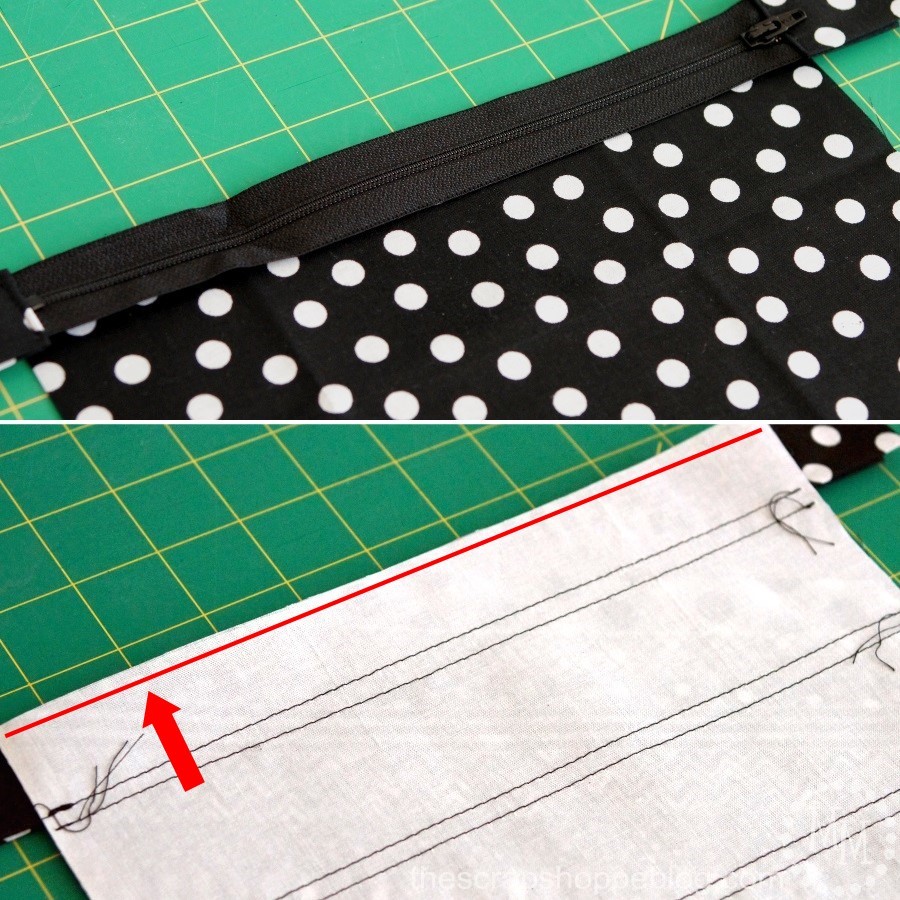
Attach fabric to the zipper one side at a time. Place the inside fabric right side up on your workspace. Place the zipper right side up on top of the fabric, matching the tops of the fabrics together. Top with the outer fabric, face down, again lining up the top edges. Pin or clip in place and run a quarter inch seam along the outside edge (the red line in the bottom photo above).
Repeat with the other side of the zipper and second inner and outer fabrics.
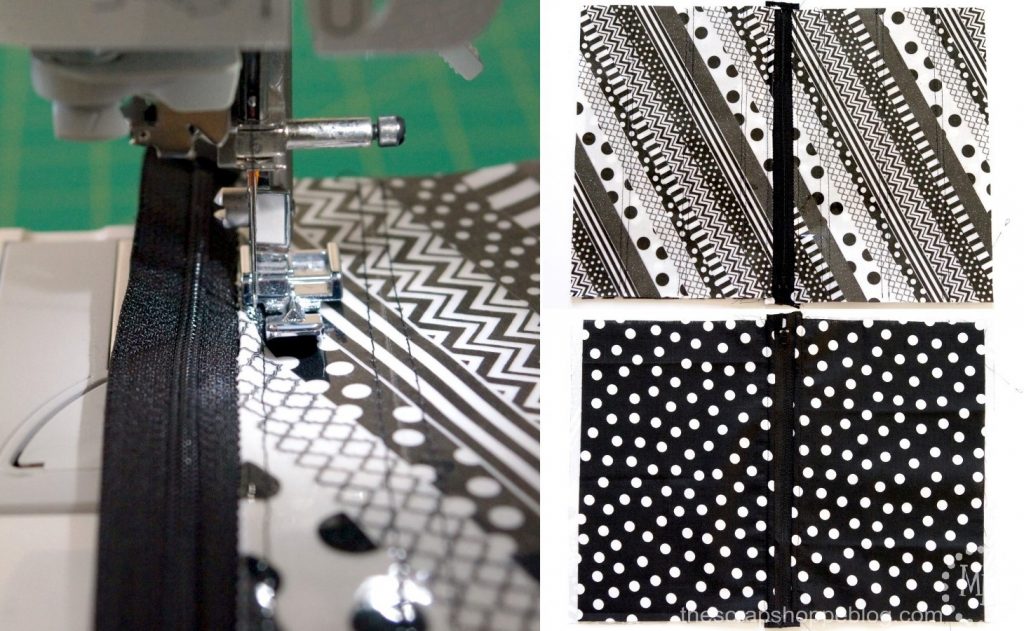
Open the fabric so that both outer fabrics are facing up. The inner fabrics should be spread open underneath. Apply a top stitch along the outer fabric (with the inner fabric for that side directly underneath) ¼″ from the zipper. This will help make the fabric sit smoother, especially since we cannot iron it.

MOST IMPORTANT STEP: UNZIP THE ZIPPER NOW.
Once all the top stitching is complete, arrange the fabric so that both the outer fabrics are layered on top of each other, right sides in, and as well as the inner fabrics, right sides in. Line them all up and pin or clip in place. Run a ¼″ seam all around the edges, starting at the diagonal arrow and continuing around until the red line stops. Leave a large open area at the bottom of the inner fabric.
You can also add a diagonal stitch in both corners of the outer fabric, then trim off the excess, to give the zipper pouch rounded instead of straight edges when complete.
Note: Clean the sewing needle on your machine periodically to remove any gummy adhesive from the tapes.

Carefully reach in through the hole in the bottom of the outer fabric and pull the zipper pouch right side out. Stitch closed the hole in the bottom of the inner fabric and tuck it into the zipper pouch.

How fun is this washi tape DIY pouch?? I can see a lot more of them in my future. And now I can store my extra washi tape in it!

>> See where I party! <<

I am pretty new to sewing and zippers really intimidate me. This tutorial has inspired me to at least thing about trying, which is the first step!
That is wonderful to hear, Susan!!
That is adorable! Thanks for sharing at Home Sweet Home!
This is awesome! Now at last I can use my massive washi tape collection for something ,ore than decorating my planner!
This is awesome, I love it! Pinned this and I will be showing this to my daughter, she's the sewer of the family. 🙂
I hope you don't mind me asking but, I'd love if you would share your adorable zipper pouch at the blog hop I co-host. The party starts at 8pm EST on Sunday night (it's a Monday blog hop though #MMBH).
XOXO
Okay, just found that you already joined! Happy to see your post at MMBH!! Pinning to that board, too. 🙂
xo