
{Workshop Wednesday} Personalized Snow Globe
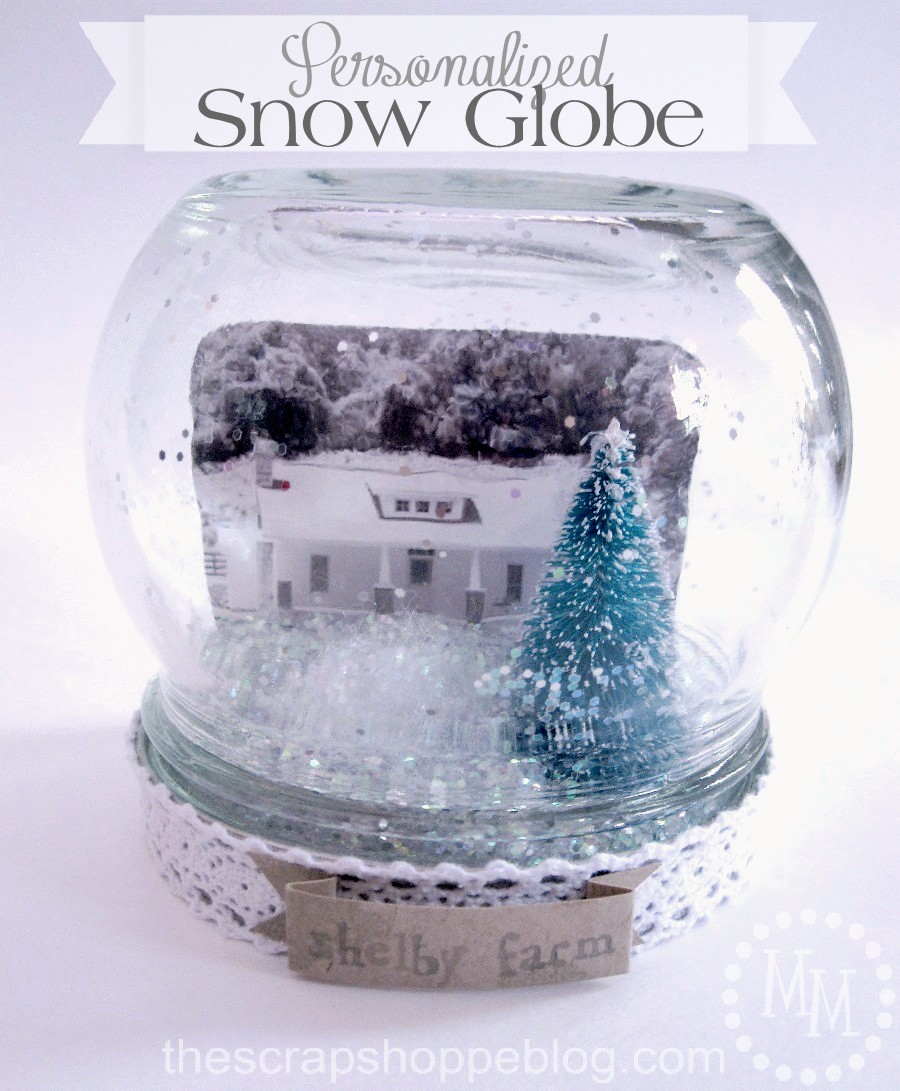
Today I have a fun and simple project to share with you.
DIY snow globes were all the rage last Christmas thanks to Anthropologie, and I've been itching to make some of my own ever since. I wanted to take mine a step further and personalize them!
I've mentioned a few times in the past (here, here, and here!) that we have a farm that has been in the family for several generations. Its a special place for all of us, and I thought it would make a great gift to
miniaturize it into a snow globe!
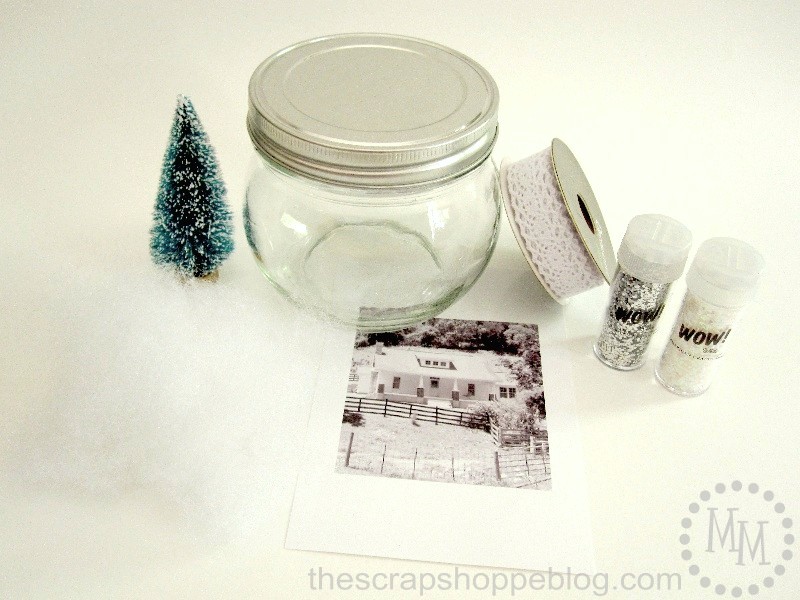
Supplies
small jar (Hobby Lobby)
bristle brush tree
batting
lace
glitter
photo formatted to fit in your jar

Glue the lace around the edge of the jar lid.

I made my photo black and white to better blend into the "snow" theme of the snow globe.
Green grass just would look right!
And when editing the photo, you want to be sure to leave some extra space along the bottom of the photo.
You'll see why soon.
I used a corner rounder on the top two corners of the photo just to keep with the old fashioned look I'm going for.
Fold up the bottom of the photo (that's why we left the extra space!) about quarter of an inch.
Glue the photo to the inside of the jar lid, towards the back but be sure your jar will still fit over it if it is very round.
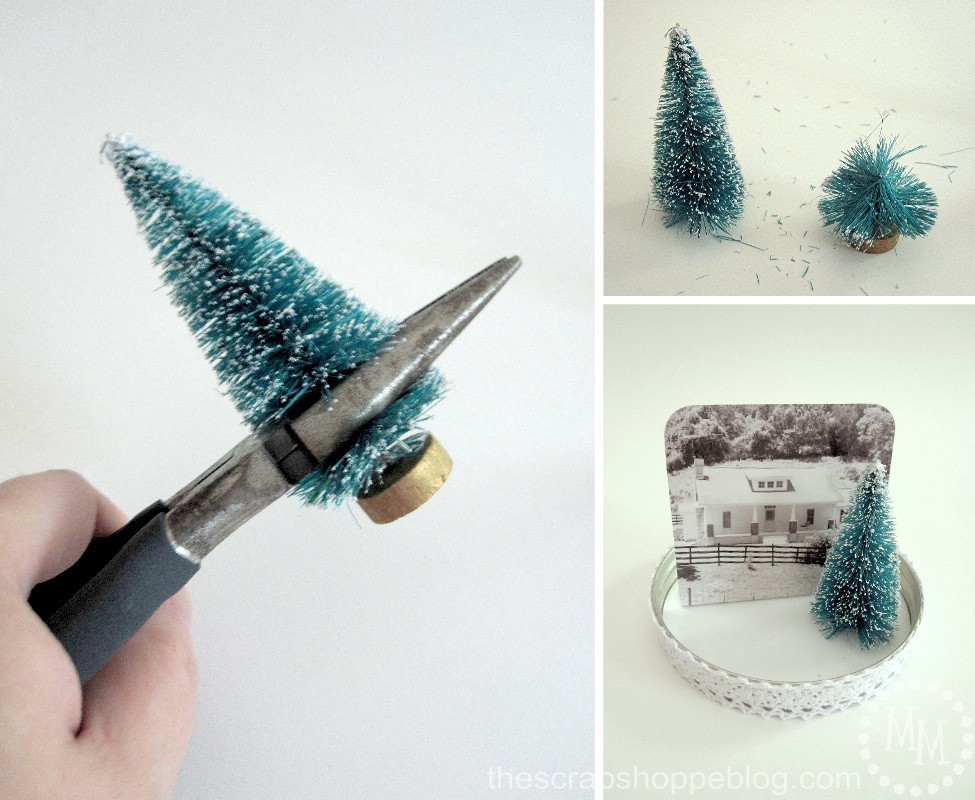
Even though I purchased the shortest bristle brush trees I could find, they were still too tall for my jar.
I used a pair of needle nose pliers to trim the tree down.
Its a little messy so be sure to put something down to collect the loose bristles!
Glue the tree to the inside of the jar lid in front of the photo.
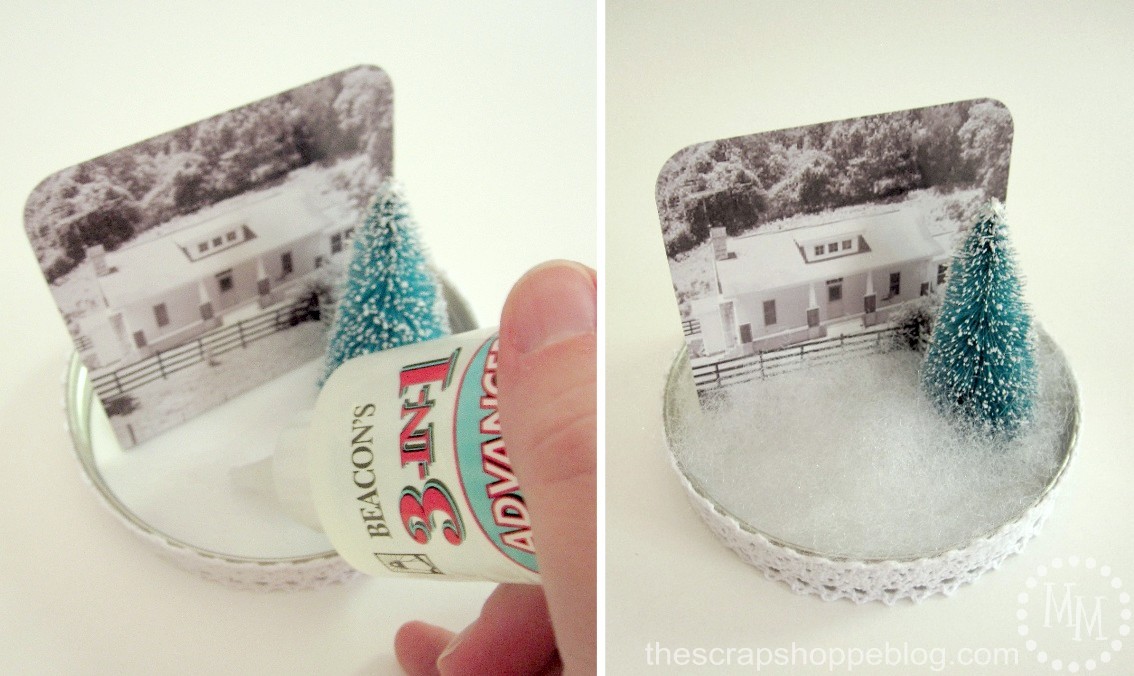
Now its time to add a little snow!
Apply some glue around the lid and press down a small amount of batting everywhere you see exposed jar lid.

Time to add the glitter!
I used both white and silver glitter at a ratio of about 80:20.
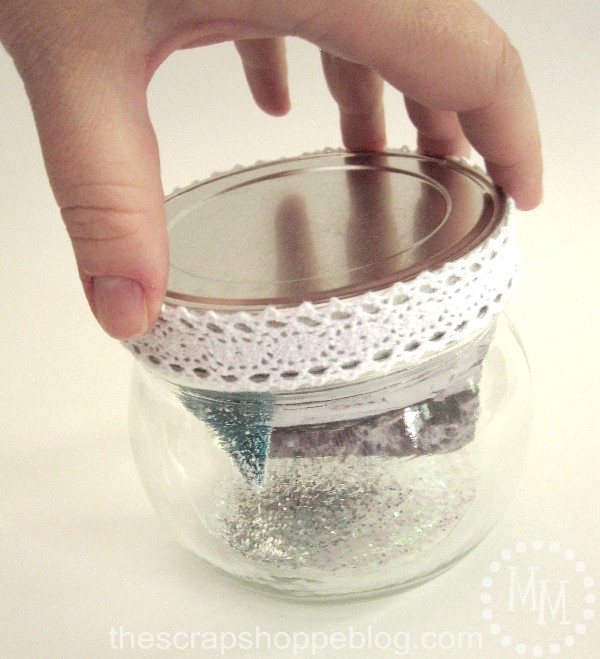
Leave the jar right side up, screw on the jar lid.

Turn the jar upside down and you have your snow globe!
But I think it needs something else...

On some scrap paper I stamped out the name of the family farm.

Trim it out into a rectangle and fold the edges to make a banner.
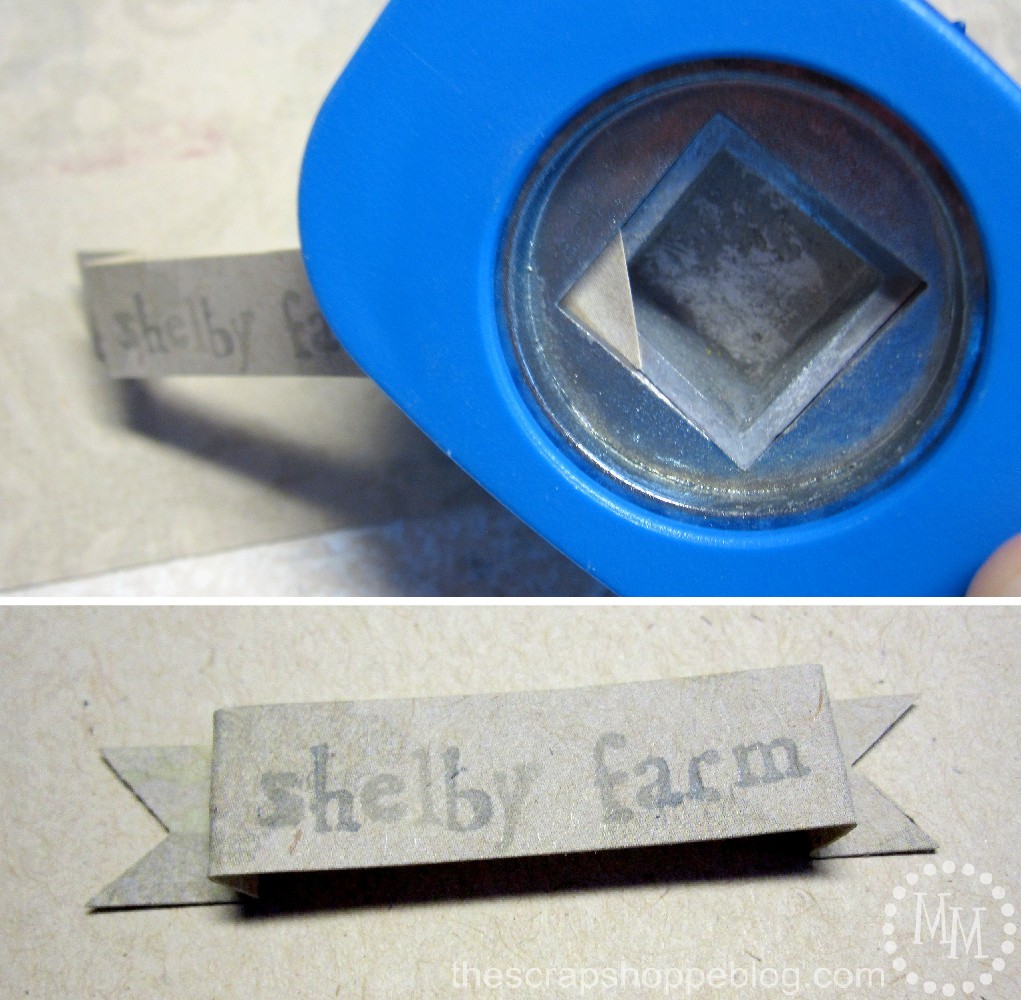
Use a square punch (thank you Pinterest!) to cut the edges of the banner.

Apply a small amount of glue to the back of the banner then attach to the lace at the front of the snow globe.
Much better!
I think my family members will really enjoy this memento of our family farm.
To continue with the Workshop Wednesday blog hop,
please visit Tracey at My CreativiT!
I link to these great parties!

but what do you use for the liquid to make it a true snow globe??? Glitter simply falling quickly up and down is not a snow globe. it needs to be suspended in liquid.
Since I am using a photo, it cannot be a "true" snow globe with liquid. But it is well loved just having the glitter inside.
Love this!!!! Hope I'm on your gift list!!!
Michele this is so adorable! I love the extra little label. Thanks for linking up to my DIY Gift Idea party.
I just love snow globes! How fun to personalize and never thought of not adding water, creative sweetie
Thanks for linking up and sharing with us.
I love this! Time to make a snow globe!
Such a sweet project. Everyone loves snow globes and what a wonderful memory! Thanks for sharing:)
Adorable. I adore snow globes. My son has one that Jenn's (rook no 17) daughter made him in Kindergarten still! (he is in 6th grade now). I bought almost everything to make some last year and did not...I like your little touches like the farm sign. Sweet!
I had forgotten how much I loved all those fun DIY snow globes from last year!!! Thank you for reminding me that I definitely want to make some this year!!! Yours is so adorable and has so many fun extras! Where did you buy the bottle brushes? I had a hard time finding them last year!
I love snow globes, thank you for inspiring me. I am definitely going to make some now!
Love this!! Pinned it and will have to try it as a Christmas gift this year.
-Erin @ DIY On the Cheap
Such a great idea! totally pinning this for gifts this year!
I adore this project Michele! Thanks for the helpful pics to go along with your step-by-step directions too! I definitely want to try this...
Michele - this is too adorable and I love this idea. This will be going into the gift ideas for this year.
That is a super cute idea! You made it look so easy too!
This turned out so cute! What a great idea. Can't wait to get started on Christmas projects!
I would love it if you would share this at the Smart Solutions linky party. You can link up here:
http://theprudentpantryblog.blogspot.com/2012/07/prudent-projects-and-smart-solutions.html
Have a great day!
This is such a darling idea. ANd I have never thought to get the pointy corners by using a punch that way, that's genius!
marissa
http://raegunwear.blogspot.com
That is just so cute! You did an excellent job!
This is so cute - I was so close to making one last winter. maybe it will happen this christmas! Thanks!
Very cute! Thanks for sharing, these will be so fun to make
Adorable! Nicely done! : )
What a cute and clever idea!
This is so cute. I need to do this for Christmas gifts. I have a Blog Hop, and I would love it if you would link this post. You can find it at
http://www.adornedfromabove.com/2012/07/surf-spray-and-wednesdays-adorned-from.html
It is called Wednesdays Adorned From Above Blog Hop.
I hope to see you there. Have a great Day.
Debi Bolocofsky
Adorned From Above
http://www.adornedfromabove.com
I think snow globes are the cutest. This would make a wonderful gift! I especially like the Shelby Farm label.
Really cute Michele. At first I was wondering how you got the photo to stay inside the jar with the liquid but then I realized you didn't use any I am assuming? It is totally cute and I love the muted tones - perfect for the farm picture. 😉
Cute. But there is no water in it like the usual snow globe.
You're correct, no water! It would ruin many of the elements used inside of the globe. Its just the illusions of a snow globe I am shooting for. 🙂
omygoodness. what a great gift idea for your family! so sweet.
i LOVE this snowglobe. so awesome.
xo
kellie
How cool is that...
Wicked cute project! This is one DIY I am going to have to do! Would be great as stocking stuffers for my co-workers! Thanks for the post! I love it.
This is one of the classiest homemade snow globes I have ever seen! You did an incredible job!
Ha! I did my own version of this during my 25 Days of Christmas blog series back in December last year. Take a look if you want. Fun!
Michele!!! This is so cute - I love that it's personalized! The house looks so cute and the little banner on the front finished it off perfectly!!