
We have our final guest poster for the month visiting today!
Give it up for the very talented Beverly!~.~.~.~.~.~.~.~.~.~.~.~.~.~.~.~.~.~.~.~.~.~
Give it up for the very talented Beverly!~.~.~.~.~.~.~.~.~.~.~.~.~.~.~.~.~.~.~.~.~.~
Hi! I’m thrilled to be here at The Scrap Shoppe today! My name is Beverly and I blog over at Flamingo Toes.
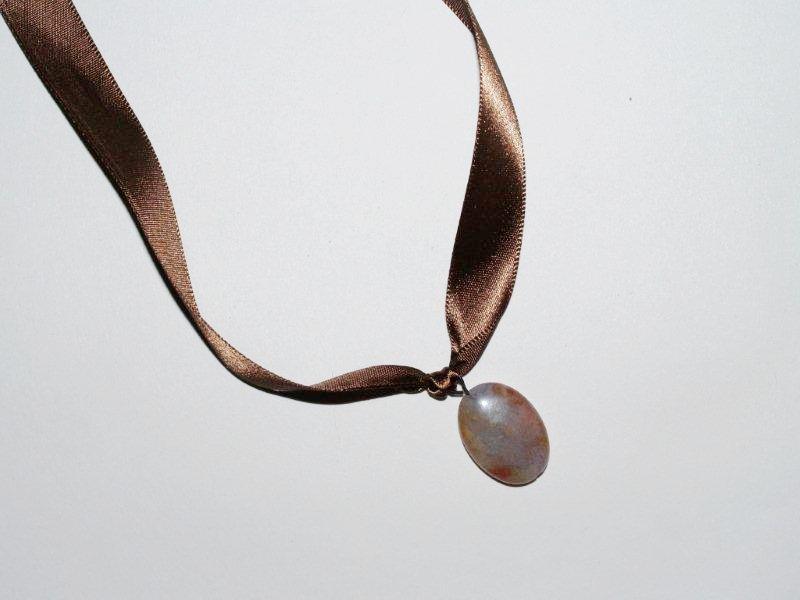
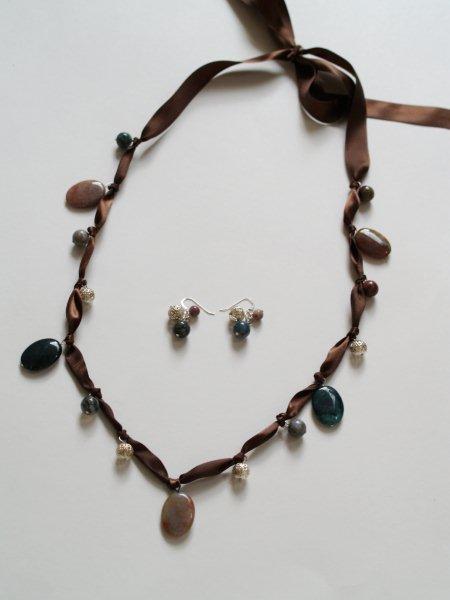
I really enjoy sewing, embroidery and just general “crafting”. I also have started making jewelry. I love the new casual styles of necklaces out there using fun materials like lace, ribbon, and fabric. They’re also so easy to do. In fact, I have a really simple Ribbon and Bead Necklace to share with you today!
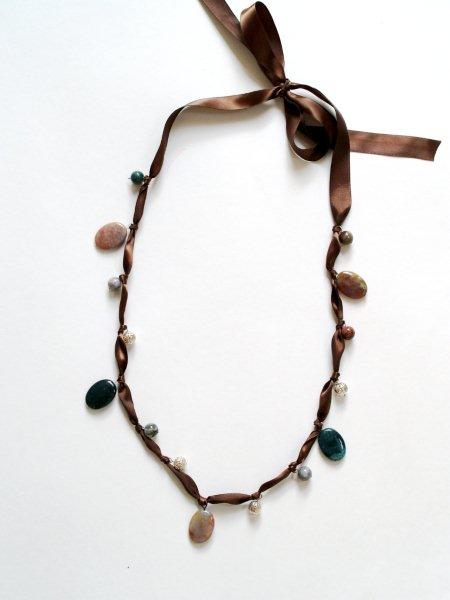
This necklace is great because you can take the basic design and adjust the beads or ribbon to go for a completely different look or color scheme.
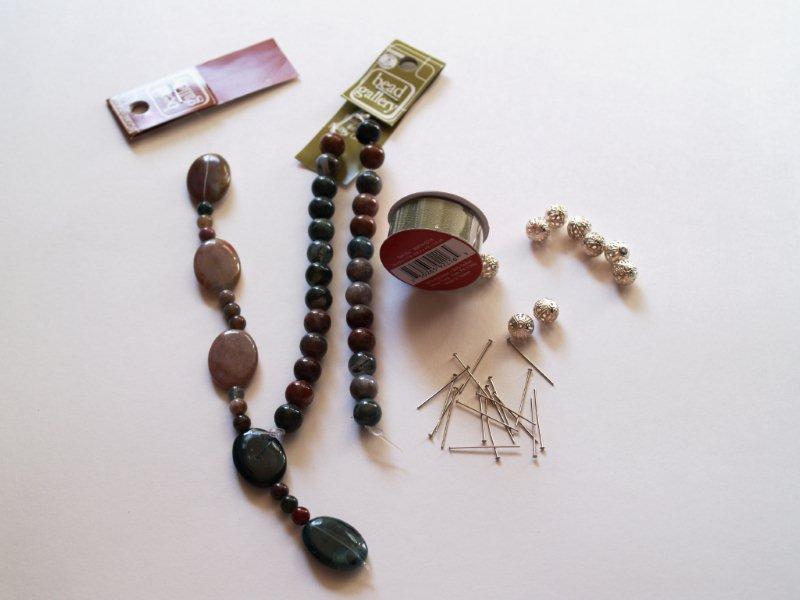
To make one you’ll need:
-
Ribbon (about twice the finished length of the necklace)
-
Large and small beads
-
Head Pins (wire with a flat end on it, longer than your beads)
-
Rounded pliers and wire cutters
Start by putting the beads you’ll use on head pins and making a loop. To do this, thread the bead on the pin,
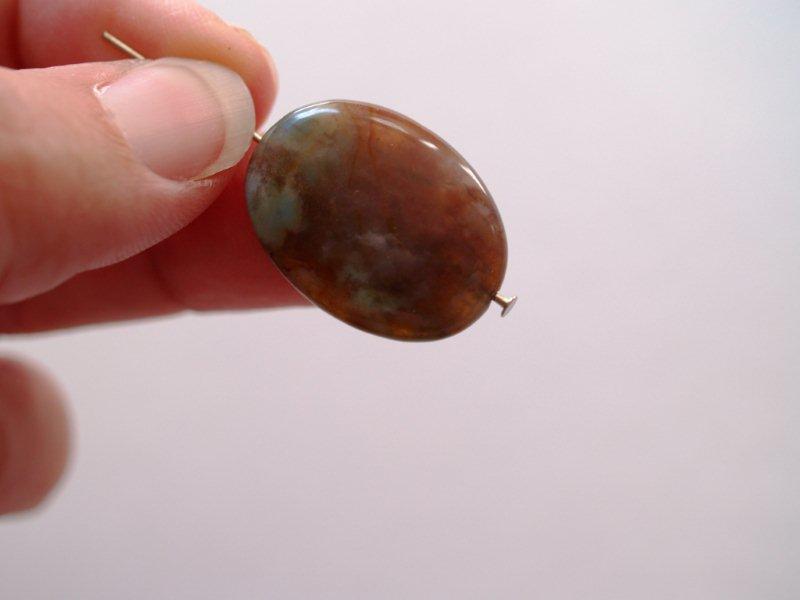
then with rounded pliers, bend the end of the wire into a loop. Trim any extra wire off the head pin, making sure you have a tight loop.
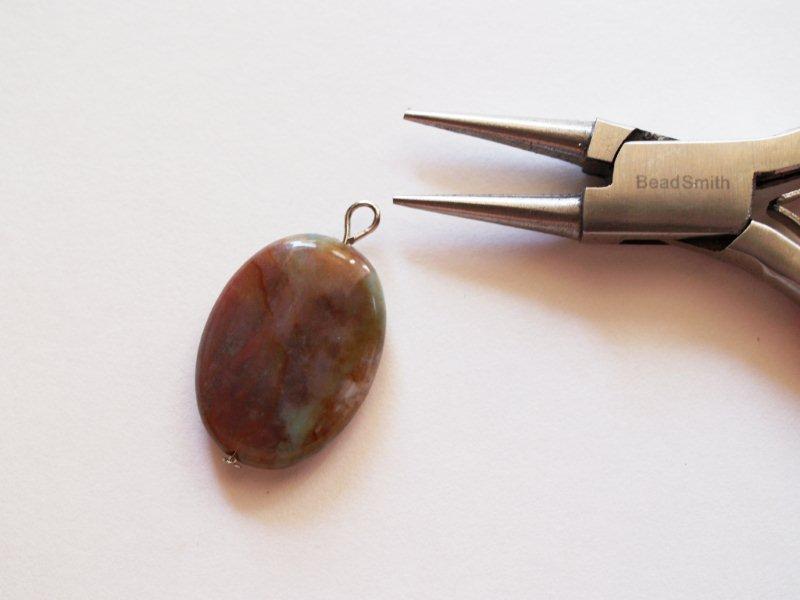
Also, don’t make your loop so small that your ribbon won’t go through it. It doesn’t have to be perfect, most of it won’t show, because of the knots. You just don’t want the ribbon to be able to slip out of the loop.
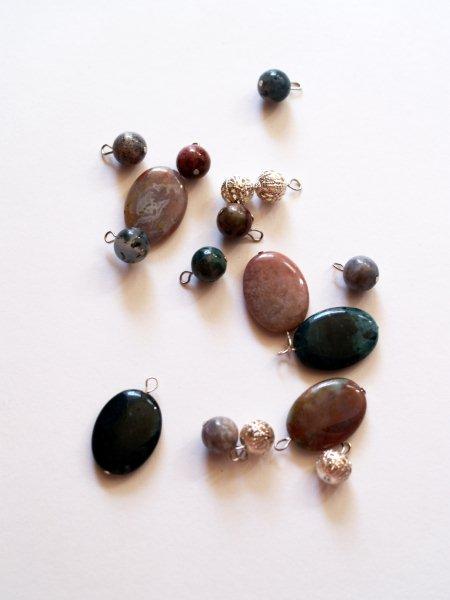
Once you have your beads all ready you can start threading them onto the ribbon. You might want to layout the beads in the pattern that you’ll use in the necklace.
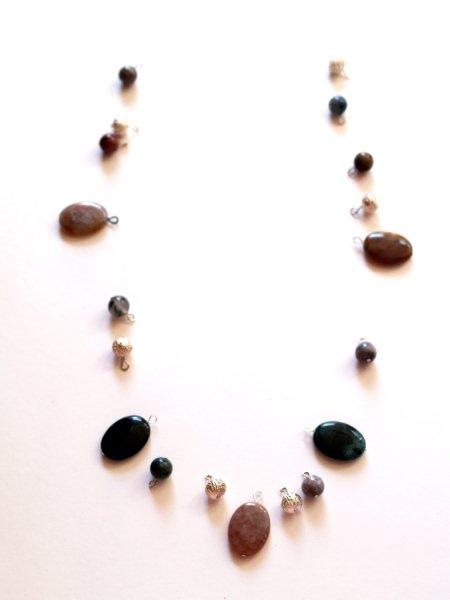
Start with a center bead. Thread it onto your ribbon, down to the center. Knot your ribbon around the pin loop.
Continue adding beads, switching back and forth on each side of the center bead, knotting the ribbon around each pin. Try and keep the space between beads about the same, and the spacing of the beads even on both sides of the ribbon.
Try the necklace on every so often to check the length. When you have all the beads on that you want, tie the ribbon in a bow at the back and trim off the ribbon ends.
Add some Fray Check to the ends so your ribbon won’t fray.
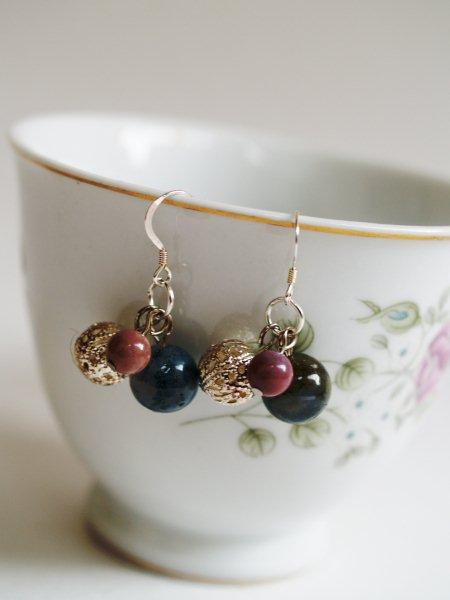
If you have any beads left over (which I did because I forgot that I’m short and didn’t need a beaded necklace that went to my waist) you can add them to a set of ear wires for a quick set of matching earrings. I added three beads to a jump ring, then added that to an ear wire. Easy!
And that’s it! So simple!
It makes a fun addition to a plain T-shirt . . .

Or under a cute jacket – for when it’s actually cool enough to wear one!

I hope you’ve enjoyed this tutorial. I’d love for you to stop by Flamingo Toes and say hi, see what else is going on. I do tutorials at least once a week and giveaways at least once a month!
Thanks so much Michele for having me over. 🙂 It was lots of fun!
~.~.~.~.~.~.~.~.~.~.~.~.~.~.~.~.~.~.~.~.~.~
How cute is that? Beverly has all kinds of talent when it comes to making jewelry. Be sure and give her a visit! AND, she is dedicating all of next week to Anthro knock-off necklaces! There will be tutorials galore and giveaways to boot. Don’t miss out!

Tammy@ Not Just Paper and Glue
Friday 27th of August 2010
What pretty items!
Beverly @ FlamingoToes.com
Thursday 26th of August 2010
Thanks everyone for your sweet comments!!And thanks Michele for posting my tutorial! :)
Alison
Thursday 26th of August 2010
Darling necklace!! Great job, Bev!
Allie
Thursday 26th of August 2010
Super cute idea!!!! Can't wait to check out more of your blog.
Thanks for having her guest post Michele!
The Answer Is Chocolate
Thursday 26th of August 2010
Beautiful necklace and so cool to see you guest posting!