
DIY Doily Place Setting
Create a sweet doily place setting using your favorite scrapbook papers for a unique table decoration idea.
I received this product in exchange for my review. All opinions expressed are strictly my own. This post contains affiliate links.

I was given the opportunity to review the circle edge punch, a product from Martha Stewart Crafts.
Unfortunately, it does not appear that the starter kit here is available any longer.
However, if you have one already, you can still purchase cartridges for the kit, and there are some super cute ones.
If you cannot find a starter kit, do not fret!
You can still create these adorable doily place settings with a die cut machine which I will talk more about at the end of the post.
The starter kit is for a is a circle edge punch, that uses cartridges to create patterns.
Basically it makes doilies or decorative rounded papers for your crafting and/or scrapbooking.
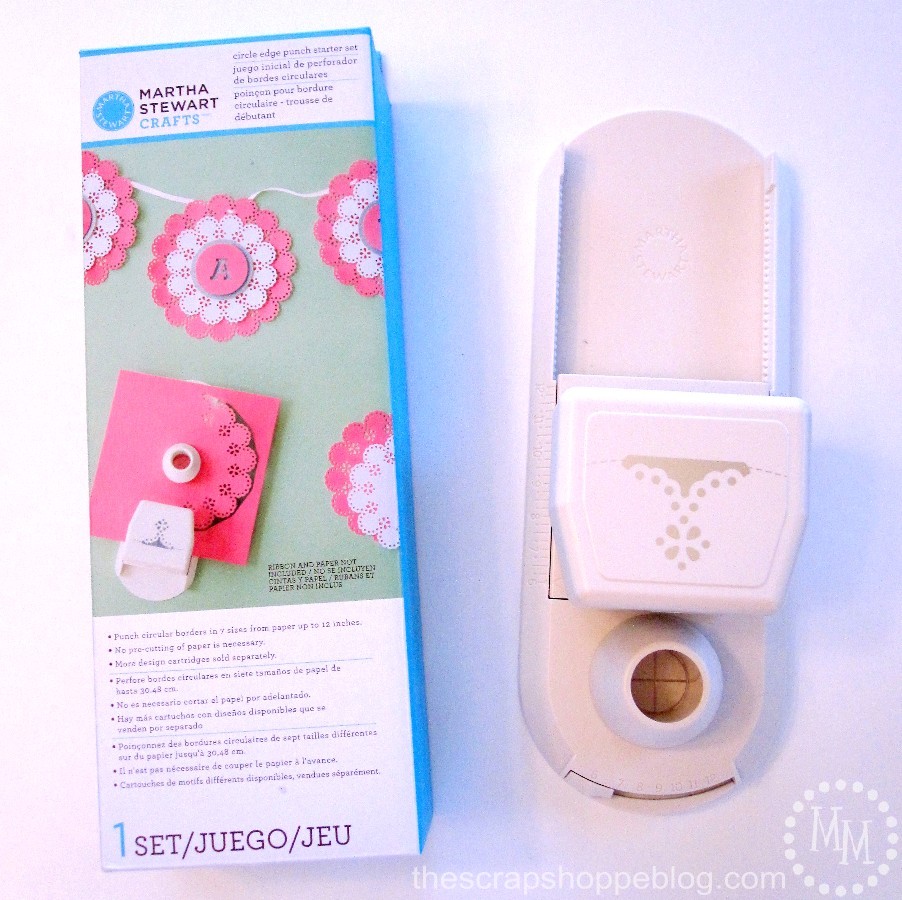
Shown above is the circle edge punch starter kit.
Let's break it down...

The starter kit comes with
1) a decorative edge punch cartridge,
2) the punch comes with a plastic cap which contains the counter punch to slip into the base, and
3) the base which holds your paper and the punch.
To get started, you need to remove the counter punch from the plastic and insert it into the base.
The decorative edge punch sits on top of the counter punch and stays attached with heavy duty magnets.

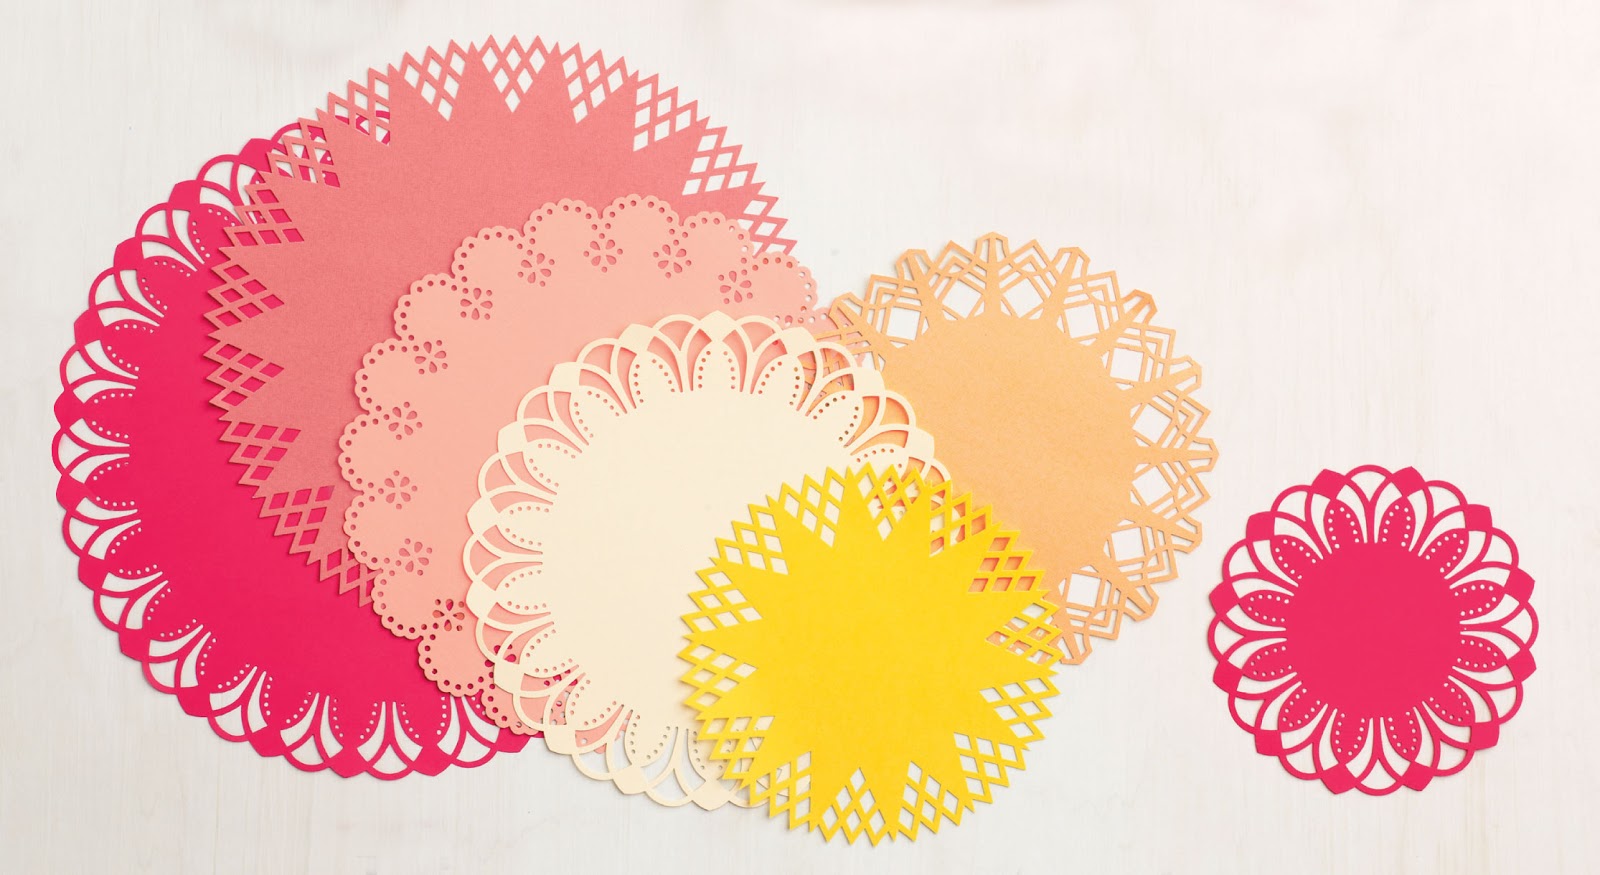
The base allows you to cut the doilies in any size ranging from 6 to 12 inches.
You can adjust the paper width using the sliding ruler (top left) and the circle diameter using the curved slide (bottom right).
To punch your paper, first you need to find the center and mark a small X in pencil.
I'm going to punch a 12" doily so I need to set both of the number settings to 12.
Remove the round knob (it's magnetic) and set your paper there.
Replace the round knob.
The center of the knob is see through and has cross hairs so you can line up the X you drew in the center of the paper.
Place the punch on the base and push down to push the punch through the paper.
Remove the punch, give the round knob a quick twist, and the paper will rotate just the right amount to make the next punch.
Replace the punch and continue on until you have worked your way all around the paper.
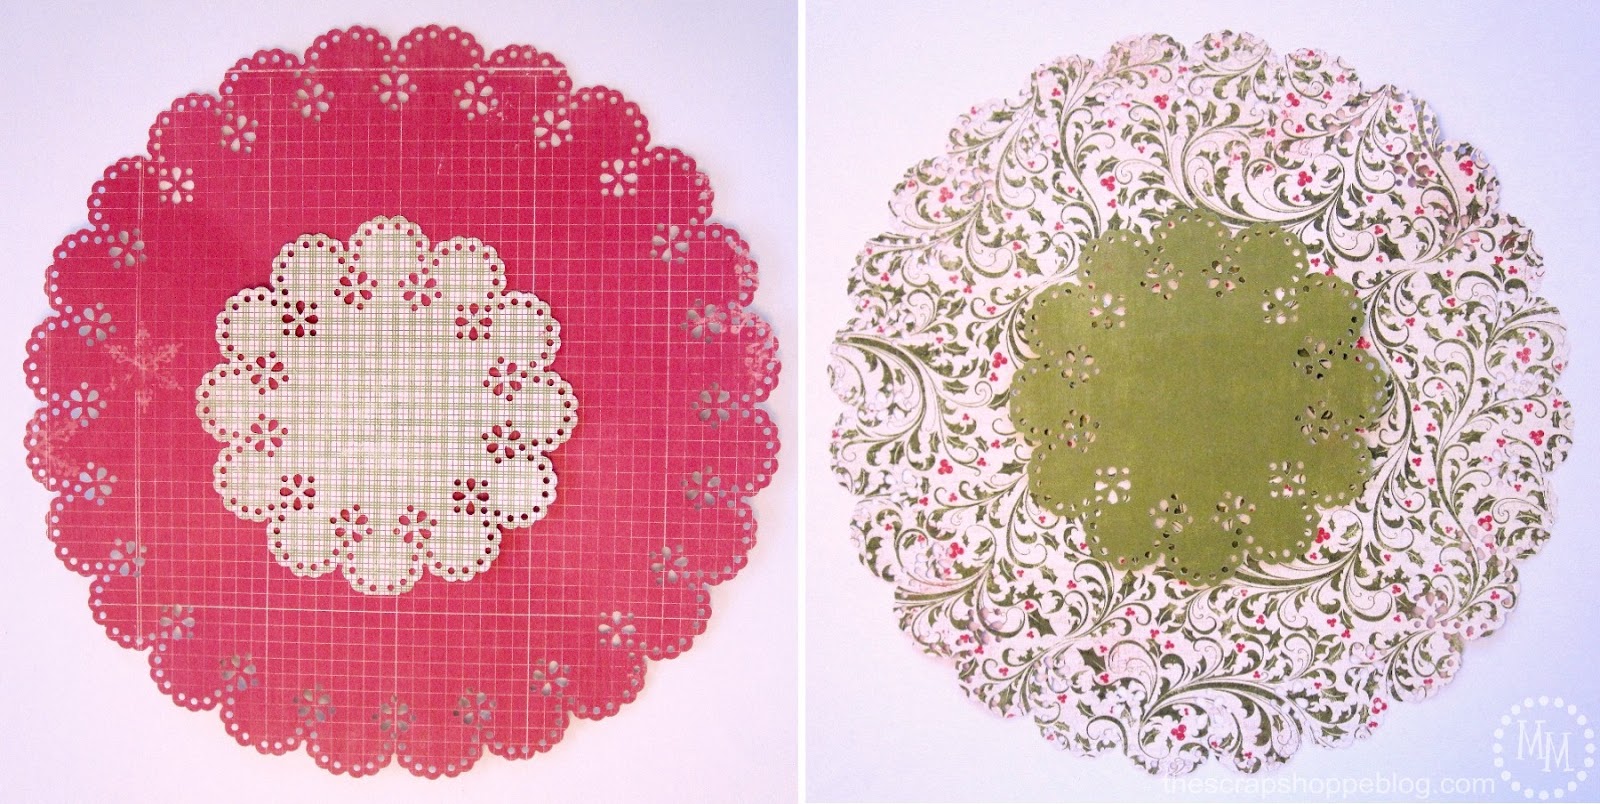
I made 12" and 6" doilies on double sided scrapbook paper.

By the way, all the scraps that you are punching out are collected inside the base to this project is also mess free!
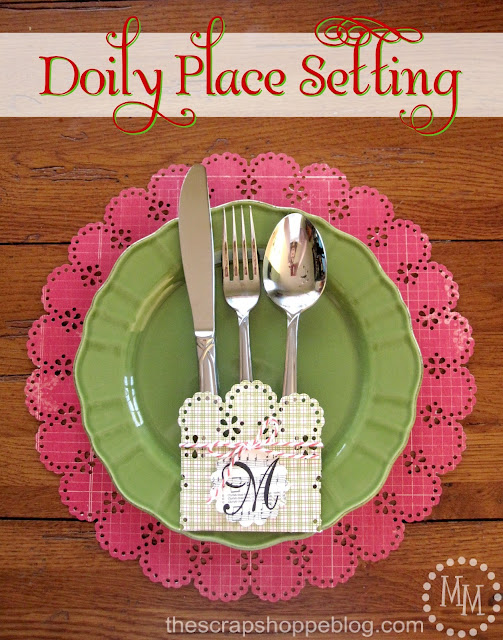
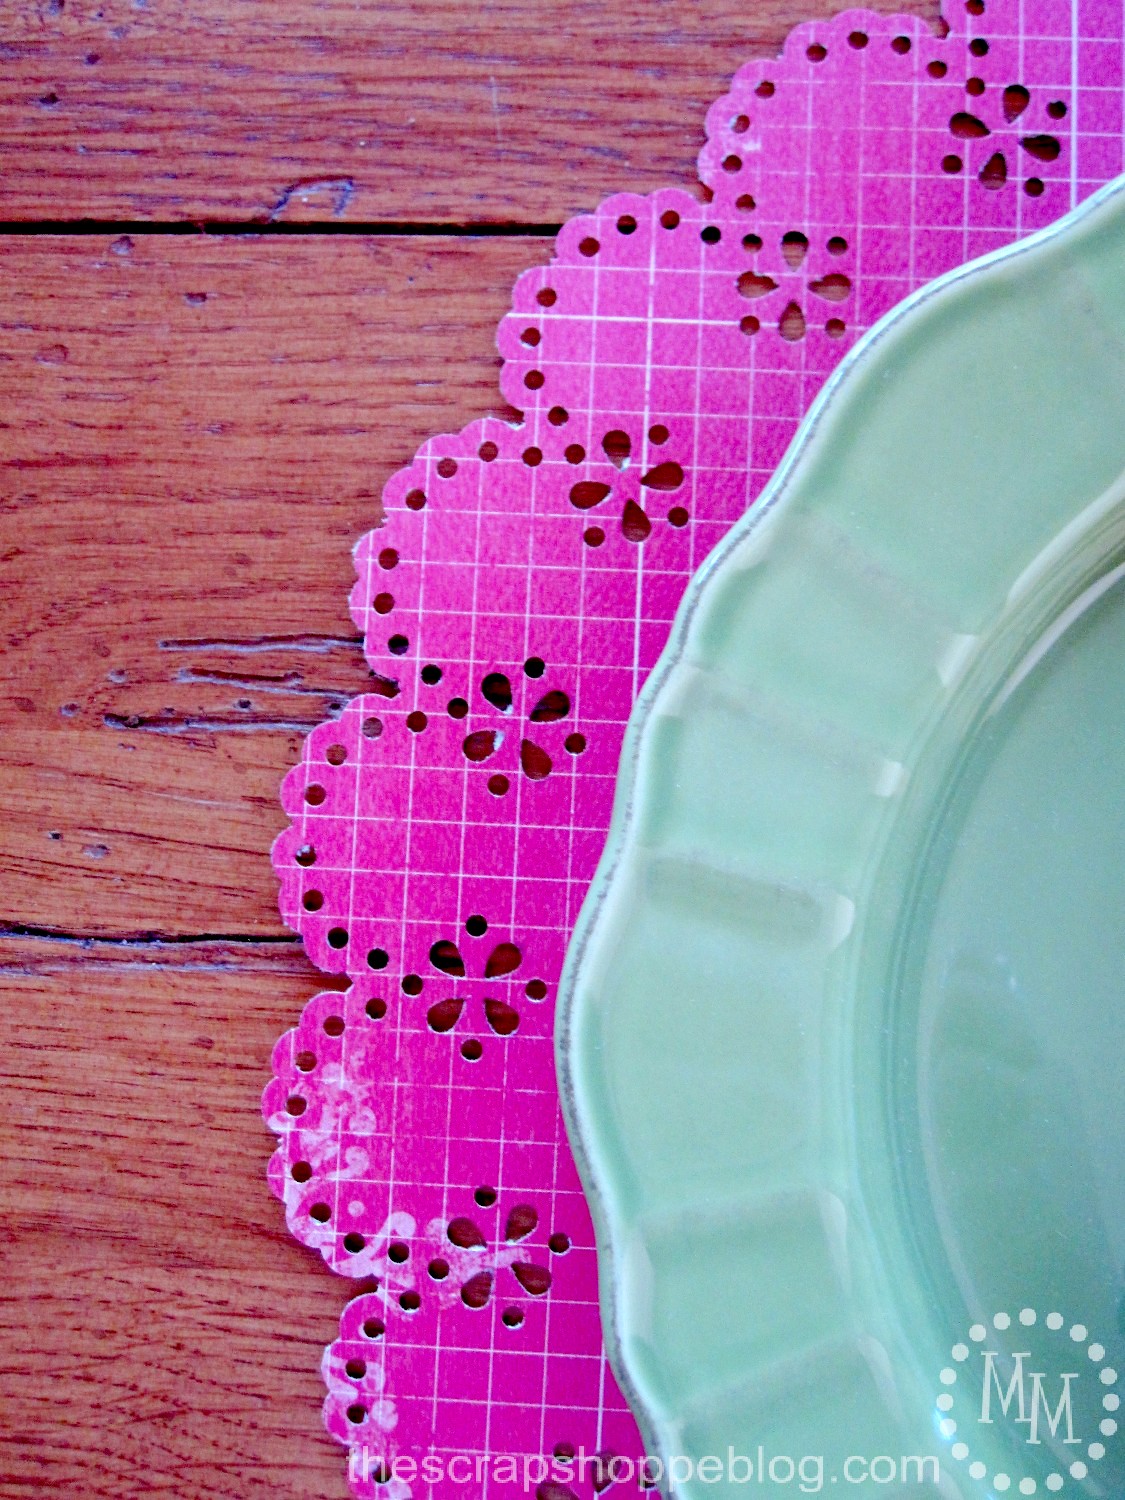
Doily Place Setting

I used my 12" doily as a placemat and the 6" doily as a decorative utensil holder to make an adorable doily place setting.
Because of the double sided scrapbook paper, I can easily change the look of the place setting.
Wouldn't this make a super fun addition to your holiday table!

I folded and wrapped the utensil holder with some twine to hold it together.
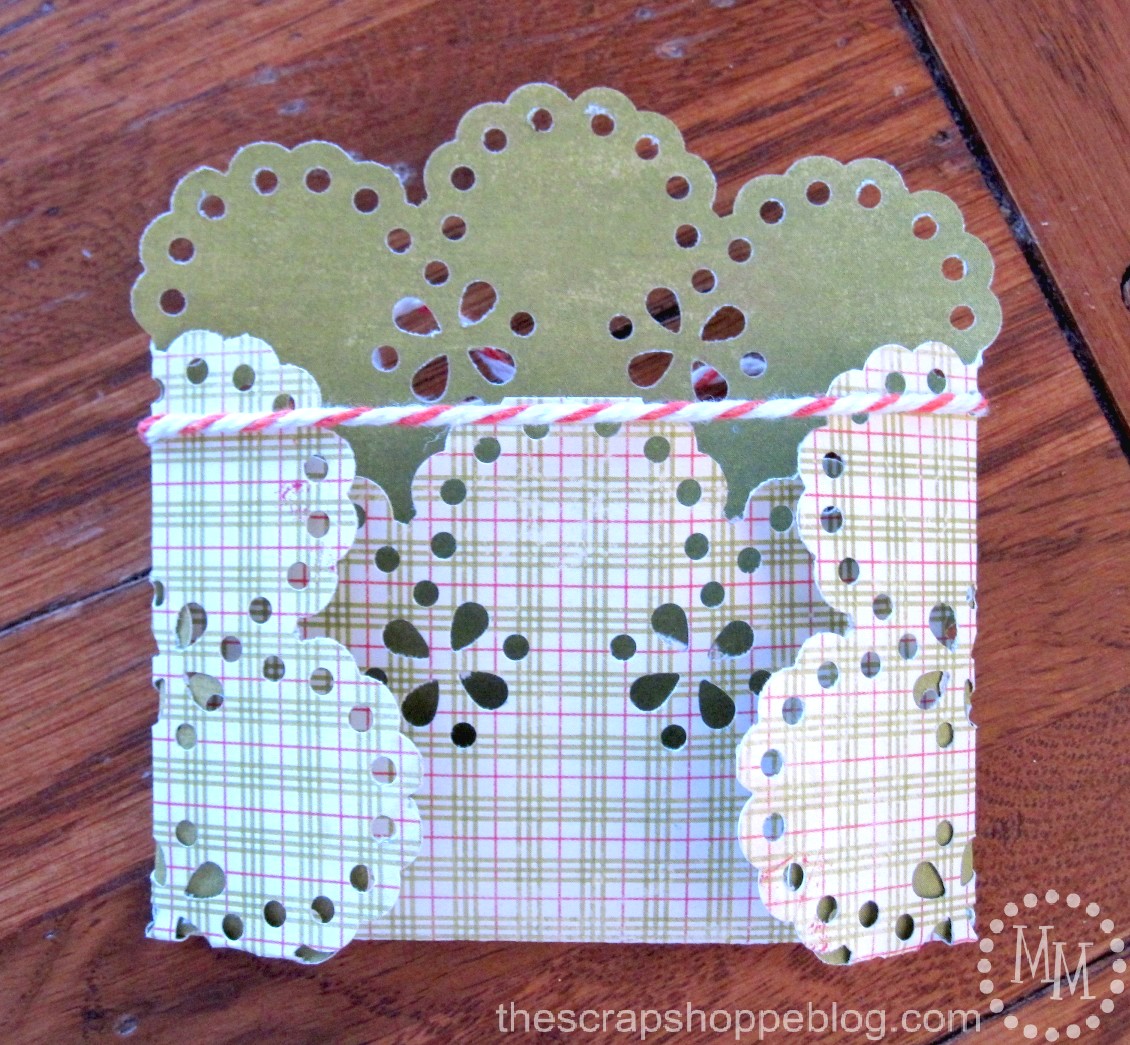
You can see how I folded the doily by viewing it from the back here.
I'm a bit of a doily fanatic so this product is definitely right up my alley!
It's super easy to use and the end product is phenomenal.
All in all, I am loving this punch and the number of crafty projects I can create with it!
Don't have the starter kit?
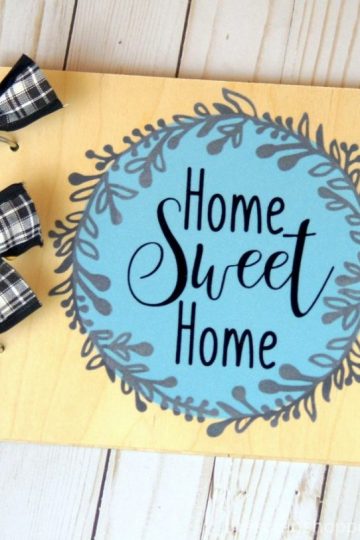
Cut sweet shapes around the edges of your scrapbook paper using a doily die cut on your die cut machine!
I can't speak for the Cricut, but I know the Silhouette Image Library has TONS of doily shapes (and I probably own half of them!).

>> See where I party! <<
This post was originally shared November, 2012.


I love the circle edge punch but I can say I think the price is just too steep even for Martha. I am going to wait this one out until there is a price drop. Love what you have done. Dianntha
I already bought mine through HSN and made sure I'm on the plan where they ship me new cartridges for it as they become available. It was shipped to me in less than a week! Can't wait to find some time to sit down and punch!
Super cute doily place settings!
I'd like to invite you to join me at the Clever Chicks Blog Hop this week! http://www.the-chicken-chick.com/2012/11/clever-chicks-blog-hop-8-turkey.html
I hope to see you there!
Cheers!
Kathy Shea Mormino
The Chicken Chick
How fun to make your own doilies! Very pretty. I found you through TatorTots & Jello link party.
So pretty, that is a beautiful setting
These are such pretty doily placemats and silverware holders, Michele--I love that you can change them out with whatever pretty paper you like.
This is so cute! I think that I am going to have to get one of those punches!
Thanks for linking to Take-A-Look Tuesday over at Sugar Bee Crafts - you were featured today!!
--Mandy, http://www.SugarBeeCrafts.com
I saw this on another blog today, it's the coolest thing ever! Pretty place setting. DZ colors. 😉
gail
I love how pretty this is for a table setting. Looks like a great punch!
I am in love! This has to be one of the best tools yet.Your place setting is awesome too!
That tool is awesome!!! I love that you can make different sizes with it!!!
So, so pretty! I like your very cool slide show thingy - how did you do that (oh never mind you are html genius). Really pretty!
What a cute idea! I love the punch, and what a great way to use it! Really cute idea for a place setting!
This is so cool Michele!! I love the punch - what a great idea. And your little gif that shows all the steps made it super easy to see how it all worked!!
The place setting is adorable too!
This is nothing short of crafting genious. I need another punch like I need a hole in my head, but I am going to have to have this - complete coolness.
Those a really pretty--what a cool punch!