
BEST Picture Frame Hanging Tip
This is the BEST picture frame hanging tip, and it is going to be a lifesaver for you!
Hang a picture in the right place the FIRST time!
It also makes DIY gallery walls a breeze to create.
This little tip may just change your life!
Okay, maybe I'm being a little over dramatic. Maybe...
But you WILL love this picture frame hanging tip for creating easy gallery walls!
Where I learned this tip:
While on maternity leave, I had HGTV on in the background nearly every day.
On one of those days I happened to look up when Get It Sold with Sabrina Soto (sadly no longer airing) where Sabrina stages homes for hopes of a quicker sale.
Well, she was preparing to hang picture frames on the wall when she whipped out this homemade tool to mark the perfect placement of the frame on the wall!
So I decided to make my own version of this handy tool, and it is truly the best way to hang a picture frame for accuracy!

BEST Picture Frame Hanging Tip Supplies
Sabrina had a long piece of wood that looked like an extra thick paint stirrer, and to one end she had a screw screwed into it.
I decided to make a scaled down version with a nail and a clothespin (affiliate link) since most of the photos I hang aren't any larger than an 8x10.
I simply hammered a nail into a clothespin.
And if you're curious as to why I used a clothespin its because
1) I have a ton of them and
2) Because the one end can double as an extra thick piece of wood so my nail will stay nice and straight when I use it.
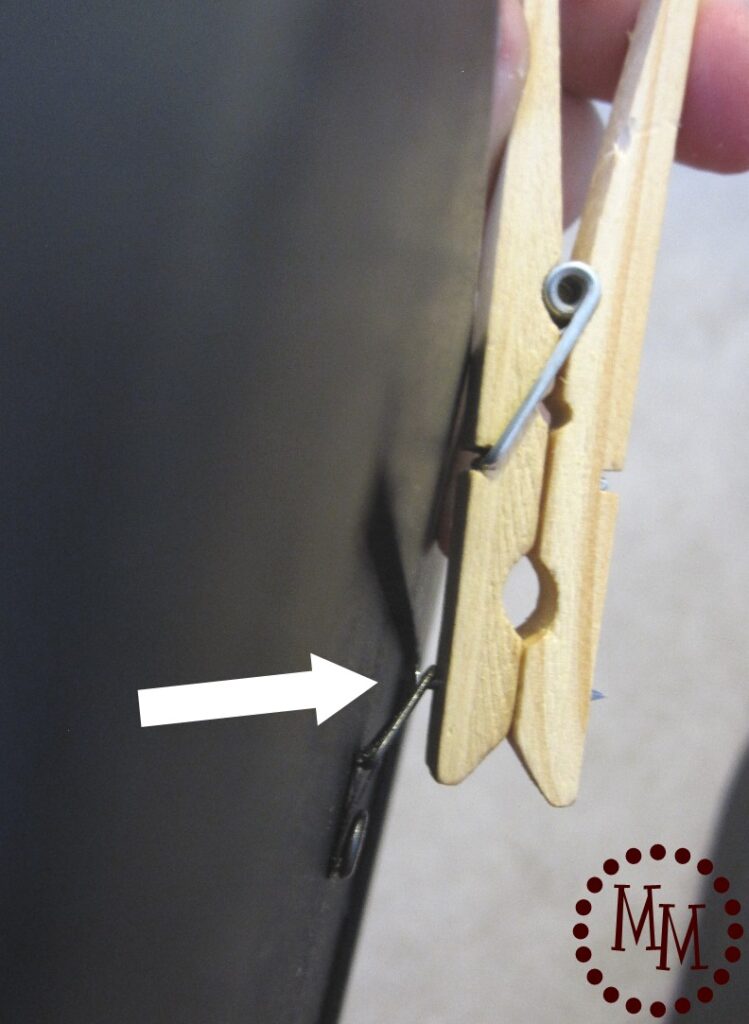
How to Use BEST Picture Frame Hanging Tip
To use my little contraption, I hung the nail in the hook on the back of the frame...
It will catch over the head of the nail so be sure you're using one with a large head.
(i.e. NOT a finishing nail.)

Then I held the frame up on the wall and decided where I wanted it to go.
When I knew where I wanted the frame to go I simply gave the top of the frame a light tap...
You don't need to hit it hard.
The nail is sharp and will make a mark on your wall with just a small amount of pressure

The tap will push the nail into the wall leaving a marker for where I need put my nail to hold the frame!
Did you just have a "why didn't I think of that moment?"
I only ask because I SO did when I saw this on television!
Now do you see why I call it the BEST picture frame hanging tip?
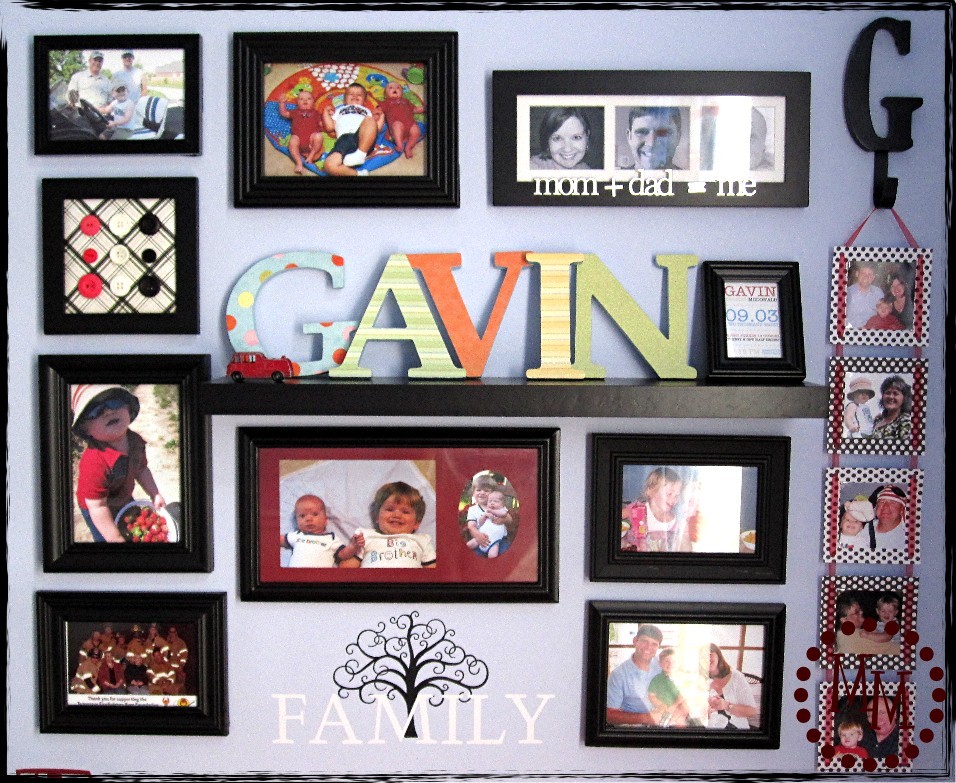
This little BEST picture frame hanging tip worked like a charm on my son's new photo collage!
Each and every photo evenly spaced and hung right on the first try!
Creating a gallery wall from scratch is a piece of cake now!
Seriously, this is the EASIEST way to hang a picture frame accurately the FIRST time.

>> See where I party! <<


Thank you so much for sharing this. It will definitely make a difference in hanging my photos.
Brilliant!!!!! Thank you so much for sharing 👍😊
What a great tip!! Thank you.
The simplest ideas are the best, when you know them. Well done
I agree. This is the best tip I have had in a long time. I have a number of school pictures that I want to hang in my boy's rooms. Love It!!!!!
What a great idea!! I'm going to give it a try this weekend. I have a bunch of my grandson's pictures and didn't want to mess up and hang everything crooked, thanks for the tip !! Will let you know how it looks when I'm finished. Have a great day 😉😀✌️
Genius!.. off to make one now, thank you, 🙂
For me, the difficult part of hanging pics is getting the hanger or keyhole ONTO the nail since it's often on the back of the picture, clock or whatever your hanging.
Be sure you are using a nail with a large flat head (not a finishing nail) and that will help a lot.
@Cheryl, there is a trick using a fork to do it.
Do you have a video for how you do it?
Unfortunately I do not. Maybe I can walk you through which part is giving you troubles?
Thanks for the advice on how to use a clothespin and a nail to make a perfect mark for where you want to hang your frames. I think that the beauty of painting comes from not just the painting but from the frame and where it is hung up too. I'm going try and do this with all the artwork I've bought over the years.
A very clever Idea using clothespin. Thanks for sharing in The Bloggers Pit Stop!
Pit Stop Crew
So simple yet pure genius. Pinned
This is so totally brilliant!! Love this.
#wonderfulwednesdaybloghop
What a clever idea! Pinning!
That's really clever to use clothespin like that to help mark the spot for your picture. I bet that really cuts down on the time spent designing your wall space. That way if you have nice pictures and frames, you can find the best possible spots for them.
Thanks for this idea. I've read through the comments as best I could, but I still have a problem - probably easy to answer but I can't. To cut to the quick: I have 3 pictures (exactly the same size) which I want to hang in a row perfectly level. However, the wires on the back are not exactly the same length on all three. ( 1/4 to 1/2 " different. These are professionally framed and the wire is really embedded into the metal frame. I can measure the pictures and find the level line where I want them to hang, but do I just guess how much to lower or rise the place where the hanger is? - since each will be slightly different. I don't want to make several holes all close to each other on a new freshly painted wall. Must be an answer, right?
Hang the first one then use painter's tape to make a horizontal line at the top edge of the frame. Then go to the second one and use this tool to line up the top of the frame with the edge of the tape making sure the frames are even. Then do the same with the third. In this way the frames will line up disregarding where the picture hangers are located in relation with each other. I would recommend using the slanted hangers you can buy in any picture accessories department in a hardware store. These hangers are very easy to insert without ripping a hole in your drywall. Also, these hangers come in different sizes for differing weights of the items to be hung.
Good idea¡¡. Thanks very much¡¡