
Crepe Paper Flower Decoration {& 2 WINNERS!!}
Its time to announce the winners of my little party!! Many thanks to my first 100 followers and the new ones I've gained since then. But, alas, I'm going to make you read through my tutorial before I tell you who won! (I know, I know. You're already preparing to scroll down to the winners. Just promise you'll come back up and read about my crepe paper flower decoration when you're done!!)
------------------------------------------------------------
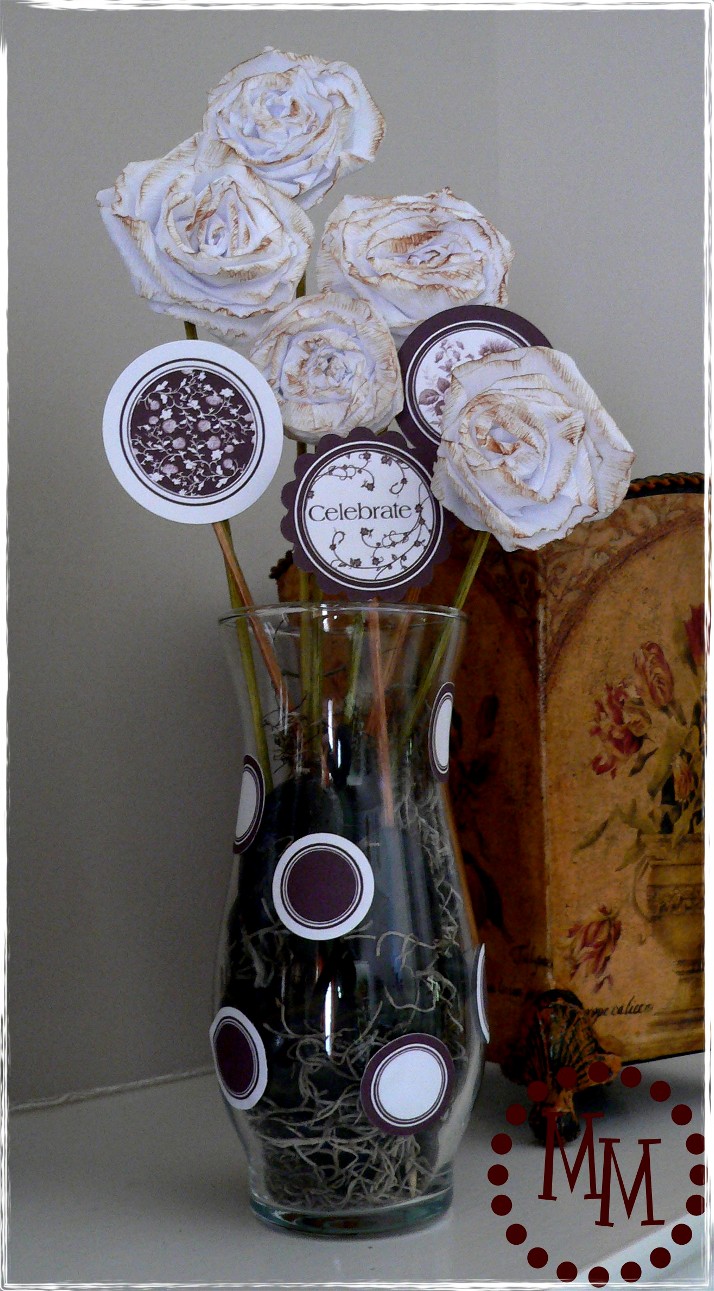
When I shared my cupcake topper ideas with you a couple of weeks ago (don't forget to go back and grab the free download!), one of the images I shared was #6 below.
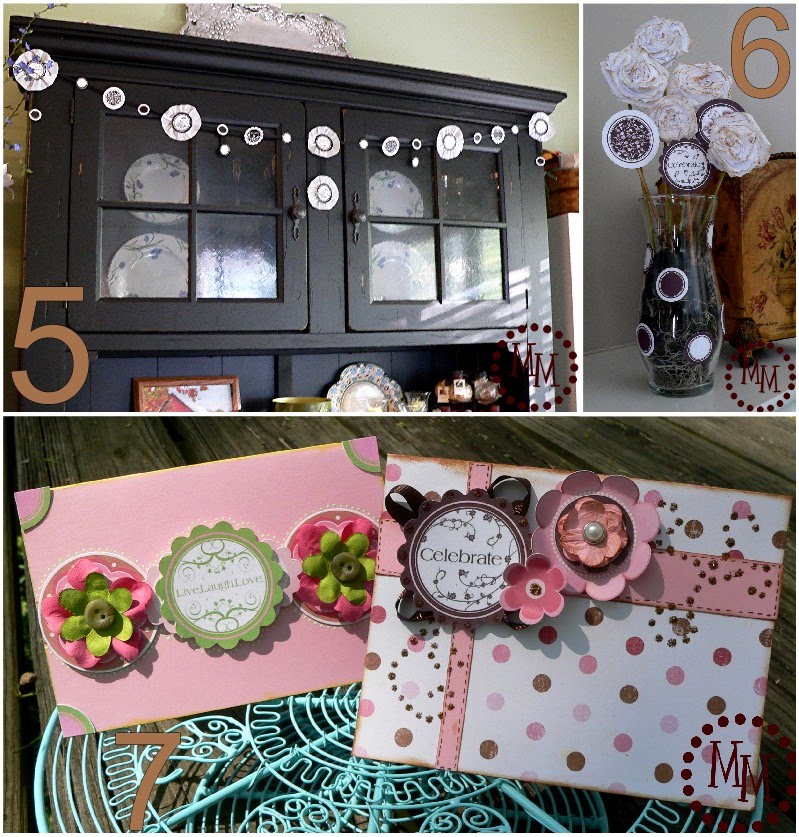
I made up a little tutorial to show you how I did it.
Ready?
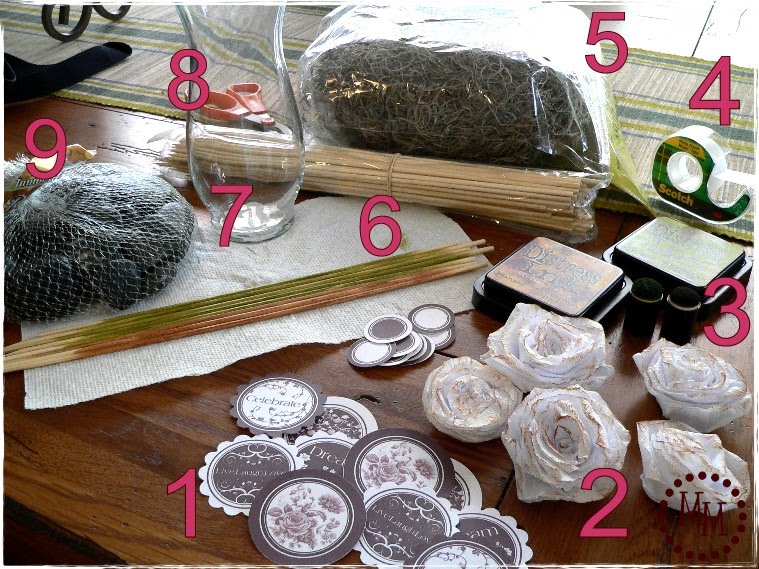
Here are the things you'll need:
1. Cupcake toppers!
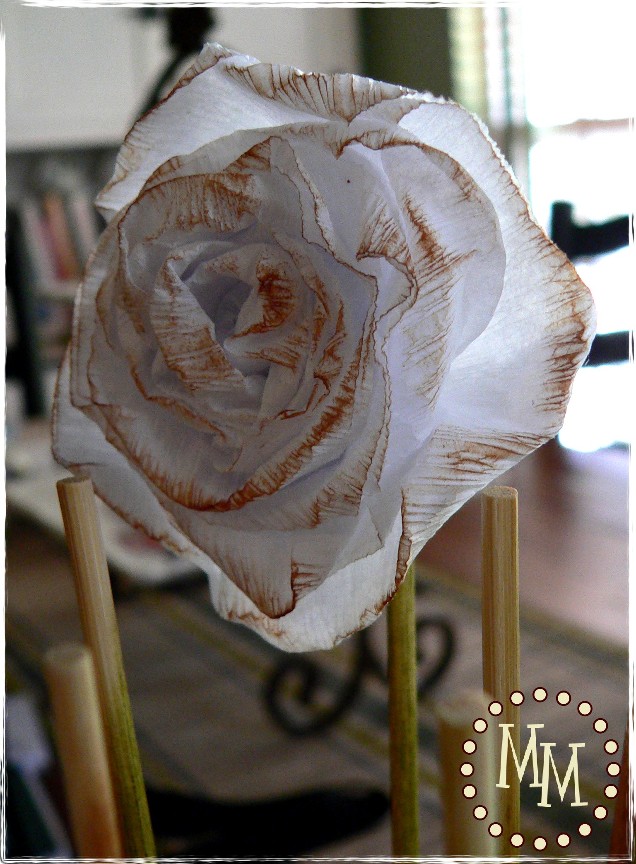
2. Crepe paper roses
3. Distress ink
4. Masking tape
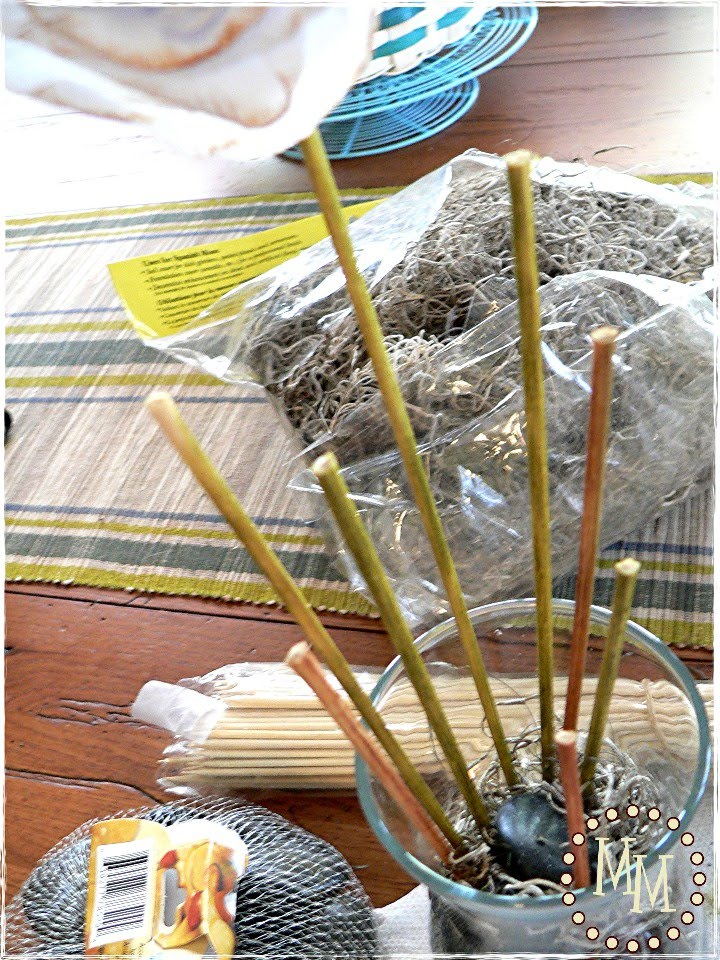
5. Spanish moss
6. Bamboo skewers
7. Vase
8. Scissors
9. Smooth river rocks
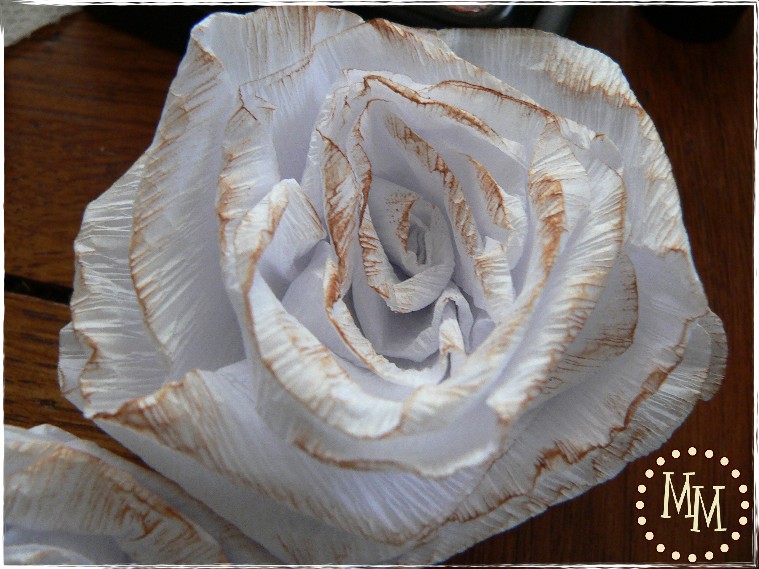
House of Smiths has a great tutorial on how to make roses out of crepe paper. You can find it here. Its just like making a rolled rose out of fabric. The main thing you need to be careful of when making them is not to smoosh the center as you wrap the flower.
I inked the edges of the petals with distress ink to make them stand out more.
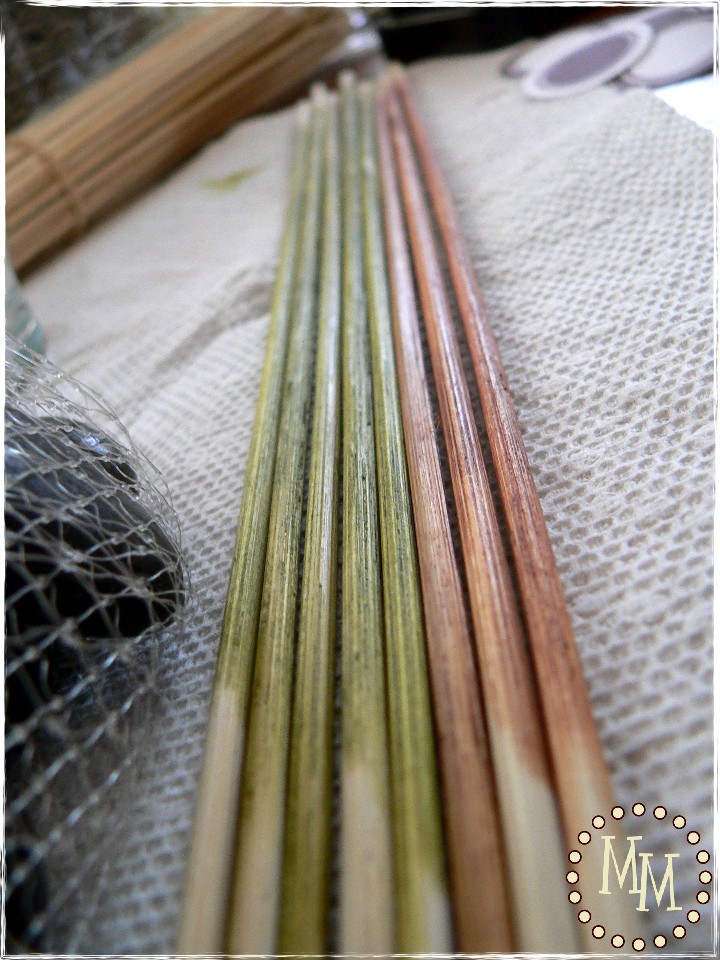
I also used the distress ink on my bamboo skewers for more contrast.
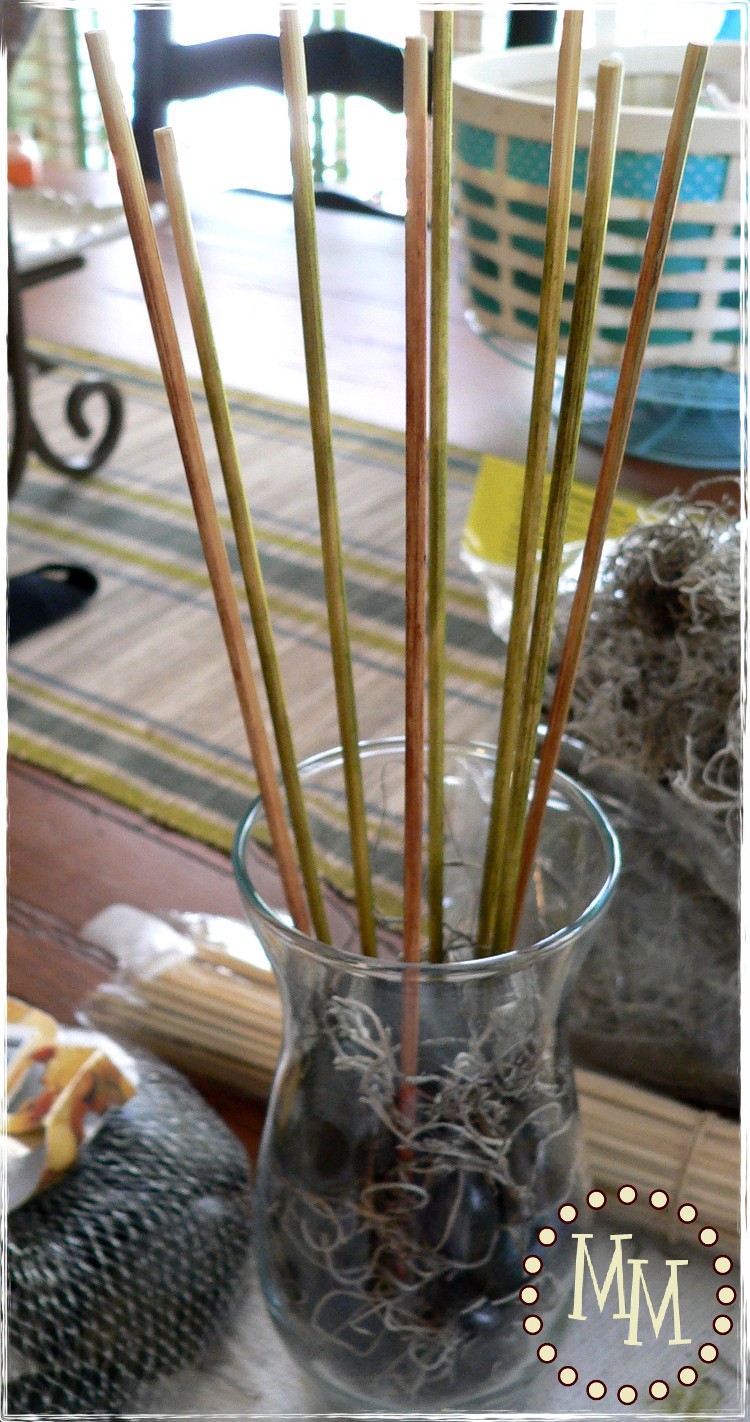
I skipped a step or two here as far as the pictures go. I added a little bit of moss to my vase, then added some rocks, then more moss, then more rocks... you get the idea! I then added my skewers, trying to make them spread out as much as possible.
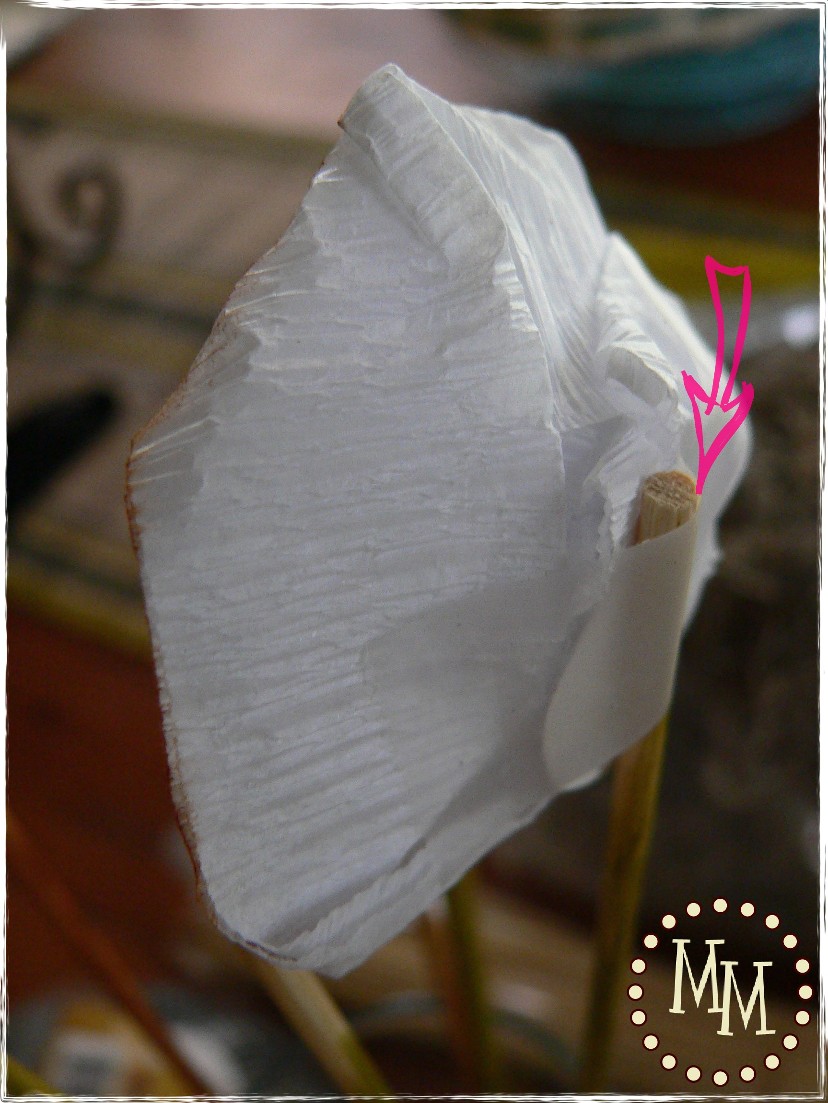
I attached one of my roses to a skewer towards the back with some masking tape.
Then I trimmed all of the rest of the skewers with my scissors to be at different heights. Then I attached the rest of my crepe paper roses and cupcake toppers.
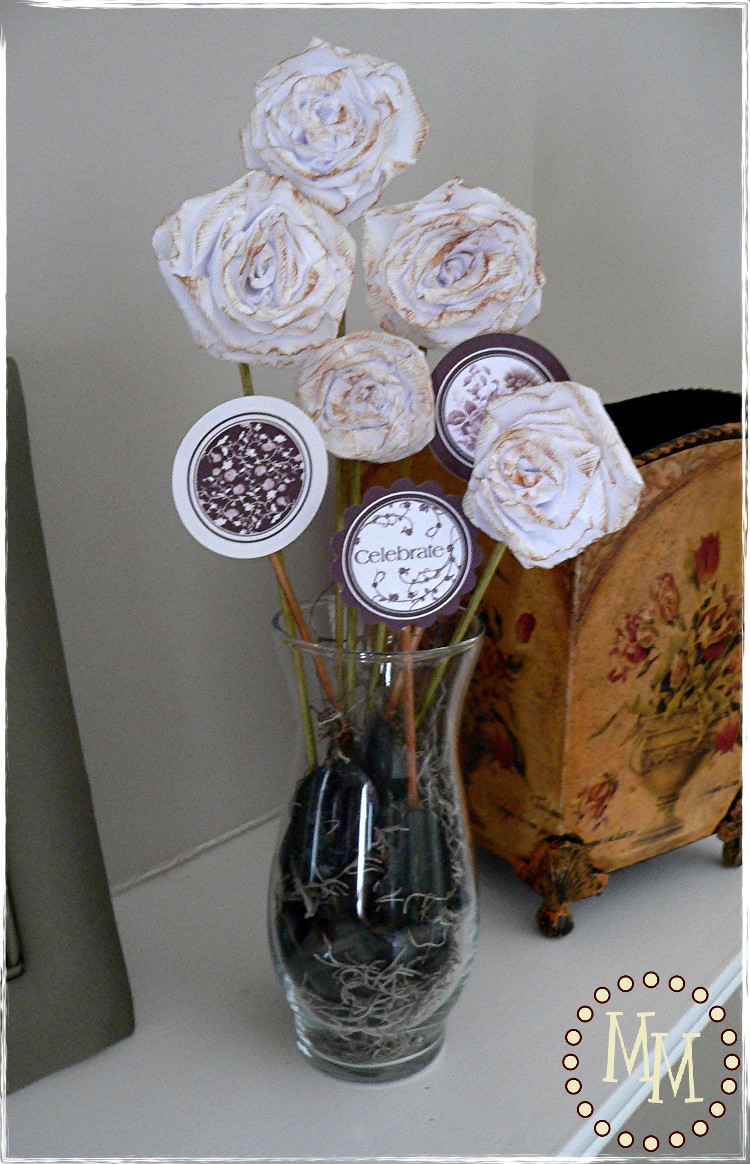
Sitting pretty on my mantle! But wait, it doesn't feel complete. It needs something else...

There, that's better! I added the smaller accent dots from my cupcake topper kit to the side of the vase. I just ran them through my sticker maker which means I can take them off again later if I want to use this vase in another project!
------------------------------------------------------------
Okay, on with the winners!!
Nobody guessed the exact number of flowers, but msilba was the closest at 36!
The second winner (chosen by Random.org) is................
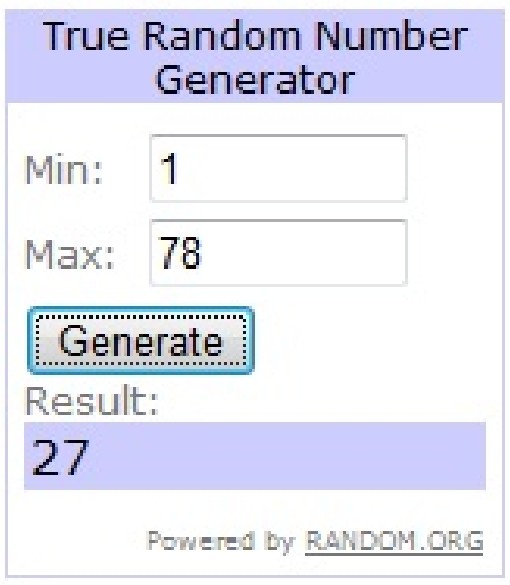
Congratulations Laura @ Along for the Ride!
Both of you email me at mmcustomcreations@dmaks.com with your mailing addresses.
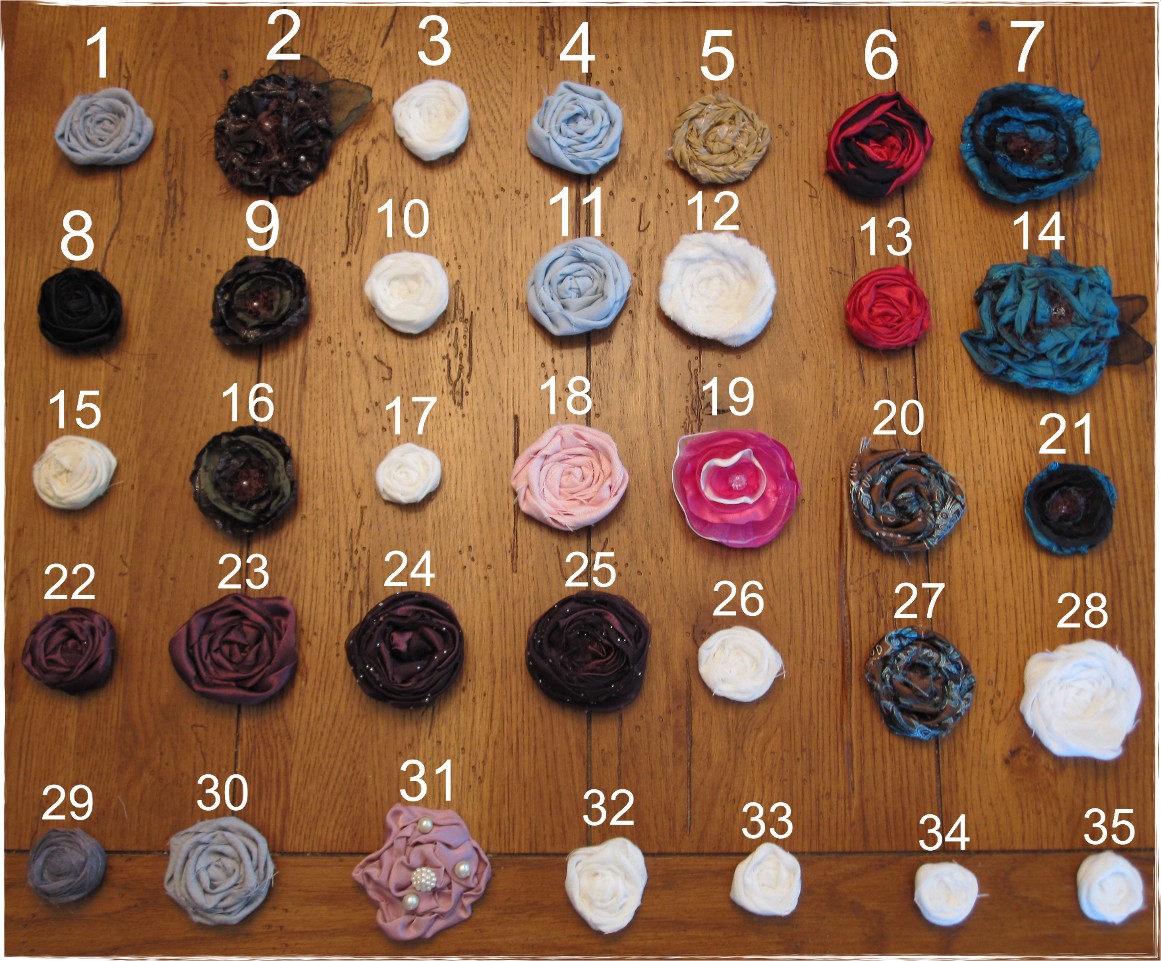
Laura, select a flower, any flower! Let me know if you want the flower on a small alligator clip, pinback, bobby pin, or left as is with just the felt backing. Also, please select any one digital download from my Etsy shop.
You both have a week to contact me, or we'll select another winner. Congratulations!!

I have started truncating my posts to avoid having my content stolen. I hope you'll click over to finish reading the post. Thank you for understanding!


I love my pin and calendar. Everyone needs to visit your etsy store!
Thanks for linking up to Saturday is Crafty Day! I hope to see you next week.
What a great arrangement! Love the polka dots on the container 🙂
Thanks for linking at Lucky Star Lane!
These are just GORGEOUS! Thanks for the link to the tutorial too!
How sweet are they! What a beautiful decorative idea, might have to try this out!
I've tried to make those flowers, and they are hard! Do you twist away from the flower center or towards it? I need to practice again...
Thanks for Hookin' Up with me at my party!
What a great idea! I love these!
Thanks for linking up to I'm Lovin' It!! Have a GREAT weekend!
I'm a new Friday Follower! Visit me at http://www.rockindeals4you.com/?p=2690 and sign up for my newest giveaway!
Very cute! They look adorable in that vase!
Thanks for sharing at My Backyard Eden!
so super cute!! I love the way you displayed them! I can't wait to check out the rest of your blog! Please, stop by and say hello sometime!
happy thursday!!!
Michele you are killing it with these flowers!! They just get better and better!!
These flowers are gorgeous!
very cute! Those flowers look amazing! 🙂
That is a really fun look!! Nice post, thanks for the tutorial!!
these are GORGEOUS!!! thanks for sharing, will have to try it!!
smallbirdstudio.blogspot.com
Oh I love these
and I really need to make them!
My mom needs a couple of accent peices in here room, these would be LOVELY!
Thanks for sharing!
xoxo
bB
Hello! Thanks for tagging along this week at the Tuesday Tag-Along blog hop! I'm a follower of your blog! 🙂
http://tweepoppets.blogspot.com
I came over via Tuesday Tag-Along and decided to follow you. I hope you will come see me. I am #4 Traci66 on Mr. Linky or http://traci66.blogspot.com I am lining up some reviews and giveaways from some various businesses, these will be starting soon. Maybe Monday. I hope you will come join me for some fun. Happy Tuesday.
These are lovely!I love how you made the roses and the ink looks fantastic on them! Thanks so much for sharing at the Sunday Showcase Party! I greatly appreciate it! Hope you have a great week! ~ Stephanie Lynn
Congratulations to the winners! I love your roses. They are beautiful!
Those flowers are so cute! I want to make some!
Congrats to the winner! So hard to choose from those beautiful roses!
Michele, love the new rose thanks for sharing the tutorial!
Erin
terrific!! love it
I have a spot in dire need of some accessorizing that I think something like this would be perfect for! Thanks so much for the idea!
Thanks for stopping by earlier to leave a comment on my metal flower tutorial. I really appreciate it!
i love this, such a cute idea!!
I love the details on the flowers. They look so pretty. 🙂
I love your roses! great job!
Love the way these look, from the texture of the roses to the colors you used, very very nice. And the stickers on the vase were the perfect finishing touch!