
DIY Marquee Pillow
Get creative with you home decor and design your own DIY marquee pillow!
This post contains affiliate links.

Marquee signs are ALL the rage right now! Whether it's a word, monogram, sign, or symbol, it seems like everyone is ready to jump on the marquee bandwagon.
And why not? They can be easily customized to your home decor and a fun accent.
Today I'm going to show you how to make a Marquee Pillow.
I use the term marquee loosely as this technically does not use large bulbs in the signage, but it is a lit signage all the same.
And it is easier to create than you might think! You easily use any color and create any word. Or even a monogram!
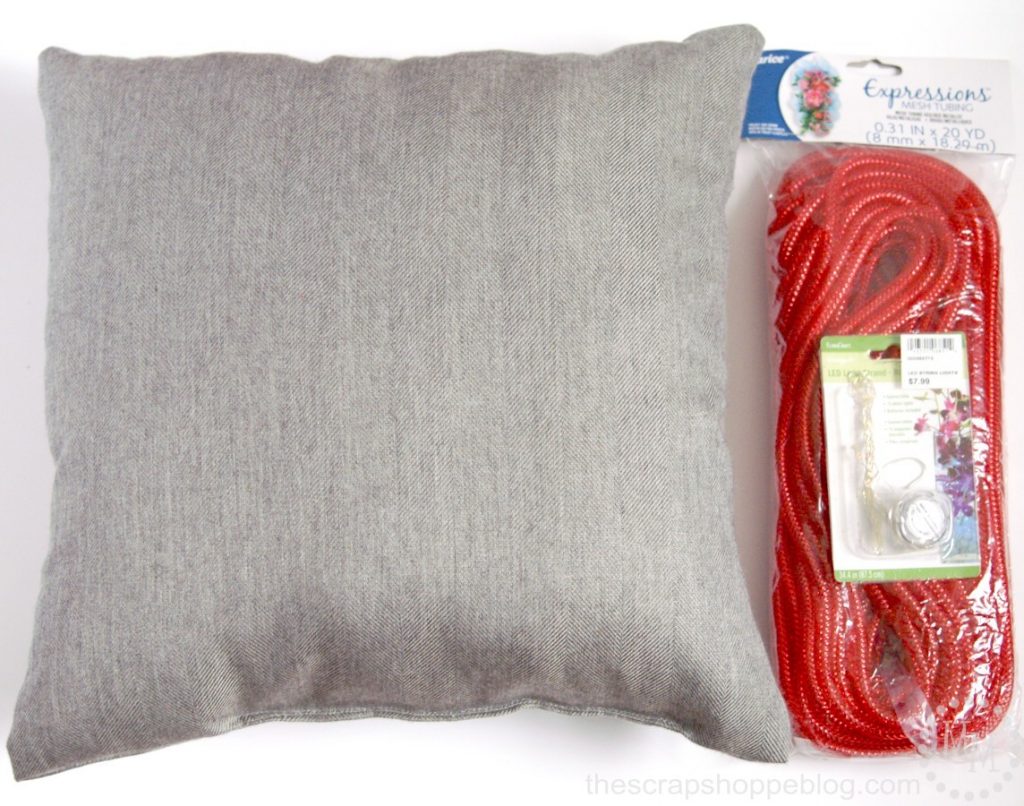
You need a few key supplies:
-
- pillow
- mesh tube ribbon
- string of mini LED lights
- epoxy (Beacon's 3-in-1 and E6000)
- washi tape
I also used red glitter glue but, depending on what you create, you may not need it or can use something else to mask the on/off knob.

This strand of LED lights is 34" long and super bright.
You can find them in the floral department at most craft supply stores. The end with the battery pack twists to turn on and off.
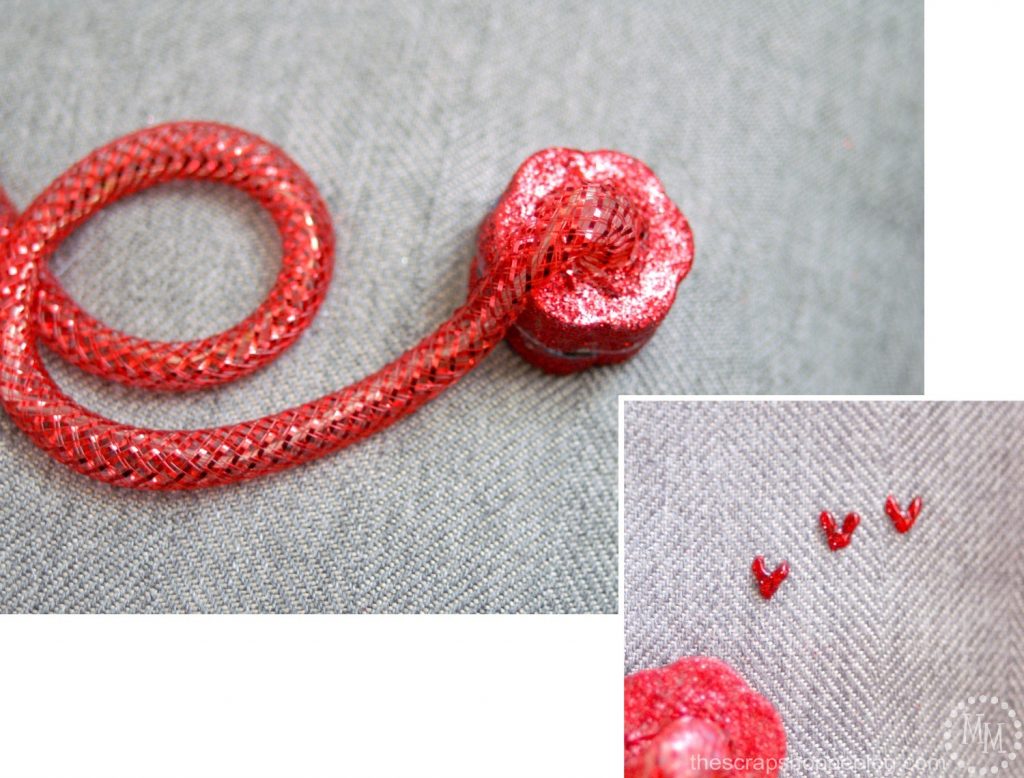
Thread the lights into the end of the mesh ribbon. The lights are on a wire so this will be very simple to do.
Once the lights are in trim the ribbon and glue the end shut with the Beacon's while trying to keep the round shape the tubing. This is mainly to prevent fraying.

Glue the other end of the ribbon to the battery pack with the Beacon's adhesive.
Use the red glitter glue to "color" the battery pack. Apply it to the top and sides, making sure to avoid where the two parts come together to twist to turn the lights on and off.
Allow several hours to dry.
This will allow the battery pack to blend in better on the pillow.

Place a long strip of washi tape across the pillow to line up where you are going to place your word.
Washi tape is not super sticky so it won't pull the fibers of the pillow when you take it off later.
Practice spelling out the word on the pillow with the ribbon so you have an idea of how large your letters need to be.

The next step in the process will take some time but, trust me, it is totally worth it!
Use the E-6000 to apply the ribbon to the pillow.
Work in small increments, about 4-5" at a time and keep pressure on the ribbon.
Wait until each section is mostly dry before moving on. It takes time. It's a great time to catch up on your DVR!
When the E-6000 is 100% cured you will not have to worry about people brushing against the pillow or evening resting on it. That ribbon will not move at all!
Make sure that the battery pack is twisted so that it is just shy of turning the lights on.
Glue the base of the battery pack to the pillow. The ribbon will flex to twist the battery pack to turn the lights on and off.
You can also add any accents to the pillow that you might like with the glitter glue.
Remove the washi tape and allow several hours for your pillow to completely "cure."

The pillow is pretty fun with the lights off and a unique accent for your home decor.

But won't your guests be in for a fun surprise when you turn the marquee's lights on!

And here is a side-by-side look at the DIY marquee pillow.
It's a fun and unique accent for your home and can easily be customized to your own needs and color scheme.

>> See where I party! <<
This post was originally shared in April, 2015.


This is such a cute pillow and could be left up all year around. Isn't everything better with lights?!!! Thanks for sharing.
That is SUCH a cool idea! I have lots of pillows in our home, but none that light up! Love it! 🙂 Lisa
This is so fun! What a cool idea!
What a fun pillow! Thanks for sharing at the Snickerdoodle Create Bake Make Party.
Just love this project! Thanks for sharing at the Inspiration Spotlight party @DearCreatives! Pinned & shared. Hope to see you again soon.
What a unique way to personalize your decor!
Thanks so much for linking up at #Purebloglove link party! The party starts every Thursday night at 8 p.m. est! It runs through the week end. I'm hosting at http://www.homemadefoodjunkie.com. Can't wait to see what you bring next Thursday. We love your ideas!
I never would have thought to do this in a million years! So fun! Thanks for linking up to the Handmade Hangout!
So cool! I like it with the lights on. Thanks for sharing at Thursday Favorite Things. I hope you will join us again this Thursday!
This looks so incredible! Pinned and tweeted. Please join us on Monday at 7 pm and party with us! It is so super fun to see what you have been working on! Lou Lou Girls
This is such a cute craft! I love that the pillow lights up. Hope you can share it on the Merry Monday Link part this Sunday at 6pm PST.
Adorable! So smart to turn a pillow into a marquee! 🙂 Thanks so much for sharing at Motivational Monday! Hope to see you again on Sunday. Happy weekend!
Cute and clever! I like how even though you have bright red with the lettering, the lights still make it pop. Very cool!
Michele
How fun is that marquee LOVE pillow ! great job, and so fun!
catching you!
Way cool! So techy!
This is sooo cute! I love changing out my throw pillows! This would look so cute out on the back patio in the summer time too! Thanks for the idea!
This is so cool and original and easier to decorate with than a giant marguee sign. I'd love to feature this, but can't find Craftastic Monday on your party page - if you could add it, you'll be one of the features highlighted next week. Thanks for sharing this at the Craftastic Monday Link Party at Sew Can Do!
Thanks so much, Cheryl! It's definitely easier to make a marquee sign on a pillow than a giant one out of wood or cardboard! 🙂 I have added your party to my page. Thank you for the feature!!
Hi Michele, awesome accent pillow and how to instructions. I think this would be great for Halloween or Xmas and will be on the lookout for supplies to make one.
Carol
Thanks, Carol! It would be super fun to make one for each holiday. 🙂
I love this so much!
Thanks, Deneen!!
This is seriously soooo clever Michele!! I love how it turned out! The lights are so fun and I love how they really stand out on the pillow. So awesome!!
Thanks, Bev!! It is one of my favorite projects to date!!