
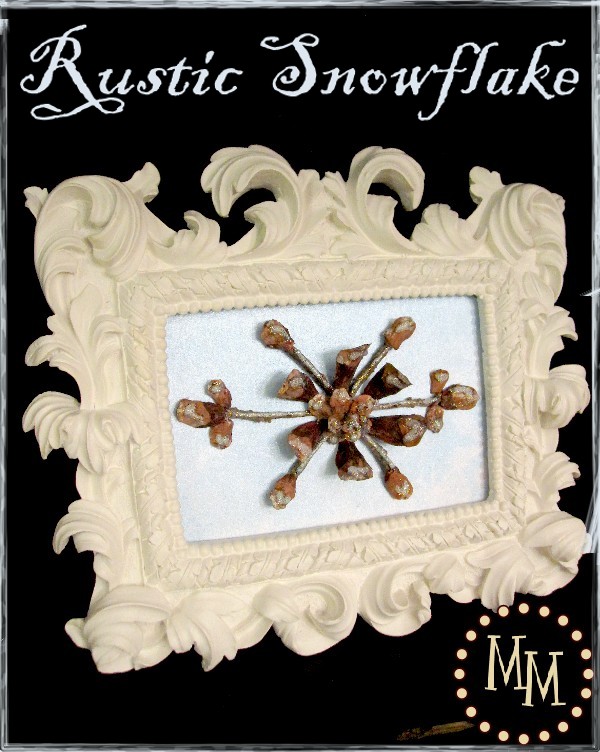
Rustic Snowflake
Confession #1: I become terribly sad when my Christmas decor comes down. I refuse to take it down until the new year. It makes the house feel so cozy when its up and so empty when its gone. So to help me feel better I like to decorate for winter! The snowmen and anything "snow" related get to stick around for another couple of months!
And in my pursuit to add to my winter collection I made this
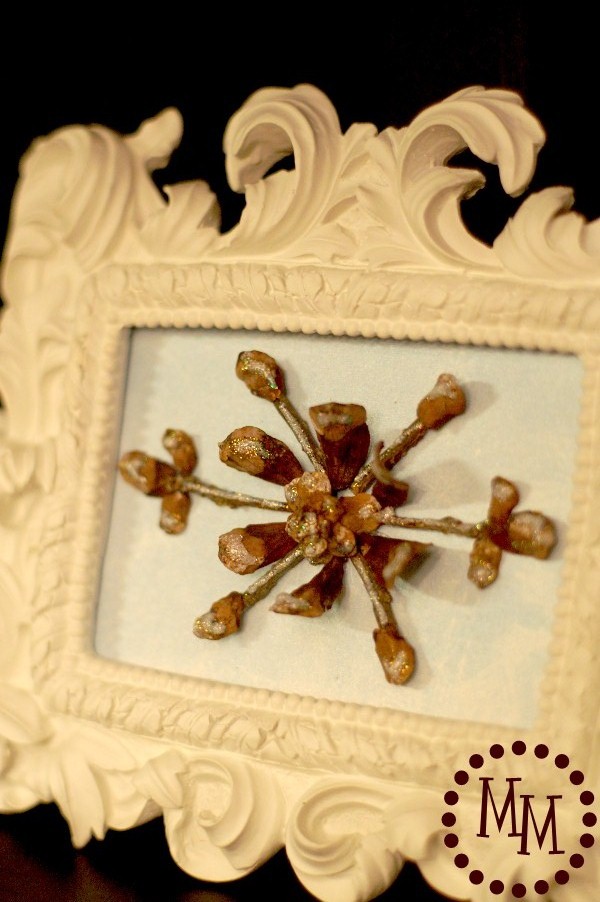
Rustic Snowflake!
Confession #2: I totally did not think this project was going to turn out well when I started it but luckily after walking away from it for a day and coming back I had a new vision, and I'm happy to say I love how it turned out in the end! That's mainly why I'm showing it to you. Ha!
So let us get on with the tutorial...
I have a lovely collection of pine cones thanks to friend Deneen. She rescued an entire grocery bag full of them for me from her backyard after I admired a project she had done with them.
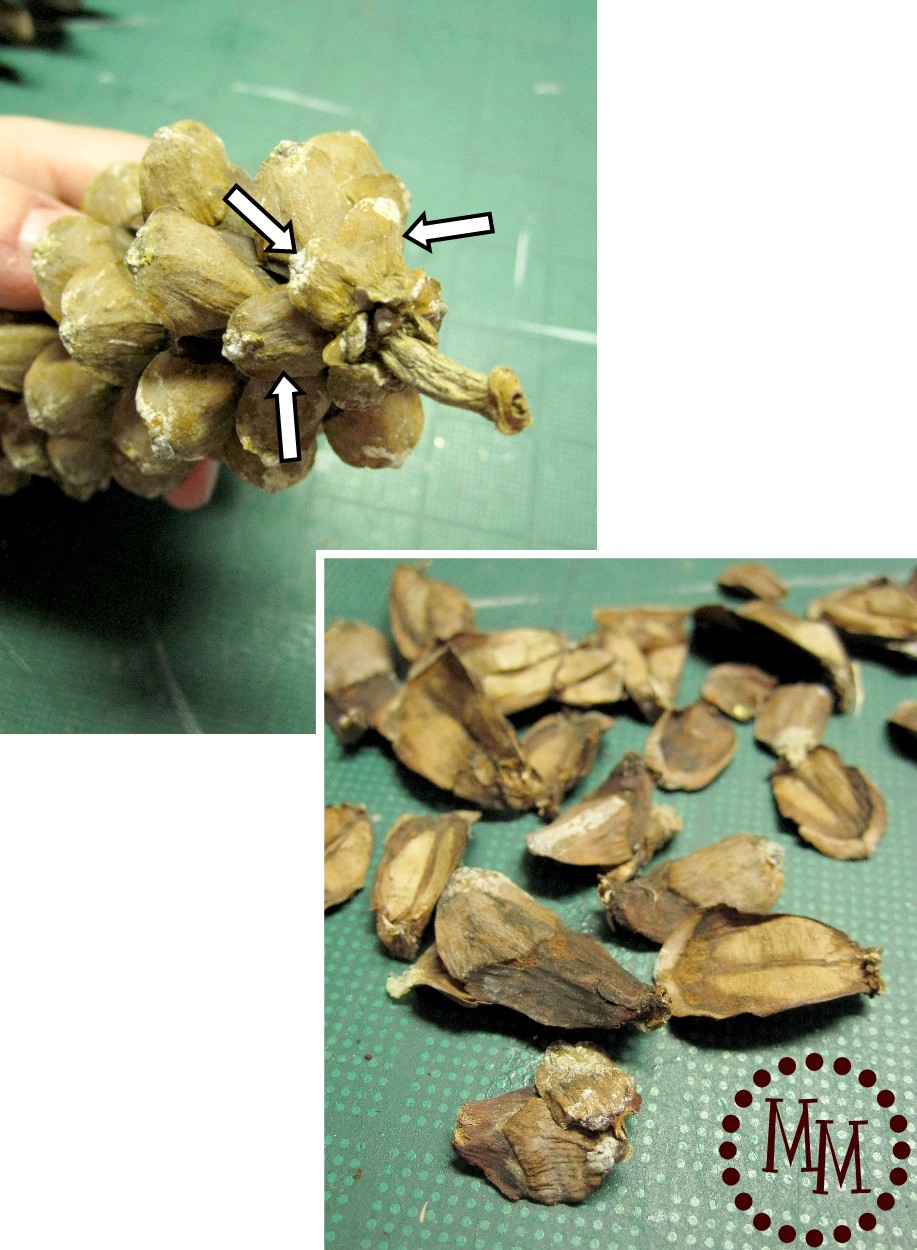
To make this rustic snowflake, we need several pine cone bracts (I totally looked that up) of varying sizes. The bottom of the pine cones have the smallest cone bracts (see the arrows). Carefully pry off several of these, working your way up until you have a nice little collection of bracts.
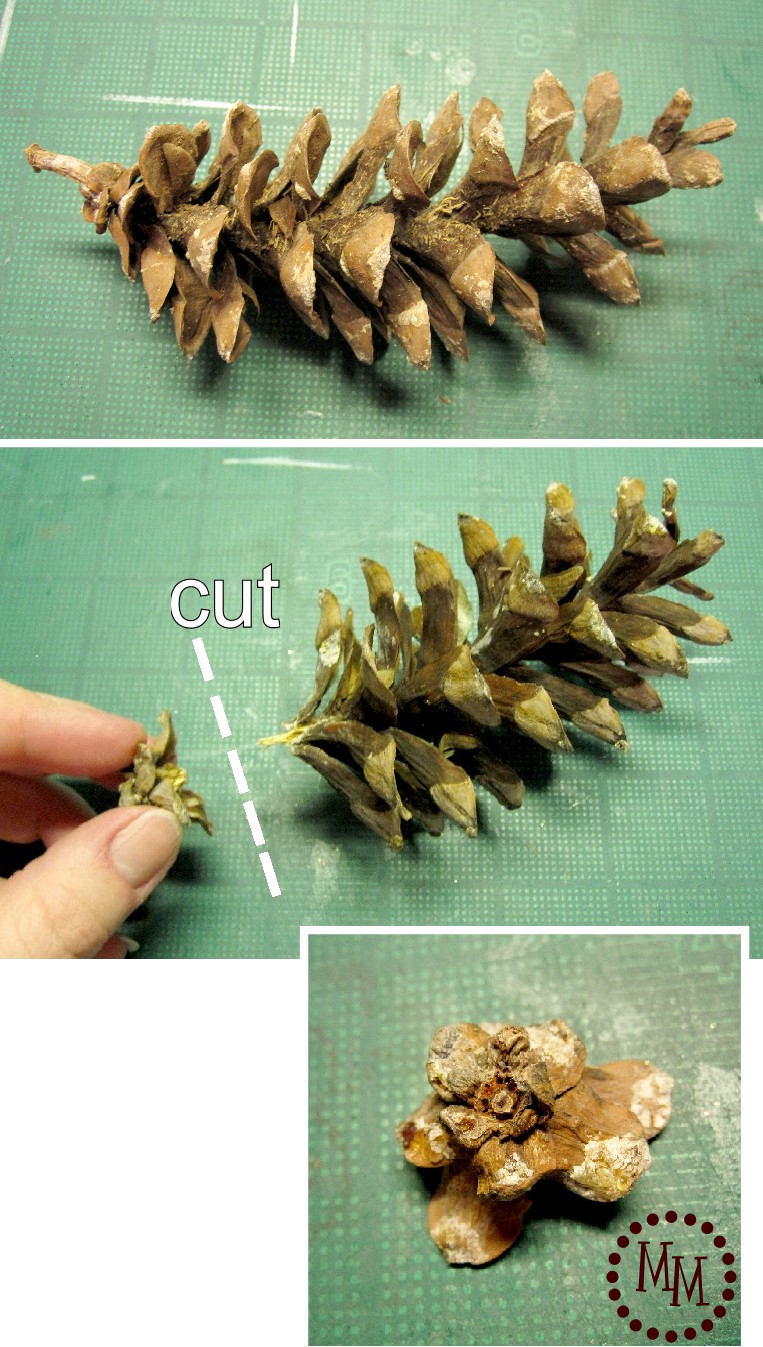
For the center of the snowflake, we're going to use a new pine cone. Using a sharp pair of scissors, cut off the bottom of the pine cone about half an inch from the base. It may take a little twisting action to completely separate the two pieces.
Trim off any of the larger bracts that you think may look too big to be on the center of your snowflake. Its entirely up to you how it looks!
Remove the stem protruding from the end.
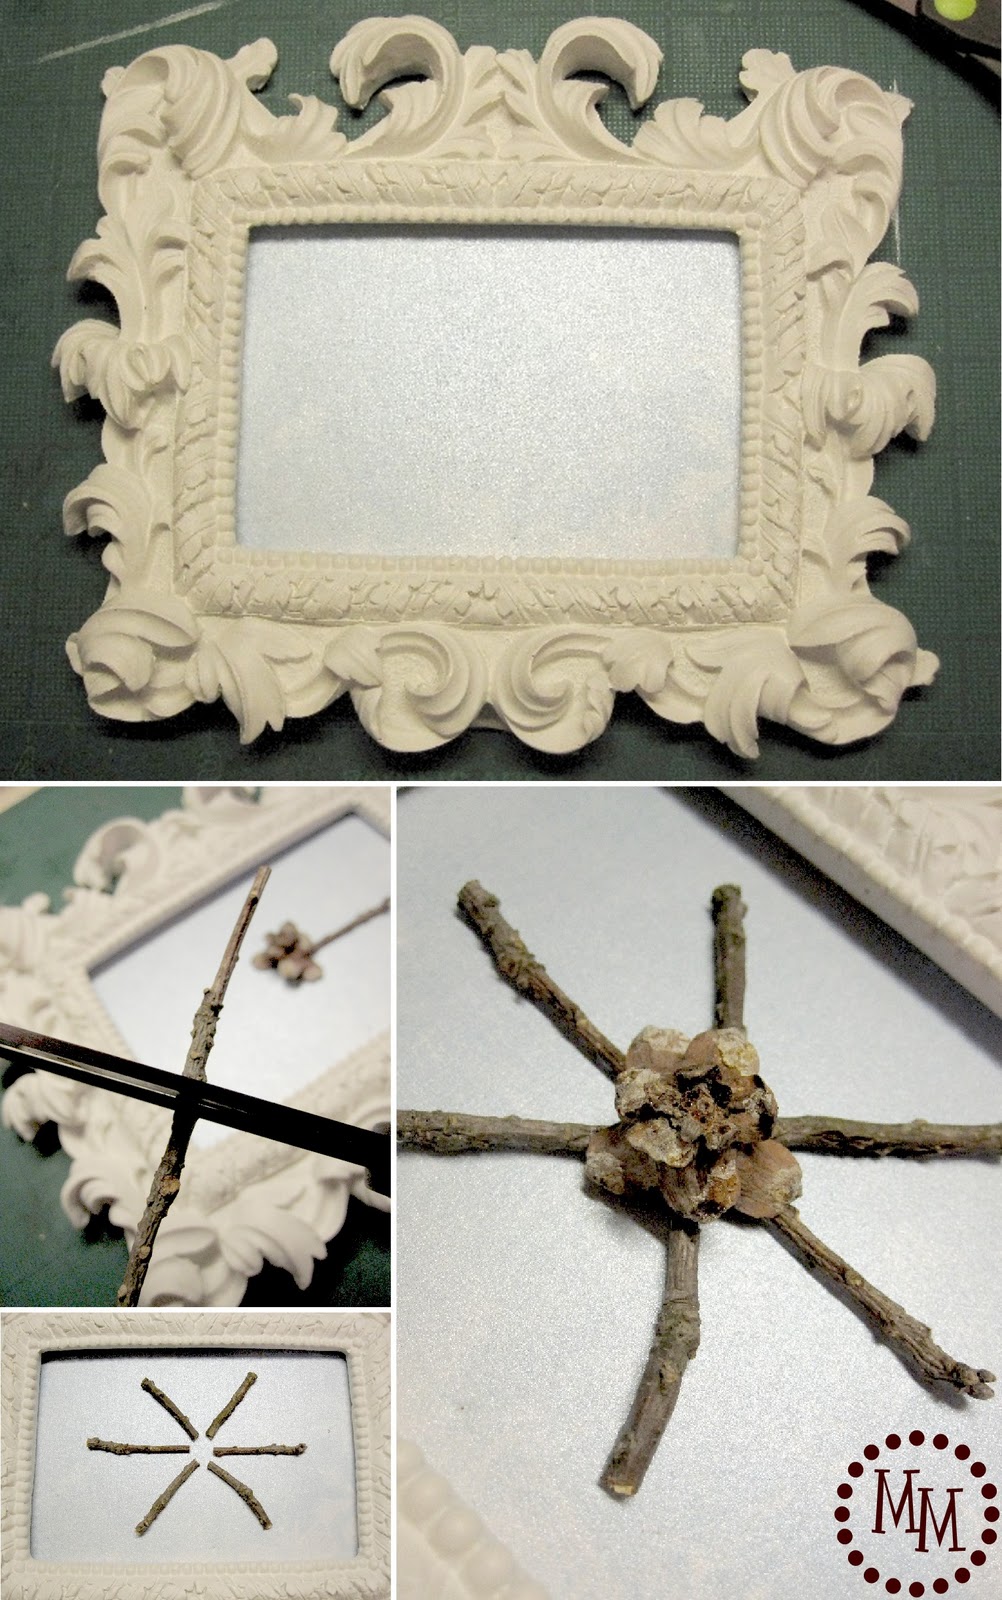
I'm using the same frame I used for my book page pumpkins. I trimmed some fun blue iridescent scrapbook paper down to size and went ahead and placed it in the frame.
I found a thin twig in the yard, and trimmed it down to size to be the arms of my snowflake. By placing the center of the snowflake on the paper, I had a rough idea of how long the twig pieces needed to be.
Once everything was cut, I removed the center and glued down the twig pieces using a very thin line of my Beacon's 3-in-1. Then I glued down the center.
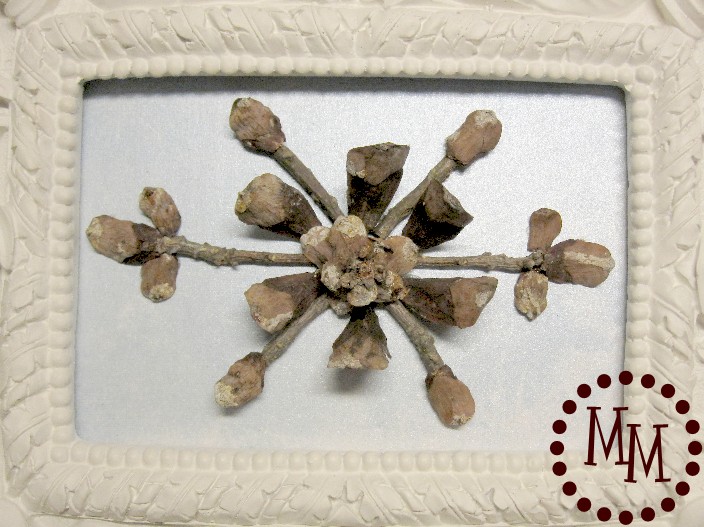
Now you get to be creative and decide where you want your pine cone bracts to go!
Lay them all out before gluing them down.
I used some medium sized pieces for each end of my twigs and glued them directly on top of the twigs. Then glued some smaller bracts to the sides on the left and right ends. The largest bracts I glued in between the arms of the snowflakes and let them stick out away from the paper for the 3D effect.
This is when I walked away not completely feeling the project. It was late. I was tired.
Luckily when I came back the next day, I was surprised to discover that it looked pretty good!
It just needed a little something more...
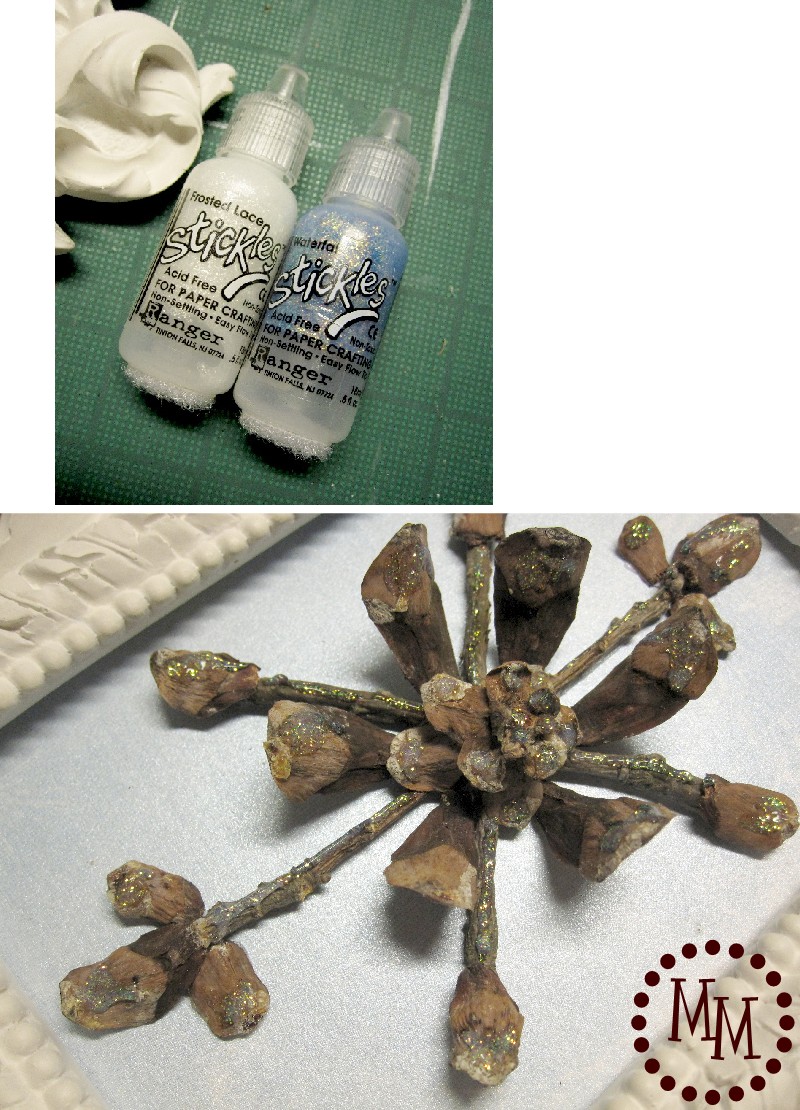
Like glitter!!
I used a couple of different glitter glues and applied them in various places on the snowflake to look like snow had fallen on it.
Yep, I think that's exactly what this project needed!

Incidently, I store my glitter glues upside down via some Velcro under a shelf so that 1) They are always ready to be used at any time. No waiting for the glue to fall to the tip! and 2) They are clear of the desktop leaving me space to clutter it with other items. 🙂
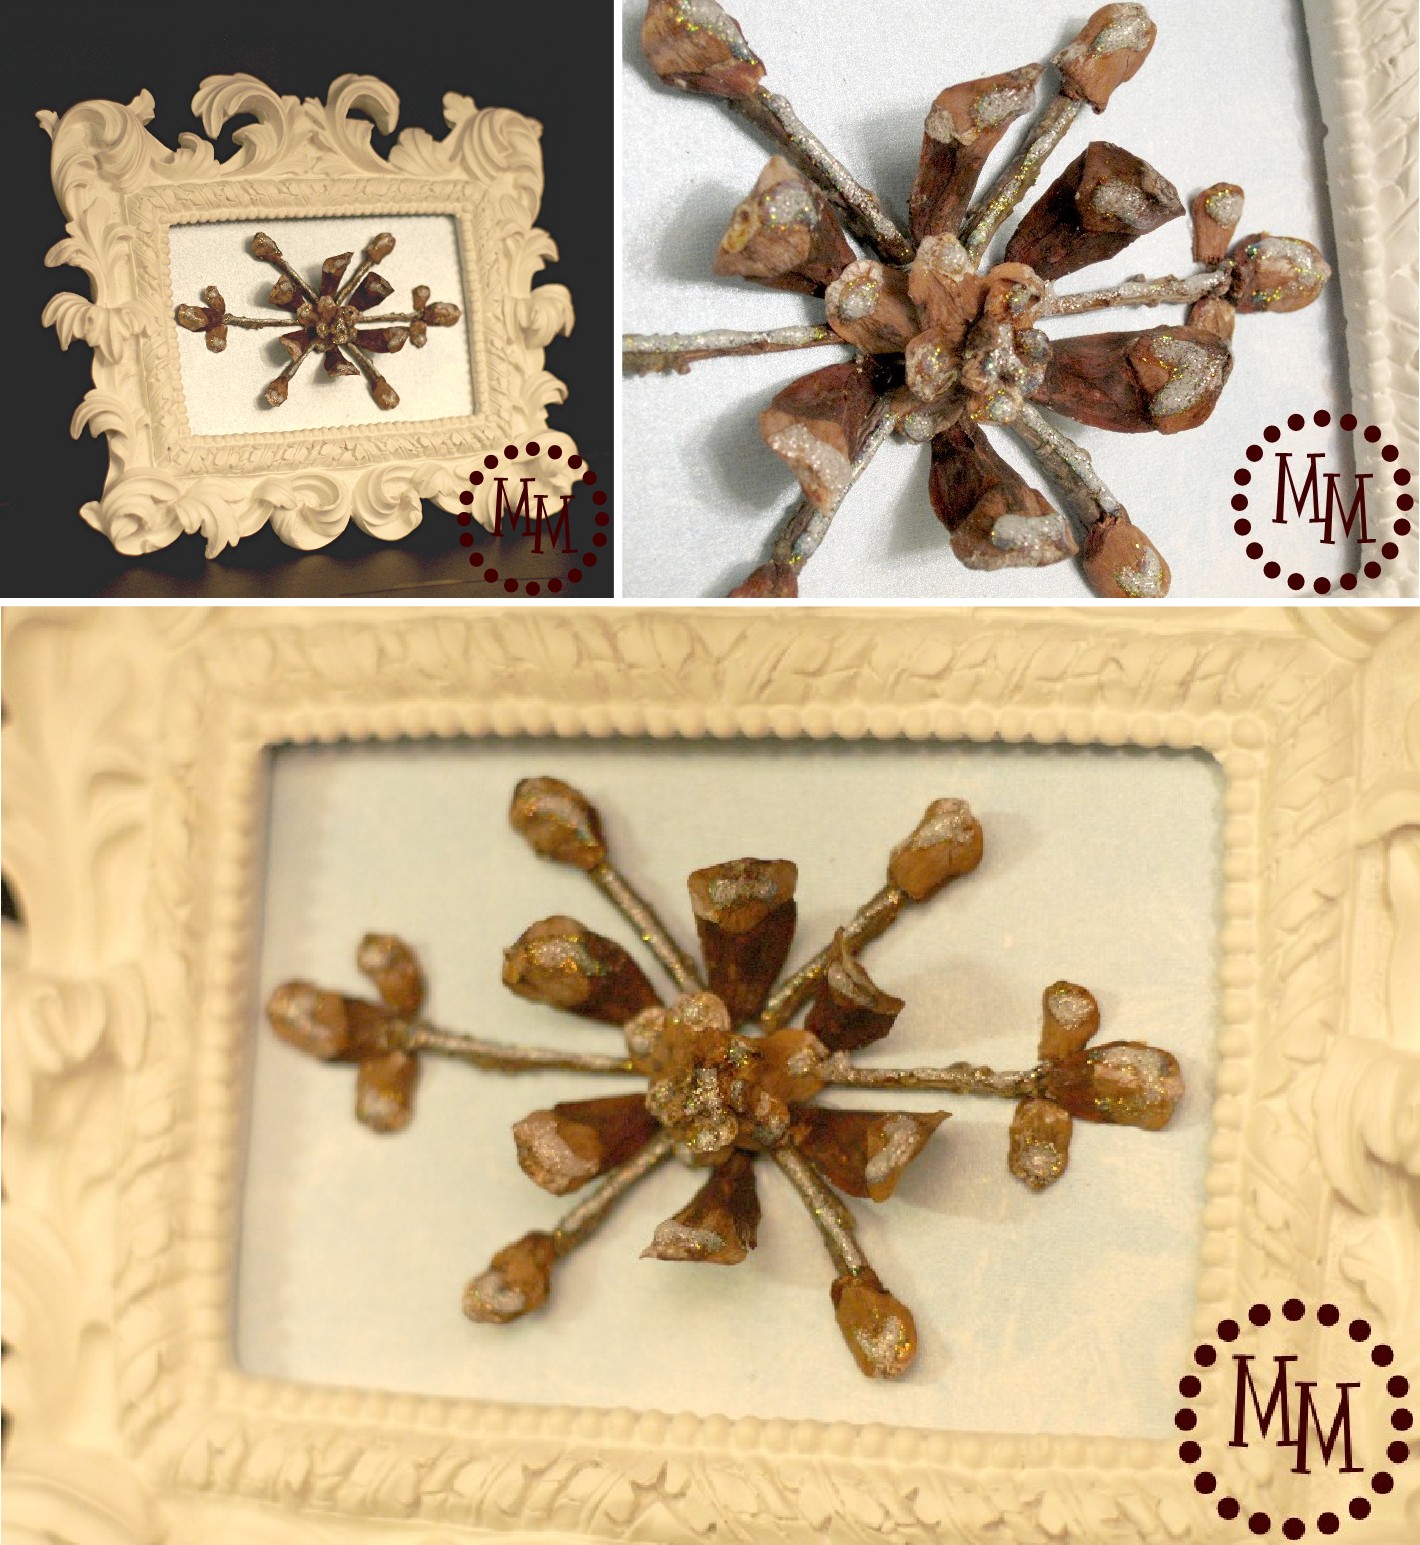
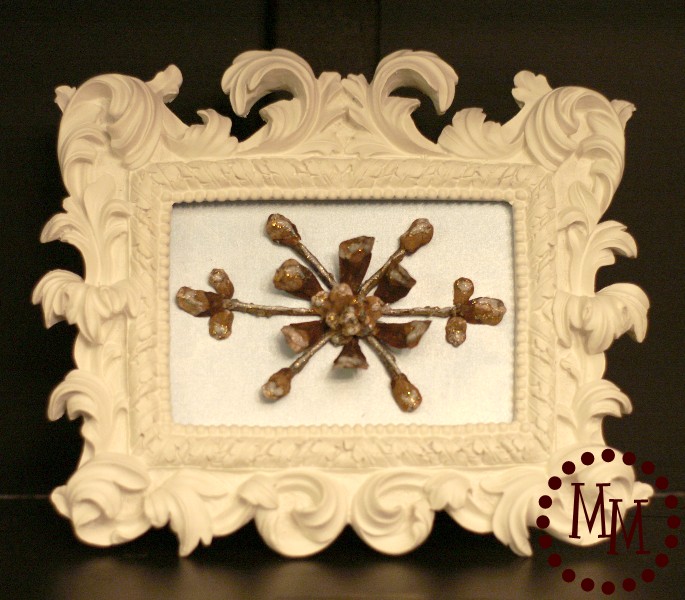
And I'm officially in love!
Not only was this super inexpensive to make (frame on hand, pine cones and twigs from the yard, scrapbook paper from my massive stash...)
Yet another gratuitous shot because I had a hard time narrowing down which photos to use...
You understand. 🙂
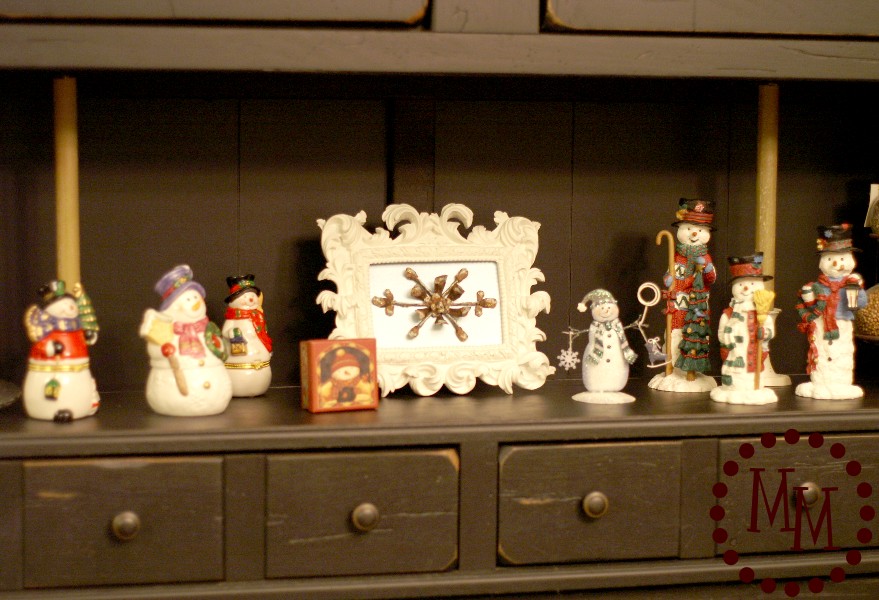
I think it looks pretty darn cute on my hutch surrounded by my little snowman figurine collection!
Not bad for what I was convinced was going to become a complete project fail. 😉
I link to these fun parties!

Absolutely gorgeous! Thanks for sharing.
I can honestly say I never thought pinecone when I saw the first picture!!! You are a crafting genius!!! And I love the glitter glue stored upside down..great tip!!!
Visiting from the Shabby Nest! Absolutely love how the pine cone snowflake turned out! Thanks for the inspiration!
blessings,
karianne
I never would have thought to use pinecones that way. We have tons of them here in the South. Thanks for the inspiration!
Visiting from Craft-O-Maniac's linky party 🙂
That snowflake is way cool. I don't have the patience to do that, but I love yours!
Such a beautiful snowflake. I love winter decor too. Great idea about the glitter glue.
I love it! But excuse me if I tell you at first I thought you'd antiqued some q-tips! LOL! I thought WOW...is she good to make something THAT pretty out of q-tips! Sorry...but it is gorgeous and I plan on making one or several for gifts next year.
Love that flake!!! That is just adorable AND love the velcro for the glitter...created by someone who obviously loves her glitter, what a great idea:)
Traci
LOVE LOVE LOVE it. My kids bring pinecones in the house every time we take a walk!I would love for you to come link up at my party going on now through Sunday night!
http://kim-toomuchtimeonmyhands.blogspot.com/2012/01/get-schooled-saturday-6-and-e-book.html
LOVE the pine one snowflake. But I also LOVE the Velcro tip!!!!
I love anything created with organic materials. This is gorgeous. I love snowflake inspired accents for the rest of the Winter season too!
Absolutely GORGEOUS! I found you via Catch a Glimpse Thursday and am a new follower. I have a new meme called Thematic Thursday and this week's theme is Winter/Snow. I'd love to see this post linked up. Find Thematic Thursday here.
There are "destroyed pinecones all over my deck (the squirrels!) and I was looking at them thinking "what can I do with those?" I love the look of this rustic snowflake and that frame is pretty awesome too! The glitter glue storage is brilliant.
This is completely adorable! I loved working with pinecones at the holidays but never thought about a snowflake. What a great idea!
Michele this is fantastic. I am so excited because it is so different and that is what I love!!! So excited to help you out with the pine cones. Let me know if you need more. Awesome idea!
I am SO with you Michele! I hate taking down my decor and put it off as long as I can. And right now, my house is completely bare in my limbo in between Christmas and Valentine's Day. So this is inspiring! I can't believe you made this from pinecones! Genius!
I love it Michele!! The snowflake looks perfect in that frame! Absolutely beautiful! 🙂
haha Carol's comment cracked me up. But she's right - this is the trifecta of win!! 😀
Such a creative idea for the snowflake - I LOVE that - and the glitter is the perfect touch!!
The frame is super cute - I liked yours so much that this Christmas I bought a similar white one at Hobby Lobby, and wow on the glue idea! Super smart!!
Pinning! 🙂
OK, I still love ( and want!) that frame; love your snowflake idea; and GENIUS storage idea for glitter glue. Trifecta of WIN.
Clever!
Not sure I'll be making any of these but, the velcro storage idea has been 'stored' for future reference!
Thanks for sharing!
Sandie xx