3D Printed Embroidery Hoops
JUST LAUNCHED: 3D Printed Embroidery Hoops in so many fun shapes!
This post contains affiliate links.

You guys, I am beyond excited to launch a new product in my Etsy shop!
I am debuting a project I have been working on behind the scenes for the last month: 3D Printed Embroidery Hoops!
For Christmas 2022, my husband completely surprised me with a 3D printer.
It was safe to say, that type of crafting was not even on my radar!
But I have had such a blast over the last year learning how to use it and, more importantly, designing my own files to print.
I did some research, and there is nothing like these embroidery hoops on the market right now.
So far I have custom designed embroidery hoops with scallops, snowflakes, and hearts along the edges, cat ears, mouse ears, and vintage cameras.
And I have SO many more ideas I want to try!
Scroll down for more details about all of the currently available embroidery hoops.
To see a quick video of the hoops, check this out.

3D Printed Embroidery Hoops
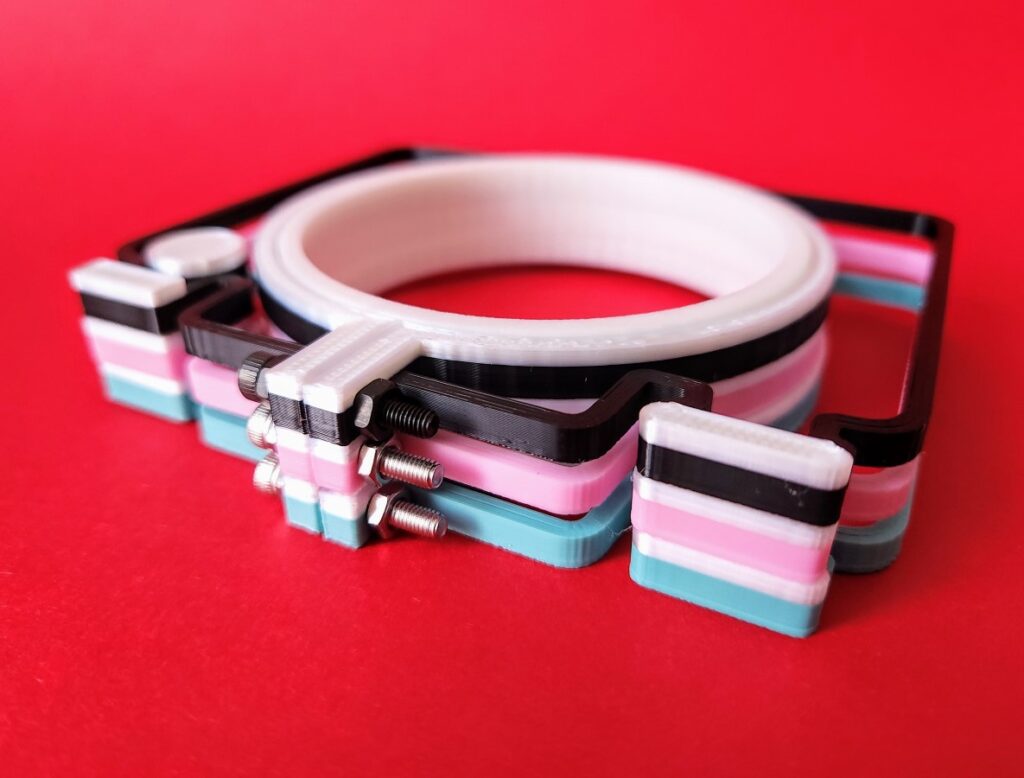
Currently, all of the 3D printed custom embroidery hoops I am offering are 3 inch size.
However, as you can see above, I am working on making them as large as 6 inches.
In my Etsy shop, all of the colors and designs offered are already printed and ready to ship.
But if you are interested in a different color (or size, up to 6"), just send me a message on Etsy, and we can talk options.
These 3D printed embroidery hoops are made from PLA plastic.
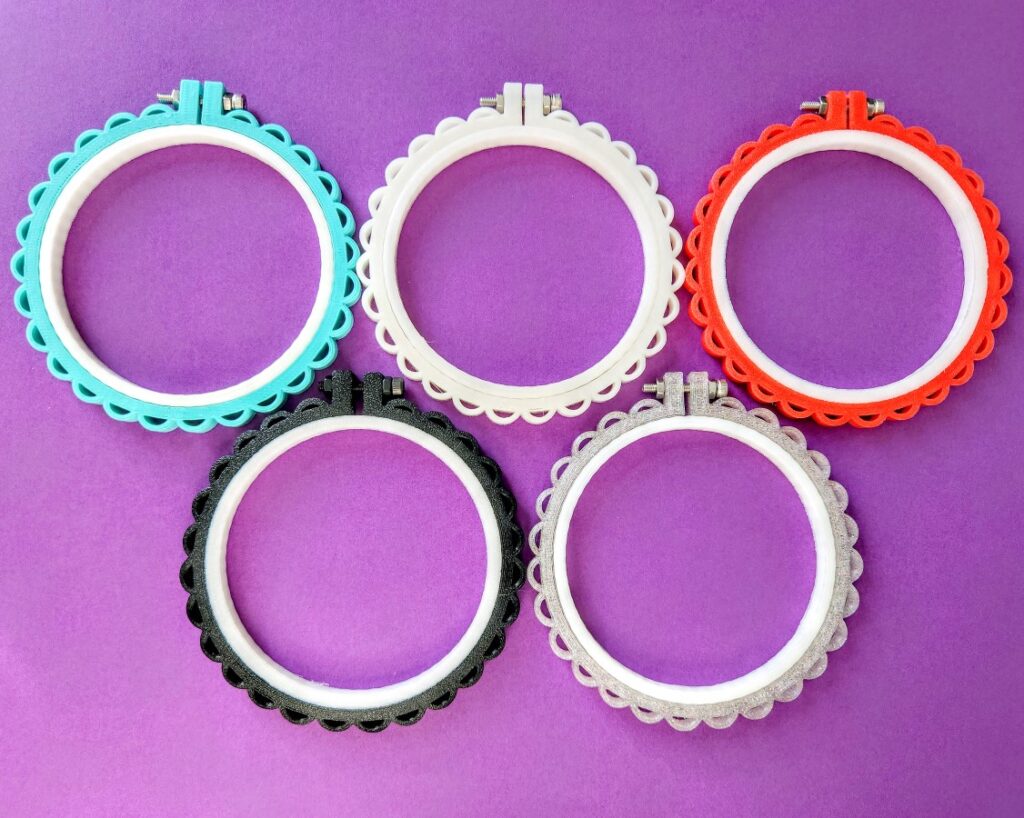
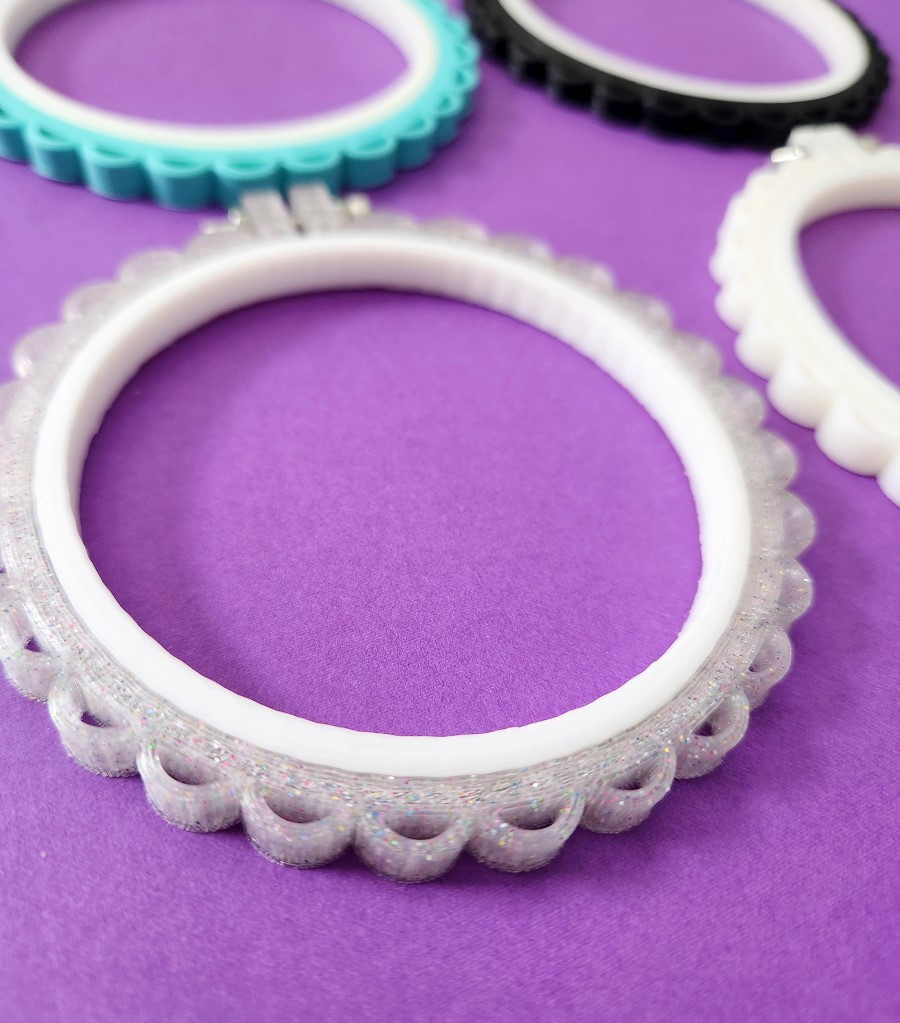
3D Printed Scallop Embroidery Hoops
These scalloped-edge embroidery hoops are the first ones I designed.
I consider them a classic design that will add an extra element of pizzazz to completed embroidery or cross-stitch projects.
These 3D printed embroidery hoops are currently available in aqua, white, red, black, and clear glitter.
All embroidery hoops include the inner and outer hoop.
I love this clear glitter hoop.
It is so whimsical and fun!
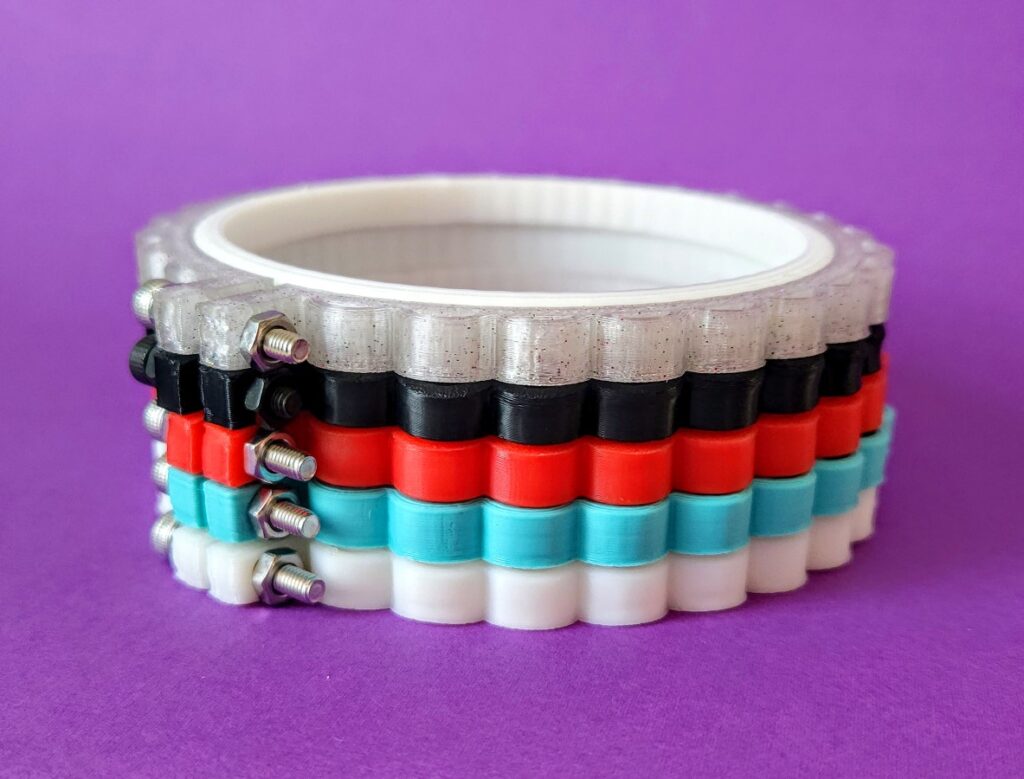
Let's talk hardware:
Black hoop come with black hardware, all other hoops come with silver hardware.
These hardware pieces are small.
I highly recommend not removing the hardware completely when loosening the hoops to add your fabric so you do not risk losing the small hex nuts.
The easiest way to loosen and tighten the hardware to to hold the hex nut between your thumb and forefinger to keep it still, and use your other hand to rotate the screw.

3D Printed Snowflake Embroidery Hoop
Perfect for winter or Christmas projects, these embroidery hoops feature snowflakes around the edges.
These snowflake embroidery hoops are LIMITED EDITION since they are seasonal.
Once they sell out, they will not be available again until next winter.
These 3D printed embroidery hoops are currently available in white and clear glitter.
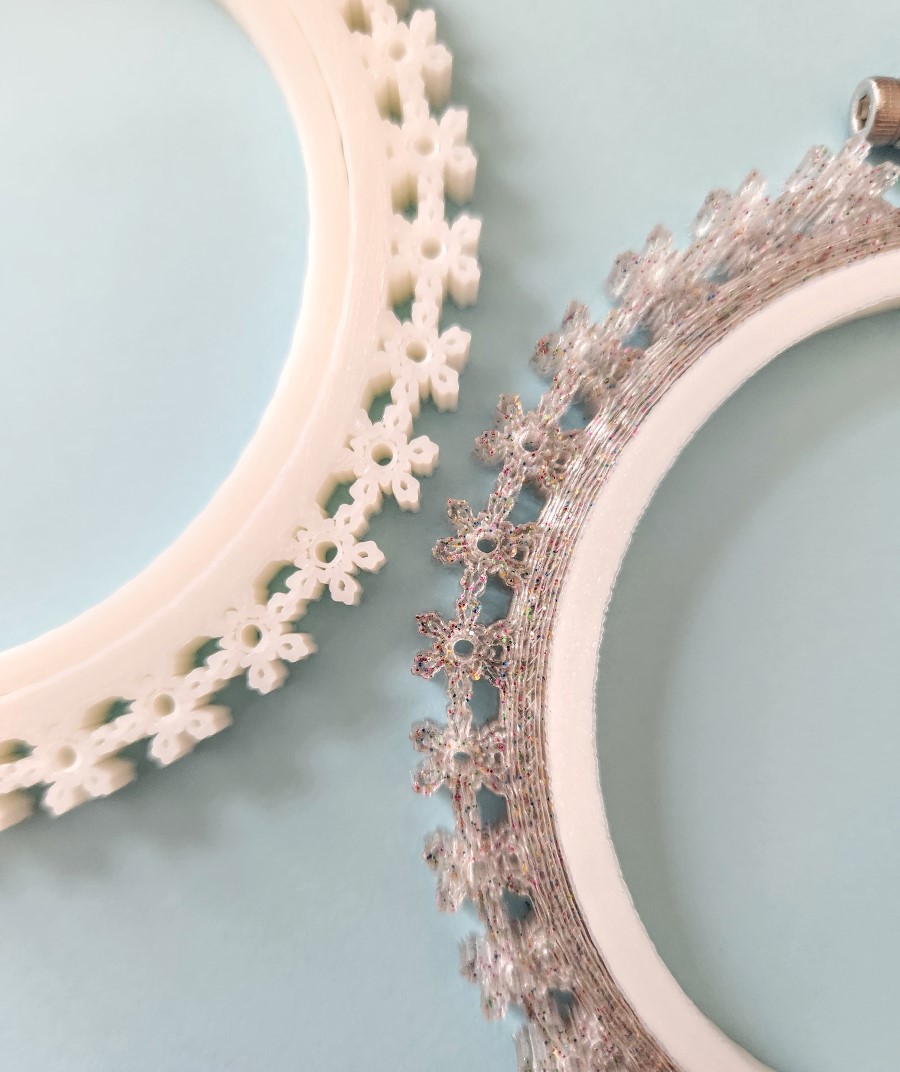
Because of the rough nature of the edges of these snowflake embroidery hoops, they are recommended to used on completed sewing projects.
Using these hoops while sewing could result in snagging on the edges.

3D Printed Hearts Embroidery Hoops
I love how these hearts embroidery hoops came out!
These hearts embroidery hoops are also LIMITED EDITION as they are seasonal.
Once sold out in the shop, they won't be back again until next year.
These 3D printed embroidery hoops are currently available in light pink, bubblegum pink, aqua, and red.

The hearts embroidery hoops almost look like a doily pattern, don't you think?
Perfect for Valentine's Day crafts!

All of the hardware on these hoops is silver.
And, of course, includes both the inner hoop along with the outer hoop.
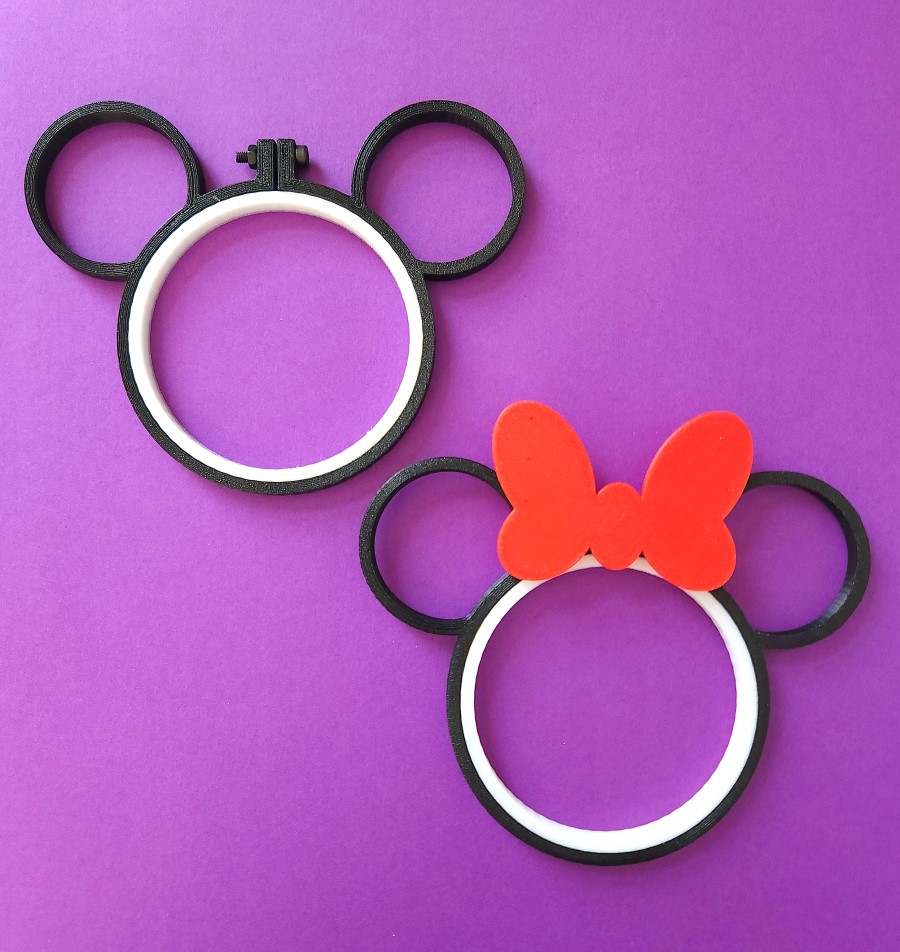
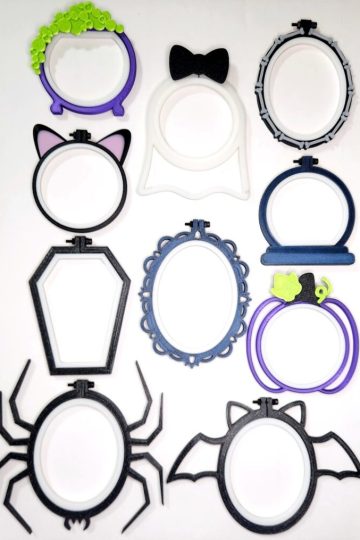
3D Printed Mouse Ears Embroidery Hoops
You probably know who inspired these mouse ears embroidery hoops *hint, hint, wink, wink*.
Wouldn't they be so fun with your favorite Disney embroidery in them?
Or your favorite Disney fabric
Or even with a thin cork fabric (DMC makes some stitchable cork like I used in this zipper pouch project) with foam behind it to turn one of these mouse ears embroidery hoops into a pin board.
These 3D printed embroidery hoops are currently available in black and the bows in red.
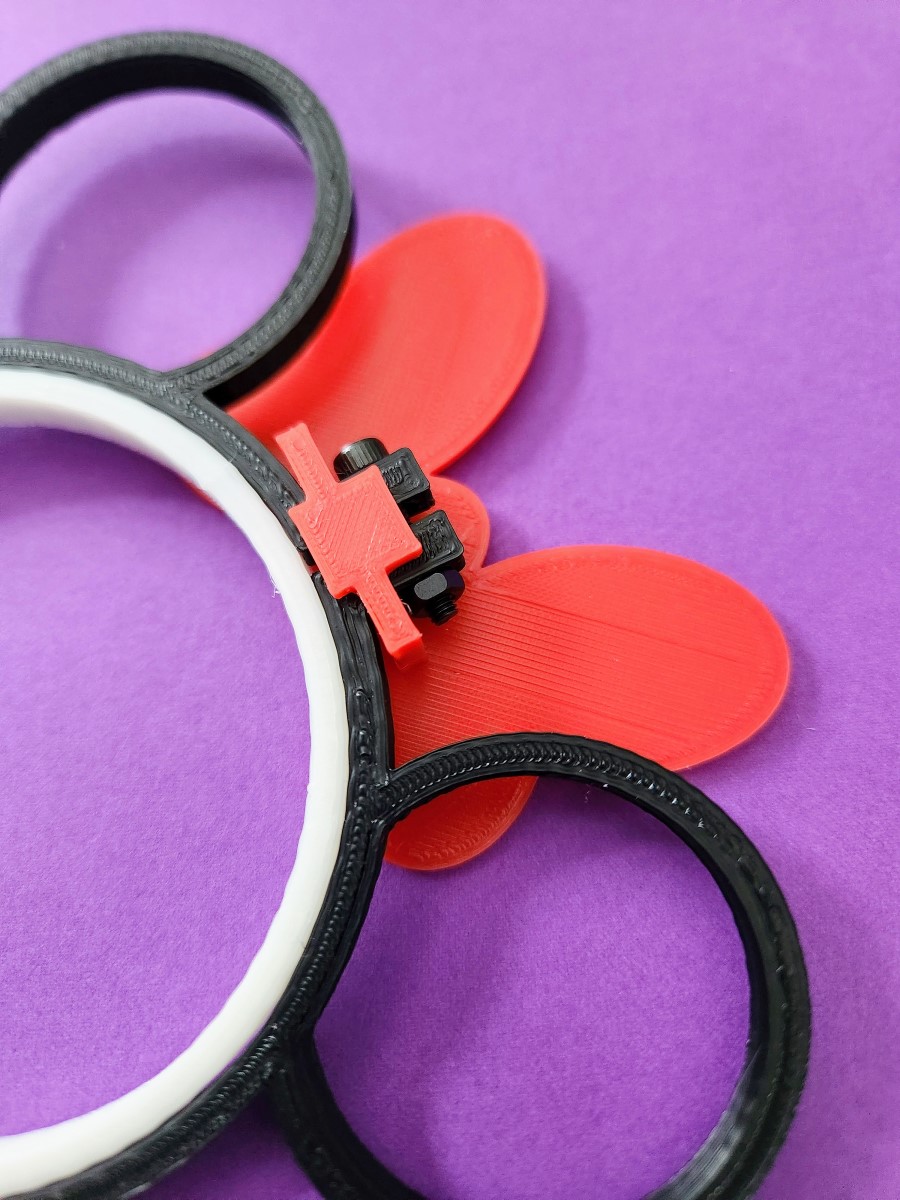
The bow is an optional add-on with these mouse ears embroidery hoops.
It fits on to the top of the hoop before you add the hardware.
It has a little side to side give in case you use a thicker fabric in the hoop.

To make the bow look flush with the hoop, there is not a lot of space between the hardware for the hoop and the bow.
This make a tight squeeze for fingers and the small hardware, so a 3D printed wrench is included when you purchase the set with the bow.
If you add on the bow, it will come already attached to embroidery hoop.
Watch my YouTube video to show out to easily use the wrench to tighten or loosen the hardware with the bow attached as needed.

3D Printed Cat Ears Embroidery Hoops
I think these cat ears embroidery hoops turned out so whimsical!
Perfect for stitching up cat faces or including your favorite cat patterns.
These 3D printed embroidery hoops are currently available in black, gray, and orange.

The little pink ears are printed separately and glued securely onto the cat hoop frame.
The black cat comes with black hardware while the other cat colors come with silver hardware.
Need a custom cat color? Send me a message on Etsy!

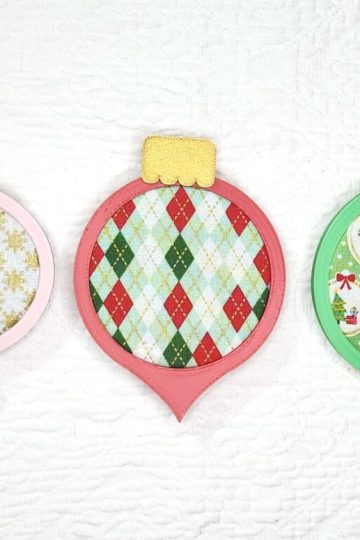
3D Printed Vintage Camera Embroidery Hoops
I think these vintage camera embroidery hoops are my favorite ones to date!
They turned out so fun and would be super cute with so many different types of projects like landscapes, town, flowers, or people.
These 3D printed embroidery hoops are currently available in black, light pink, and aqua with shiny white accents.

I can't wait to pick out my own embroidery project to use with one of these.
The vintage vibe these cameras give is so fun.
The black camera comes with black hardware and the other camera come with silver hardware.
The shiny white accents on the cameras are printed directly on top of the main color (black, pink, or aqua).
I hope you love these embroidery hoops as much as I do!
As I come up with more ideas and add them to the shop, I will try to add them to this post or create a new post that I will link here.
I'm filled to the brim with ideas, but if you have something fun you would like to see, I would love to hear about it.
In the meantime, stay crafty!

>> See where I party! <<
More hoops!