
BML Guest Post - Wendy from Project-Create
Hello Everyone! My name is Wendy Myers from Project-Create and I have been a blogger since 2006. But I will celebrate the 2nd year of my Creative Blog in July of this year. I started this blog to keep my creative and personal info seperate. I hope you enjoy the Recycle Project I have posted, I enjoy all types of crafts and this one was super simple and quick. Thanks to Michele for letting me guest post.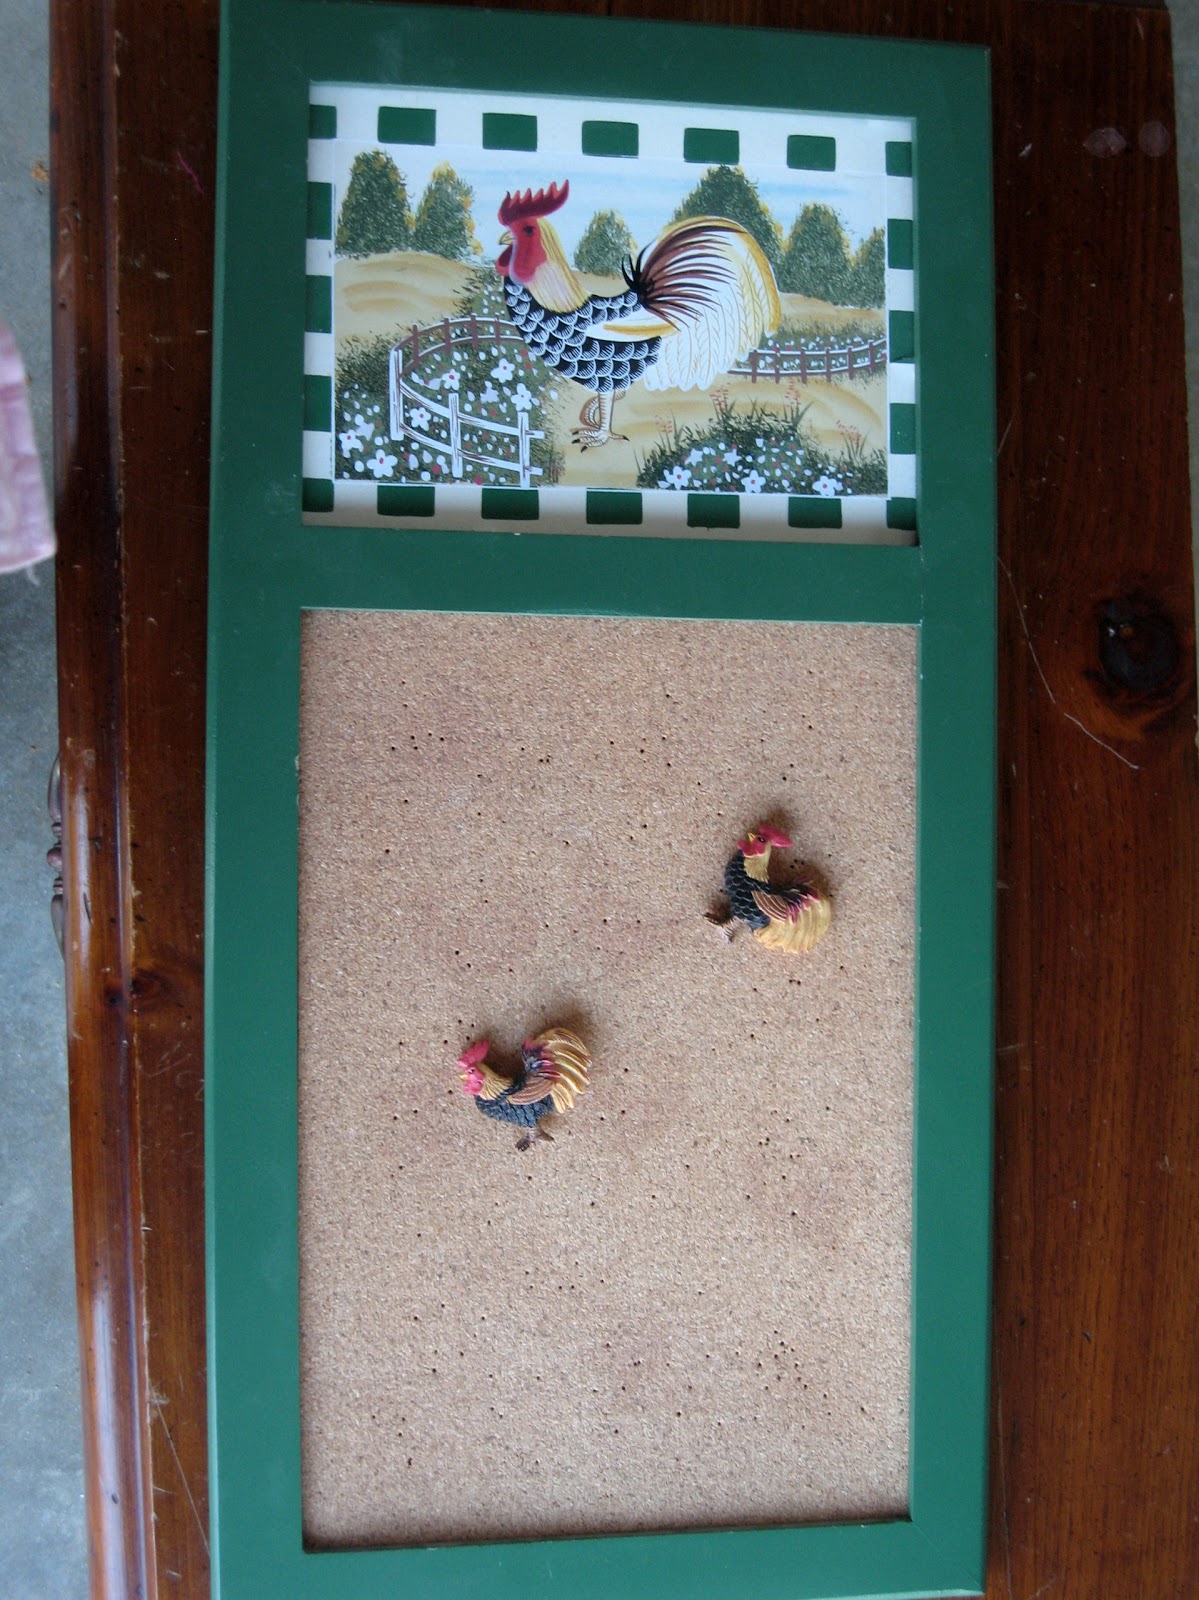 |
| Last week I really wanted a project to work on, so I headed to the local CHKD. In my search I found this not so cute cork board. It definitely needed a makeover. |
 |
| I only payed $3.98 |
 |
|
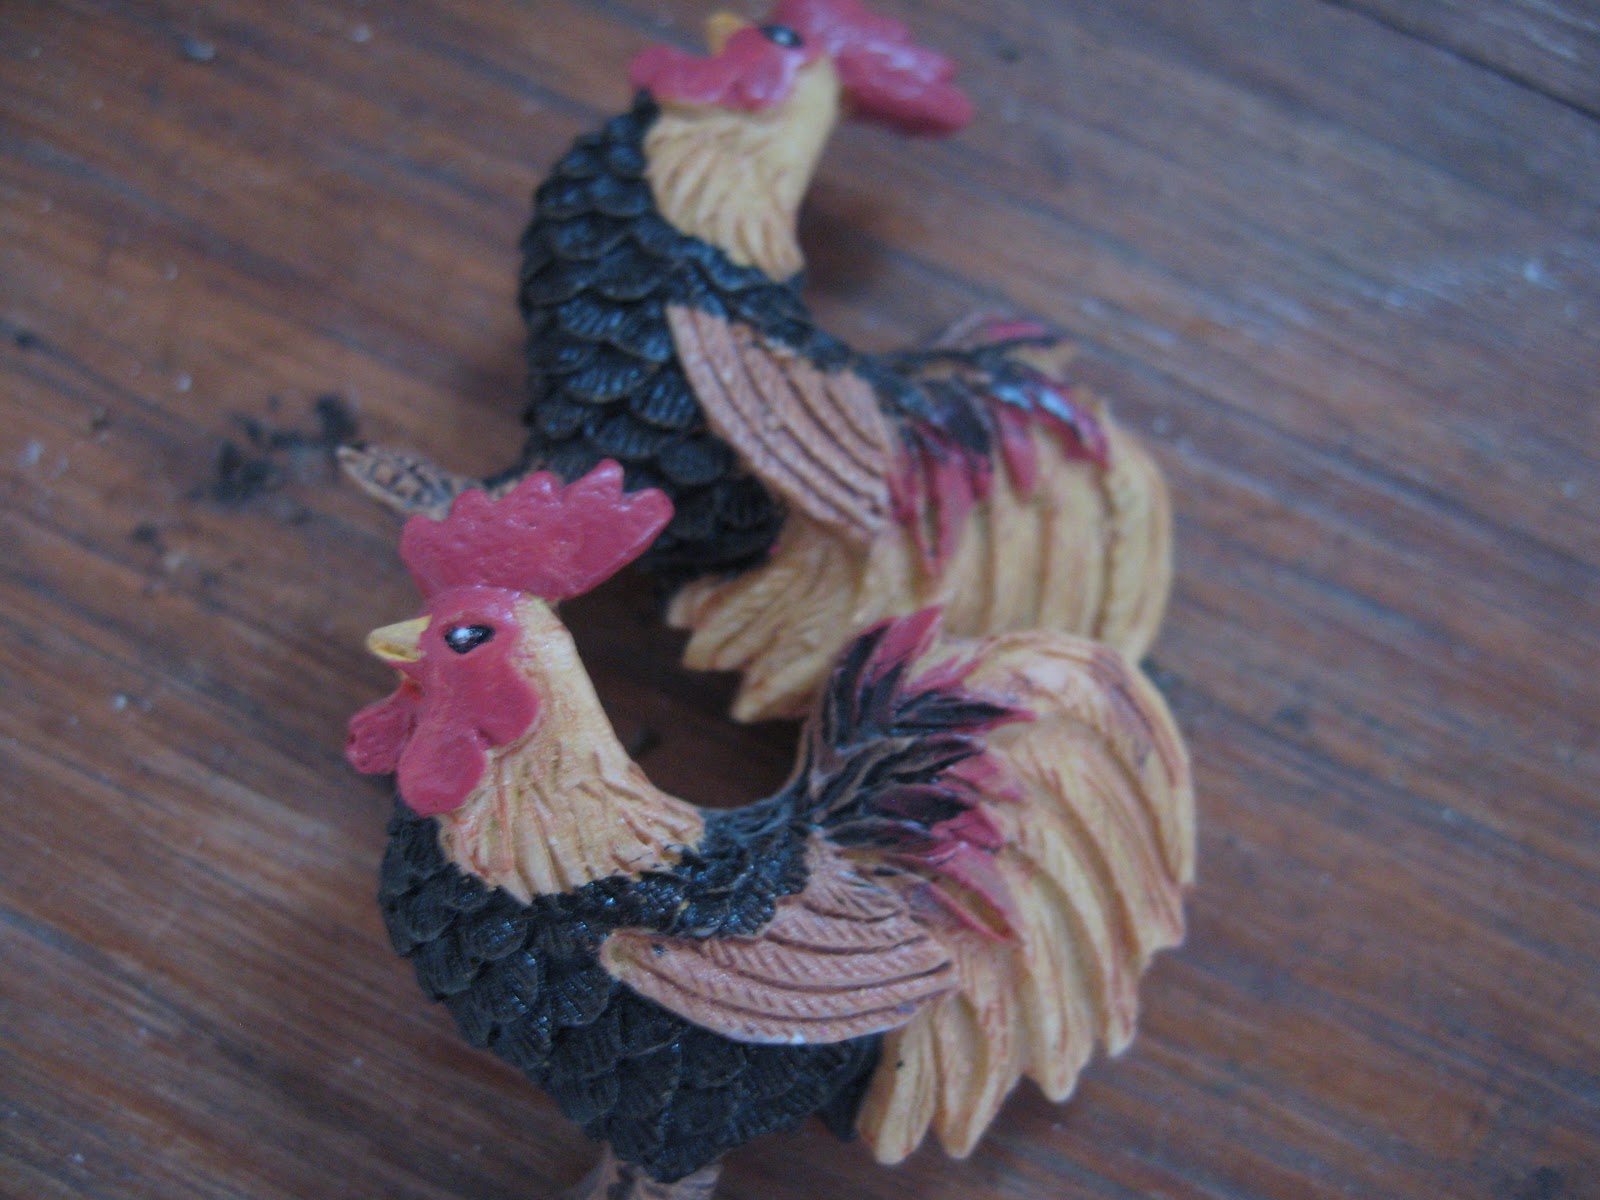
The board came with these cute rooster push pins, not sure what will become of them.
|
 |
| I sprayed the chicken in hopes of covering it as much as possible. |
 |
| I spray painted the frame with some cheapy wal-mart paint to try and cover the green. For some reason it turned out with these odd reddish spots. |
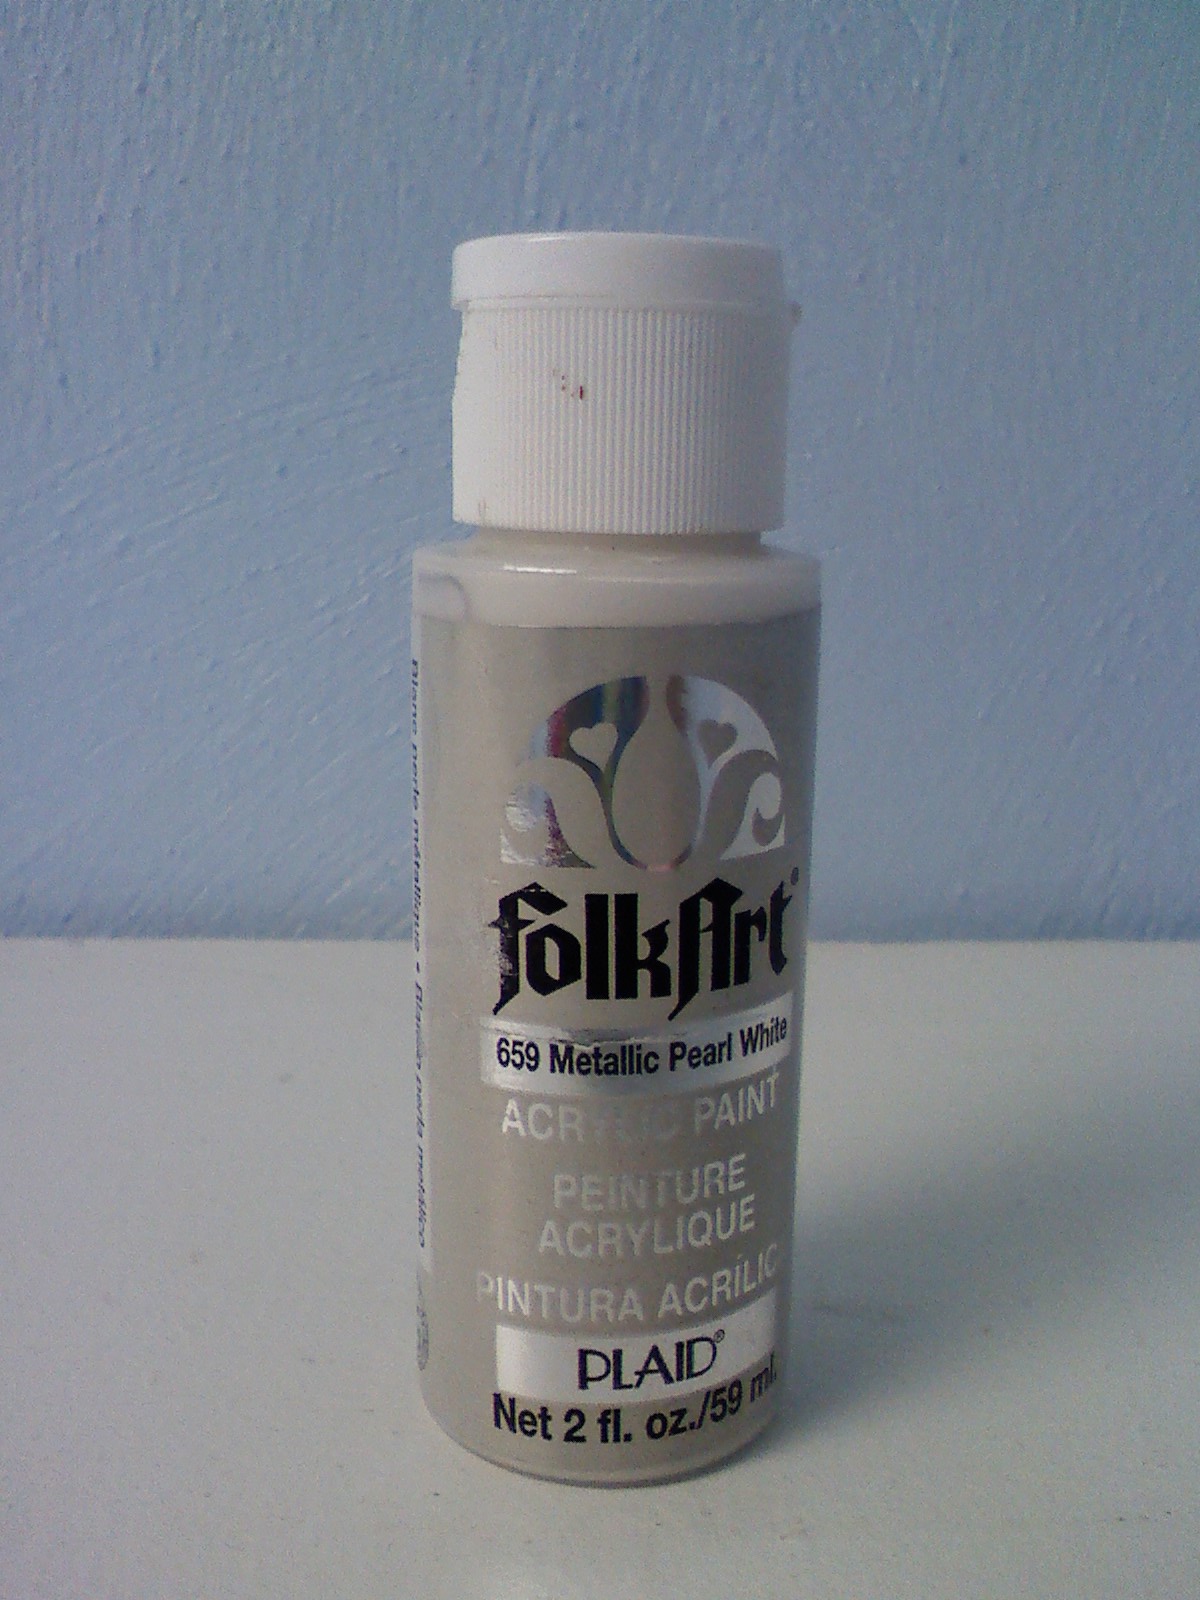 |
| Then I painted it all over with this plaid pearly paint |
 |
|
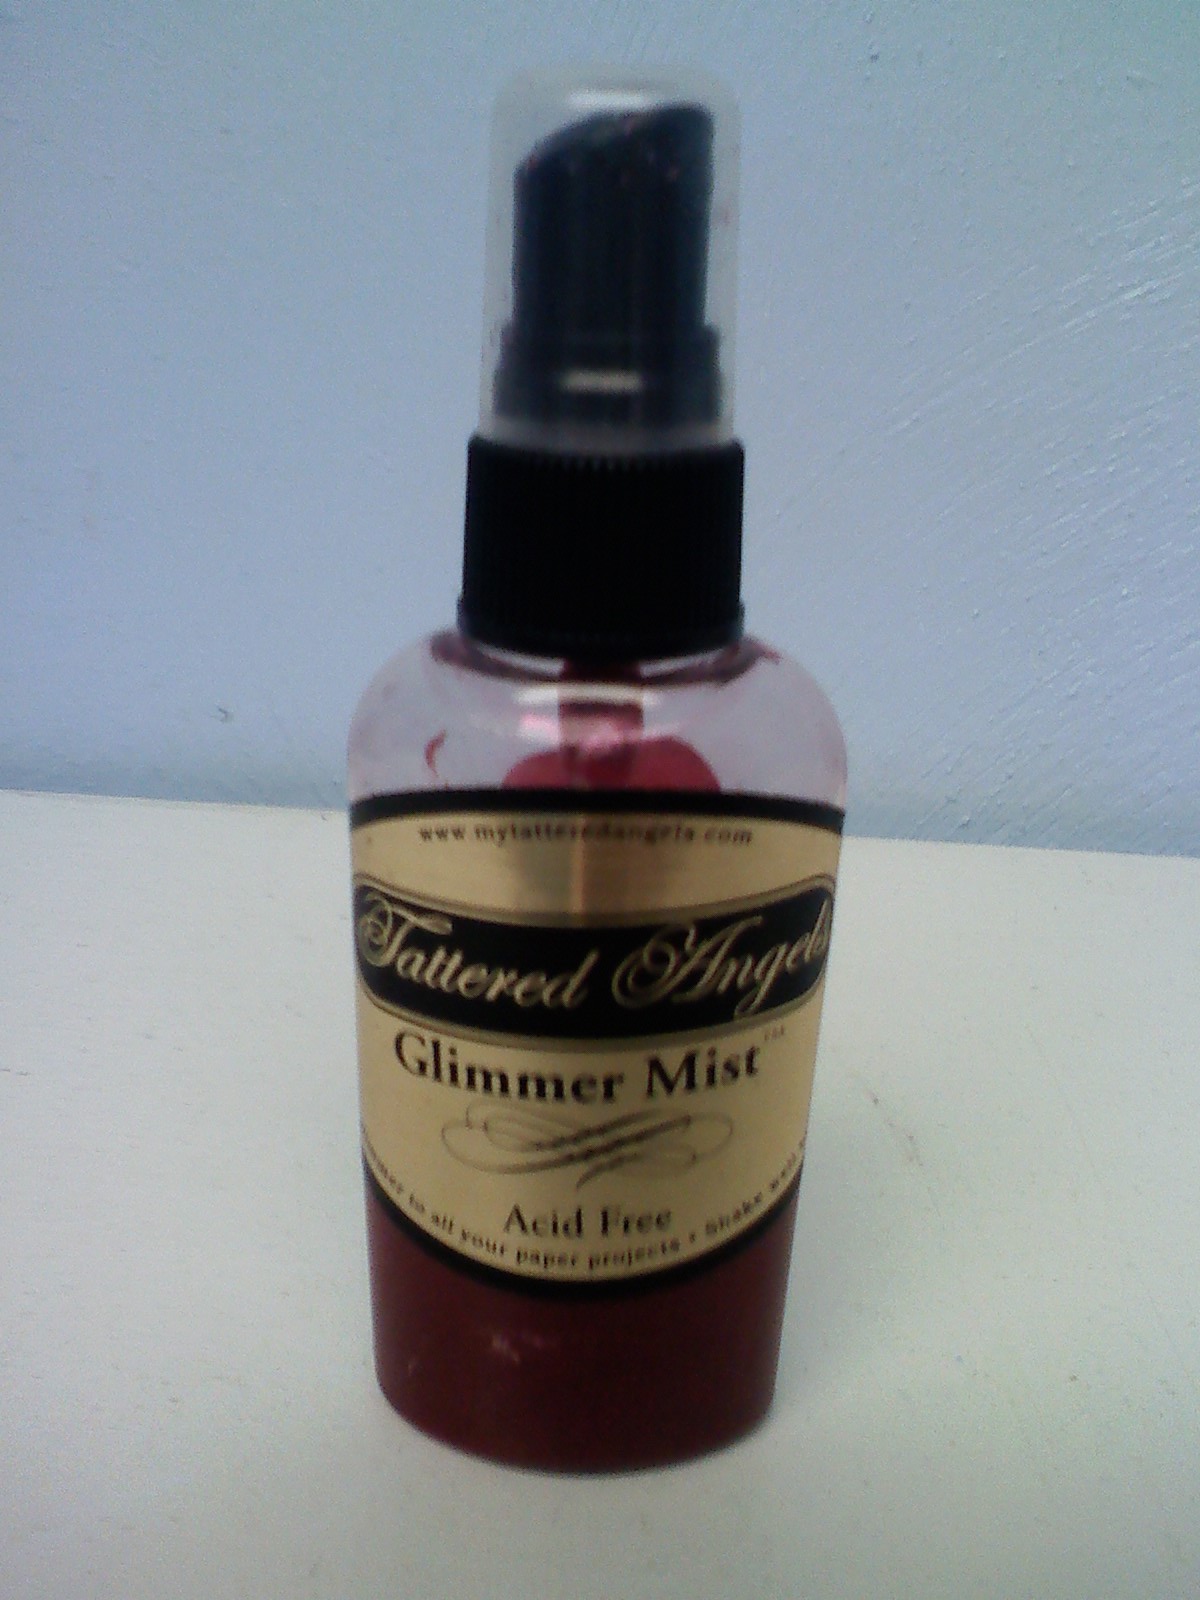
And to give it a little more shimmer and shine I added a little glimmer mist.
|
 |
| I glued the small part back into the top |
 |
| Samantha had gotten a really cute birthday invitation from a friend that had this peace sign on it, so we recycled it and I attached it with some glue to the middle of the top piece |
 |
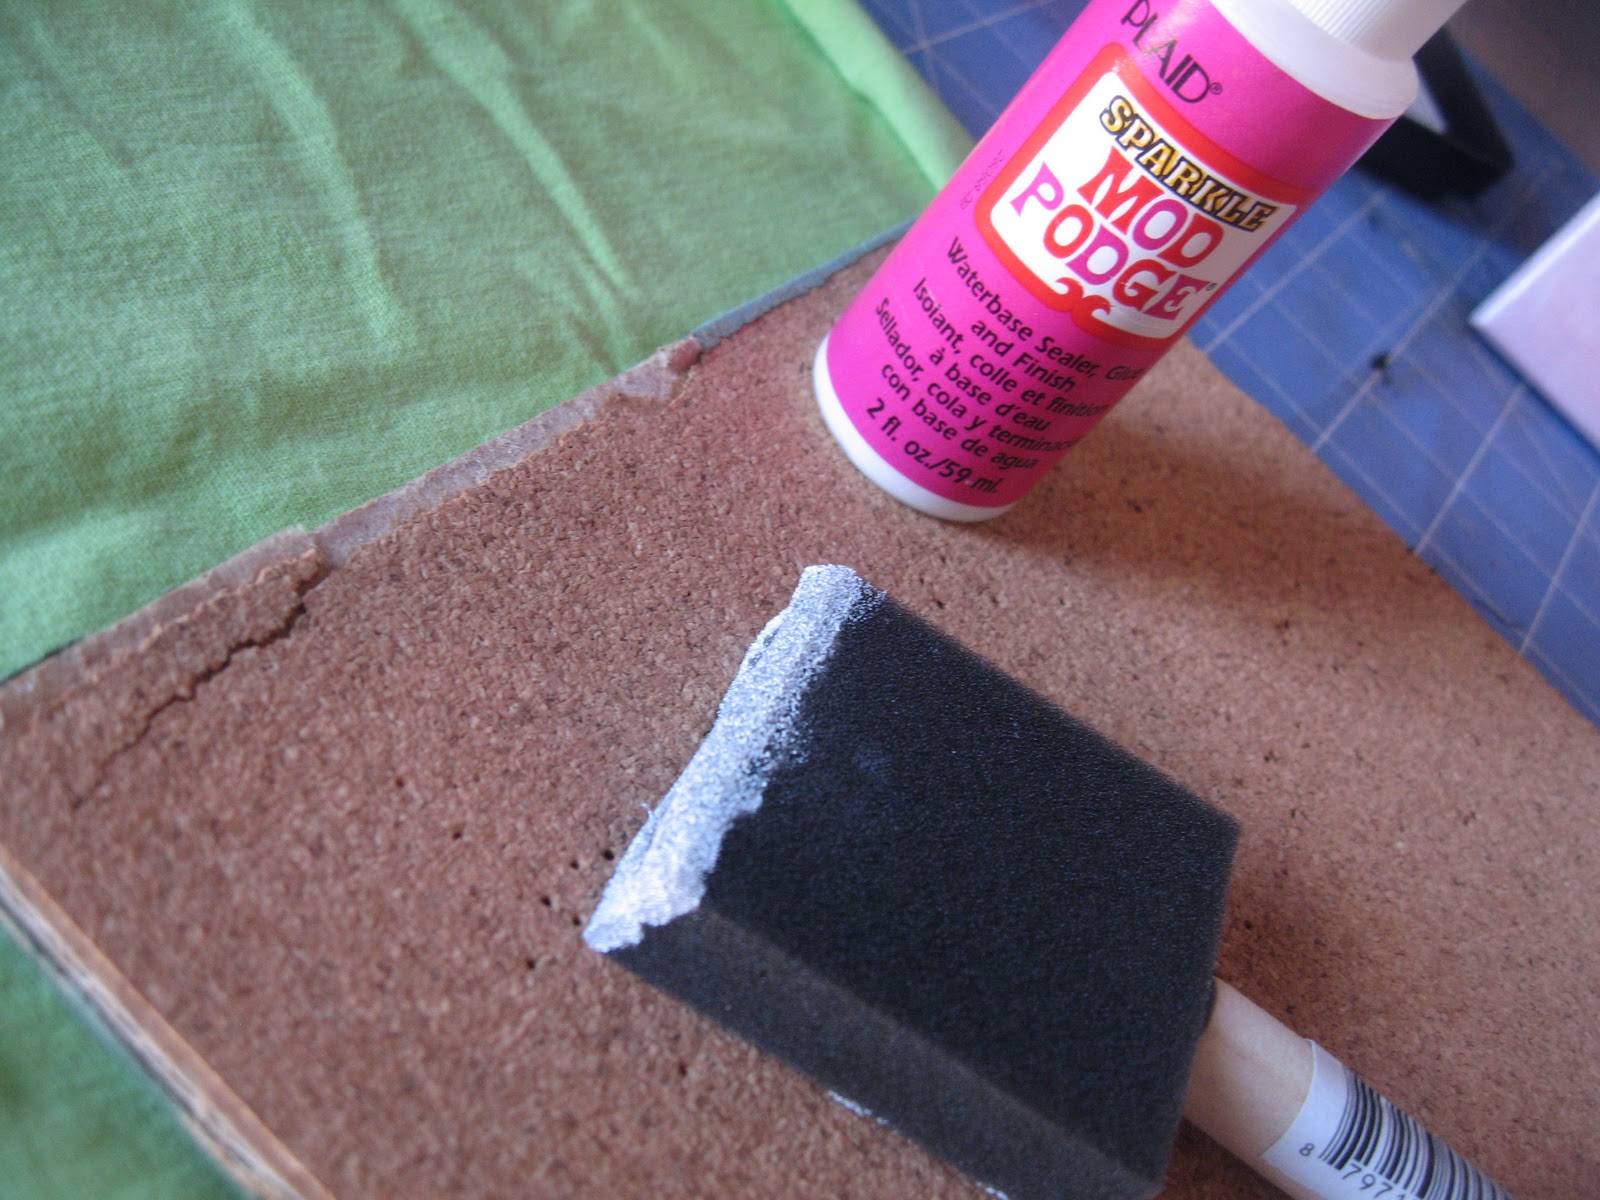
| I was hoping when I disassembled the bottom that it would have a thick piece of cork, but instead I found a thin piece with corrugated cardboard behind that. When I removed it, I damaged the cork a little. So I had to come up with a way to cover the cork. |
 |
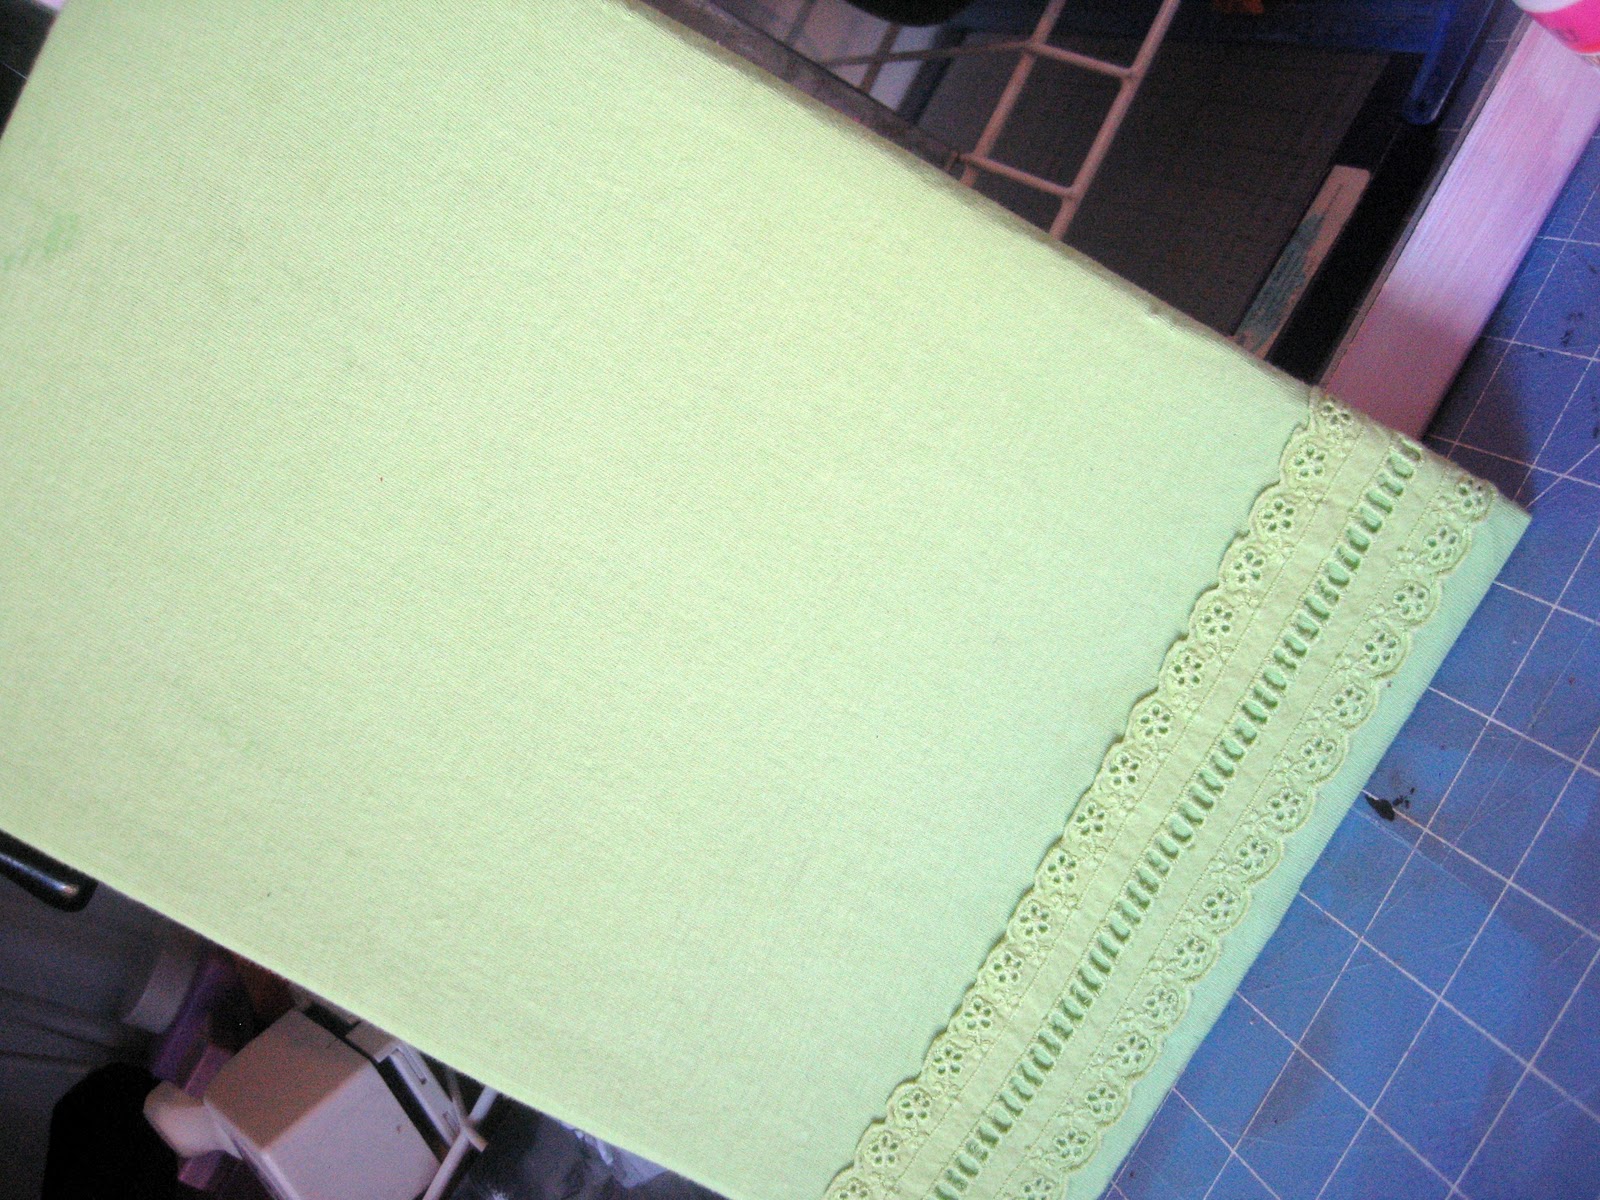
| I dug around in my donate bag and came up with this very cute summer top that Sam had outgrown. |
 |
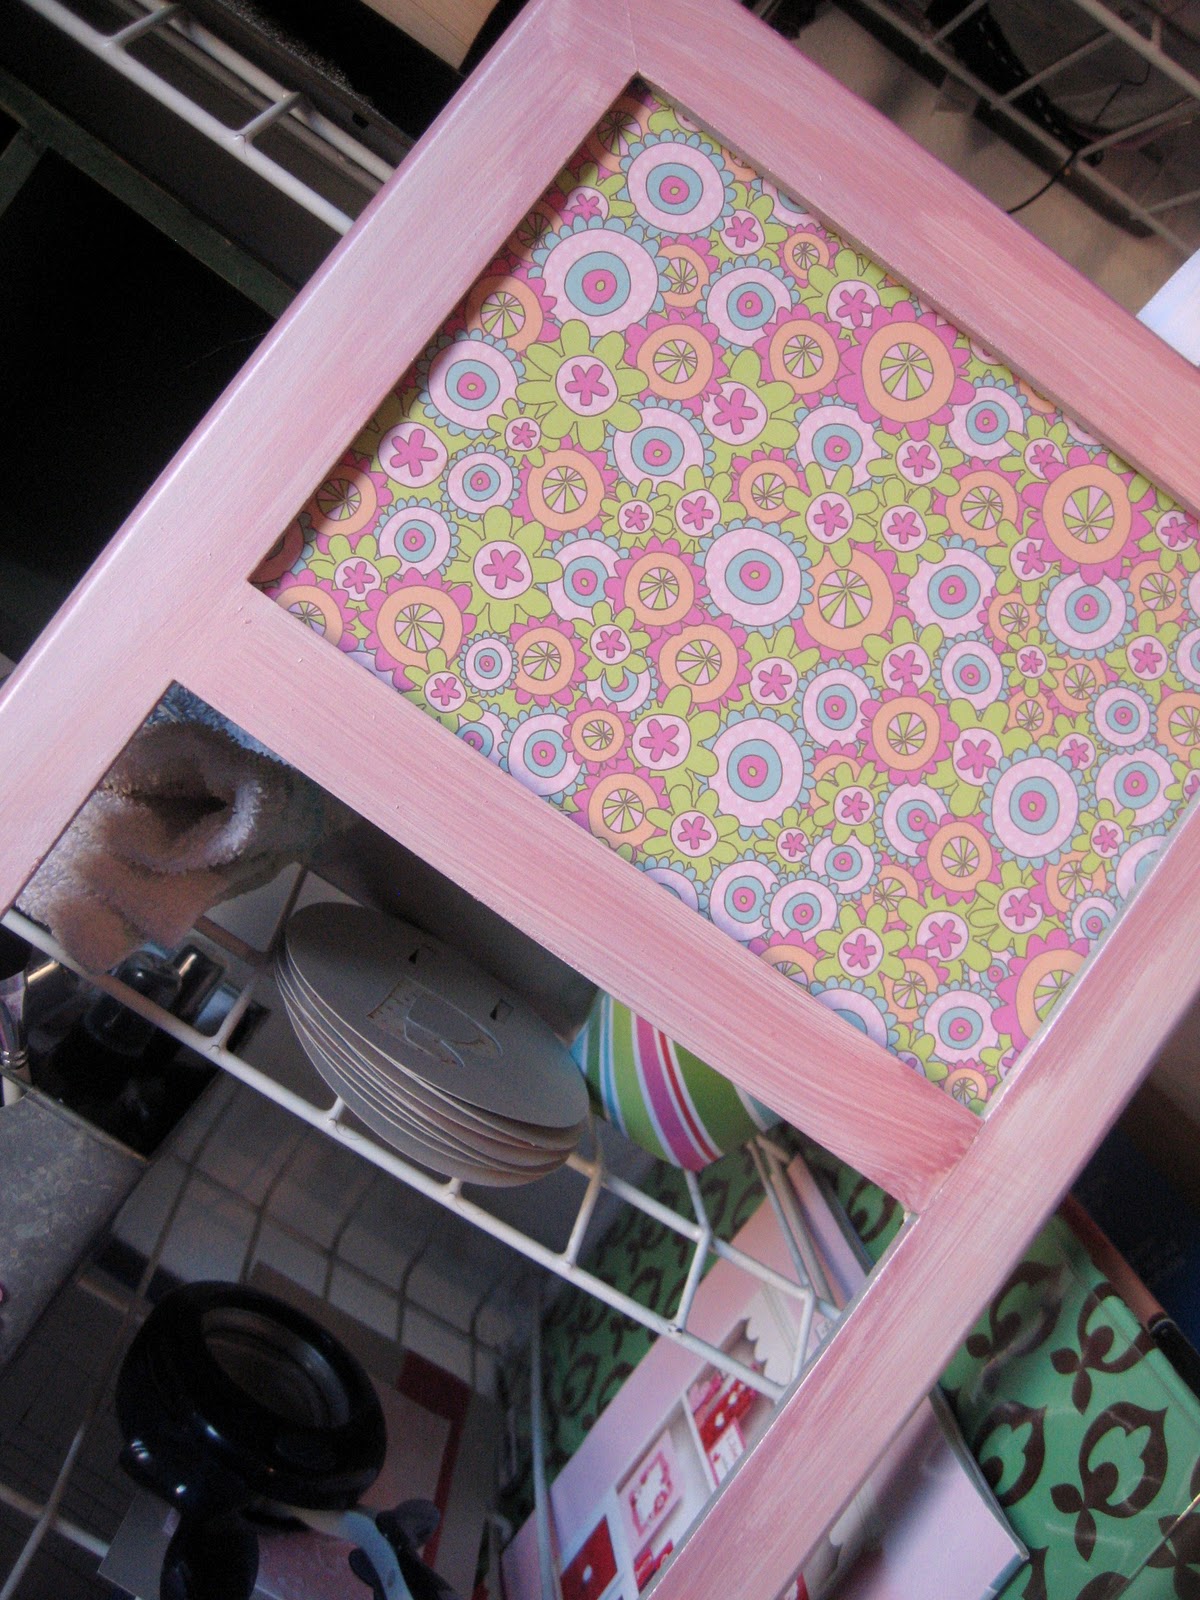
| The color of the paper we used in the top really looked great with this fabric color. So I cut out the front panel of the shirt. |
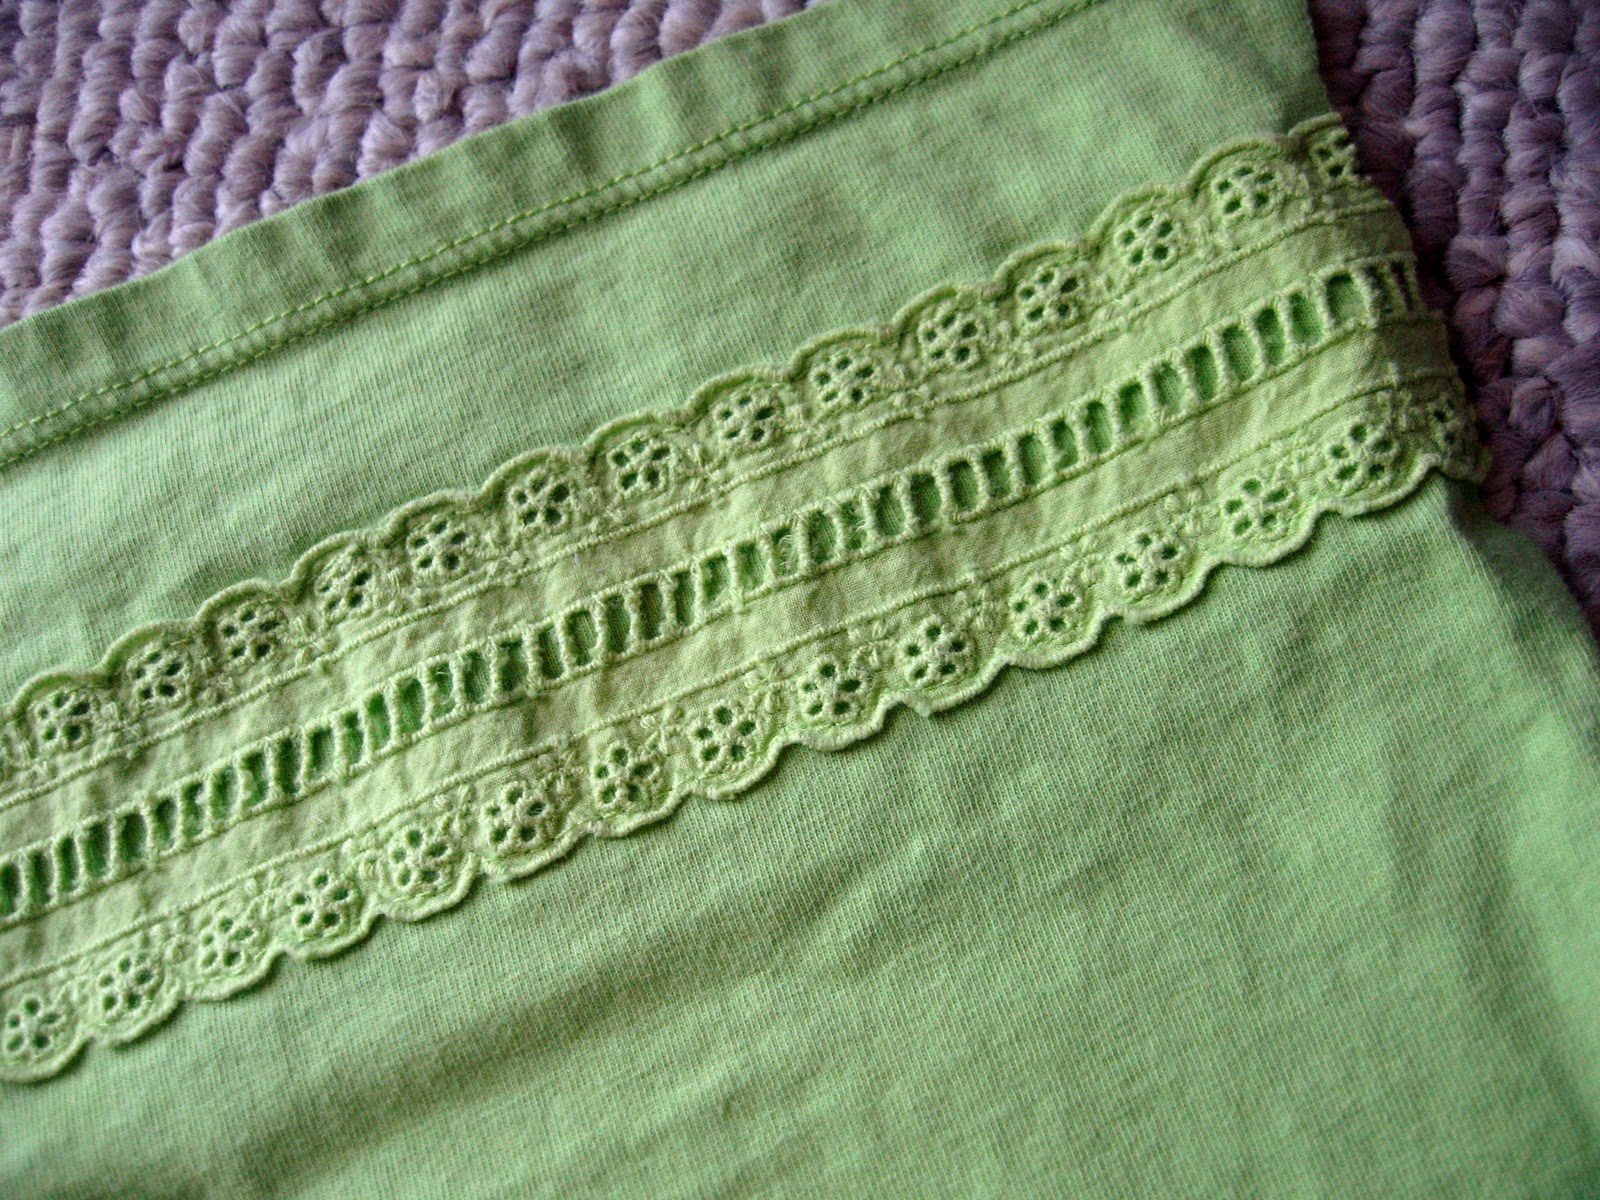 |
| It had this really cute lace trim detail, so I kept that as a border for the bottom, just to give it some interesting detail. |
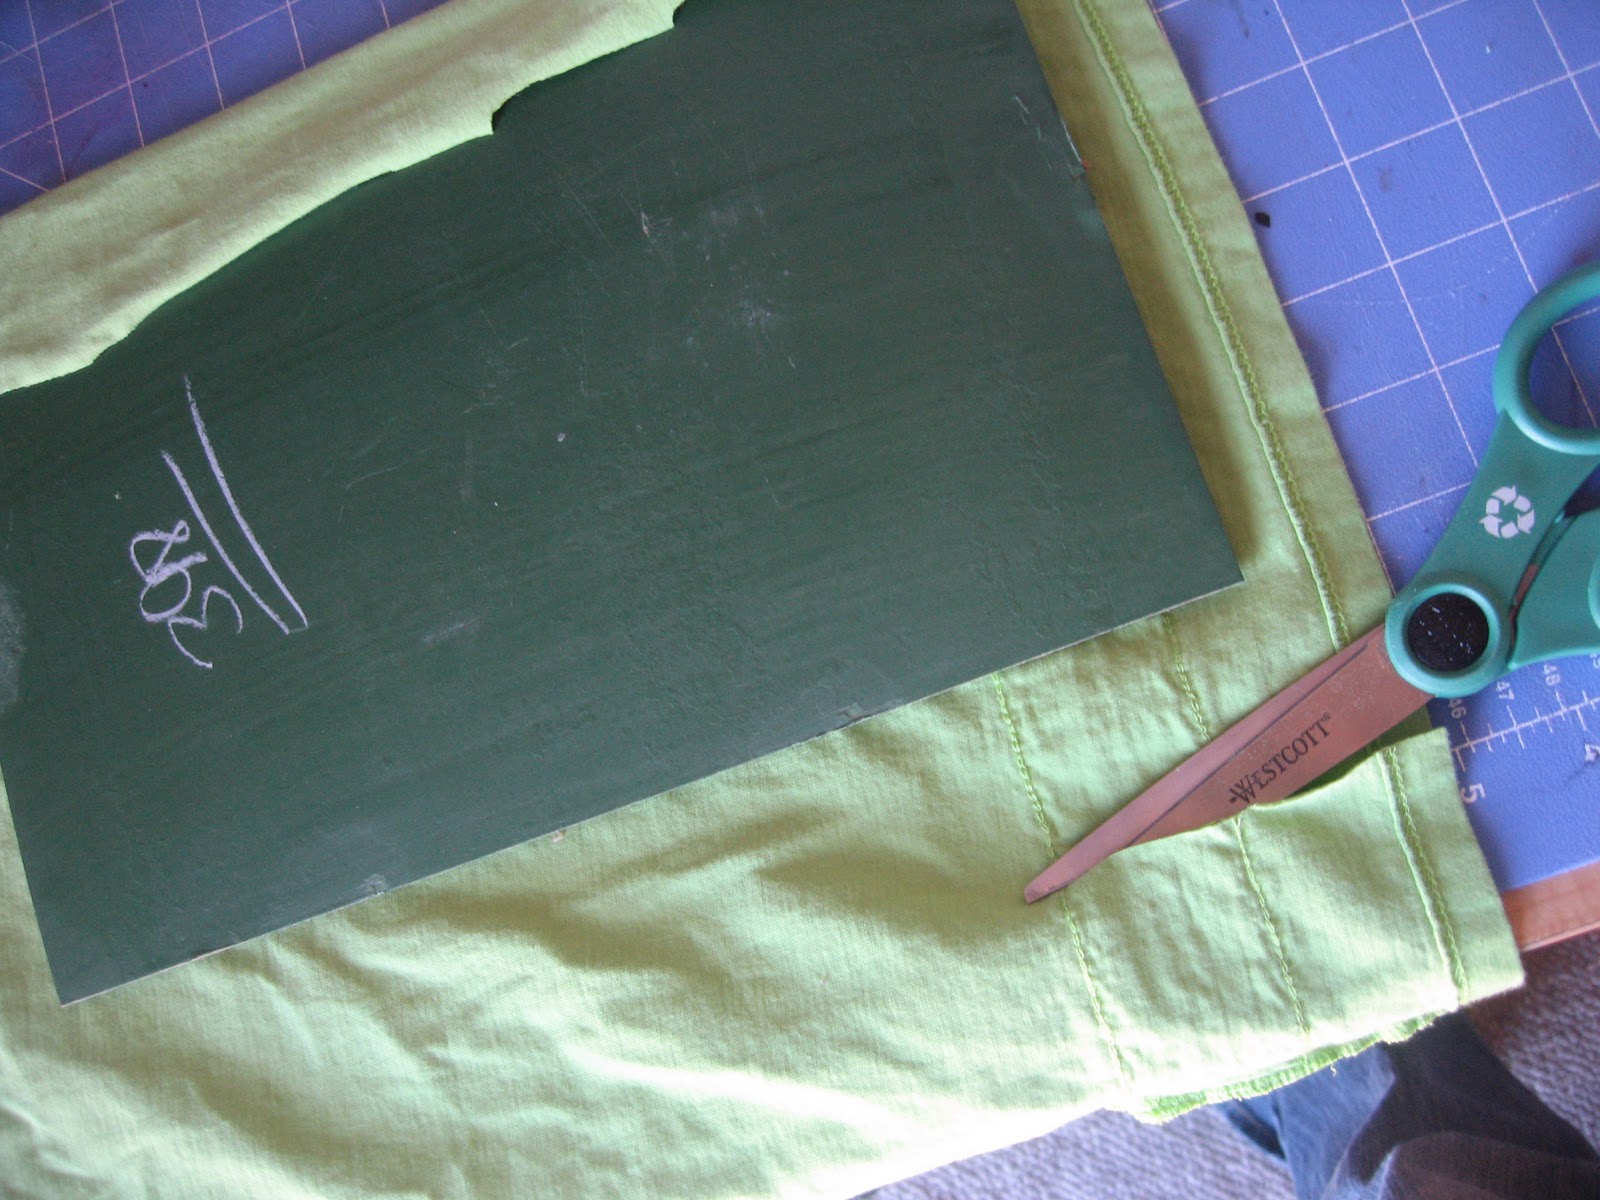 |
| I cut it down to size |
 |
| I had an abundance of sparkly Mod Podge so I used that and covered the whole front of the cork board. |
 |
| I pressed the fabric down taking caution that it did not wrinkle in the corners. |
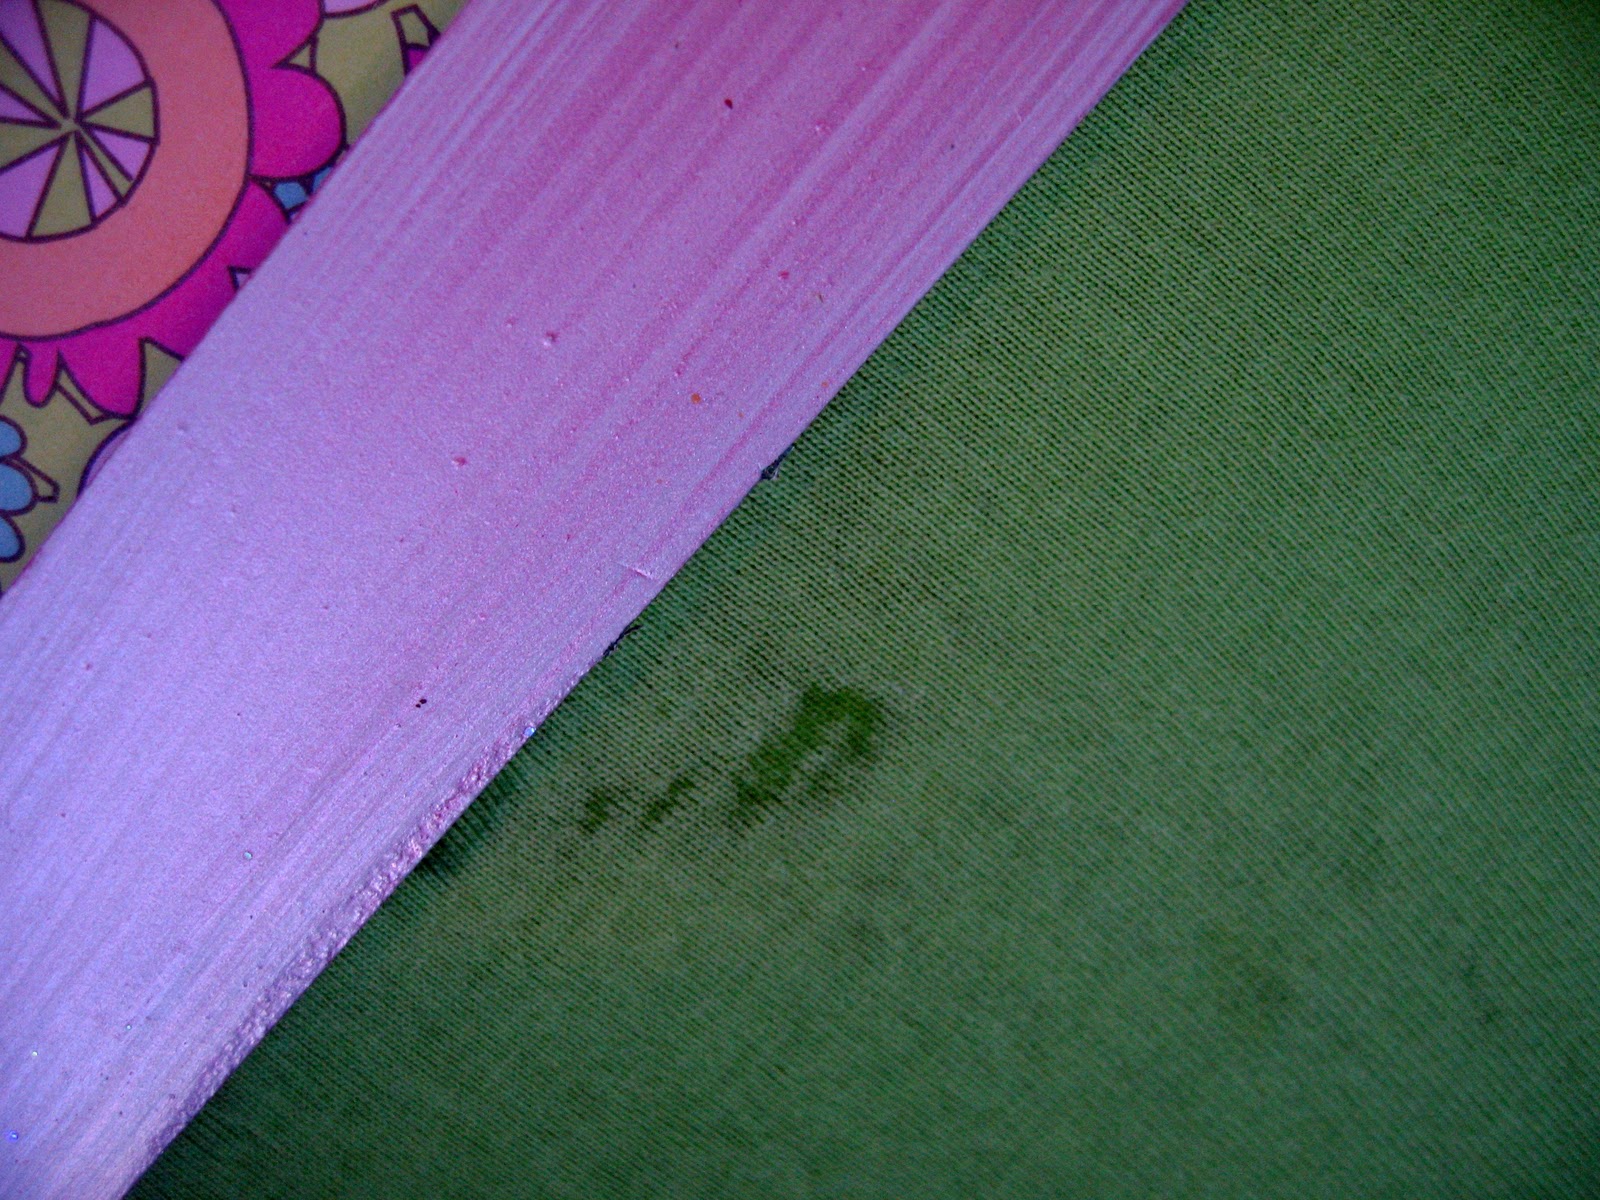 |
| And I must have gooped it here, because it came through the material. I was hoping it would dry and not show, but no such luck. |
 |
| I wanted to add some ribbon, but Samantha loved it the way it was. |
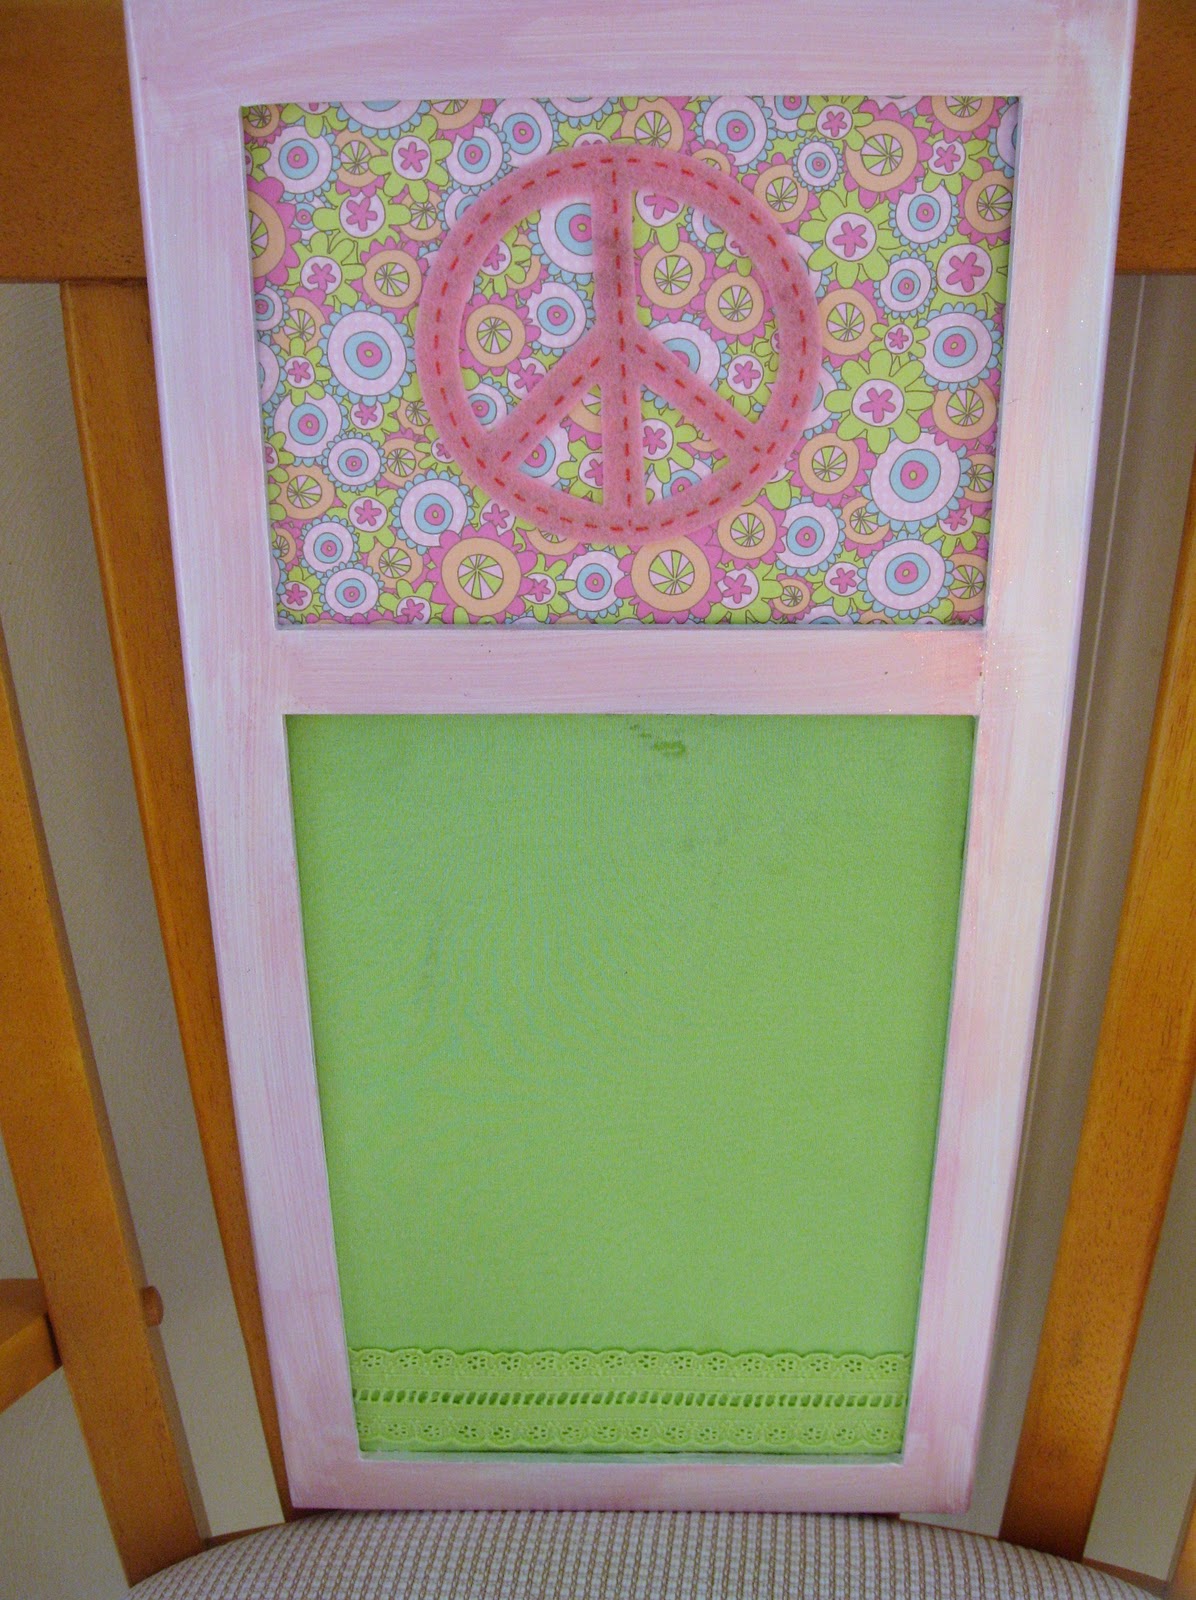 |
| I am very pleased with my $3.98 purchase. I added some clear push pins and hung it in my daughters room. |


Great job, Wendy! I'm running out to the thrift store right now! 🙂
super cute@!@