
DIY Shutters
Step up your curb appeal and add a pop of instant color when you add DIY shutters to your windows.
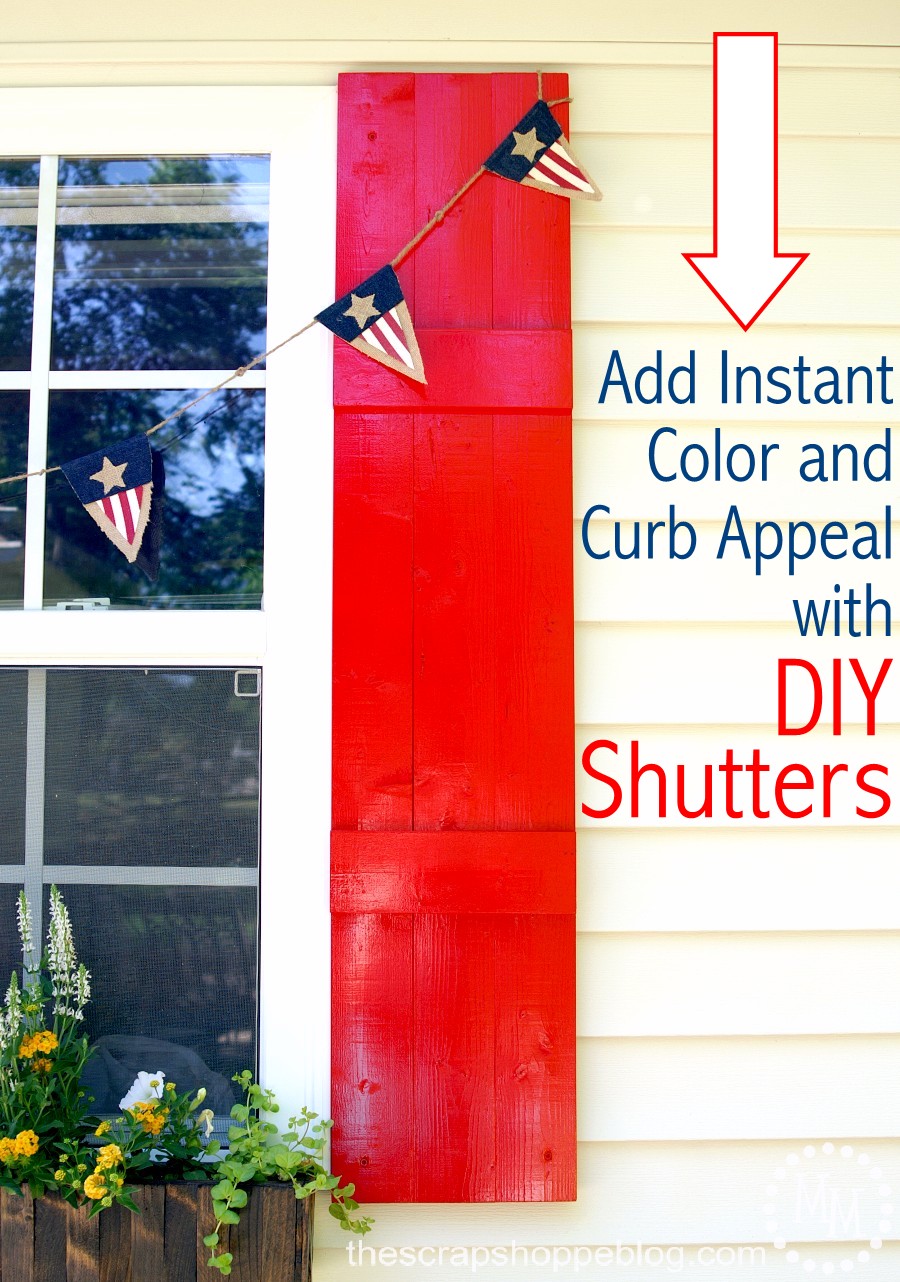
If you're looking for a simple way to add instant color and curb appeal to your home, look no further than building DIY shutters for your windows!
The great thing about shutters is that they can be made in different styles, multiple colors or stains, and they are easier to make and install than you think.
I'm going to show you how

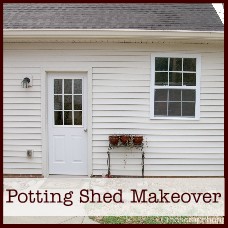
I have a sad potting shed that was in desperate need of a makeover (see the full potting shed makeover reveal!).
I thought shutters were just the things to add some instant brightness!
These are super basic shutters.
Check out Pinterest for some other shutter style ideas.
Supplies
6 1x4's measuring 50" long (measure your window for length!)
4 1x4's measuring 10.5" long
4 1x2's measuring 10.5" long
(Note: 1x4's are not actually 4" wide. They are 3.5" thus 3 next to one another is 10.5" wide)
If you plan to stain the wood, look for pine without many knots.
If you plan to paint you do not have to be as particular about the boards you select.
Always make sure the boards you select are straight by looking down the length of the board from one end to the other.
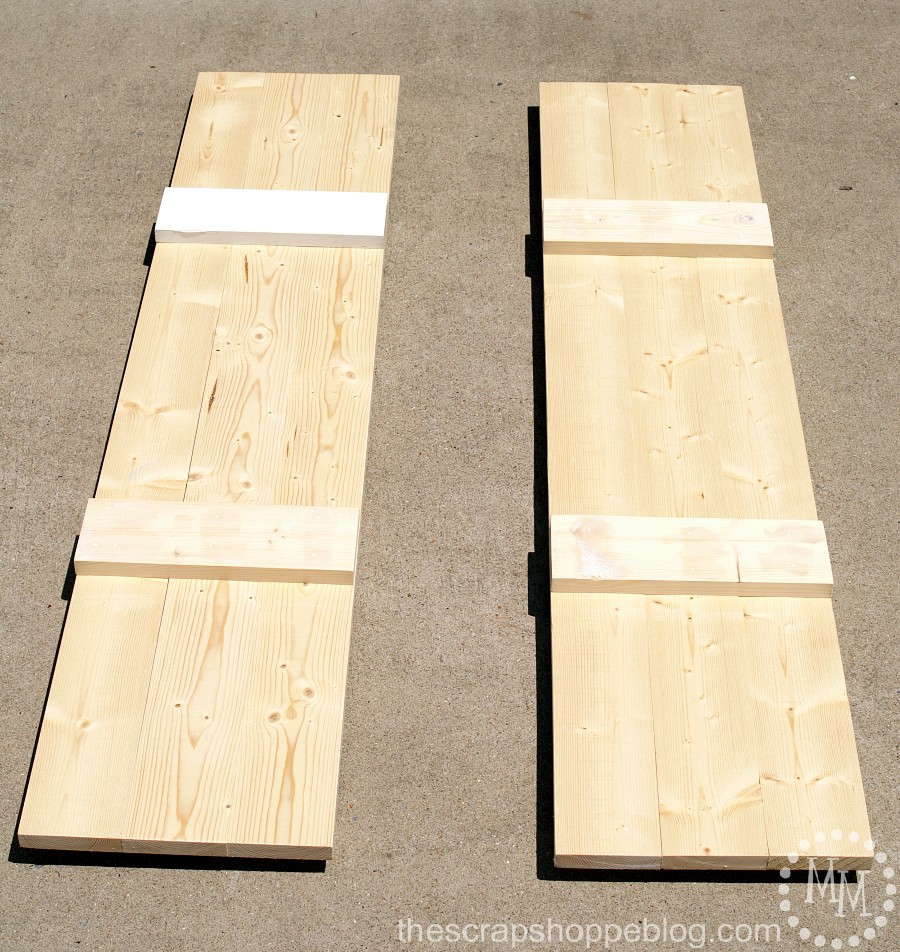
Line up the 3 50" long boards side by side. Place two of the 10.5" boards across the top of the longer boards.
It is completely up to you the placement of the shorter boards.
I made ours line up with the grid lines in the window.
Use wood glue to attach the shorter boards to the long boards then reinforce the boards with a nail gun (or just hammer the nails on!).
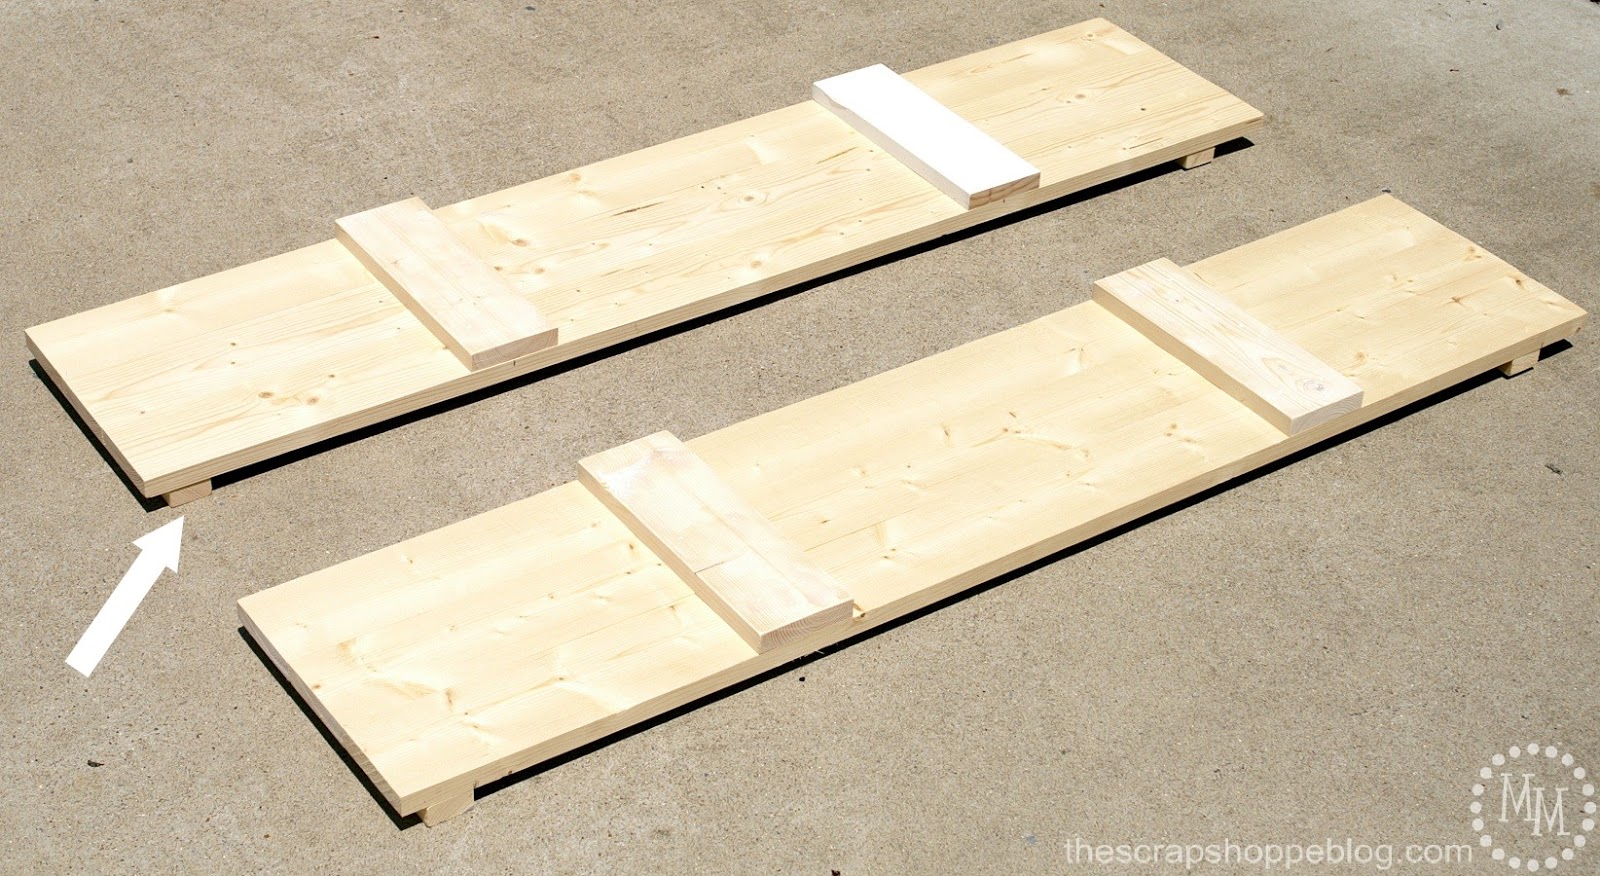
Place 2 of the 1x2's (see arrow) on the back side of the shutter.
These not only reinforce the stability of the shutter, but also provide a good place to insert screws for attaching to the house later.
Where you attach them to the back of the shutter doesn't matter, as long as it is not directly behind the horizontal 1x4's on the front.
Once again, attach these boards with wood glue followed by a nail gun.

It's time to add some color!
I'm using Rust-Oleum Painter's Touch because it has the primer built in.
I went with Apple Red because I thought it would really pop off of the white siding.
I applied 3 coats to the front of the shutters and 1 to the back.
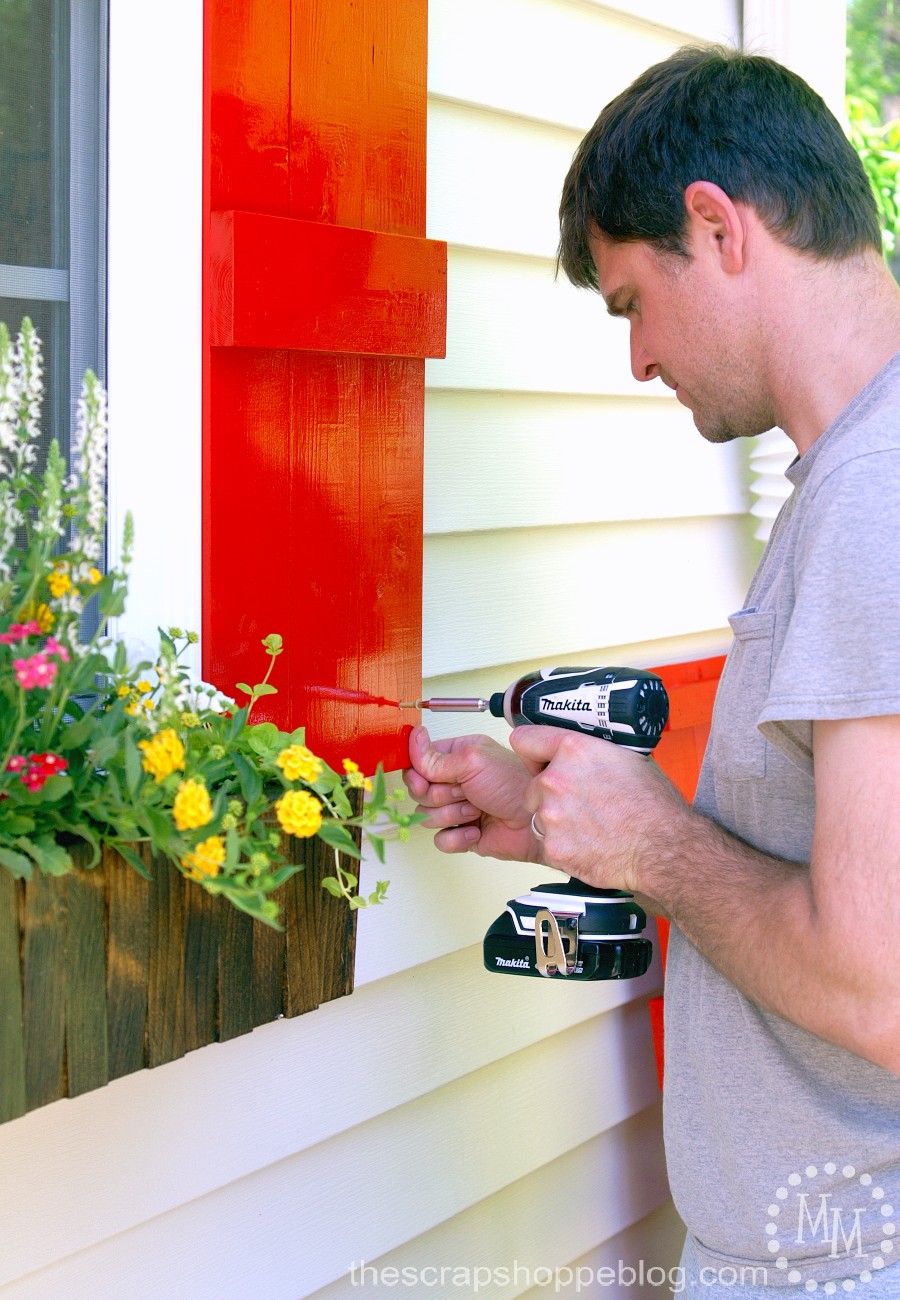
We held the shutters up to the side of the window where we wanted them to go then drilled pilot holes through the shutters (in the location of the 1x2's on the back) and into the building.
We then attached the shutters with long screws to the building.
One last thing, we went back and painted the screws red so that they are not noticeable.
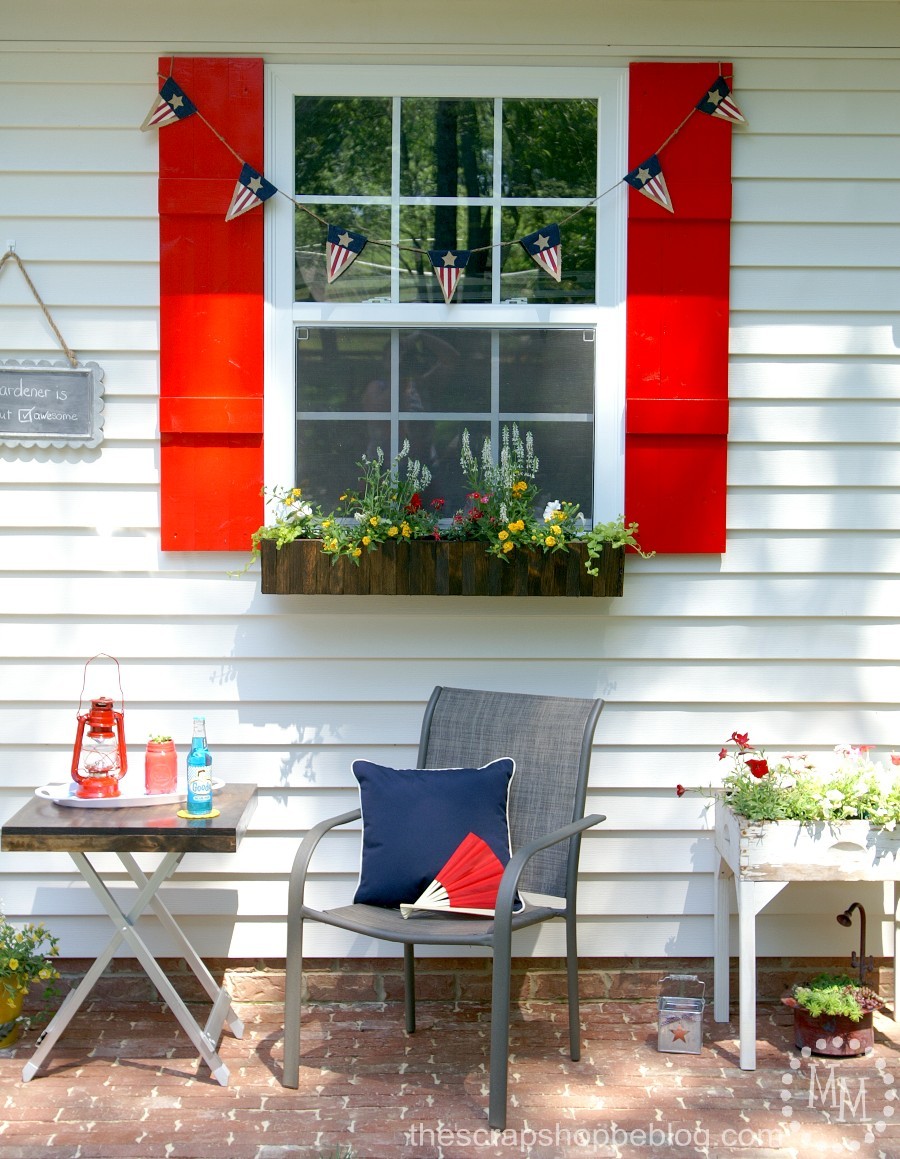
How is that for a pop of color? The DIY shutters are pretty dramatic, right?
If you're curious about the bunting hanging across the window, I found it at World Market.
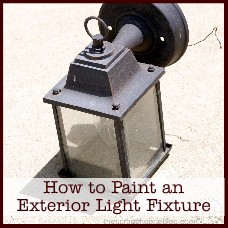
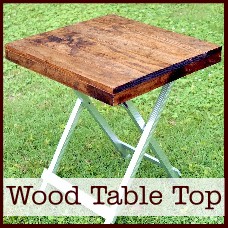
More tutorials to come from this patio makeover soon!
Including the tabletop, drawer planter, window box, and brick patio that can be seen here.
For the complete before and after of this space be sure to visit the potting shed makeover reveal!

>> See where I party! <<
Be sure to see all of the projects from the potting shed makeover!


What a great idea! These shutters give your shed so much added character! Thanks for sharing at Merry Monday - I'm going to feature your DIY shutters at next week's party. We'd love to have you link up with us again!
How cute! Thanks for sharing at Home Sweet Home!
Love it! Thanks for sharing at the To Grandma's House We Go DIY, Crafts, Recipes and More Wednesday Link Party! Pinned!
Pushed comment before I was done. I love the color you picked. I love house your outdoor space is so festive.
Thanks for sharing at the party. See you again soon. Pinned & shared.
Thank you so much for sharing at Share It One More Time... you are one of the features today...Tammy
I love this! I am pinning so I won't forget! Thanks for posting!
Love this! This is exactly the look I want for our house, and this looks like a totally doable DIY! Thanks for sharing at Fridays Unfolded! Featuring you this week 🙂
You did such a nice job on these! Thank you for linking up to the Bloggers Brags Pinterest Party. I am finally getting around to pinning your post to the Bloggers Brags Pinterest Board.
This looks great! Thanks for sharing at #HomeMattersParty
I love how this turned out!
Wow, what a transformation! Those shutters look fabulous. LOVE the color. 🙂 Please come share your blog posts over at the Home Matters Linky Party! We'd love to have you for a visit. The Door is OPEN. http://lifewithlorelai.com/2015/05/21/home-matters-linky-party-38/ 🙂
~Lorelai
Life With Lorelai
That really made a huge difference. Love it! Thanks for sharing at Thursday Favorite Things!
It's amazing what a difference just adding shutters can make! I love the bright red that you chose...it looks fabulous!!! Thanks for linking up with #ShareTheWealthSunday!
xoxo
Lisa
Your shutters are so pretty and add a perfect pop of color!
~Bonnie
Your shutters look amazing. I love that red...nice contrast.
Looks amazing with the wood shim flower box! Very inviting.
What a great project! We really need new shutters, thanks for the idea!
I've been wanting to do this, but all of the tutorials are so hard. THis one looks quite doable!! THanks!
Oh, I LOVE how these transform your outdoor space!
Your red shutters look so amazing! So colourful!
I love the red shutters!! That look awesome!!! So fun and bright!!
i love the brightly painted shutters! i have a large garage wall that faces my sunroom, so i try to jazz that up with plants and pots as much as i can, too.
Love the pop of color!
Love it! I pinned and stumbled it 🙂
Michele these are sooo pretty! I don't know that I would have thought of making my own shutters but yours are so cute and they look so easy to do! That red makes such a difference and really brightens everything up. LOVE it!