
Guest Blogger - Sandy from Sandy's Space
I'm so excited to have Sandy from Sandy's Space over on the blog today! She is the most amazing paper crafter. You wouldn't believe some of the things she creates! Take it away, Sandy!
~.~.~.~.~.~.~.~.~.~.~.~.~.~.~.~.~
Hi, this is Sandy Ang from sunny, little Singapore. I'm a crafter who loves card-making, paper construction and creating altered objects. Always interested in trying out new papercraft techniques and ideas. You will find more projects and tutorials on my blog.
Today I'm showing you how I created this perpetual calendar. It is meant to be mounted on the fridge or white board. It takes a little time and effort to make, but you will be repaid with a calendar that can be used year after year.

(12"x12" plus 3" onion dome top)
What you'll need :
2 sheets of 12"x12" paper, acrylic sheet, 31 number stickers, 31 small pictures, alphas to spell out the months, magnet
Instructions :
- Choose 31 pictures to represent the days of the month. I used these cute frames from scrapbooking paper but you can choose your favourite stickers.
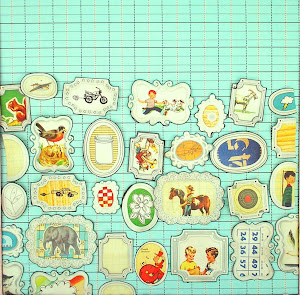
- Position them in four rows of 7 frames plus a last row of 3 frames.
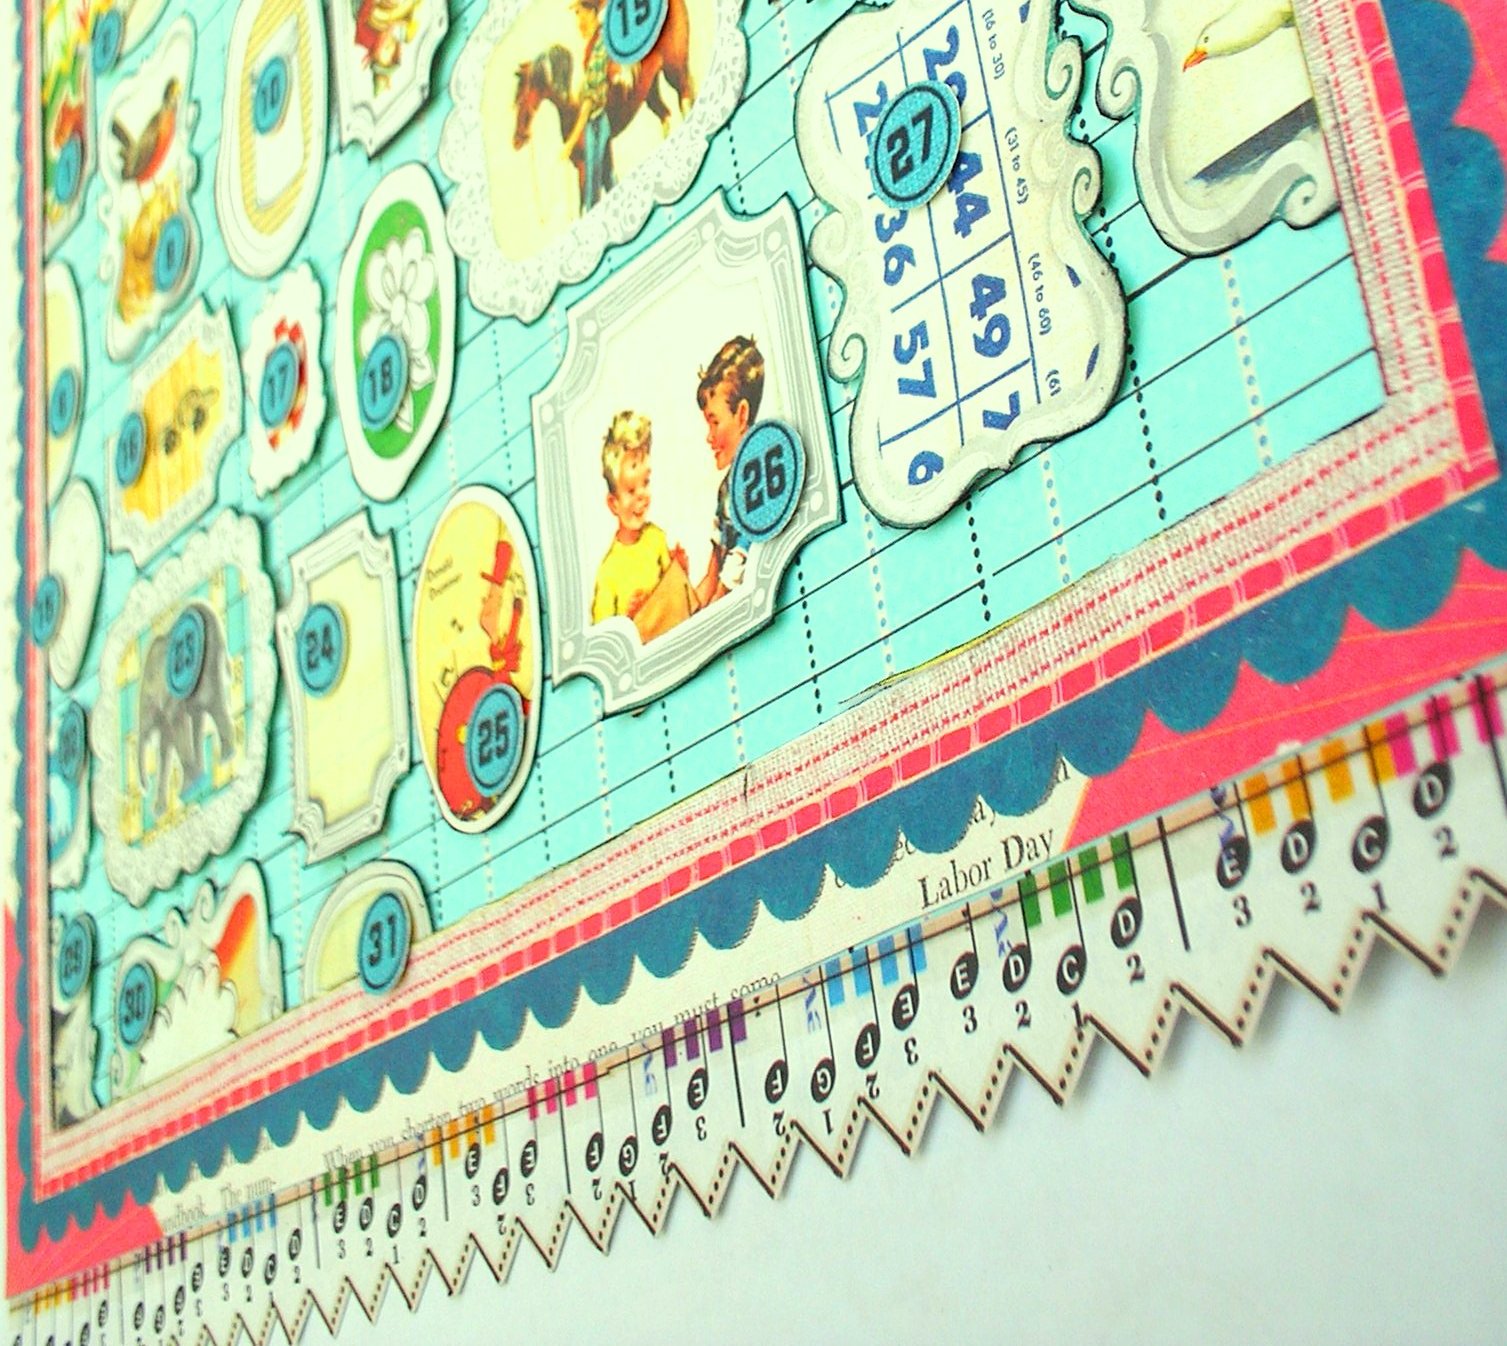
Glue onto a 12"x12" paper taking up the bottom ⅔rds space. - Add numbered stickers in a horizontal sequence onto your frames
- Cut a U-shape in a 4"x12" paper
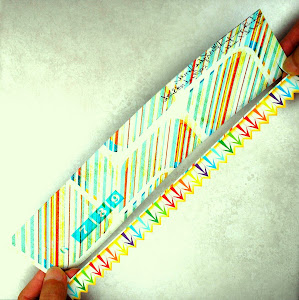
- Insert a 12"x 2" acrylic into the slit
- Glue onto the 12"x12" paper taking up the top ⅓rd space
Mount onto stiff cardboard and add magnets to the corners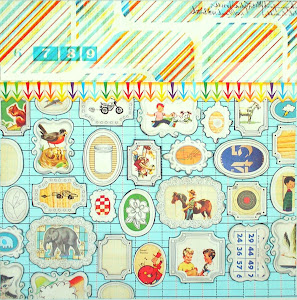
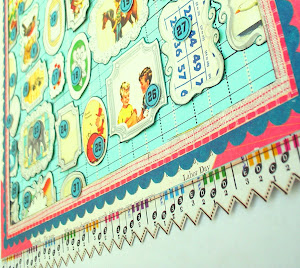
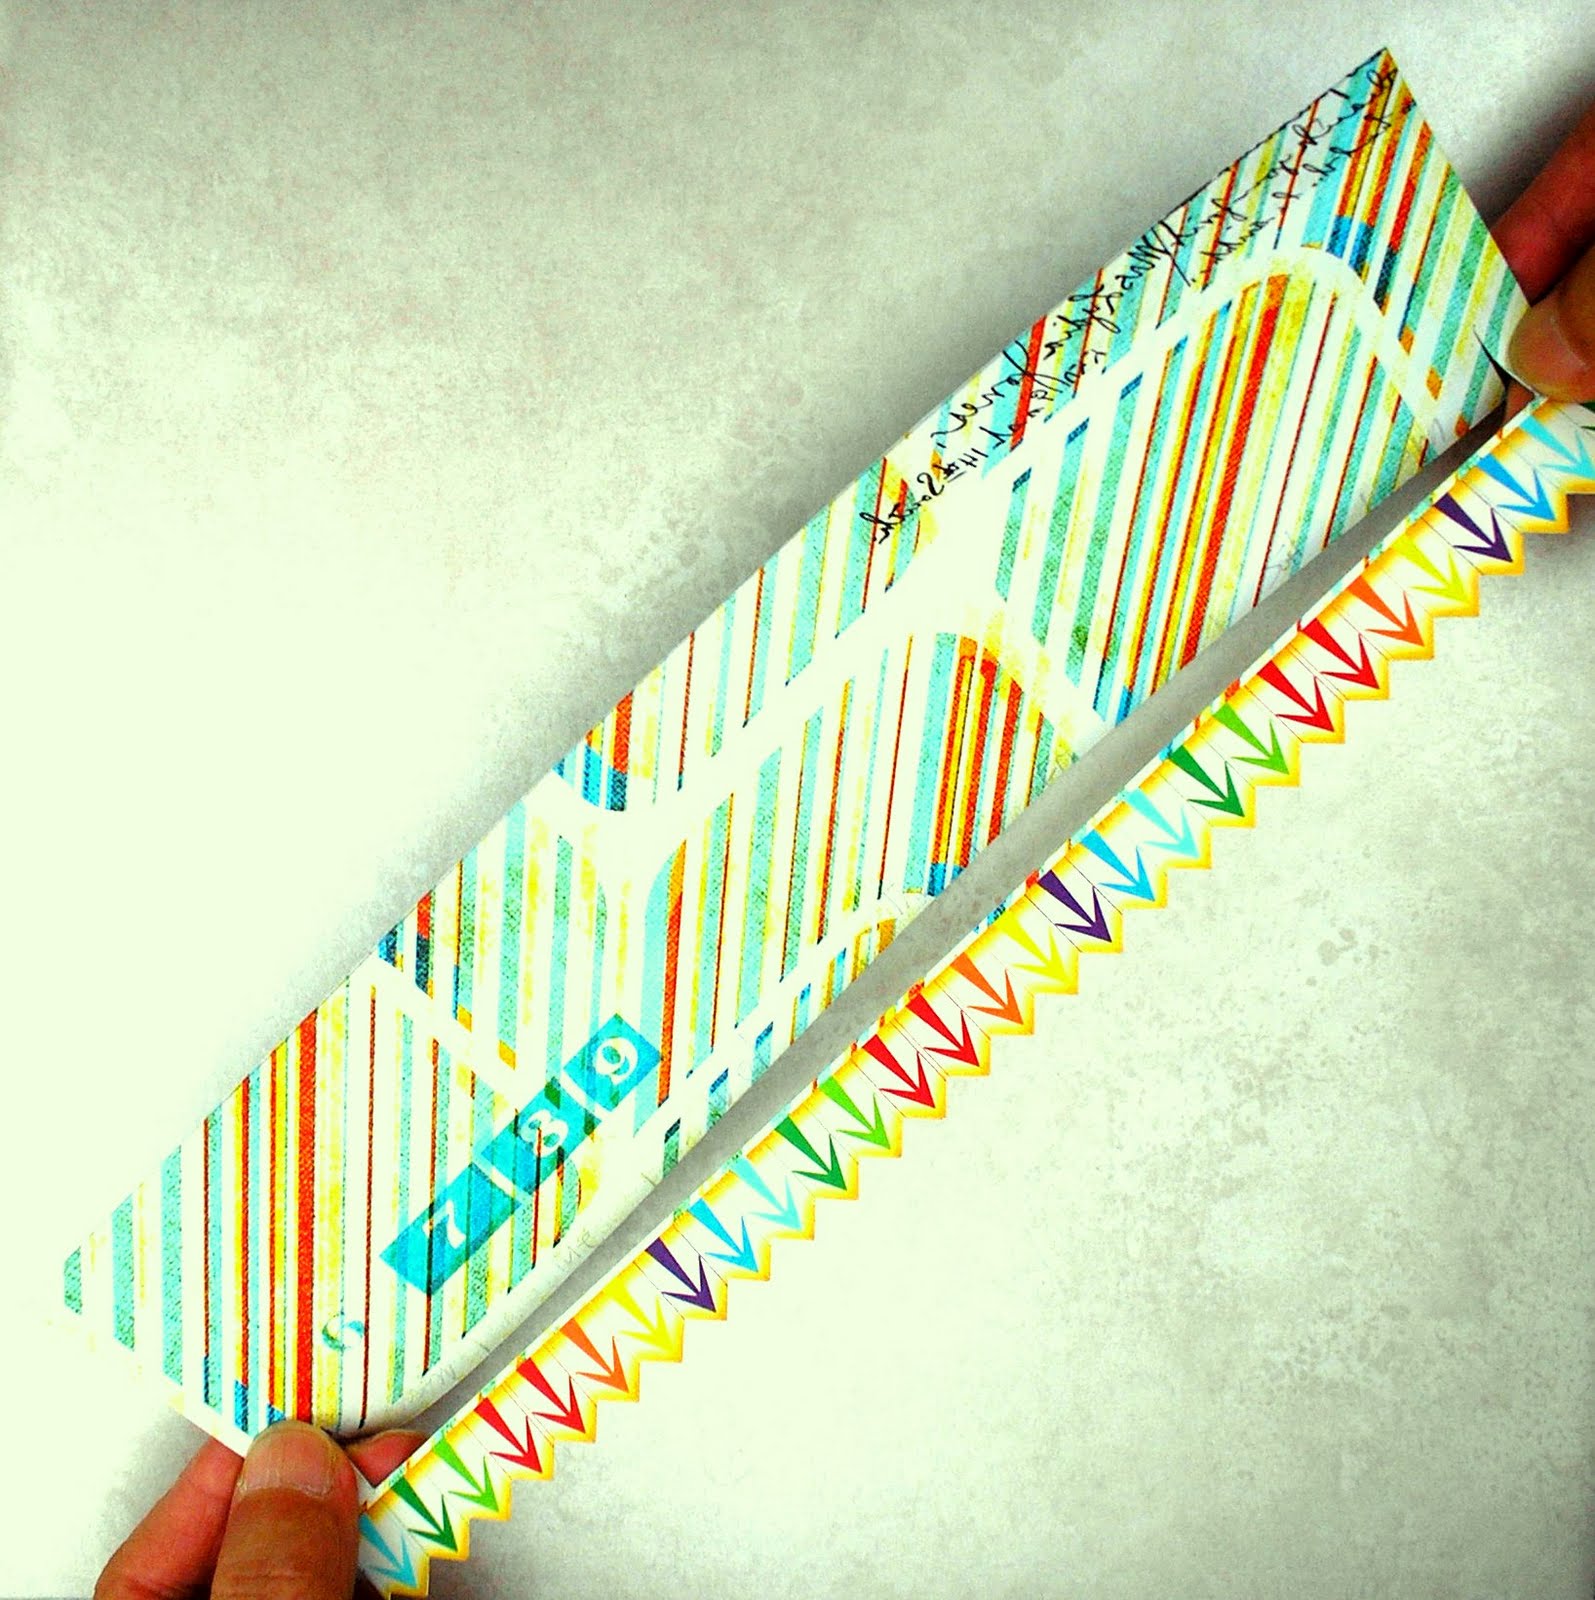
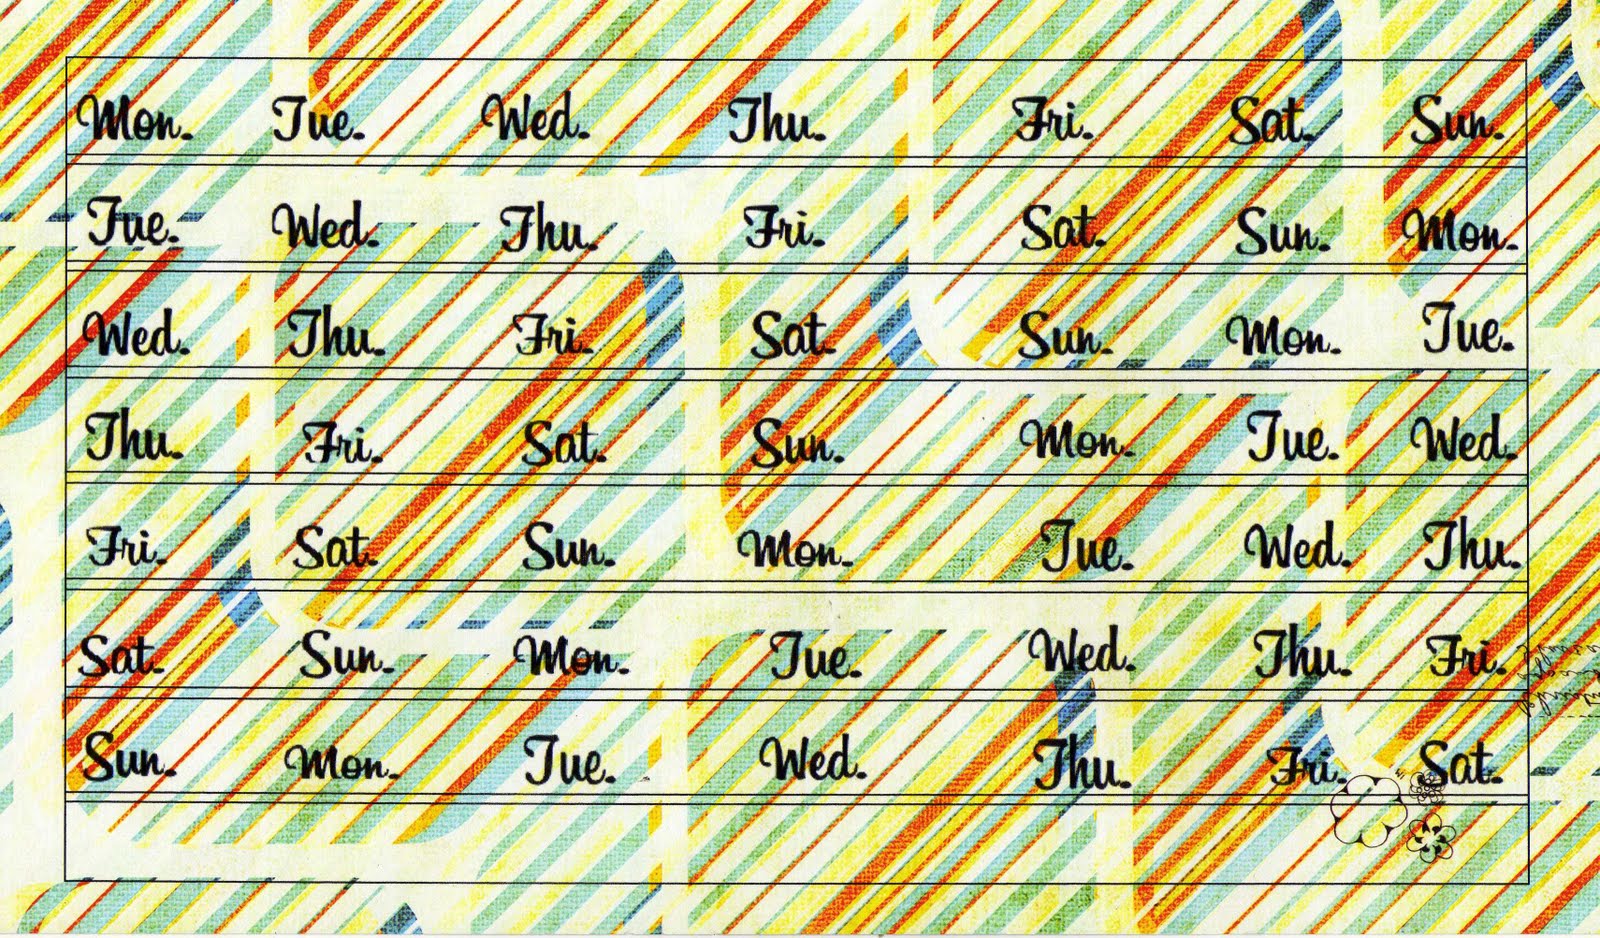
- Measure the spacing between your frames
Write your 'day of the week' tab according to the spacing
You will need a set of 7 tabs in the following sequence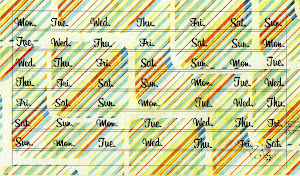
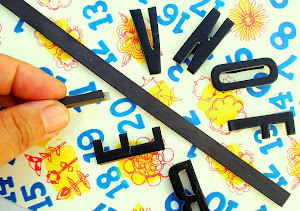
- Collect chipboard alphas to spell out the months and glue onto magnets
- Mount calendar onto a fridge or whiteboard
Place FEB alphas on for the month
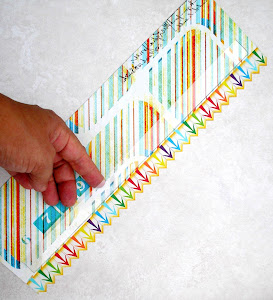
Slip the 2nd 'day of the week' tab into the acrylic pocket


And there you have it, a perpetual calendar. All you have to remember is to change the 'day of the week' and month alpha on the first of each month.
~.~.~.~.~.~.~.~.~.~.~.~.~.~.~.~.~
Absolutely fabulous, Sandy! Thank you so much for sharing this great tutorial. I love the idea of being able to use the same calendar again and again just by slightly tweaking it.
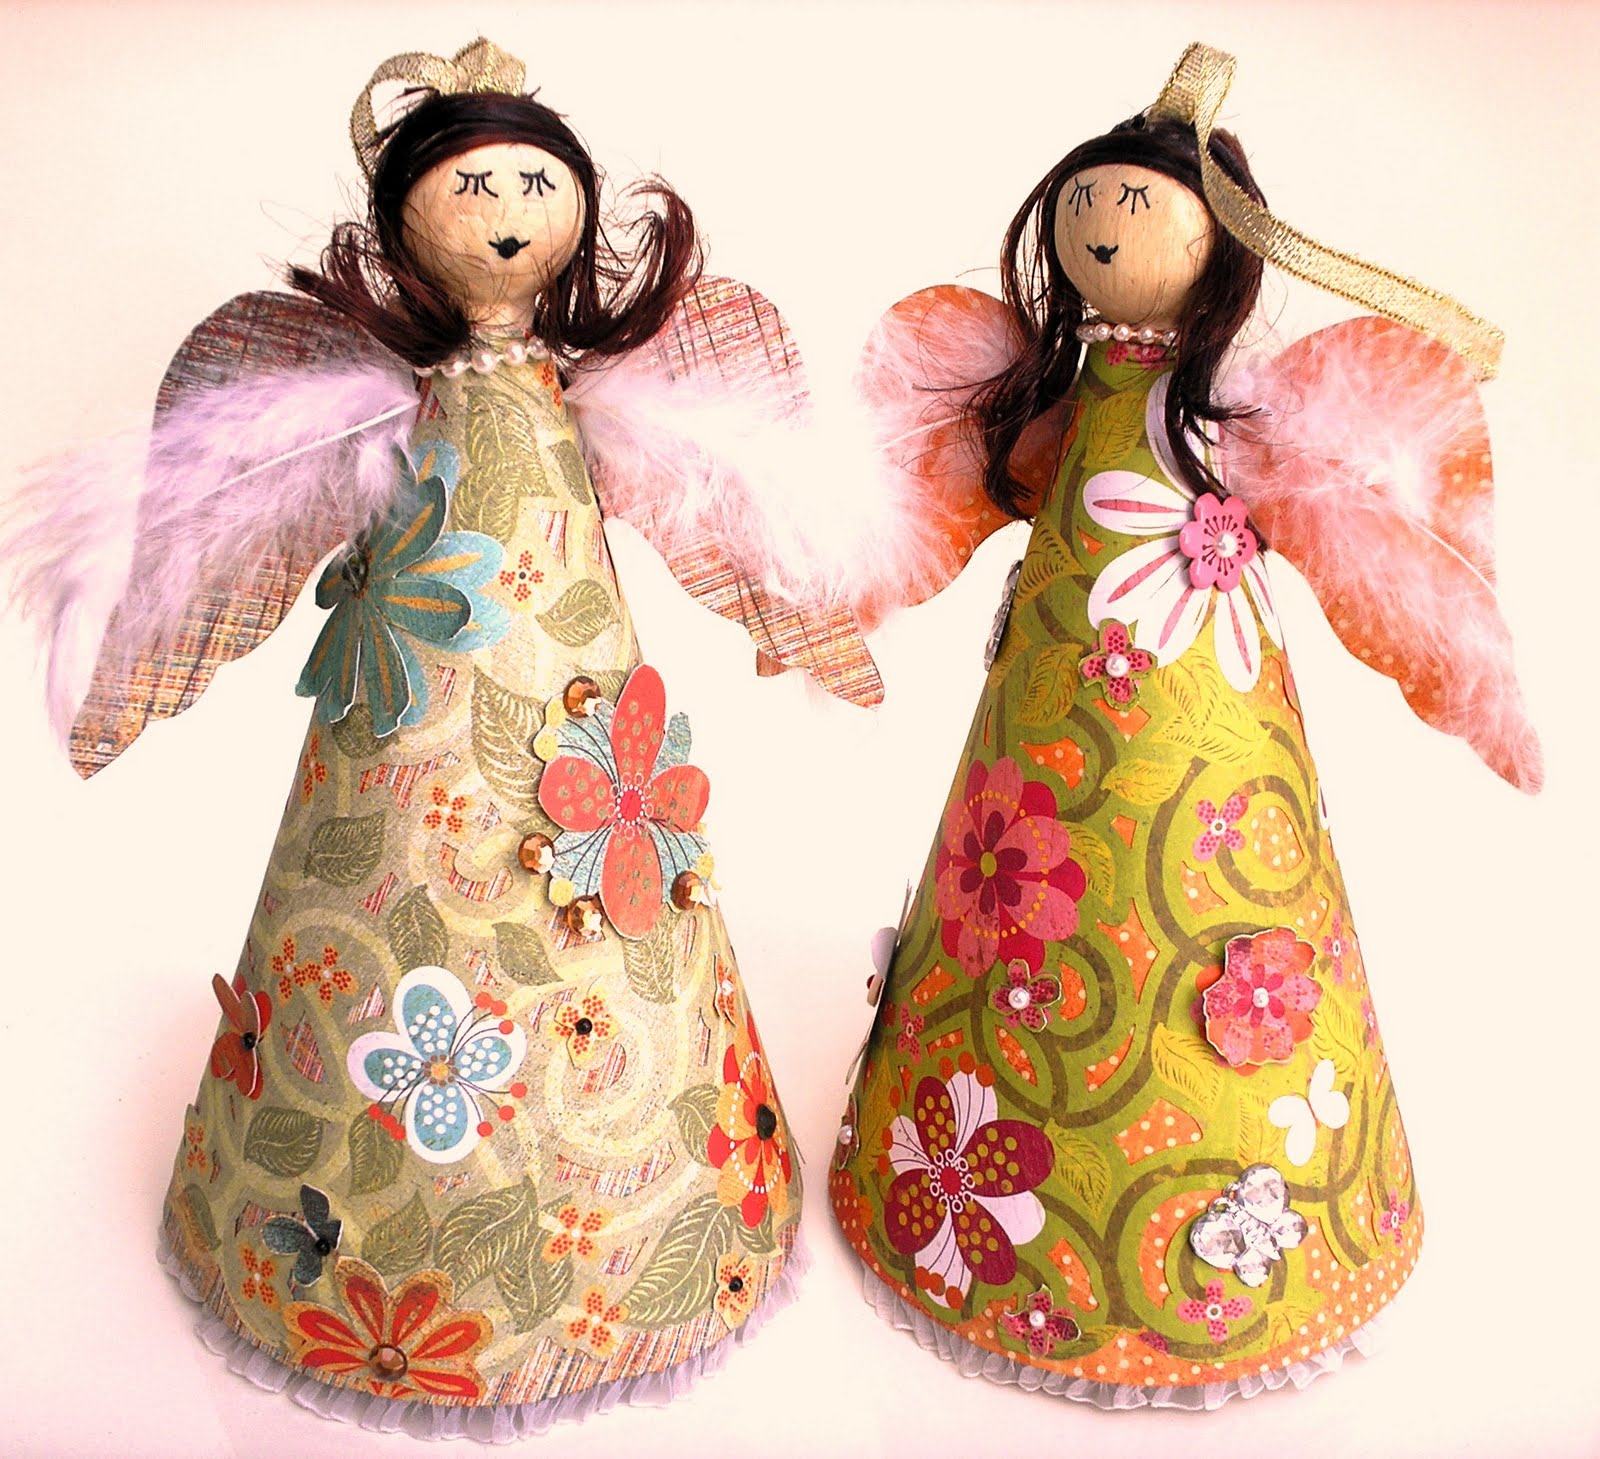
You may remember Sandy's Tropical Angels that she linked up during the Homemade Christmas Gifts portion of my Christmas party last month. They were a big hit! And she has a great tutorial for making them on her blog.


Wow, what a darling project!!!
That is an adorable calendar! I love the bright colors and patterns. Thank you for the tutorial!
Wow - that is really impressive!! I love the papers she used. Really cute!
Thanks Jen, you're much too kind!
Thanks Michle for being so generous and having me guest on your blog.
Such a cute project!
Oh, and I wanted to let you know I gave you an award on my blog. You can check it out here:
http://framefanatic.blogspot.com/2011/01/stylish-blogger-award.html