Cut ~10 vanilla beans lengthwise, but don't cut completely through, just enough to open one side and expose the seeds inside the bean.
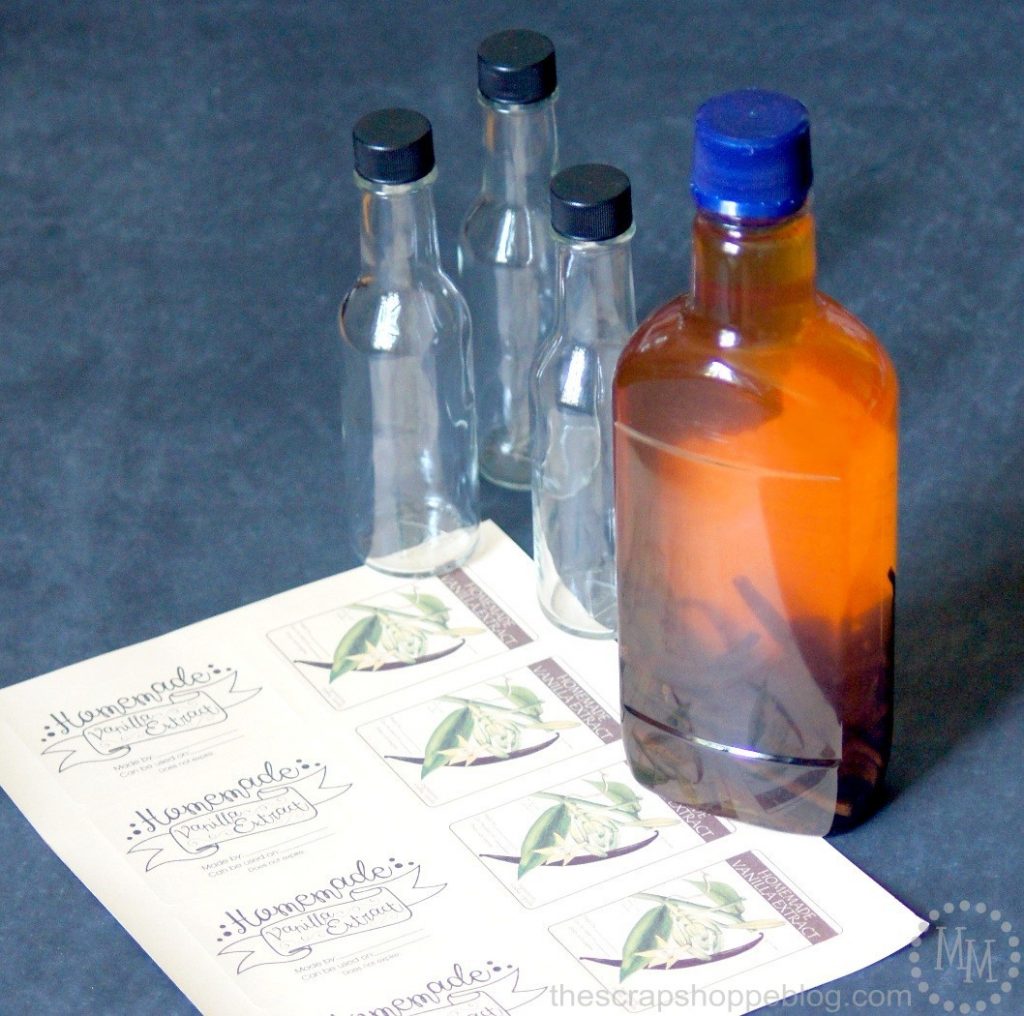
Add beans to the vodka bottle.
Shake and store in a dry, dark space.
Go back and shake the bottle every couple of days.
I am keeping mine in the pantry.
It's dark and dry and every time I open the door to get something I see the bottle and give it a little shake.
It's easy to remember since I still see it when working in the kitchen.
The vanilla extra will be ready to use in about 12 weeks, but the flavor intensifies the longer the beans soak in the vodka so you really can't overdo the process.
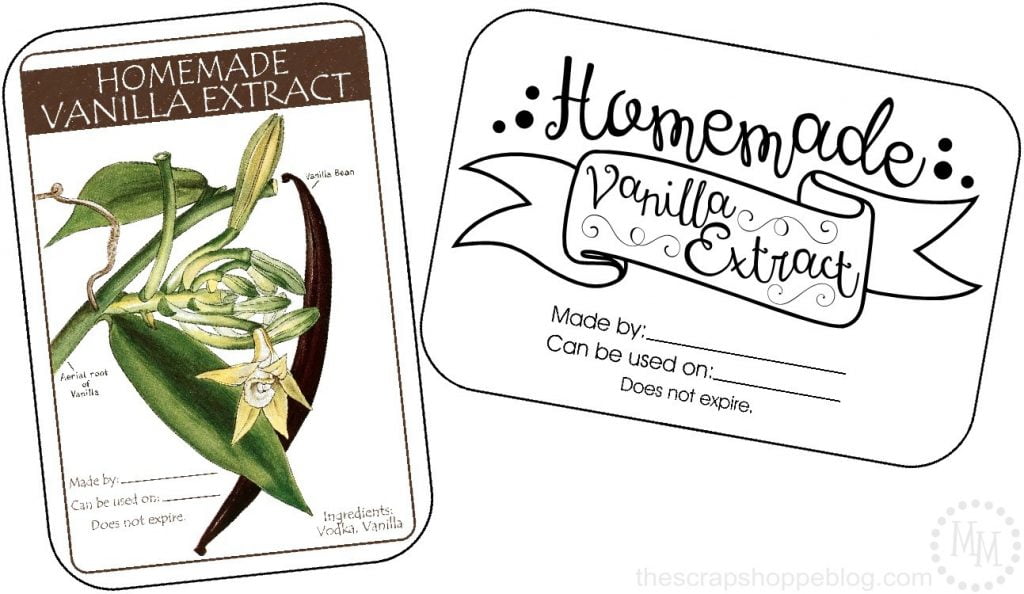
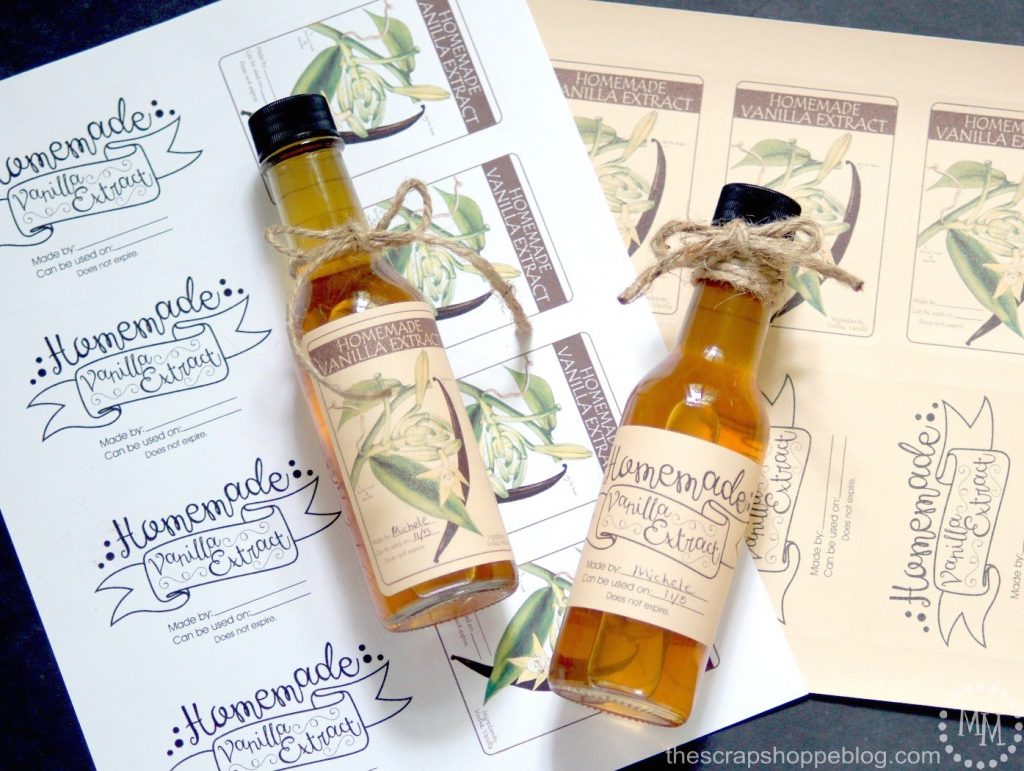
Once you're ready to put your gifts together, pour extract into bottles (affiliate link), cap, and apply the homemade vanilla extract label.
See "things to note" at the end of the post on how to create individual bottle of extract from the beginning rather than starting with one large bottle.
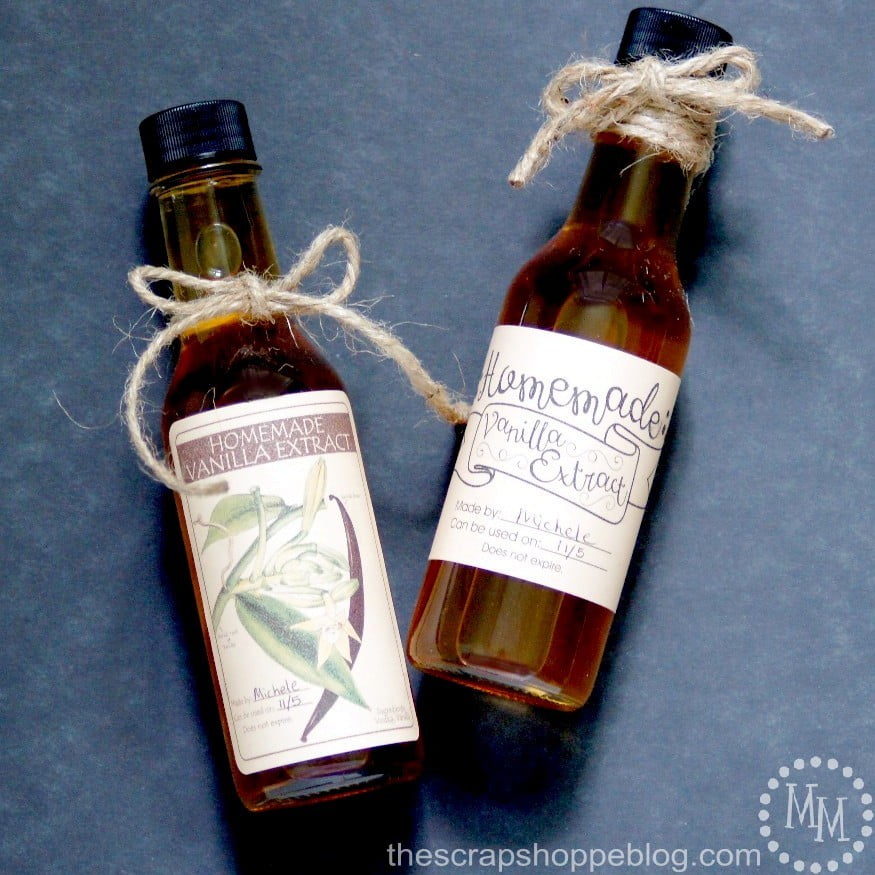
You can dress up the bottle, and it's ready to be presented as a gift!
These make great stocking stuffers in small bottles.
Things to note:
You can put sliced vanilla beans directly into the bottles you will give away (these are 5 oz. bottles so add 2-3 beans each).
You will need to shake each bottle periodically while the extract "cures."
You will also need to either
1) remove the beans prior to gifting the extract or
2) let people know that once the liquid level dips below the beans that they will need to be removed as they could start to mold.
To test if your homemade vanilla extract is ready to use, add a few of drops to a glass of milk and stir.
If you can taste the vanilla in the milk, you are all set!
You may be able to smell the vanilla in the extract, but the alcohol smell will still dominate, just like in store bought extract.
I do hope you will try this homemade vanilla extract recipe & labels!
This post was originally shared on the Online Labels blog.