I'm very excited to have one of my favorite bloggy friends share a fabulous tutorial with us today! She doesn't require much introduction, and you've probably seen her spectacular knock offs all over the blogosphere!
***
Hello Scrap Shoppe Readers!!
I am so excited to be here today as part of Michele's Homemade Christmas series!!
I love doing homemade gifts - I just wish I started a little earlier!! I am definitely going to be making gifts like mad over the next few weeks. 🙂
I also really love doing jewelry knockoffs - they make great gifts! It's so fun to give a designer version of something that I made myself - and saved a ton of money on too!
I was browsing Pinterest last week and came across a great bracelet that led me to a shop I'd never heard of, Sundance.
They have some fabulous jewelry! I fell in love with a little gem and knew that it would make a great homemade gift.
It's quick, easy, and you can customize it with any color you want!
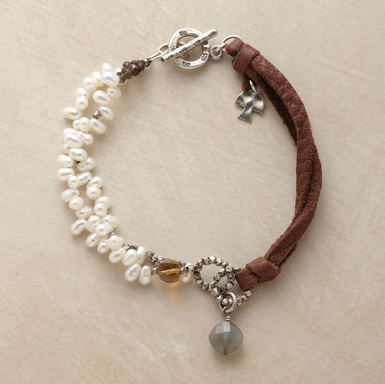
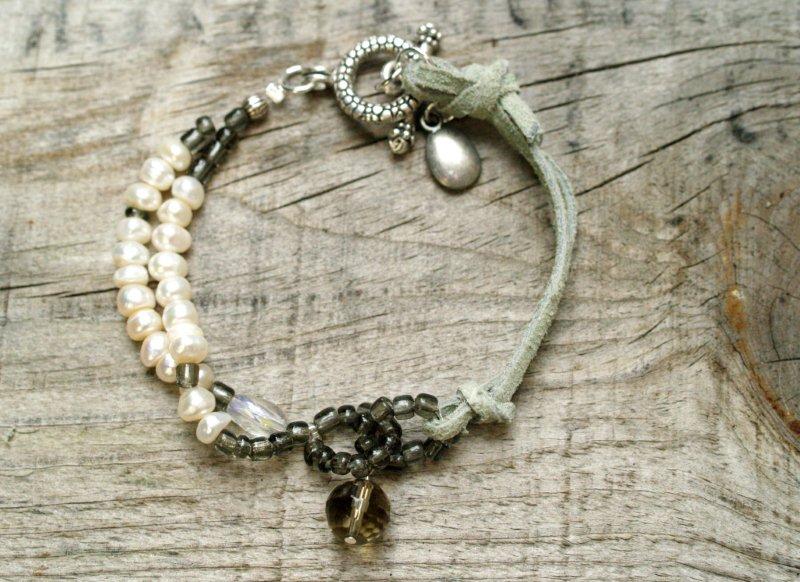
Sundance calls it the Two Part Harmony Bracelet - it's a great blend of beads and leather.
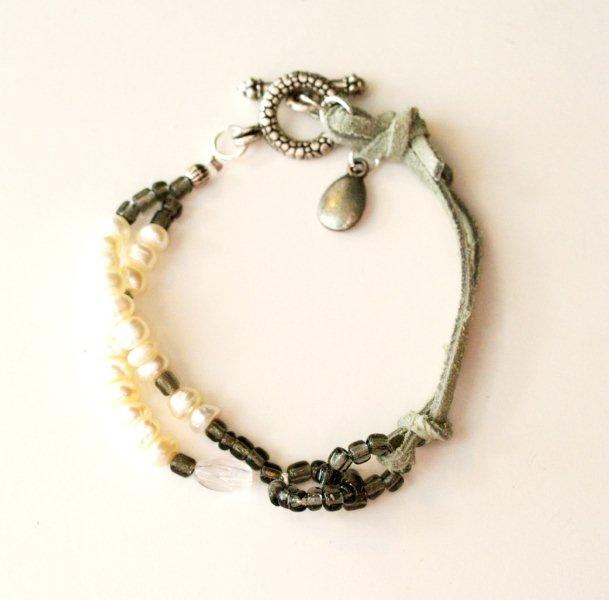
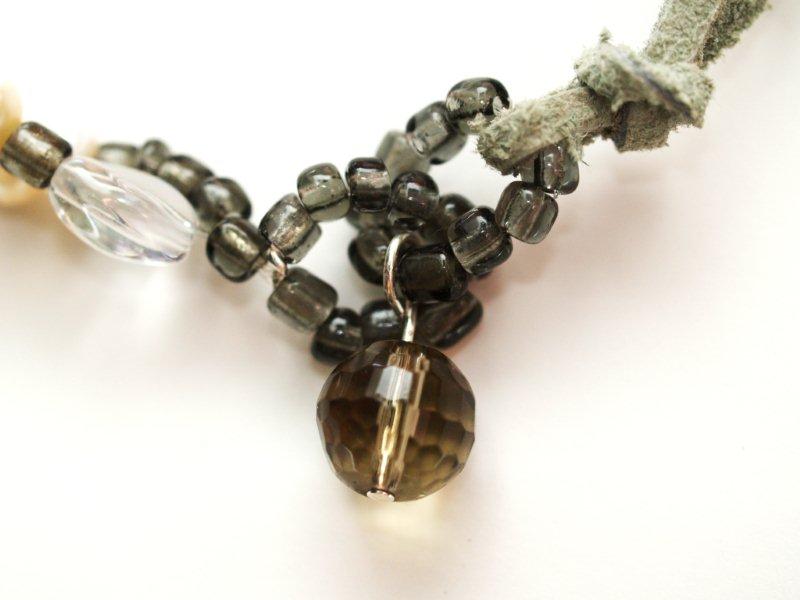
Here's my version:
And here's the Sundance version:
Here's what you'll need to make your own:
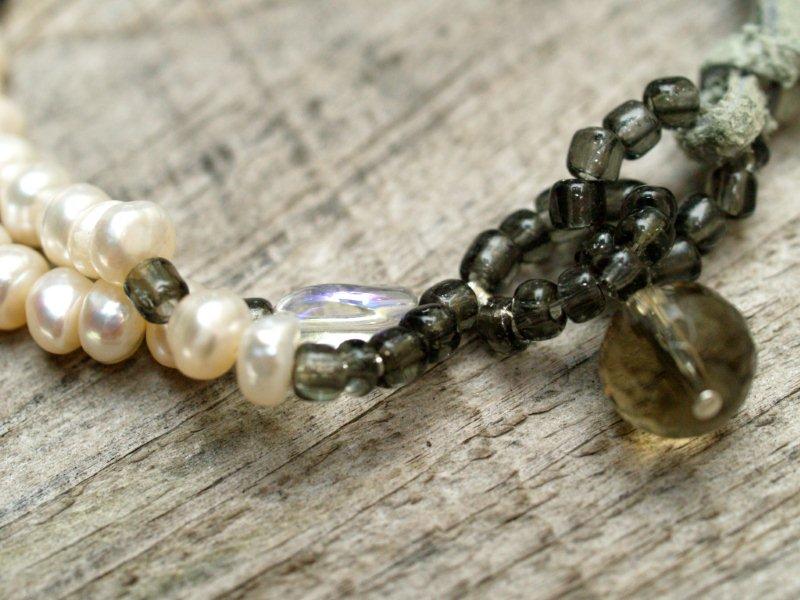
Assortment of pearls and beads
(mine are seed beads and small pearls, as well as a large bead for the center and a silver charm for the back)
Leather - about 14"
cording
crimp beads
1 head pin
jump rings
toggle closure
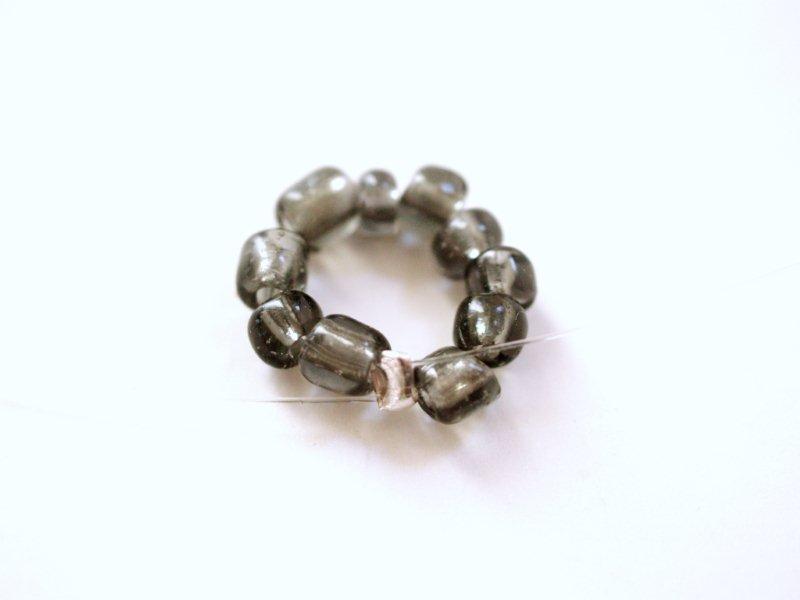
Cut a 12" strand of cording. Thread 1 ¼" of seed beads onto the cording. Thread a crimp bead on one end.
Thread the other end of the cording through the jump ring, going the other direction. Pull until the beads have formed a circle.
Flatten the crimp bead with flat nosed pliers.
Begin threading beads and pearls onto the two strands.
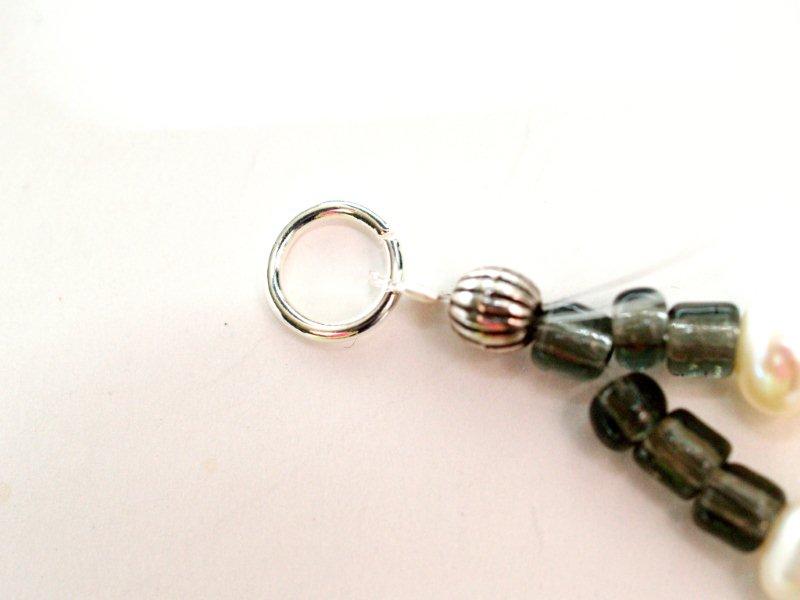
Add beads until the strands each measure almost 3". Add one more seed bead to one strand of cording. Feed the other strand of cording through this bead as well, so they both bass through.
Add a crimp bead after this and loop both strands around a jump ring. Loop both strands back through the cording and crimp the bead flat with your pliers.
Feed the cording strands back through several of the beads, then trim the ends.
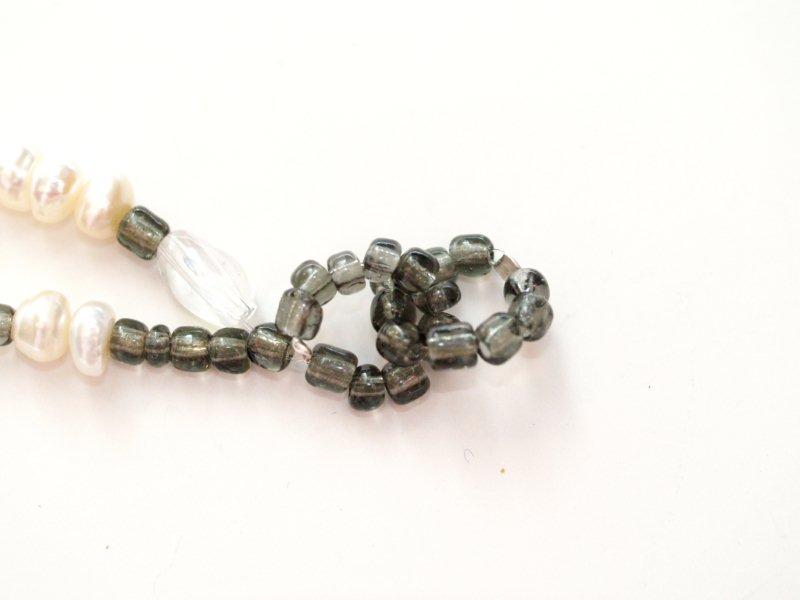
Cut another piece of cording, about 3" long.
Thread 1 ¼" of seed beads onto the center. Add a crimp bead to one side. Thread the other side through the loop you made on the original strand.
Make a loop through the crimp bead with these beads like you did before.
Flatten the crimp bead and weave the ends of the cording back through a few beads. Trim the ends.
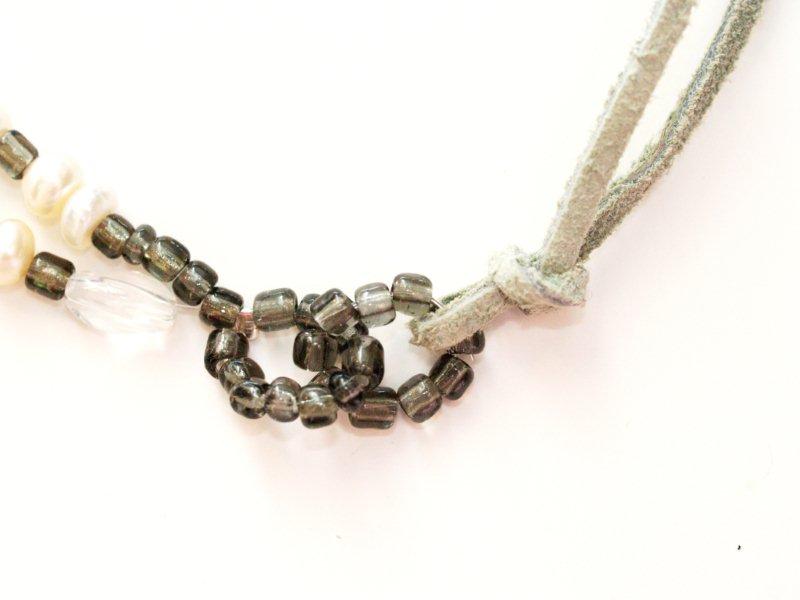
Cut a 14" piece of leather cording. This is more than we need, but it's easier to make the knots if you have a little extra length to work with.
Loop the leather through the bead circle you just made. Tie a knot in the cording just below the loop.
Loop both the cut ends of the leather through a jump ring. Knot the leather on the other side of the jump ring. The length of leather should be about 3".
(Check the length or your bracelet at this point and lengthen or shorten the leather if you need to)
Trim the ends of the leather.
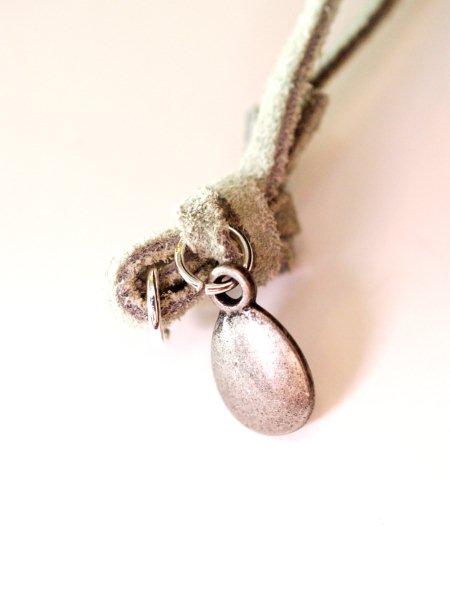
Add a bead or little charm to a jump ring. Add the jump ring to one of the loops in the leather knot.
Add the toggle pieces to each end of the bracelet.
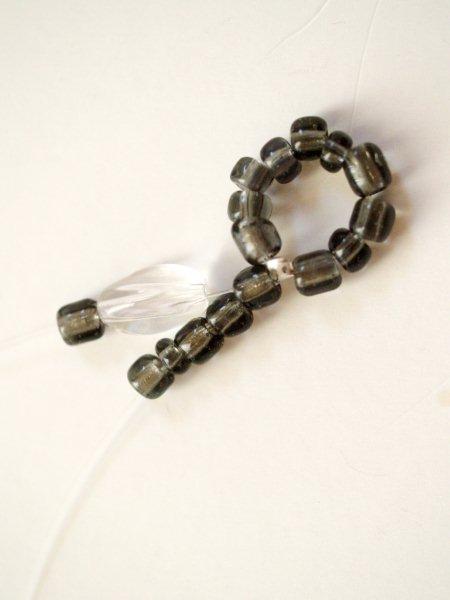
Add a larger bead to a head pin. Make a loop above the head pin. Add this loop to one of the seed bead circles in the center of the bracelet.
That finishes your bracelet!!
Fun right? And - you saved money - the designer version of this is $95!!

I hope you like it! 🙂
I'd love for you to stop by Flamingo Toes! You can check out my other Tutorials here - there are more jewelry ideas and some other fun things - maybe you'll find more gift ideas!
Thanks sooo much Michele for including me in this great series!
***
Thank you, Bev! I don't think I'll ever get tired of your amazing jewelry finds and the great tutorials you provide so we can duplicate them at a fraction of the cost. 🙂


How do you tie the knot in the leather?
This is absolutely fabulous!!! I love the colors you used too!!!!
I love the colors Bev used! So pretty:)
I can always count on Bev for a super FAB jewlery tutorial!
That is SUCH a pretty bracelet! I would be thrilled to receive that as a gift!
LOVE this bracelet! Leave it to the jewelry knock off queen 😉 Beautiful work Bev!
Great Looking!!
Thanks so much for including me in the series Michele!! 🙂
Gorgeous! I love the colors more than the original inspiration!