
Christmas Coasters {Homemade Christmas Gifts}


First, a little about me...
My name is Kara and I am a wife to my best friend and a mommy to a sassy and sweet 3 year old. I am also the blogger behind Mine for the Making where I share crafts, tutorials, recipes, home improvement projects, mommy adventures, printables, frugal decorating, organizational tips, and ideas for teaching. I also make lovely handmade jewelry and hair accessories to sell in my shop. I am a former teacher recently turned stay-at-home-mom and am totally loving it, but am constantly looking for ways to keep busy! Thank goodness for blogland and Pinterest, right? : )

{Supplies}
-Transfer paper (optional)
{How To}
1. Using the Silhouette design studio, I designed what I wanted each of my coasters to look like.

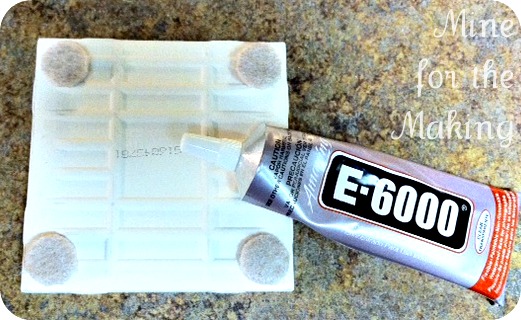
2. I wiped down the tiles and added felt pads to the bottom four corners of each tile, adhering with E6000.
3. After your designs are cut in the vinyl, transfer the vinyl to the tiles and smooth.
4. Using your sponge brush, put several coats of Mod Podge over the top of your tiles, making sure each coat dries before applying another.
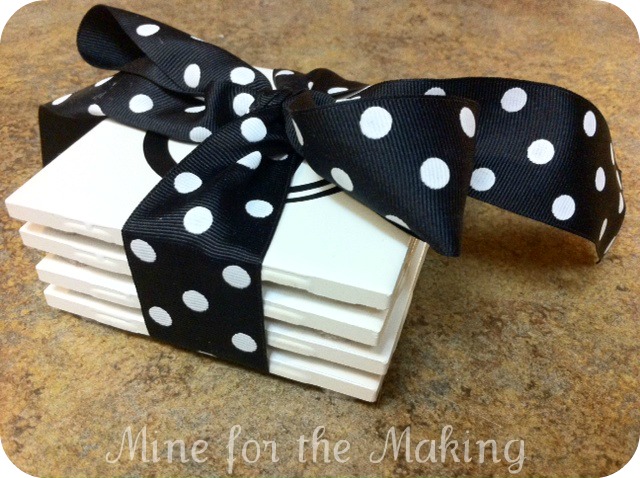
5. Tie a ribbon around your coaster stack and call it a gift!
Happy Holiday Crafting, friends!
Meet up with me on my blog, Facebook, or Pinterest.

Those are so cute Kara!!! I must get one of these Silhouettes and some vinyl...I am missing out on so much fun:-)
This is a fabulous idea! I never thought about using vinyl.
I LOVE coaster ideas! These are great!!
Thanks for having me over Michele!
These are soooo cute Kara!! I love the images you chose! What a great gift idea!
Super cute!! Great gift idea, but I may steal it for my own home too;)