
Fall Harvest Wreath & Centerpiece
Create a stunning Fall Harvest Wreath and matching centerpiece that will wow your guests!
This post contains affiliate links.

Hello! My name is Michele, and I am a wreath addict (see all my wreath here!).
Not that you didn't already know that but...
This is the 3rd wreath I've made in the last 2 months.
And there will be more, my friends. There will. be. more.
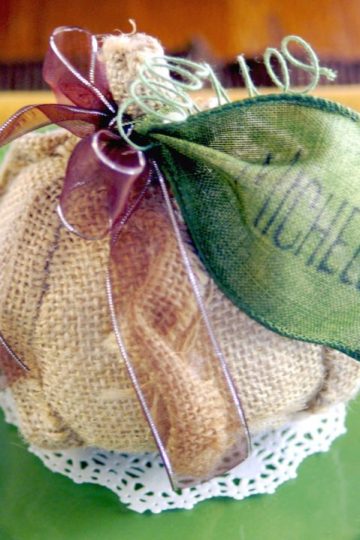
I've been a little obsessed with the burlap bubble wreaths.
They are just stunning and so diverse as to how they can be decorated.
I decided it was time to try and make one.
And, guess what? It's really not as hard as I thought it would be!
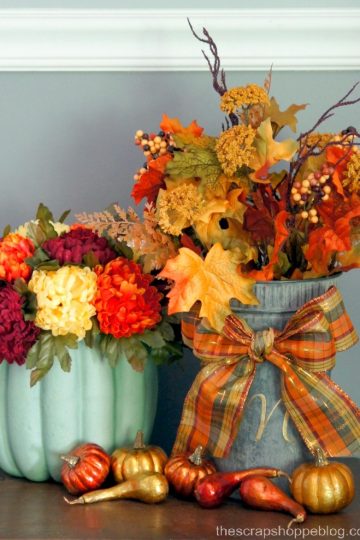
I found the most amazing gold leaf pumpkins and gourds at Old Time Pottery to be the main focus of the wreath.
And, bonus, this project is a twofer!
There are plenty of supplies leftover from the fall harvest rreath to create a great fall harvest centerpiece.
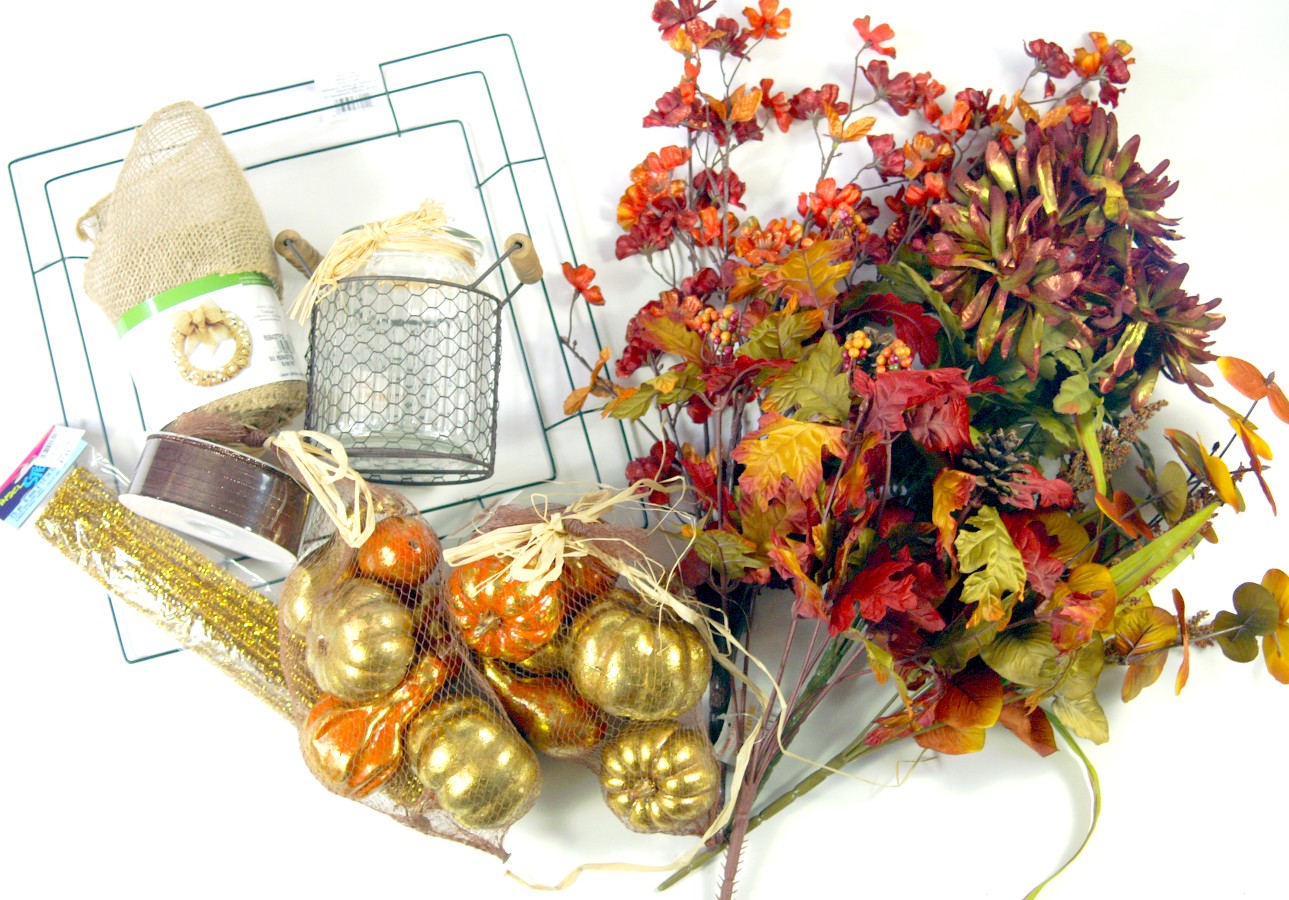
Fall Harvest Wreath & Centerpiece Supplies:

Rustic vase
Small foam pumpkins
Assorted fall bushes
Scissors
Wire cutters
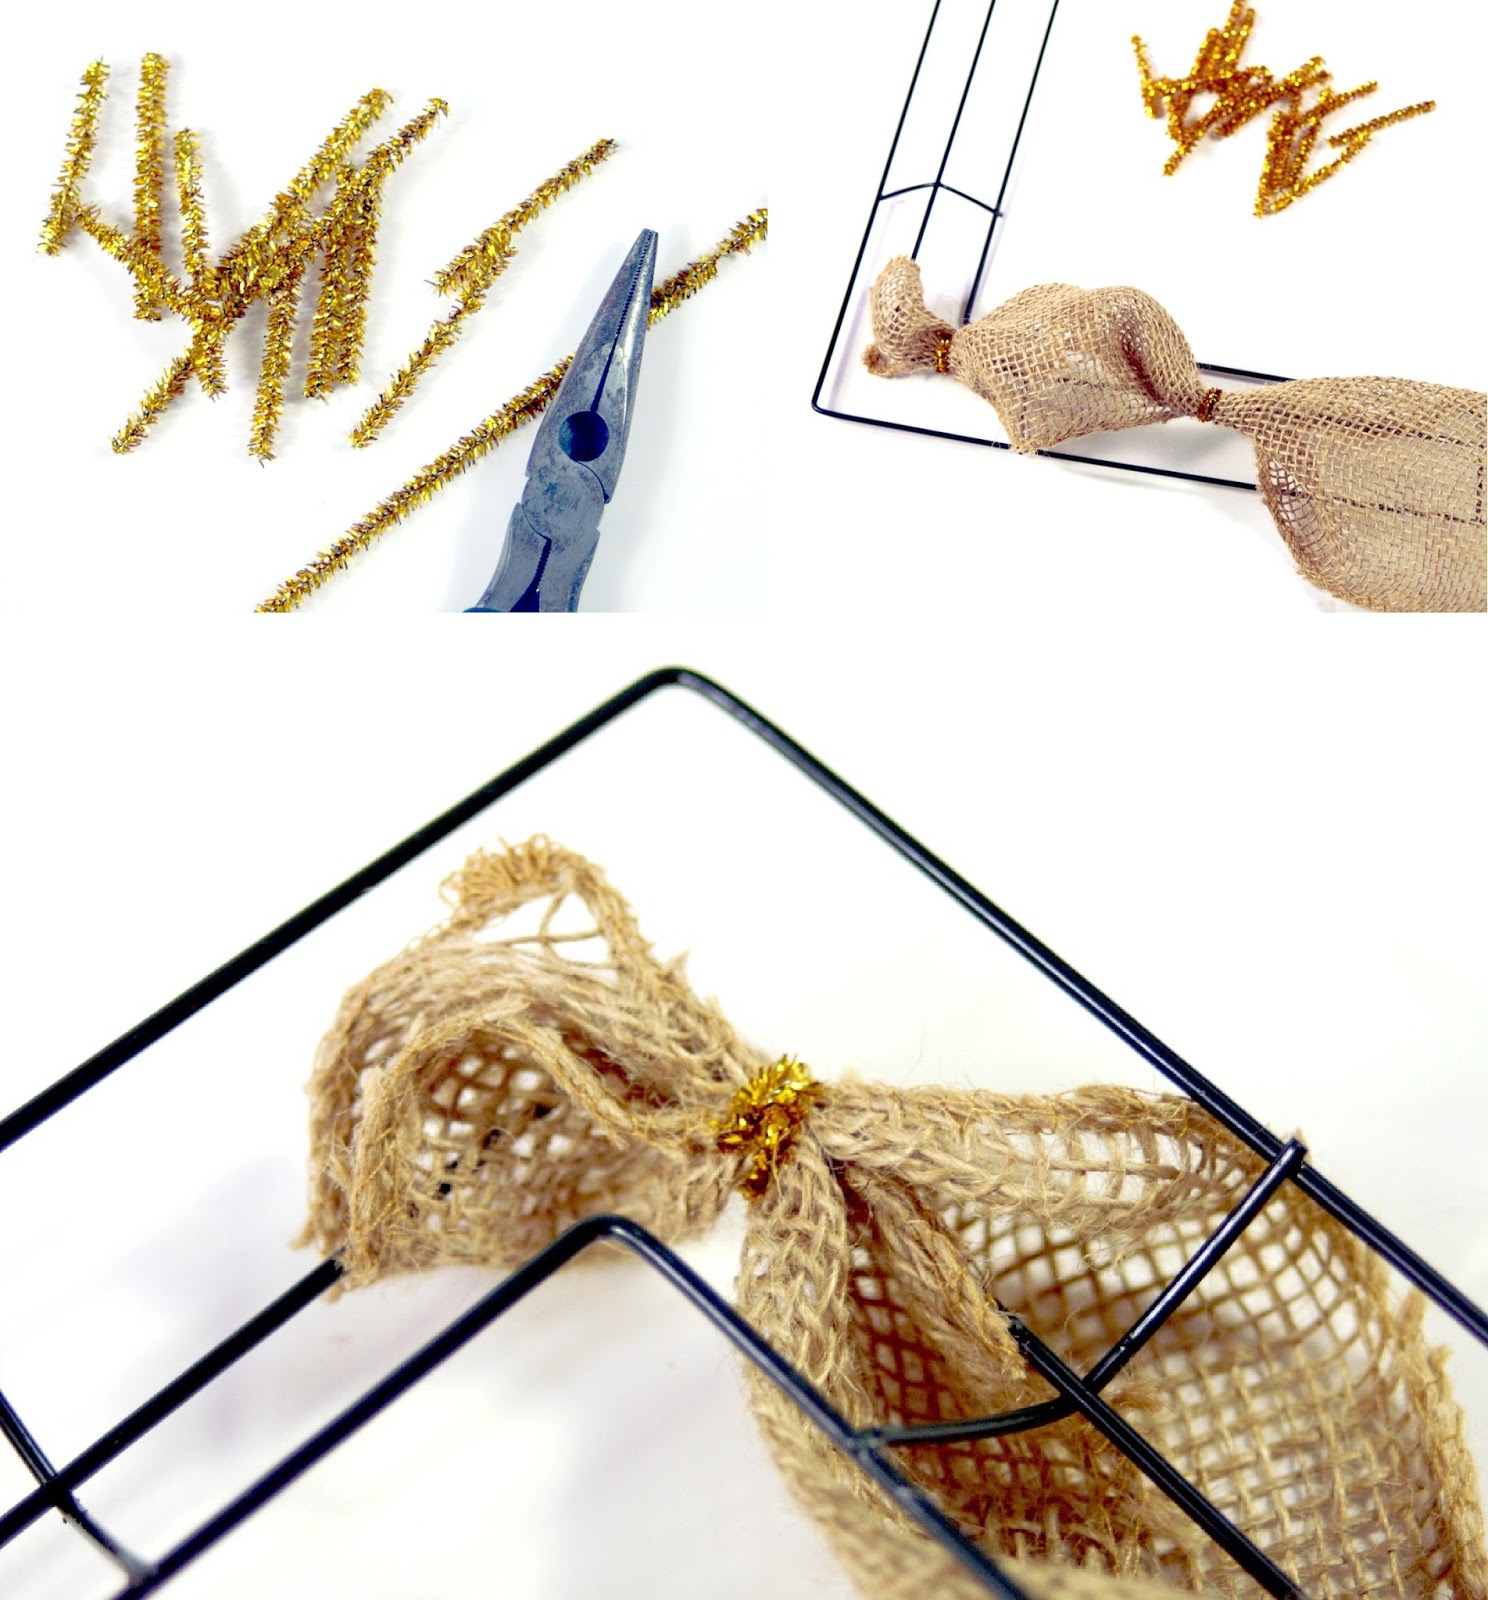
Fall Harvest Wreath Directions: Adding Burlap

Cut 9 of the gold tinsel stems into ~1 ½" pieces using the wire cutters.
You should be able to get 6 pieces per stem.
Gather the end of the burlap ribbon and place it in the corner of the wreath frame.
Attach it to the frame by wrapping the burlap with a piece of the cut tinsel stem.
"Bubble" up the burlap then gather and attach the next section of ribbon with a tinsel stem.
Continue on around the wreath frame.

Start with the middle row of the wreath frame.
Next fill out the outside of the frame, creating the "bubbles" adjacent to the bubbles in the middle row.
Finish by filling out the interior of the frame, bubbling as you did the outer row of the frame.
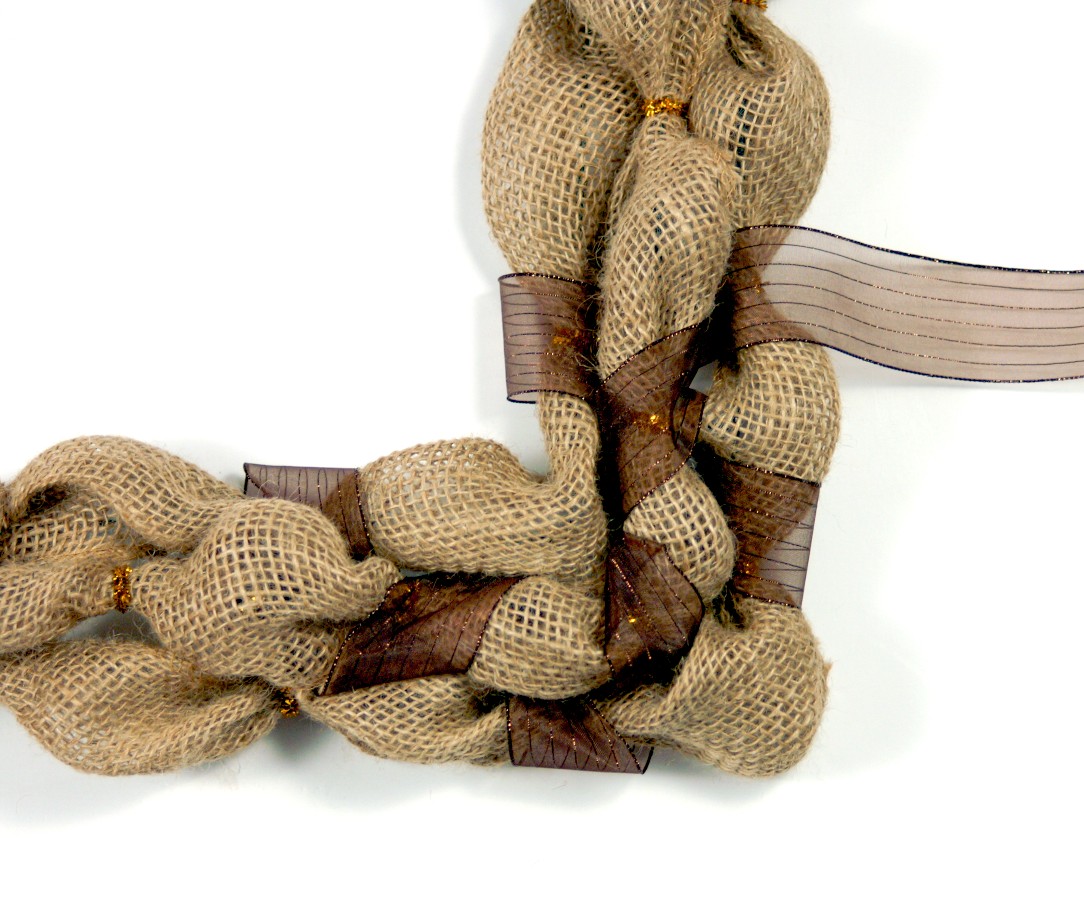
Fall Harvest Wreath Directions: Adding Brown Ribbon
Cut off a long strip of then brown ribbon and tie one end to the back of the frame.
Thread the ribbon through the wreath between the bubbles to cover the gold tinsel.
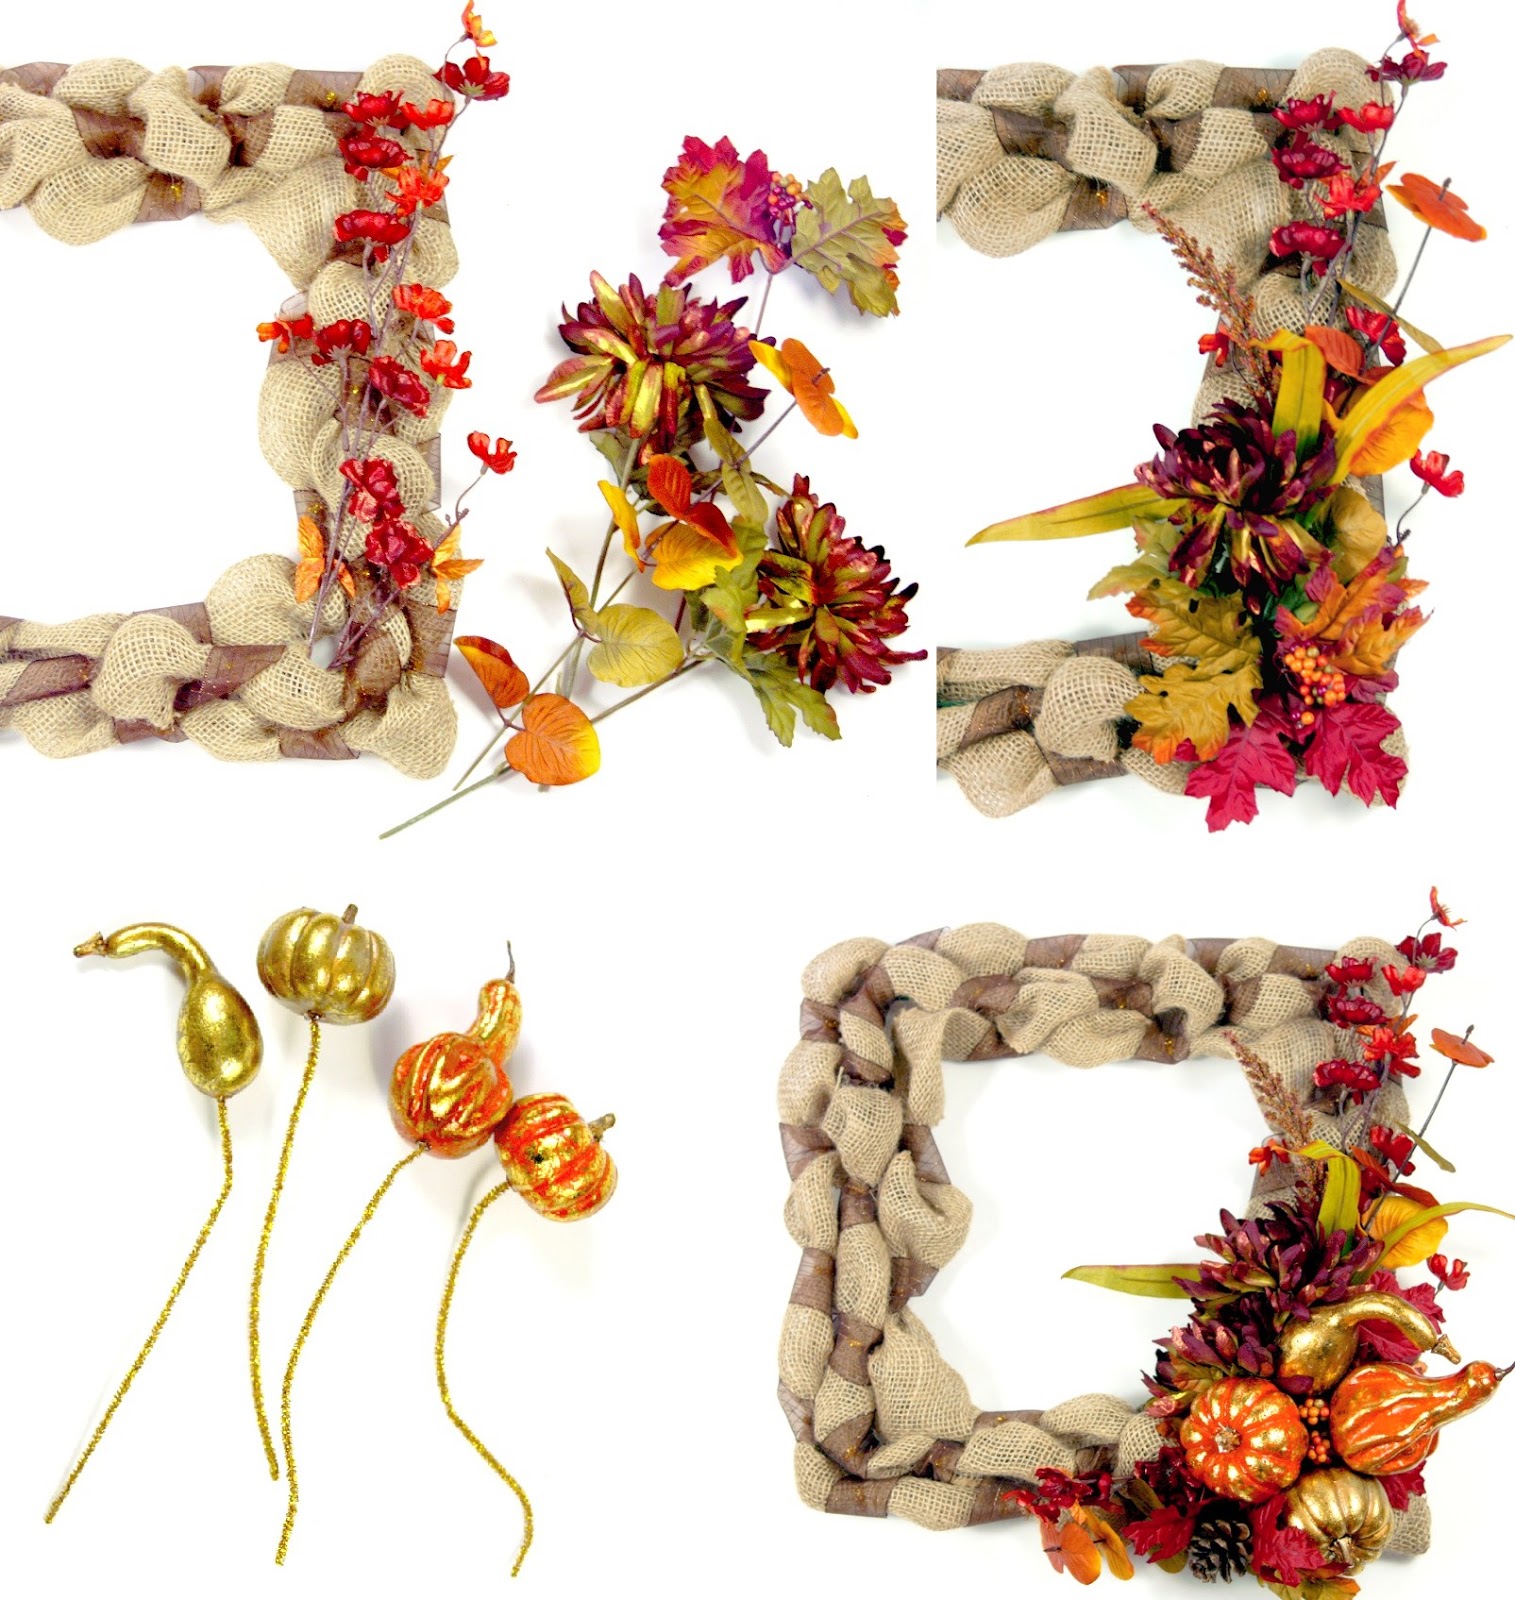
Fall Harvest Wreath Directions: Adding Stems
Cut stems from the floral bushes and begin laying them on the wreath to get an idea of placement.
Place the tallest stems in the back.
Once you know how you want to the stems to look, go back and hot glue them in place.
To attach the pumpkins and gourds, stick a tinsel stem through the base then add a dot of hot glue where the stem and gourd meet to be sure the stem won't come out.
Place the pumpkins on the wreath, pushing the stems through to the back of the wreath then wrap the stems around the frame to hold in place.

Tie a loop of the brown ribbon to the frame in the back of the wreath for hanging.
I'm loving this look of a frame within a frame for my fall mantel.
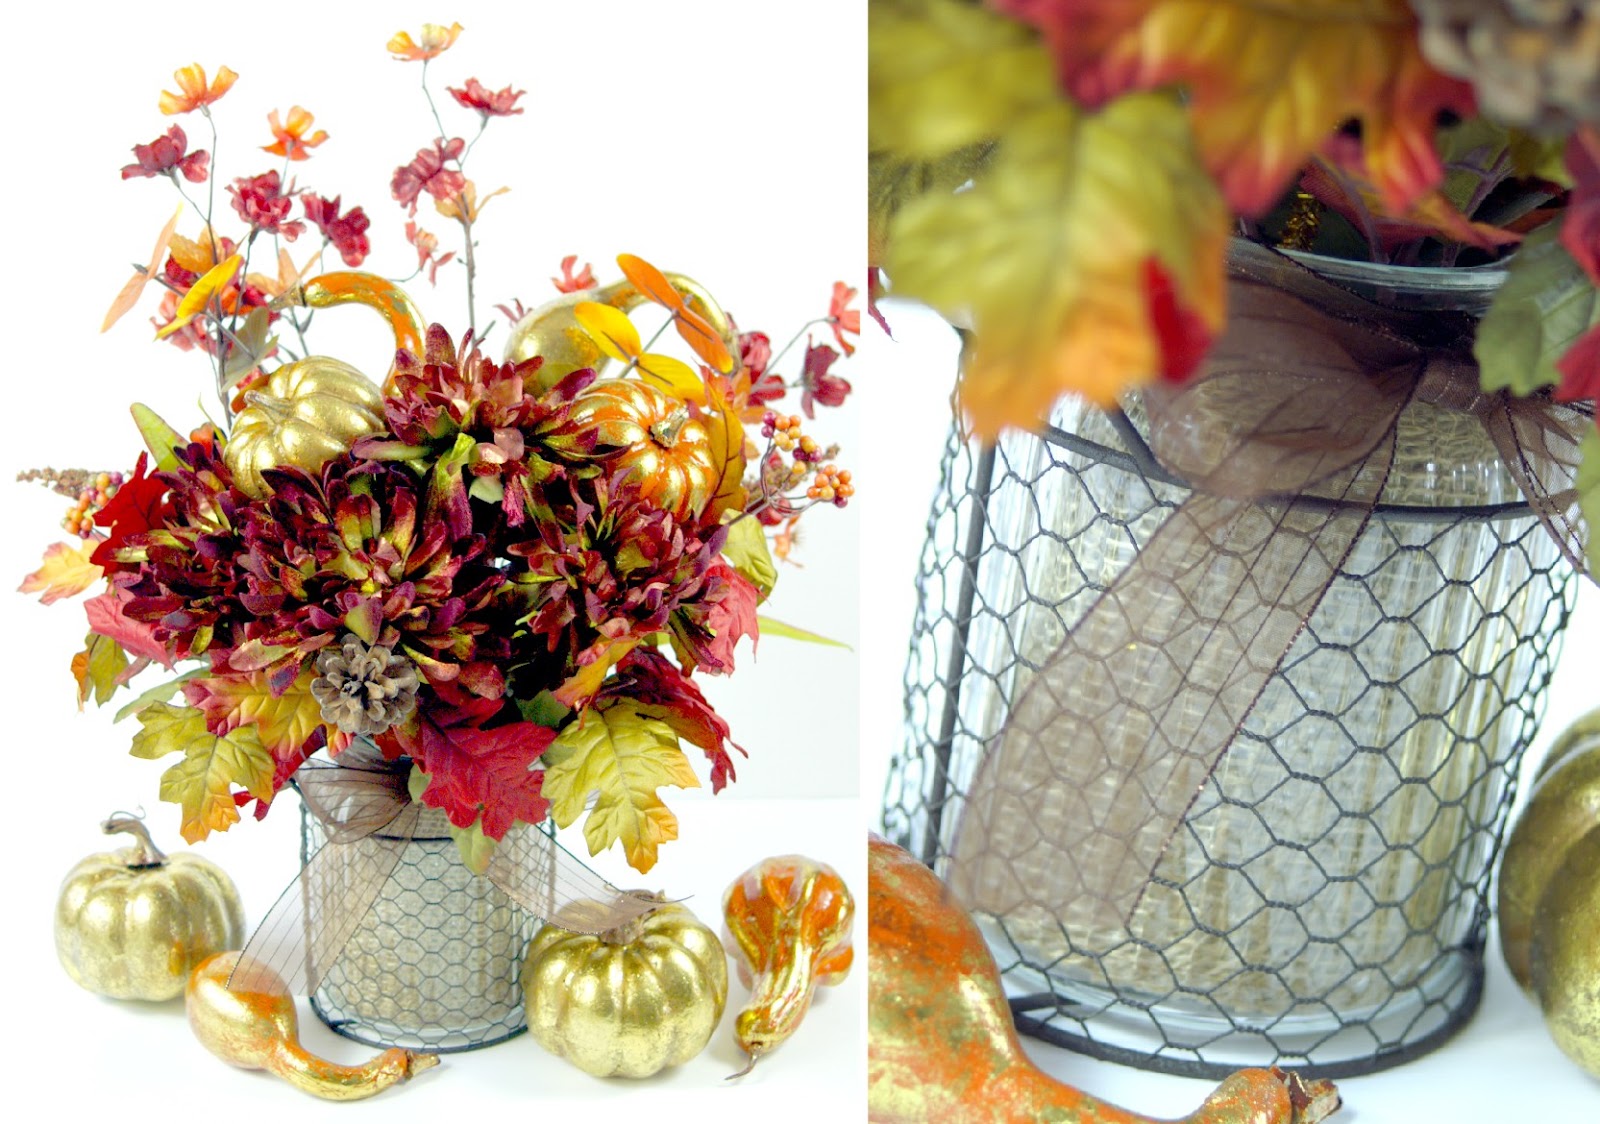
Fall Harvest Centerpiece

There will be several stems left over from the wreath perfect for creating a vase centerpiece.
To avoid seeing all of the fake stems in the vase I placed a length of the burlap ribbon inside the glass.
Arrange the leftover stems in to the vase.
The gold leaf pumpkins and gourds can also be incorporated into the centerpiece by turning them into picks as we did with the wreath (insert the tinsel stems into the bottom).
The hurricane comes with raffia wrapped around the top, but I chose to remove it and tie on a bow with the brown ribbon.

And there we have a beautiful fall centerpiece for only the extra cost of the vase!
Happy fall, y'all!

>> See where I party! <<
This post was originally shared November, 2014.
really cute and unique square shape. thank you for sharing it with us at #OMGHWW
Such a pretty Fall wreath! I love the asymmetrical style and unique square shape.
I especially like the square shape! Very unusual.
I love the square wreath! I need to make a new fall wreath, thanks for the inspiration. Thanks for sharing at #HomeMattersParty
Wow, these turned out so pretty. I really like the square wreath hung with the frame.
Very cute! I have a round one I made a few years ago and it sits naked. I really need to decorate it! Thanks for sharing with SYC.
hugs,
Jann
I love the square shaped wreath, and centerpiece. Thanks for sharing at the inspiration spotlight party @DearCreatives pinned and sharing.
This is such a gorgeous wreath. I love every part of it and it's square shape is something different! I'd love for you to share your project at the Make Life Pretty Monday link party beginning tonight at 8 pm! Hope to see you there!
Very pretty! I love how the fall foliage looks against the burlap. Great contrast!
This is awesome!! I love how pretty it all is. I also may have been a little hypnotized by the fun gif you added. That was genius! I have had one of these on my to do list forever too - now I can't wait to make one!
Hello, my name is Terry and I too am a wreath addict! I also just made a square wreath though at first not for fall but it has turned out to be the case...hard not to do as the fall season influences. I adore your new square wreath and have not seen the square form before...but I wasn't looking either. Great look, thanks for doing such an awesome job on the tutorial!
Beautiful Wreath! I love that it is square too!
so pretty!! I love making wreaths too. Pinning this one.. the colors are gorgeous!!!
SO SO pretty!!!!
Gorgeous Michele! I've wanted to do a square wreath for Christmas and didn't even know they made square frames!