
Homemade Christmas Decor - The Answer is Chocolate

Ho Ho Ho Scrap Shoppers. This is Carol again ( yes you can call me Christmas Carol...fought it as a child; embraced it as an adult) from "The Answer Is Chocolate". I must not have left chocolatey fingerprints everywhere last time because Michele has invited me back for another guest post! I've been decking my halls and posting my trees (yes that's right, plural, I need help) on my blog and Michele saw something on one of them and that's what I'm going to show you today! Embossed Metal Ornaments:
Then decide what you want your ornament to be and find an image you can trace (or you can draw freehand). I chose a dove ( downloaded from the internet) and printed out on regular copy paper. Cut off a piece of your metal and lay your image on top:
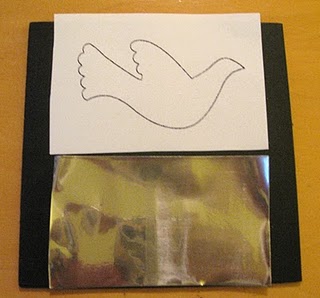
Sorry for the pic quality...didn't realize the reflection of the light
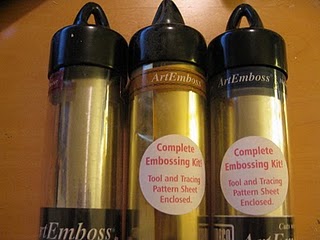
The AMACO metal comes with a wood stylus or you can use a ball point pen , pencil, or dry embossing tool. I have a rubber mat I use but you can use magazines or a stack of newspaper to give yourself some cushion so when you trace, you get some indentation. You don't have to press super hard, but firmly.
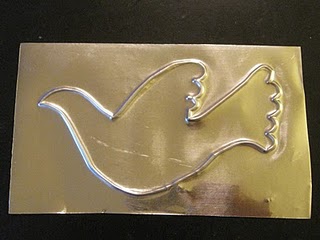
Once you 've traced your image, you can flip it over and go around the inside or outside edge to give it more definition. Then you can start designing. I did freehand designs or you can trace a design just like you did your image:
I just made a scallop pattern around the edge and some squiggly lines in the tail.
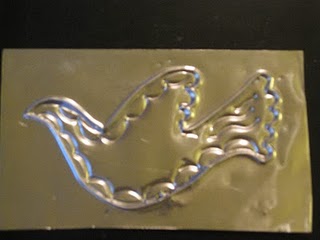
When you're happy with your design, then cut out around the image. You can use regular craft scissors. You don't need special ones.
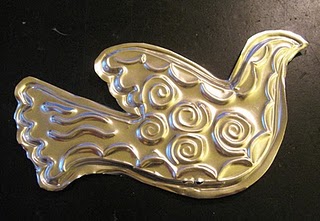
I added some spirals to the middle
While there are all kinds of specialty tools you can buy:
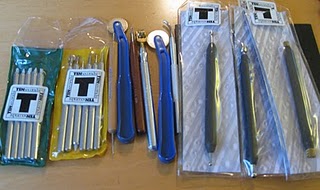
You don't have to. Sewing tools like pattern wheels work great:
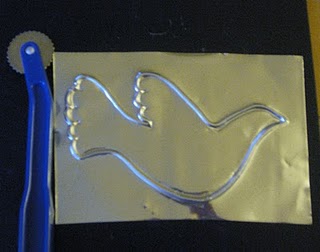
I just used a perforation wheel to make random lines on this one which you'll see below. Once you've cut out your imates, add a small eyelet in the center and then whatever you want to use to hang it. I added these to another of my trees :

This is the one I used the pattern wheel on just making random lines and then added "dots" using a dry embossing stylus.

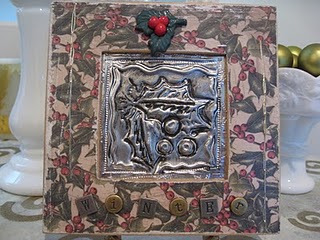
Hope that made sense. It can get very addicting and the metal goes a long way. I've used it on cards, as accents on altered art, etc. Here's another piece I did a couple of years ago that I aged with a little black paint:
Thanks, Michele, for once again having me over. I have loved being part of "Homemade Christmas" and seeing all of the wonderful projects you and the other guest posters have done!
Carol,
Head Chocolatier, The Answer Is Chocolate
Your ornament is so cute. I love working with metal. It is so relaxing and it gives stunning results. Great tuturial!
Wow that is really special, I have embossed on paper but not metal.
Carol, this is a great idea! I love the framed holly! It looks like an old, antique tin! 🙂 Beautiful!
WOW! This is beautiful!!! I would have had no clue how to use this technique... thanks!
This is really cool!! I love it and it looks nice and easy - which is great! There are so many options for this!
Hi Allie, I met Cheryl at a show and she is A-MAZING! Lucky you to be so close!
LOVE it!!! I think I'm going to try my kiddos handprint and make one for all the grandparents! 🙂 Thanks for the great tutorial!
<3
Rachael
http://www.littlebirdiebaby.blogspot.com
Fantastic idea Carol!! I love TSS, especially since they are HQ'd in my area. Cheryl & Megan are a hoot and a half.
I love the doves - beautiful ornaments.