
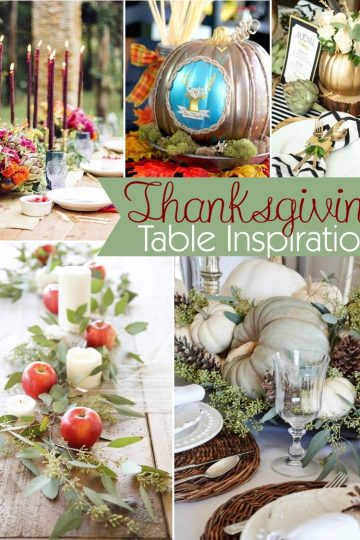
Pumpkin Roundup
You may remember these two pumpkins from being on my Halloween mantle.
I had promised tutorials for them, and now I'm finally delivering!
Why did I wait until after Halloween?
Weeeeeelllll... two reasons really.
1.) They can both be used for fall decor.
2.) I fully intended to have a couple of other fall pumpkin tutes to go with these and
didn't quite get to them. But I'm hoping I will get to them before Thanksgiving!
First up...
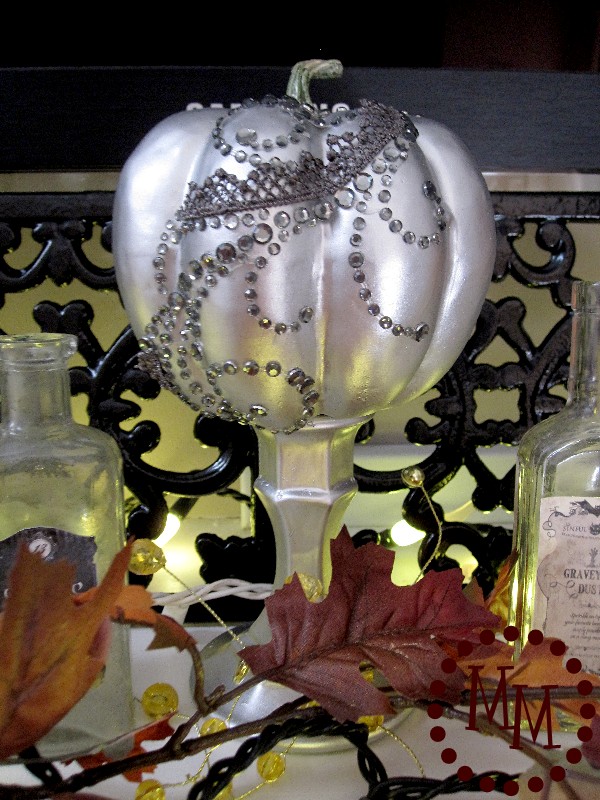
Silver Bling Pumpkin

I started with a Dollar Tree candlestick that I had previously painted white for another project that didn't turn out and a cheap little plastic pumpkin.
I plucked the stem from the pumpkin the painted both the candlestick and pumpkin with a couple of coats of Krylon's Silver Metallic spray paint.
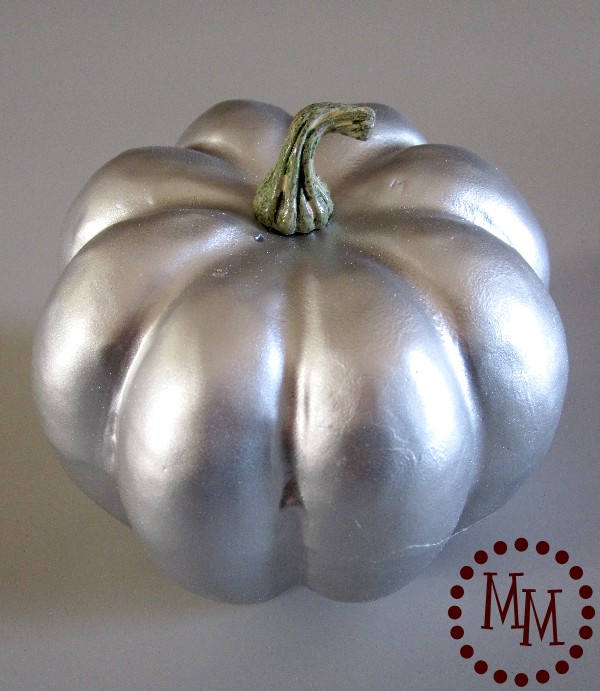
Nice and shiny!
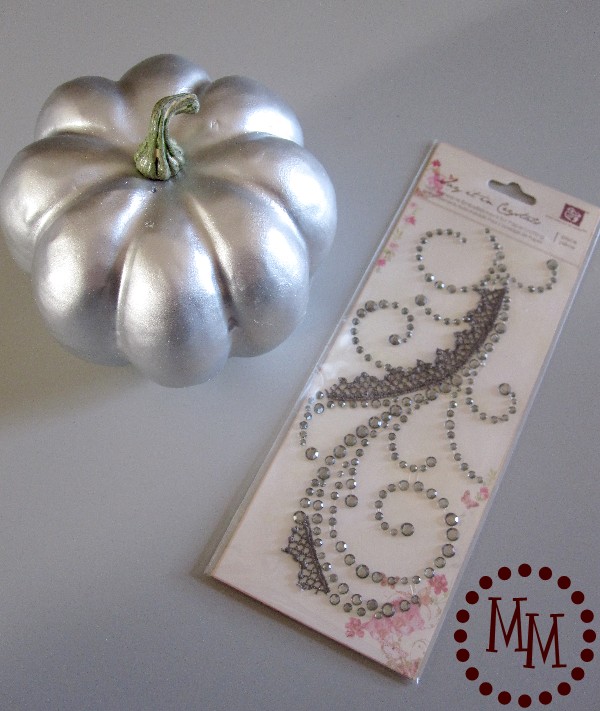
I had some bling I had bought at a scrapbook convention a couple of years ago stashed away in my desk. I thought now was the perfect time to use it!
I love that it has silver lace incorporated in it.
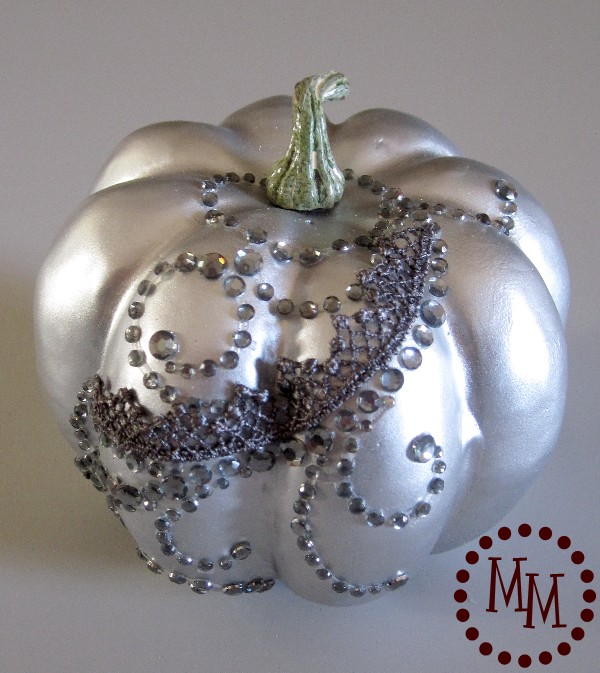
I love how it turned out! I just popped it right on top of the candlestick to give it some height. And it can stay on my mantle through Thanksgiving!
Next up...
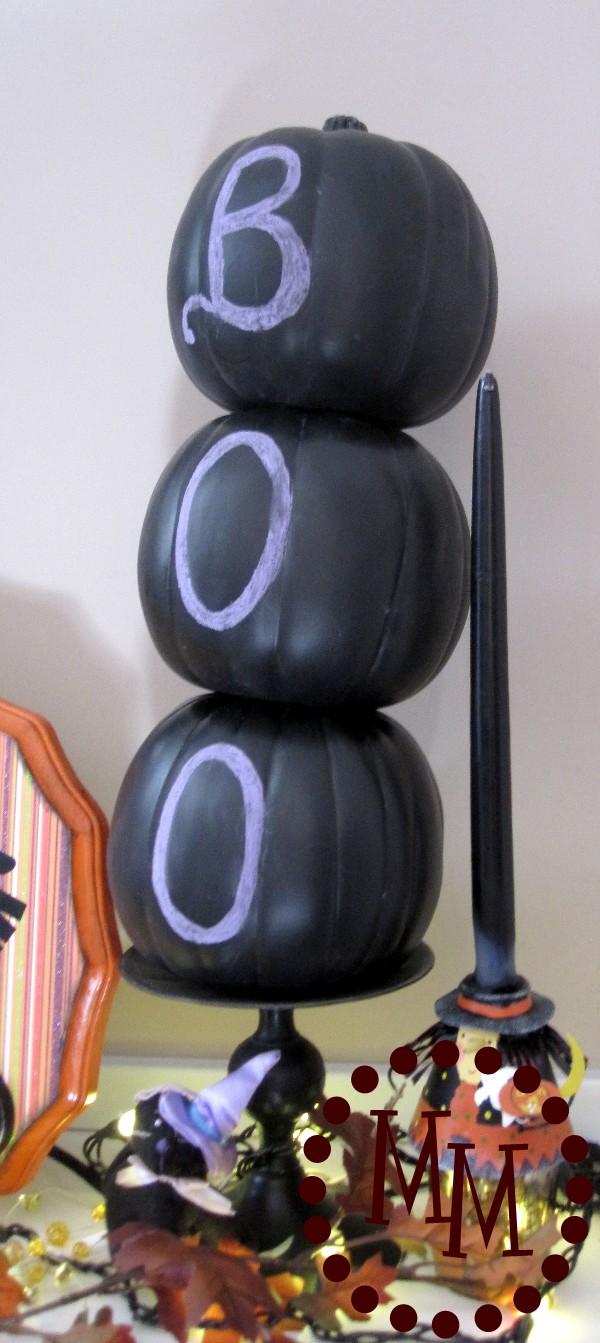
Chalkboard Pumpkins

These chalkboard pumpkins were super simple to create!
I started with 3 black plastic pumpkins I purchased on sale at Michael's and gave them a couple of coats of Krylon's Chalkboard spray paint.
I cut small holes in the bottom of two of the pumpkins so I could stack them on top of each other.
Rub them down with chalk to "cure" them, wipe it back off, and you're ready to write out your message!
For the BOO pumpkin topiary, I set them on a large candlestick that I've had for ages.

With the holes on the bottom of the pumpkins, they topiary can be dismantled to use the pumpkins individually if I so choose. Which I do! 🙂
With Halloween behind us, now I can have a monogram pumpkin!
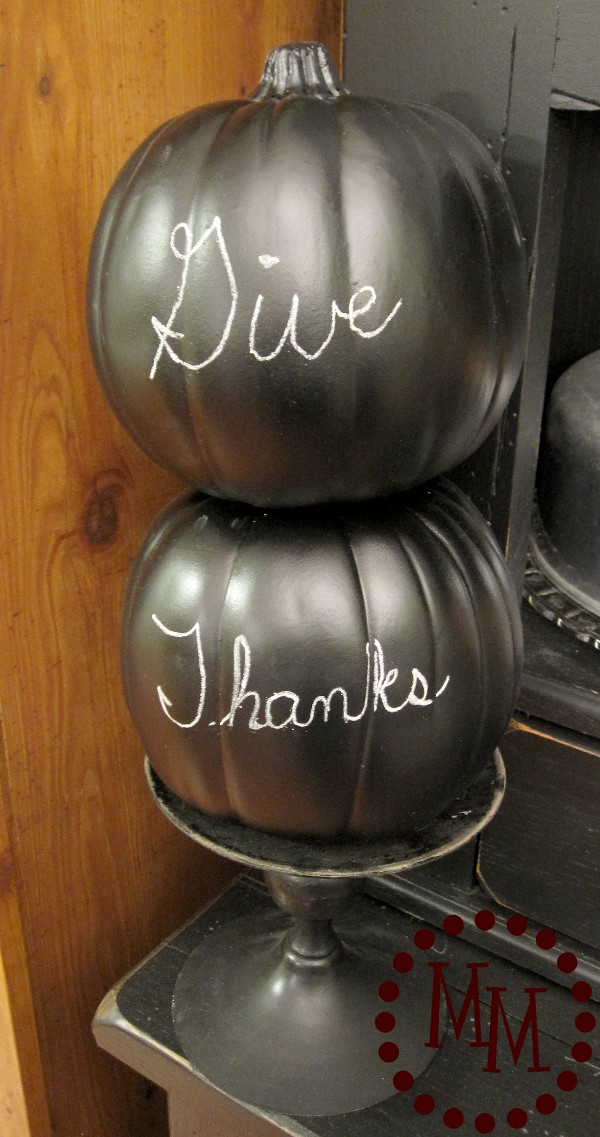
I left the other two pumpkins stacked on the candlesticks to write out my
"Give Thanks" message for Thanksgiving.
So what do you think? Pretty simple, right?
A little spray paint can go a long way
with those plastic pumpkins! 🙂

>> See where I party! <<
I've used stickers like this to decorate ornaments and it really does make it look impressive. Thanks for sharing on MM. Will be featuring this tonight.
There are so many fun ways to upscale a pumpkin! Thanks for sharing with SYC.
hugs,
Jann
Wow! What a pretty motif! And it looks great on the pumpkin, too! If you have a chance, it would be great if you could share your post with us at Creatively Crafty. It's something our participants would really appreciate.
I'm so excited for pumpkin season - these are so cute! Thanks for sharing on To Grandma's House We Go!
Very cute pumpkins! That silver bling one is super easy to create! I love it. Thank you for sharing on Merry Monday! Hope to see ya next week!
Kim
Love the blinged out pumpkin. I also did a blinged out pumpkin for my mantle. I love the glitter.
I never new you can make a silver pumpkin
I love the bling pumpkin, very cool!
I would love to invite you to share this at my Thingamajig Thursday party...http://radcrafter.com/2011/11/thingamajig-thursday-party-2/
Alida
Great ideas!! I have some small fake pumpkins and gourds that I will probably use the first technique on!! It looks really nice and fun too!!
Thanks for sharing!!
~Lisa
http://www.lisascraftblog.blogspot.com
Love the silver pumpkin!!! I will have to make it next year!
love the chalkboard ones!! ok, and the blinged out ones too 🙂 so very fun and festive 🙂
I'd love for you to link this up to my link party, Your Whims Wednesday! http://mygirlishwhims.blogspot.com/2011/11/your-whims-wednesday-32-and-features.html
I've never been big on holiday decorating. I guess with three kids, I get a little lazy. But I seriously want to put these bling pumpkins all over my house!!!! Stopping by from Craft-O-Manic. Great job! Just gorgeous!
http://www.luxeboulevard.com
Have 't enough words to say about your spectacular work. It is really gratifying. You did a creative work on it, which is totally new for me. I am truly saying that is is fun and easy idea!
Promosyon
I love the bling pumpkin!
I love love love your blingy pumpkin! Great job!
WOW! How did you get that silver pumpkin to look so amazing!?
Please feel free to link up to Make Yourself Monday - I'd love to have you!
Jamie
For Love of Cupcakes
Michele! I love spray paint, and who doesn't love bling!!!
your pumpkins look great!
gail
Like the bling pumpkin, swanky!
Kathi
Fabulous!
Your silver pumpkin is so beautiful...just gorgeous! I have joined your followers list and invite you to join my followers list; as well,I hope you will grab a blog button. Hugs, Gayle
http://atastefultouch.blogspot.com
That blingy pumpkin is pretty enough for Cinderella! lol! Great job on them all!! 🙂
xoxo laurie
I think that was a very creative idea! I really love the bling placed on the silver painted pumpkin. That was very pretty.
Oh you know I love some bling! And I love the silver. Gorgeous!
I think these are lovely. Lovin' the bling pumpkin. Saw you on TT&J
I love both of your projects! The stacked pumpkins are especially cute. And of course you might want use them again somewhere else! I know I sure would!
Hi, Mimi! My pumpkins are actually faux pumpkins. I only buy the real ones to carve for Halloween on the front porch. I can't stand the idea of crafting on a real one then having to throw it out when it rots! 🙂
Your pumpkins are lovely. Will the spray paint make them last longer indoors?
Wow, I love them both! Great job!
That silver pumpkin is so pretty! If only it could be used Christmas too...
I love both ideas!!! Your silver pumpkin and that bling go so well together! And the chalkboard pumpkin idea is one of those DUH moments for me. I made a mini chalkboard pumpkin to use as a countdown to halloween...why not use it as a countdown to thanksgiving as well?! Genius 😉
I know exactly what you mean by a little spray paint can go a long way!!! I think I just might be a spray paint queen. You can spray paint just about anything to make it look all purty and new! Awesome ideas and thanks for sharing your tutorial:)
So cute - all of them!! I really like the bling-y one - that lace is too cute!!
I love the bling-ed out first pumpkin! So pretty! Love it 🙂
Bekah
If Work Permits