
Pumpkin Vase
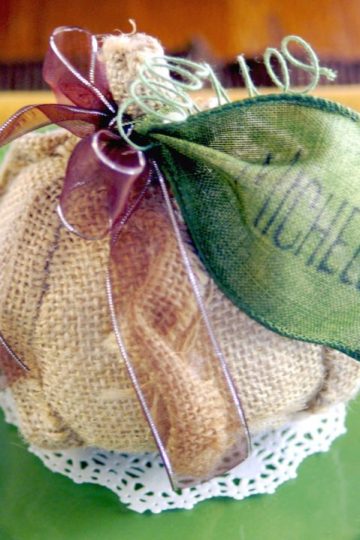
Did you see Ashley's pumpkin vases last month at Little Miss Momma?
If not, you must go check them out. Too cute!
I knew when I saw them that I wanted to make one!
So make one I did!
Here's how I went about it...
(it took a little longer than Ashley's 5 minutes, but you'll see why)
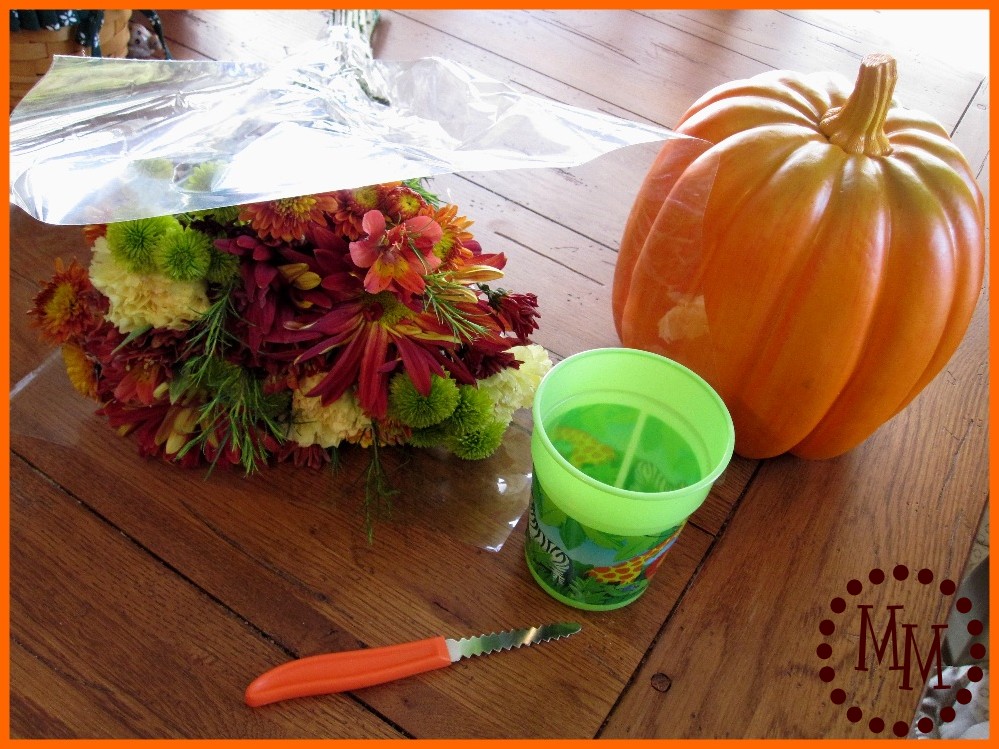
I found this great pumpkin at Walmart on clearance for $4. Not bad since it is from Better Homes & Gardens! So of course I snatched it right up.
I also purchased a fall bouquet and grabbed my pumpkin knife and one of my son's plastic cups.
I went to work cutting the top off of my pumpkin only to find...
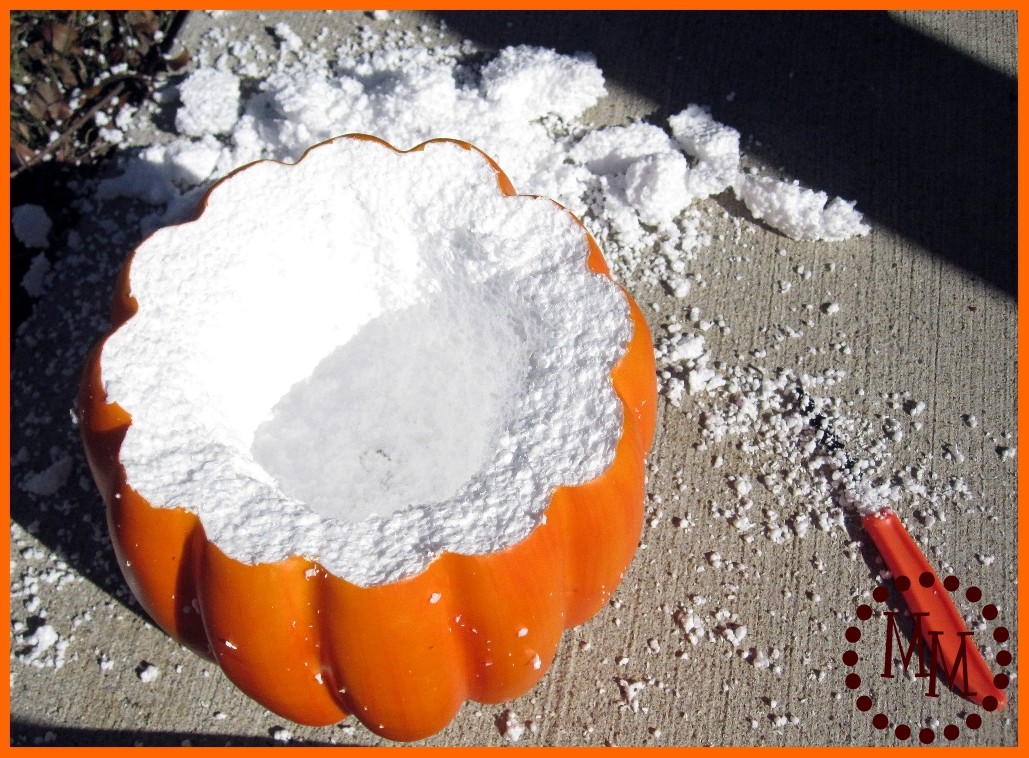
It wasn't hollow! What???
Cut a pregnant girl some slack for crying out loud...
Anyway, I set about carving a hole in the center of the pumpkin which made quite the mess with all of the styrofoam.
I seriously looked like I had run through a field of vanilla flavored Dippin' Dots by the time I was finished.
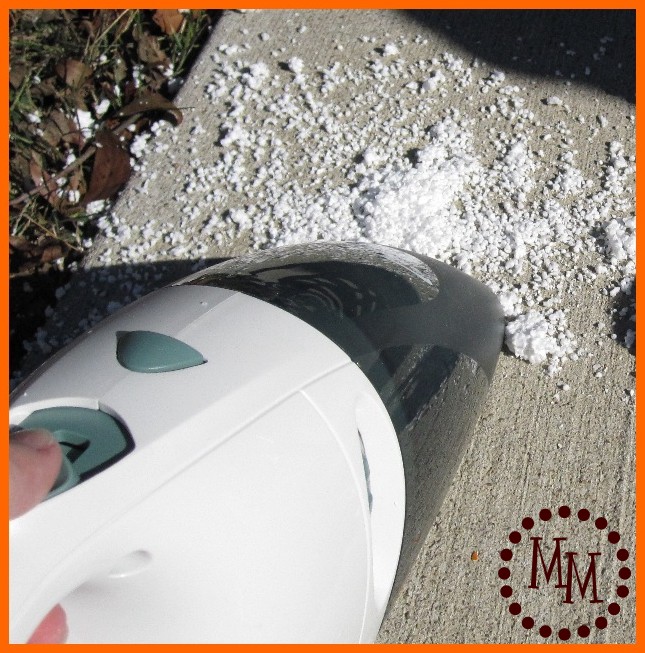
I picked up as many chunks as I could and let my best friend, the dust buster, handle the rest.
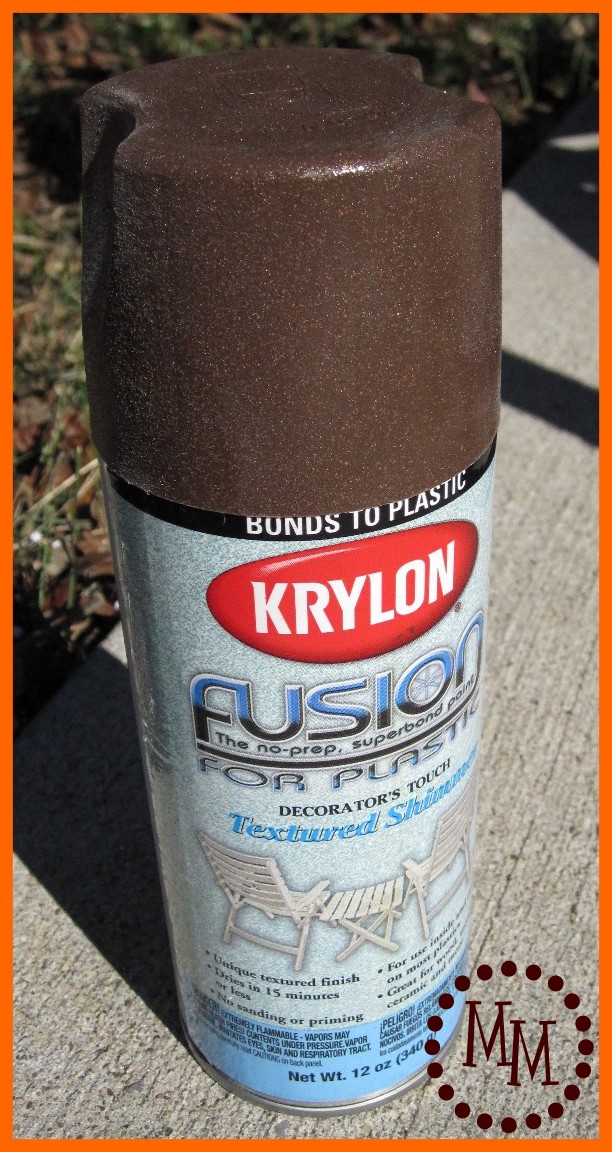
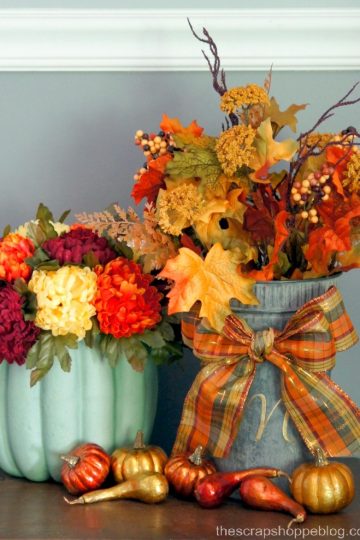
I got out my trusty can of Krylon for plastic to give my pumkin a good coating.
I love the brown glittery finish!
(You may remember I also used it for my Gourd Decor.)
This stuff is seriously fabulous for plastic!
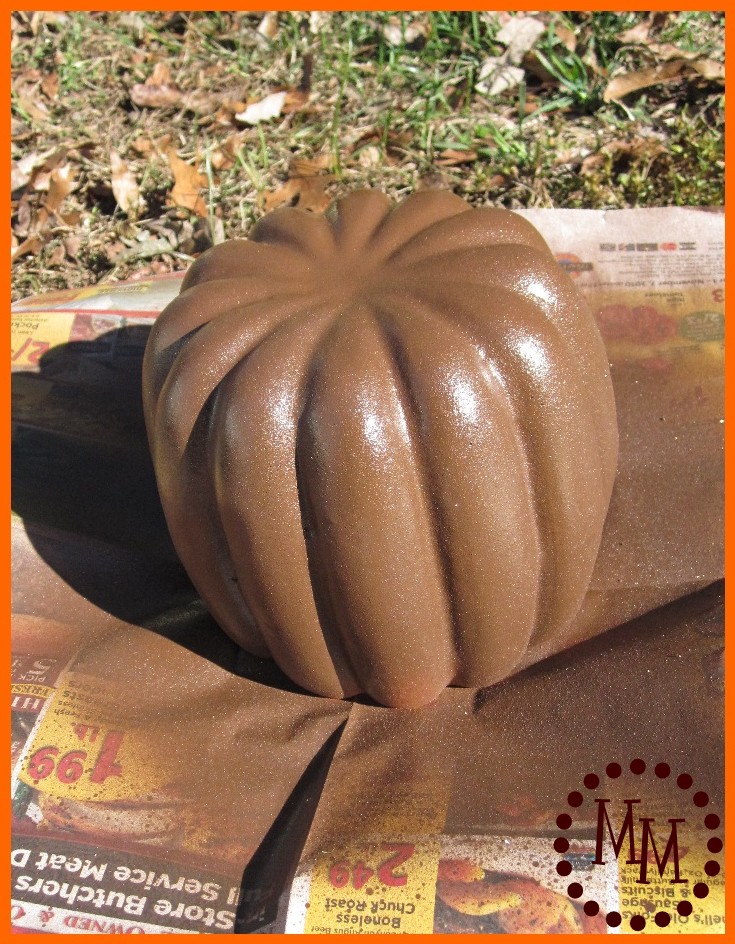
I gave my pumpkin a good two coats of paint which took no time at all because this stuff dries in 15 minutes. Seriously!
Now, I do love orange pumpkins, but I wanted to paint this one because I wanted to be sure my fall bouquet stood out and wasn't competing with the orange of the pumpkin.
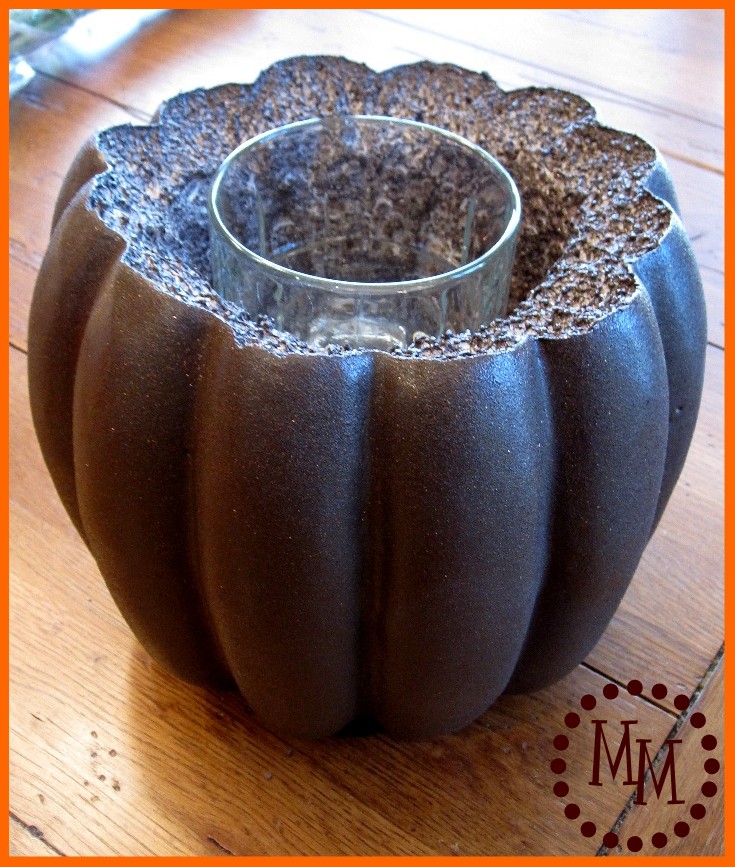
I wasn't able to gouge out enough room for my original plastic cup, but one of my small glasses fit in the pumpkin quite nicely.

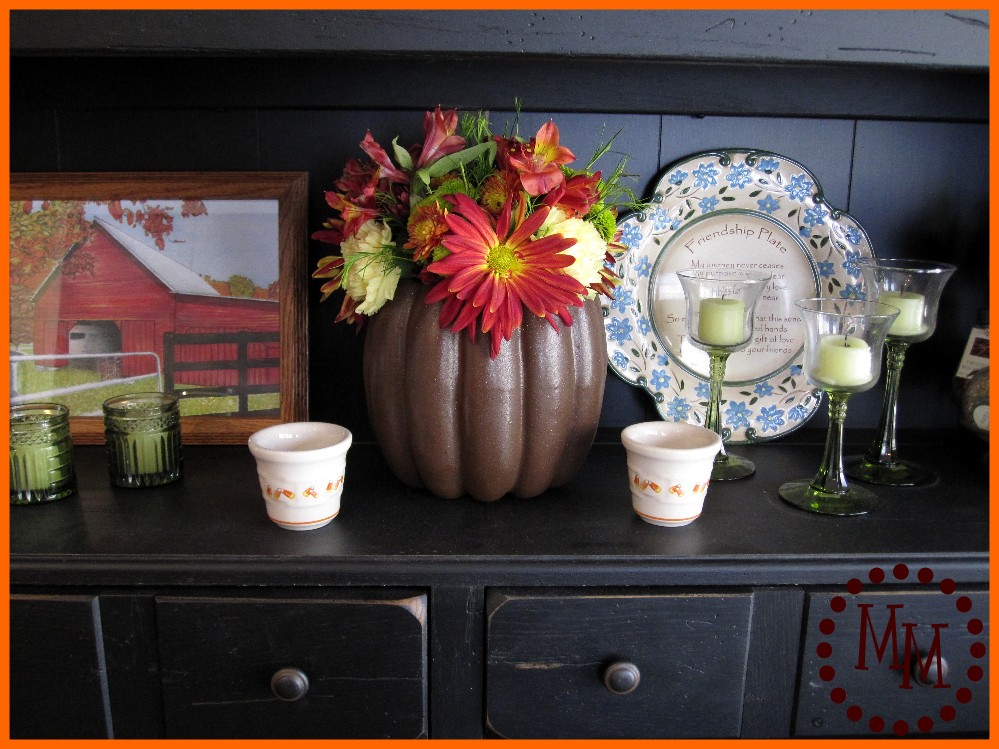
I trimmed my stems down and did a little flower arranging letting the larger flowers hang over the side of the pumpkin to hide any styrofoam.

I have to say, I'm lovin' it!!
The perfect fall accent for my kitchen hutch!
Now I just have to remember to water them...
I made one with a real pumpkin one year but, this is perfect not to have to deal with it going bad. Thanks for sharing at the Inspiration Spotlight party. Pinned & Shared.
Gorgeous!! I probably would have thrown it! lol
Here from Two Uses Tuesday!
haha, I just read this and thought you were pregnant. Totally throw back post--love it! Very pretty!
Oh goodness, no, Sara!! 🙂
Michele,
So pretty. I love it. The brown is so beautiful.
Cheri
Brilliant. I love the brown color you used.
What a great idea! I'll have to try it, making sure I find a hollow pumpkin. 😉
You are the most clever one! This is awesome looking and I love your arrangement of flowers you've used too. I would never have thought of cutting a pumpkin into like this! Hmmm... 😉
Be a sweetie,
Shelia 😉
It's beautiful! Thank you for joining me for a Thanksgiving Party @ All Thingz Related!
I love love love this idea.
Thanks so much for sharing your project with the DIY Club.
I hope you are having a knock out weekend.
Cheri
Great idea - it looks so pretty! 😉
Roeshel
I love that you painted this - what a great detail!
Fabulous! What a cute idea! 🙂
Gorgeous, I just love it! Ick, with the styrofoam mess.
This is so cute! I'm going to have to make one next fall!
I love that you made it brown.Super classy.
Absolutely love this for a table centerpiece! This is such a great idea!
Don't you just love Krylon Fusion? No plastic is safe in my house now! Love the pumpkin vase. And the brown, too! Clever idea!
Would love for you to join us this weekend at Passion for Paint!
Aw, I love it! What a fun fall decoration!!! Thanks for linking it!
THIS IS SOOOOO AWESOME! Lame it wasn't hallow though...
Thanks for posting! I found your link on tip junkie! I would love for you to check out my blog at http://vintagewannabee.blogspot.com/ (I'm doing a giveaway of a bag I made... it's pretty dang awesome.)
Mucho love.
Nichelle
What a beautiful fall decoration. I love the brown pumpkin. Visiting from fireflies and jellybeans!
Neat idea! Perfect for Thanksgiving Party. Just hopping by from Somewhat Simple.
Super duper cute, great project! Thanks for sharing.
WOW LOVE THIS! Perfect for a beautiful centerpiece.
I would love to have you link this up at Trendy Treehouse!
http://thetrendytreehouse.blogspot.com/2010/11/creative-share-blog-hop-turkey-cookies.html
Great tutorial! I'm sending this idea to my sis for our Thanksgiving tables.
I love that you showed your snowy mess. I do stuff like this all the time...oh my! Did you save it for Christmas decor (ha - I just crack myself up!).
I do like the end result...very pretty.
Really cute...it's a great idea for Thanksgiving!
I love it so much better brown! Great idea. I'm going to do this for our porch on Thanksgiving.
I love it so much better brown! Great idea. I'm going to do this for our porch on Thanksgiving.
Very Simple yet very classic. I love it! I'm thinking I'm going to have to try this one next year!
this is just what i needed!!! i was looking for a centerpiece for our thanksgiving table! this is perfect. thank so much. found ya on lucky star lane---stop by our blog when you have a chance: easypeasycraft.blogspot.com
great job! i think you made the right choice with the brown paint.
i gotta check walmart for some of those foam punkies!
So pretty! Would love for you to come link up to Made with Love Monday at Sew Chatty! http://bit.ly/bSsG5b
I would have thought those pumpkins were hollow as well. 🙂 What an adorable fall arrangement!
Love this! Looks great -- worth the extra effort 🙂
This is so cute!! I love the color. I can't believe you kept going after you saw it wasn't hollow. I would have been VERY tempted to pitch it hahah. 🙂 Great job on making it work!
The pumpkin vase is great, but I REALLY covet that black cupboard...
Susan
This turned out so great. I think I would have given up when I saw the pumpkin wasn't hollow!
I totally laughed when I read about the non-hollowed pumpkin.
REALLY? I would have screamed out loud too.
Beautiful project!
Quote of the day: Cut a pregnant girl some slack for crying out loud! LOL Too funny. I love how your pumpkin vase turned out and you even made it work when the pumpkin wasn't hollow! Perfect for fall!
I LOVE it!!!
Such a great idea! Love it! I've featured you today at That Village House on Spotlight Sunday. We'd love to have you stop by and grab a button.
Lindsay
http://www.thatvillagehouse.blogspot.com
Oh I think it turned out great! Thanks for sharing!
Emily
WhipperBerry.com
Michele, sometimes I think we share crafty brain waves! I just spray painted three pumpkins brown! LOL! 🙂 Mine will be up this week. I think we are going to start a trend because they look SO great! 🙂